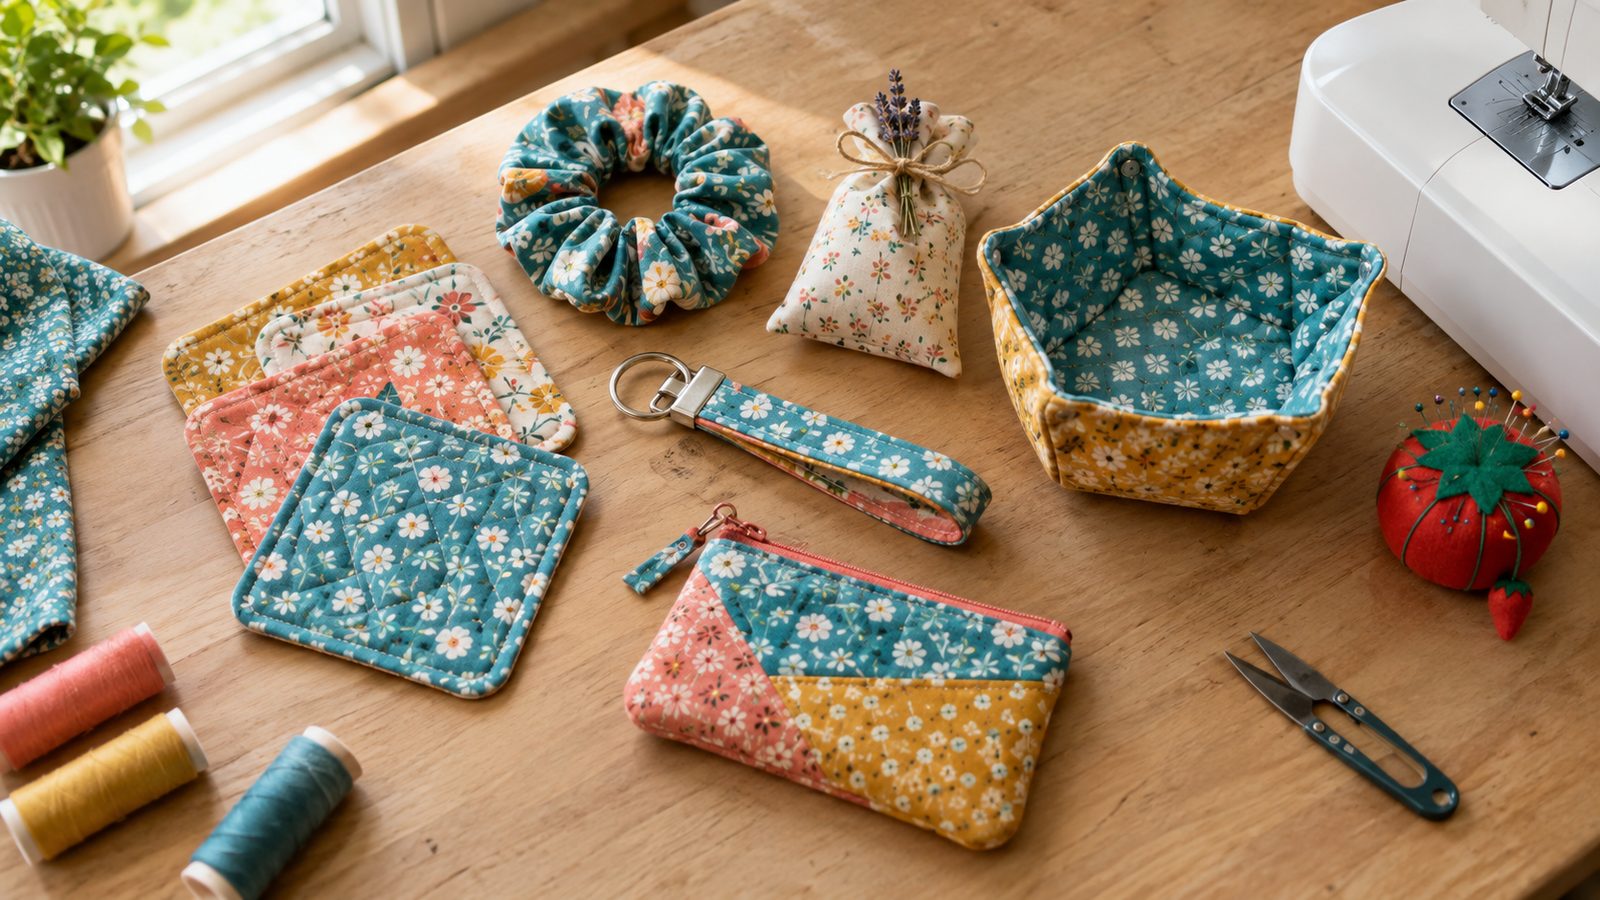
Some days you only have a lunch break or the gap between dinner and bedtime, and that is plenty of time to finish something. Quick projects keep your skills sharp, use up scraps, and give you that satisfying “I made this” feeling without a weekend commitment.
Every project below comes with a realistic time estimate for a confident beginner, counted from cut fabric to finished item. Pressing as you go adds a few minutes but makes everything look store-bought, so keep the iron hot.
1. Quilted Fabric Coasters
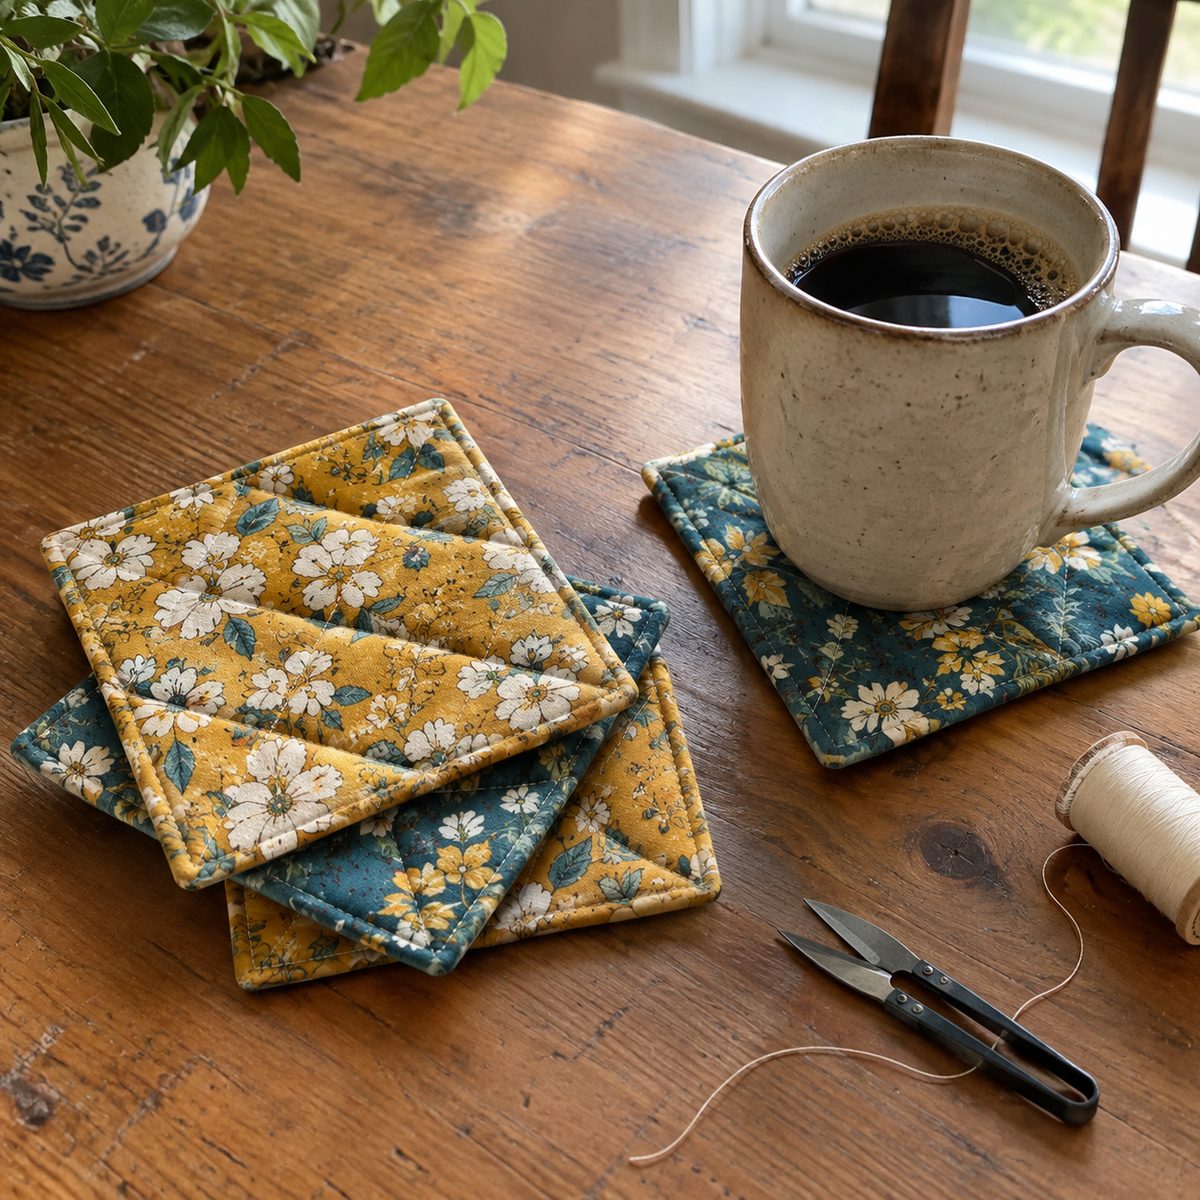
About 30 minutes for a set of four. Coasters are the ultimate scrap-buster, and a stack tied with twine makes an easy hostess gift.
Cut eight 5-inch squares of quilting cotton and four 4.75-inch squares of cotton batting. Layer one fabric square right side up, a second right side down, and the batting on top. Sew around the edge with a 1/4-inch seam, leaving a 2-inch gap on one side. Clip the corners, turn, and poke the corners out with a chopstick.
- Press flat, tucking in the gap edges.
- Topstitch 1/8 inch from the edge to close the opening.
- Add two diagonal lines of stitching for a quilted look.
Chain-piecing all four at once is what keeps this project under half an hour.
2. Fabric Bookmark with Elastic Band
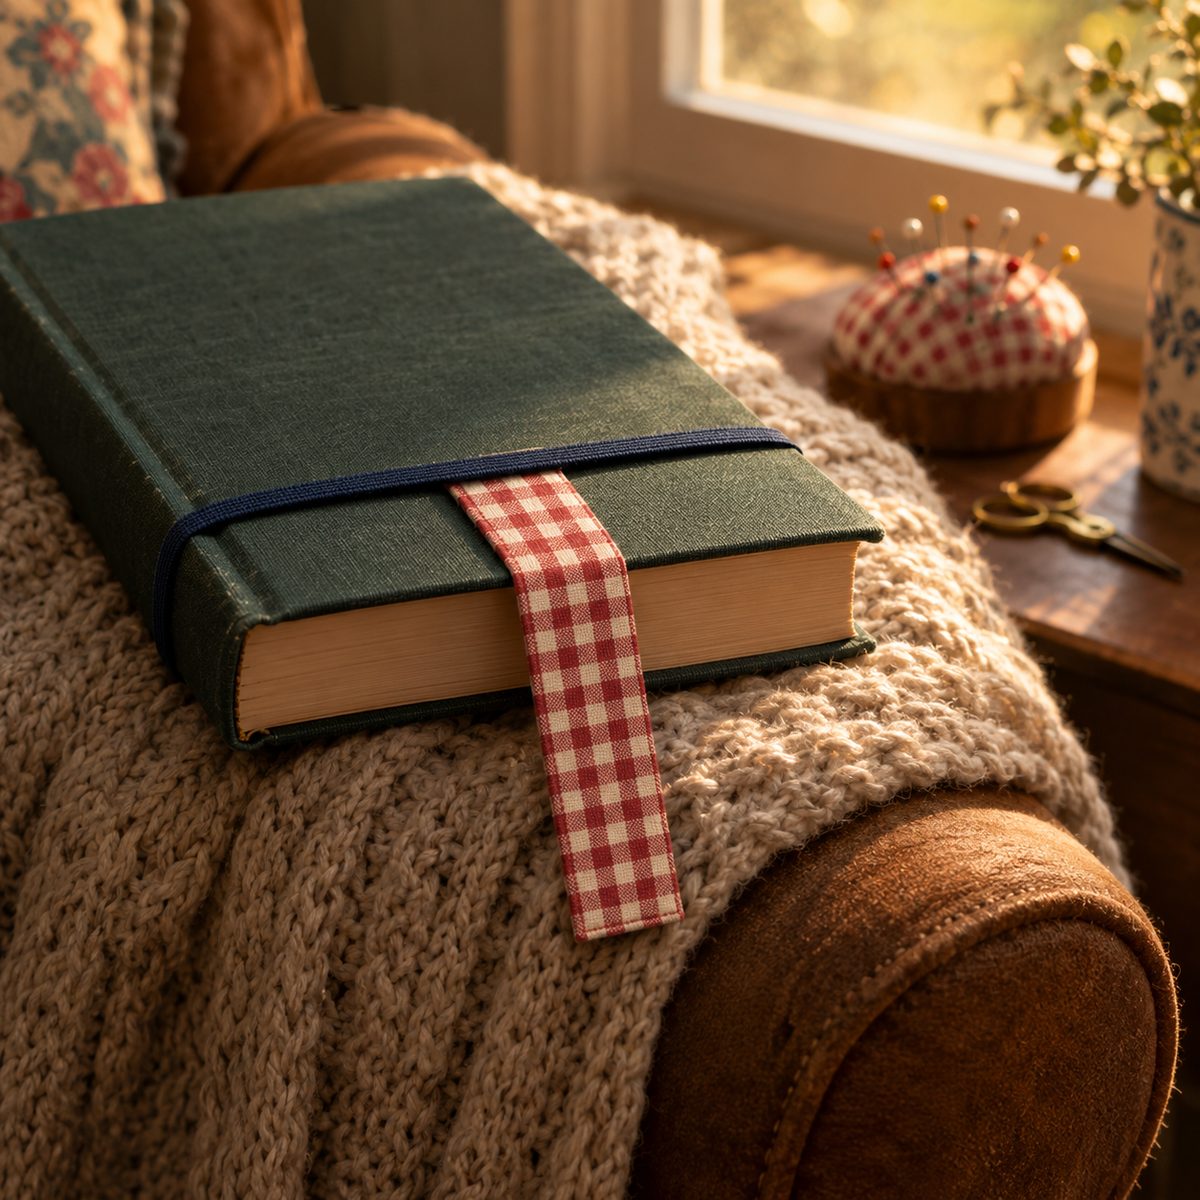
About 15 minutes. A fabric bookmark with an elastic band wraps around the book cover so it never slips out, which makes it far more useful than a paper one.
Cut two rectangles of cotton at 2.5 by 8 inches and one piece of lightweight fusible interfacing the same size. Fuse the interfacing to one piece. Cut a 7-inch length of 1/4-inch elastic, fold it into a loop, and pin the raw ends at the center of one short end, pointing inward.
Place the fabric pieces right sides together, sew around with a 1/4-inch seam, and leave a 1.5-inch opening on a long side. Turn, press, and topstitch all the way around. The elastic loop slides over the back cover and holds your page. Sew a handful at once for book club friends.
3. Key Fob Wristlet
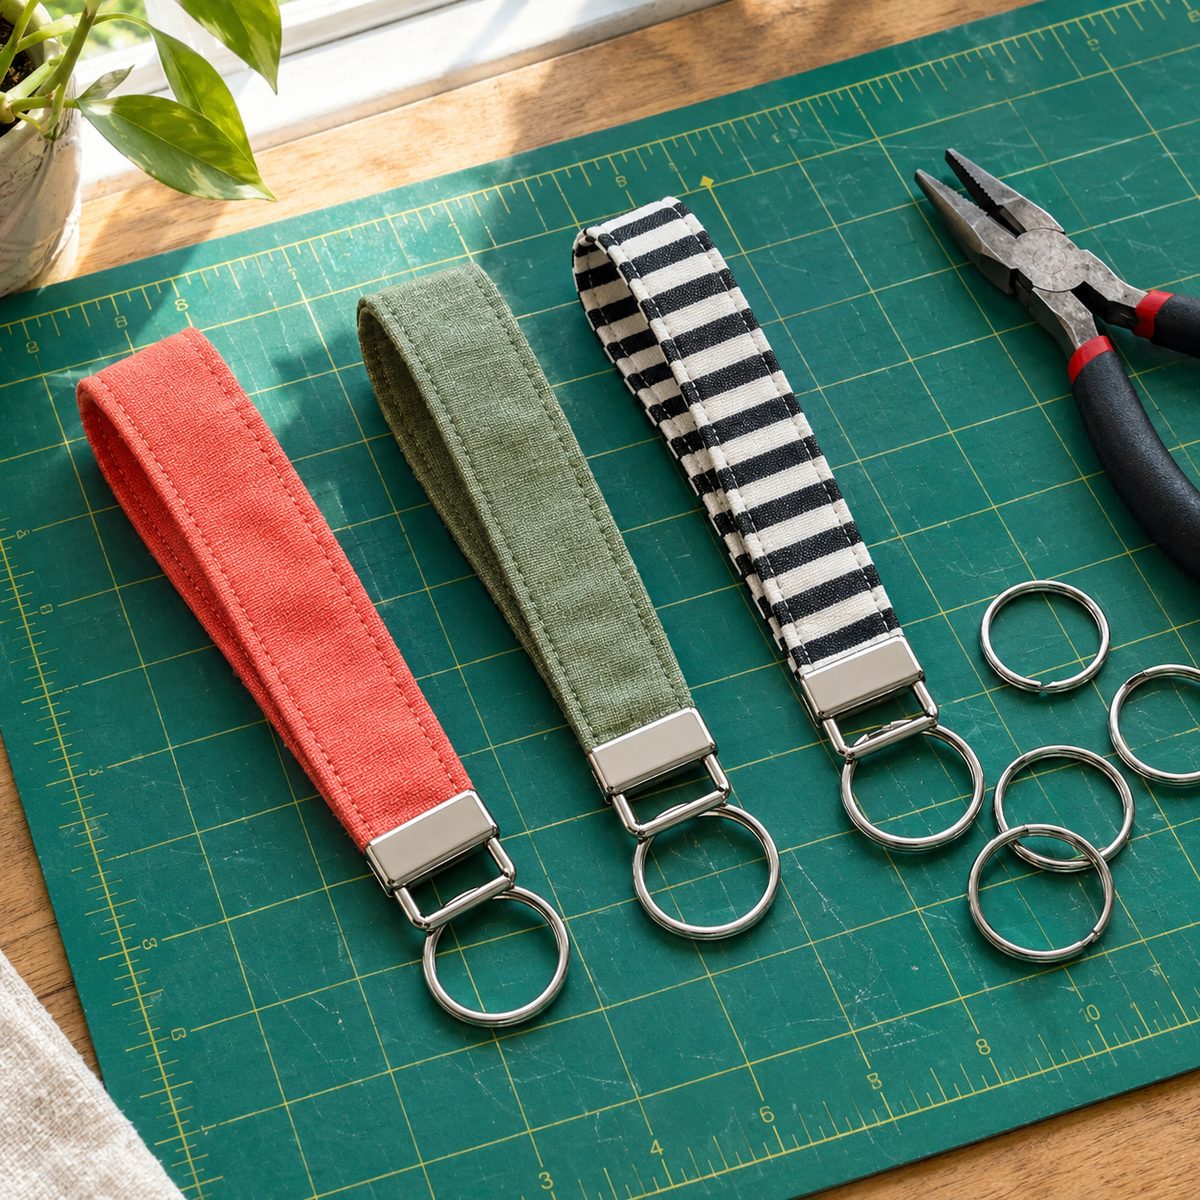
About 20 minutes. A key fob wristlet is the kind of gift people actually use every day, and it only needs a strip of fabric and a piece of hardware.
Cut a strip of cotton 3 by 12 inches and a strip of fusible fleece 0.75 by 12 inches. Fuse the fleece down the center of the wrong side. Fold the long edges to the center, then fold in half again so you have a strip about 3/4 inch wide. Press hard and edgestitch both long sides.
- Fold the strip into a loop, matching the raw ends.
- Slip the ends into a 1-inch key fob clamp.
- Close the clamp with pliers, padding the jaws with a scrap of fabric so the metal does not scratch.
Add a split key ring and you are done.
4. Microwave Bowl Cozy
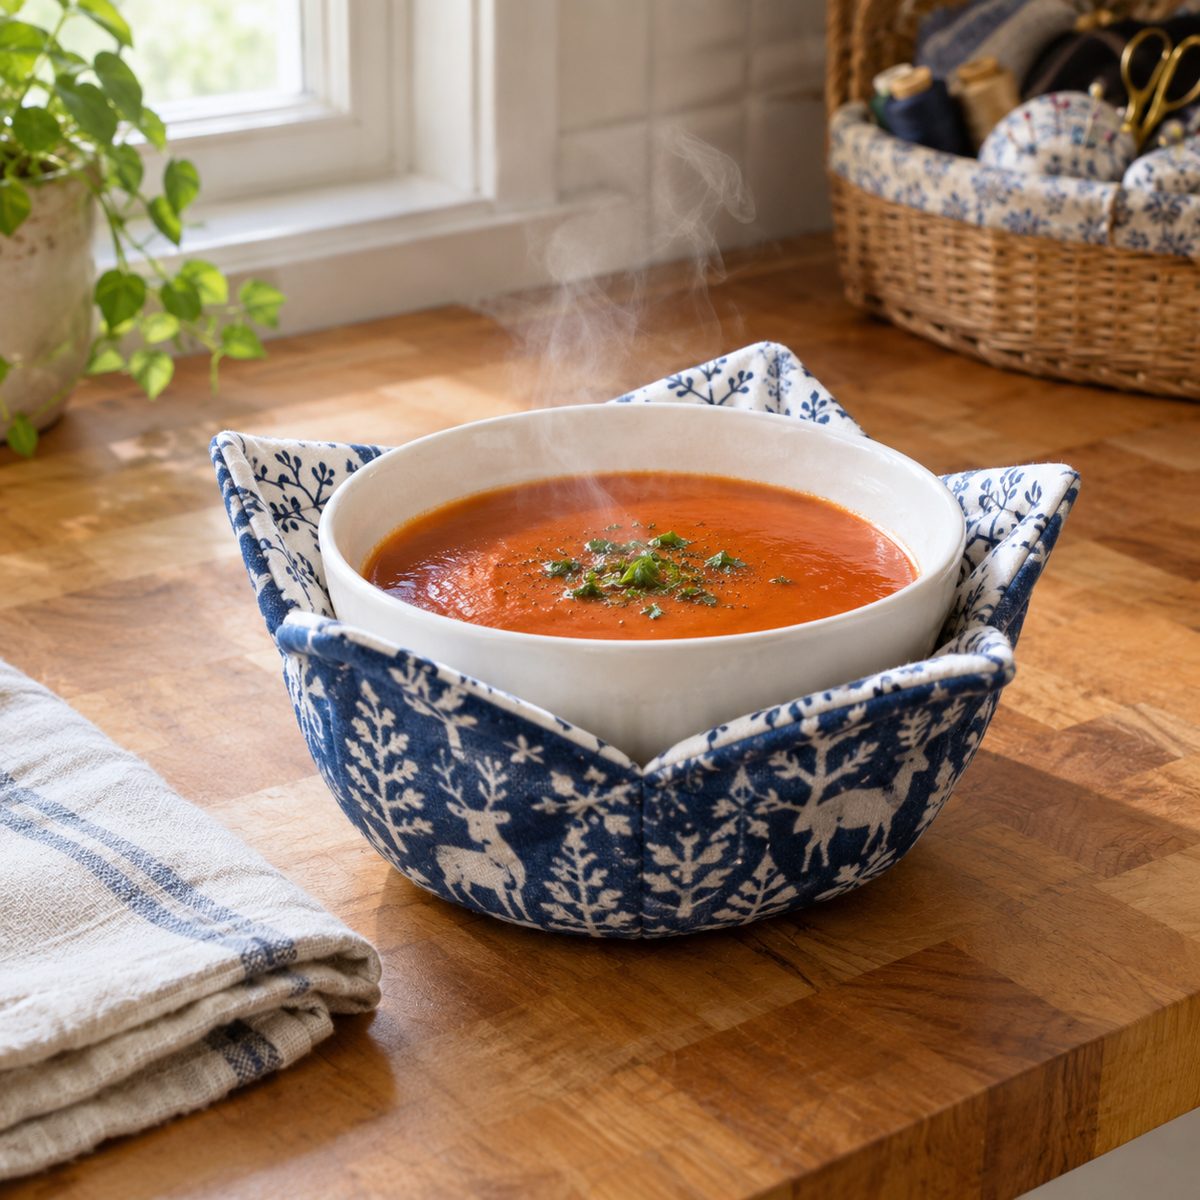
About 45 minutes. Bowl cozies keep hands safe from hot soup bowls and ice cream alike, and they sell well at craft fairs.
Use only 100% cotton fabric, 100% cotton batting, and cotton thread so the cozy is microwave-safe. Cut two 10-inch fabric squares and one 10-inch batting square. Baste the batting to the wrong side of one square.
On each square, mark a dart at the center of all four sides: 1 inch wide at the edge, tapering to a point 3 inches in. Sew the darts on both layers and trim the excess. Place the two pieces right sides together, sew around the edge with a 1/4-inch seam, leaving a 3-inch gap, then turn and topstitch.
The darts create the bowl shape. For deeper bowls, lengthen the darts to 3.5 inches.
5. Twist-Front Knit Headband
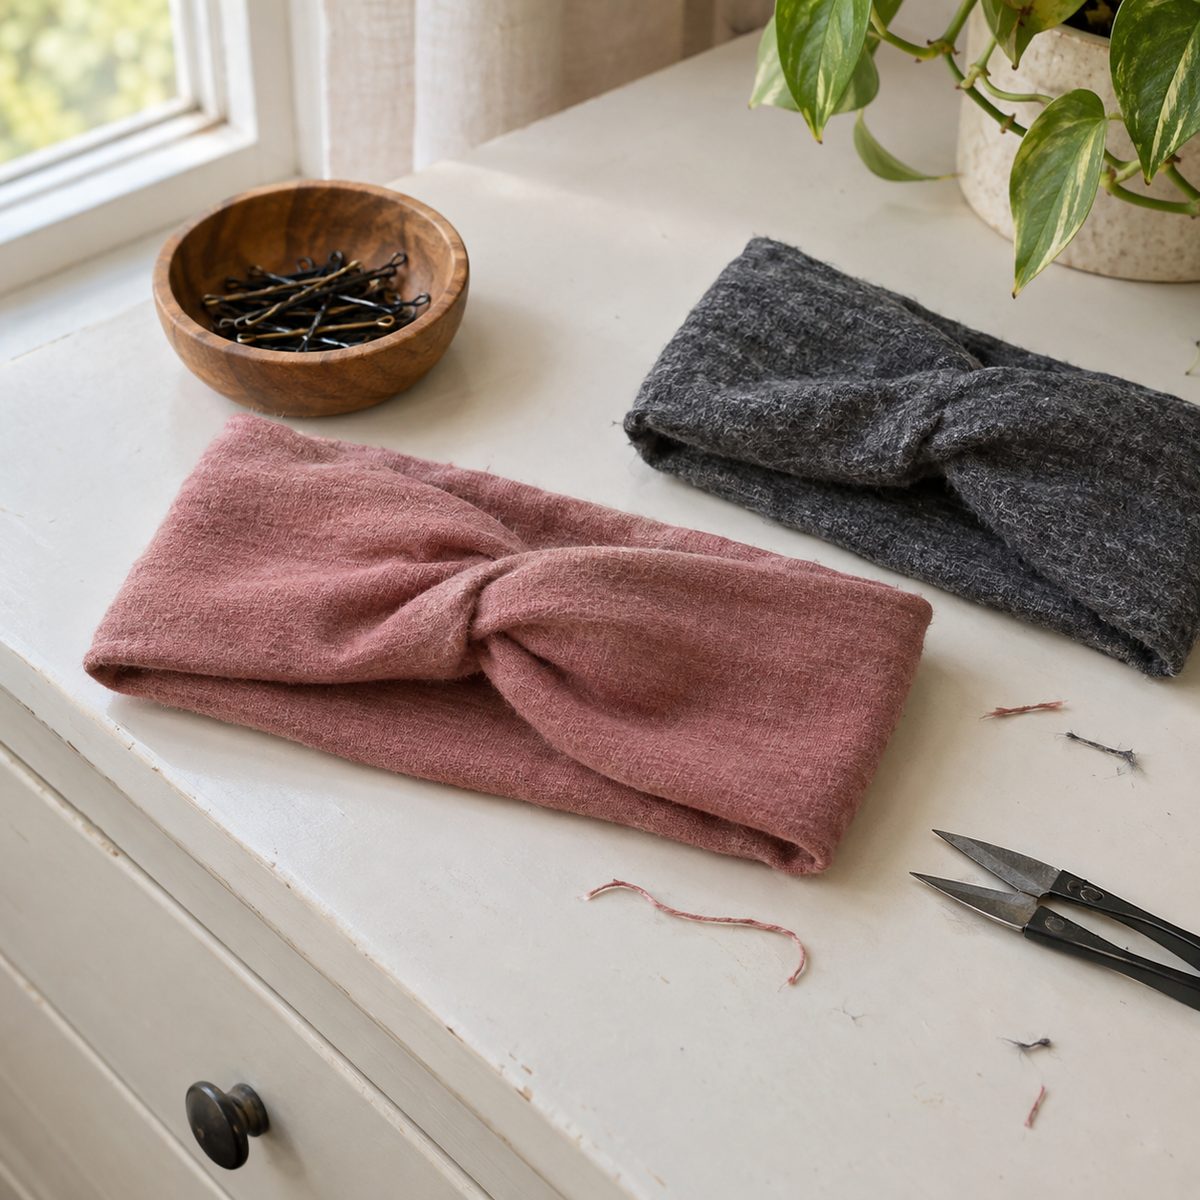
About 30 minutes. A twist headband uses a small piece of stretchy knit and looks far more complicated than it is.
Cut two pieces of cotton-spandex jersey 9 by 11 inches, with the stretch running along the 11-inch length. Fold each in half lengthwise, right sides together, and sew the long edge with a narrow zigzag or stretch stitch. Turn both tubes right side out.
- Fold one tube in half to make a U shape.
- Hook the second tube through it so they interlock.
- Bring all four raw ends together, flatten, and sew across them.
Flip the seam to the inside and the twist sits at the front. Measure the wearer’s head first and subtract about 2 inches for a snug fit. Use a ballpoint needle so you do not get skipped stitches on knit.
6. Classic Scrunchies
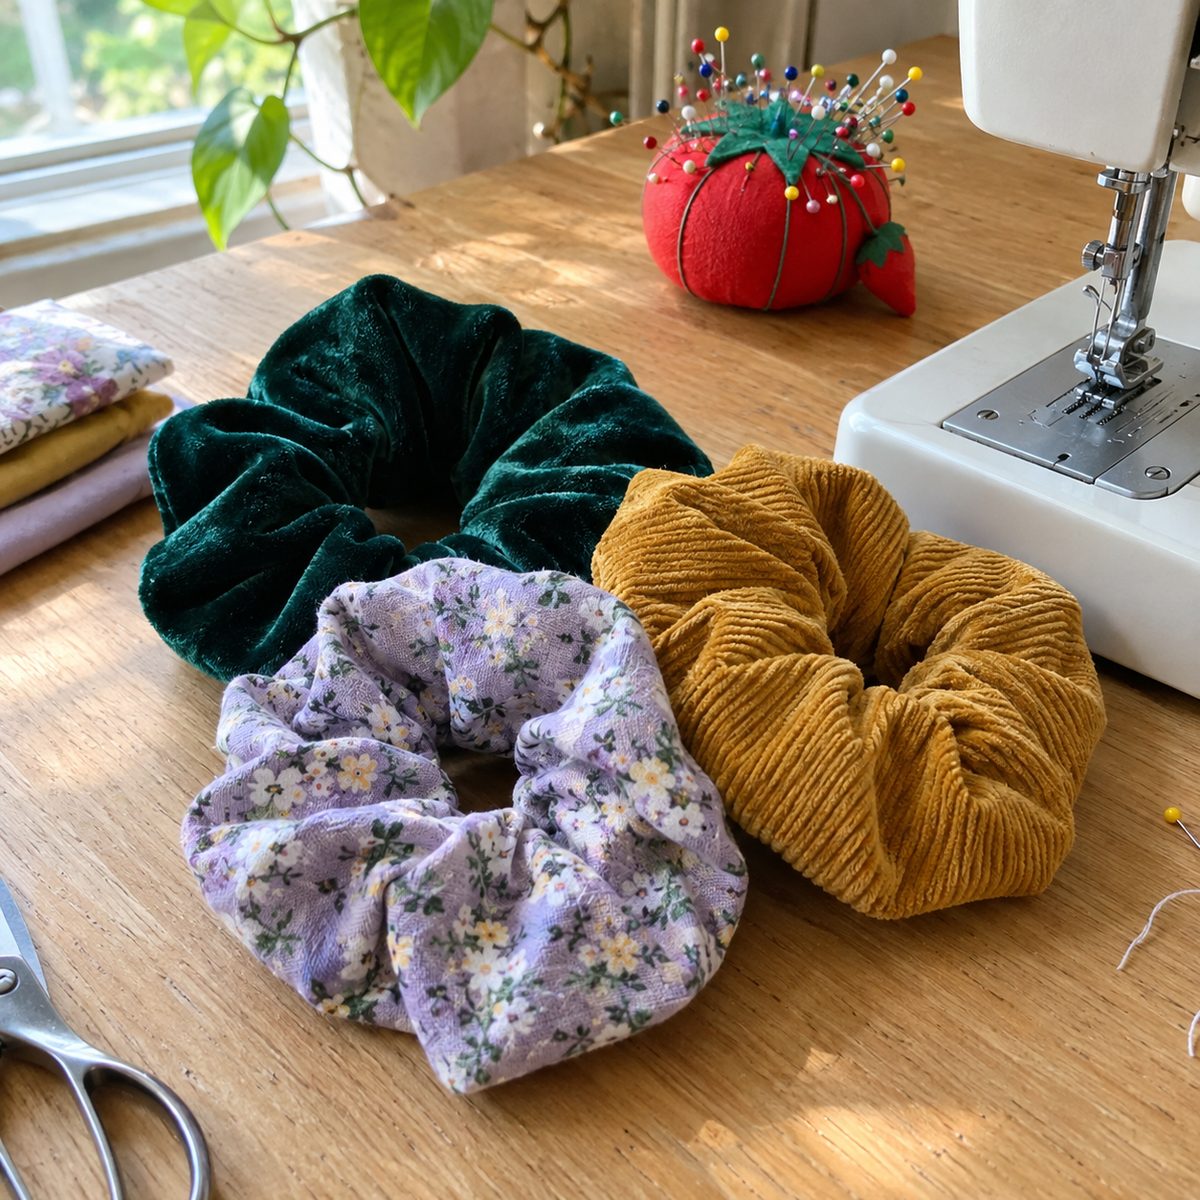
About 15 minutes each. Scrunchies are the fastest satisfying make there is, and they are a great way to use silky scraps, velvet, or leftover cotton.
Cut a strip of fabric 4 by 22 inches and a piece of 1/4-inch elastic 8 inches long. Fold the strip lengthwise, right sides together, and sew the long edge, leaving the ends open. Turn it right side out.
Attach a safety pin to one end of the elastic and thread it through the tube, holding the other end so it does not disappear. Overlap the elastic ends by 1/2 inch and zigzag them together. For more help, see this guide on how to sew elastic into fabric. Tuck one raw fabric end inside the other and edgestitch across, or close it by hand for an invisible finish.
7. Simple Pot Holder
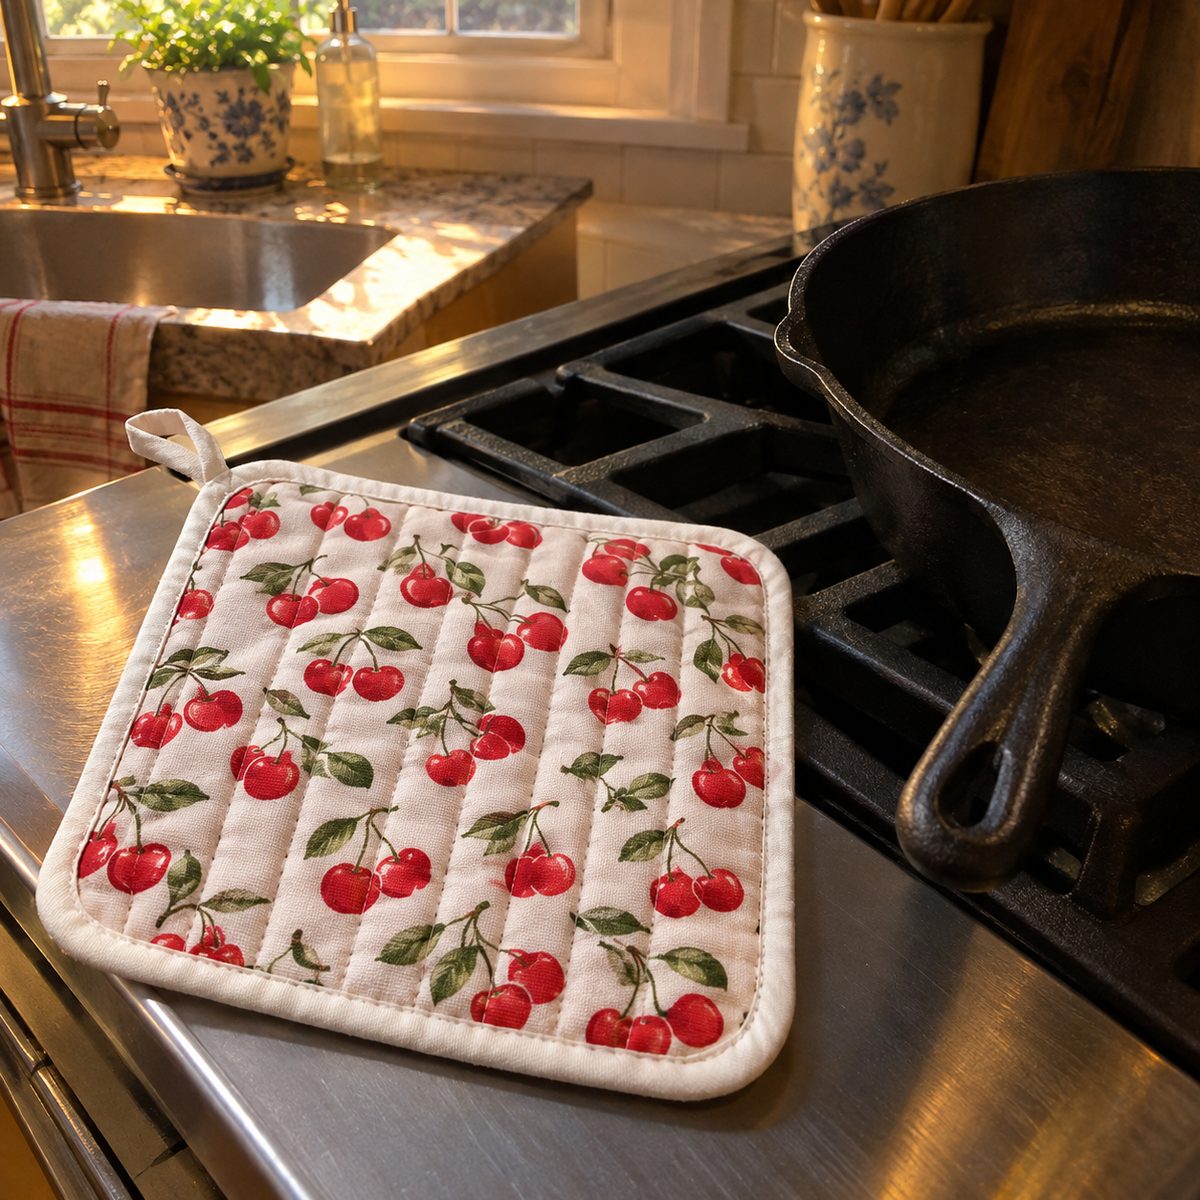
About 40 minutes. Store-bought pot holders wear out fast, and a handmade one with proper heat protection lasts for years.
Cut two 8-inch squares of cotton for the front and back. For the middle, layer one 8-inch square of insulated heat-resistant batting with one square of cotton batting. Stack them as back fabric (right side down), both battings, then front fabric (right side up) and pin well.
Quilt straight lines 1 inch apart across the whole square with a walking foot if you have one. Trim the edges even, then bind with a 2.25-inch strip of double-fold binding, adding a 5-inch loop of binding at one corner for hanging.
Always put the shiny side of insulated batting toward your hand, never toward the heat.
8. Drawstring Gift Bag
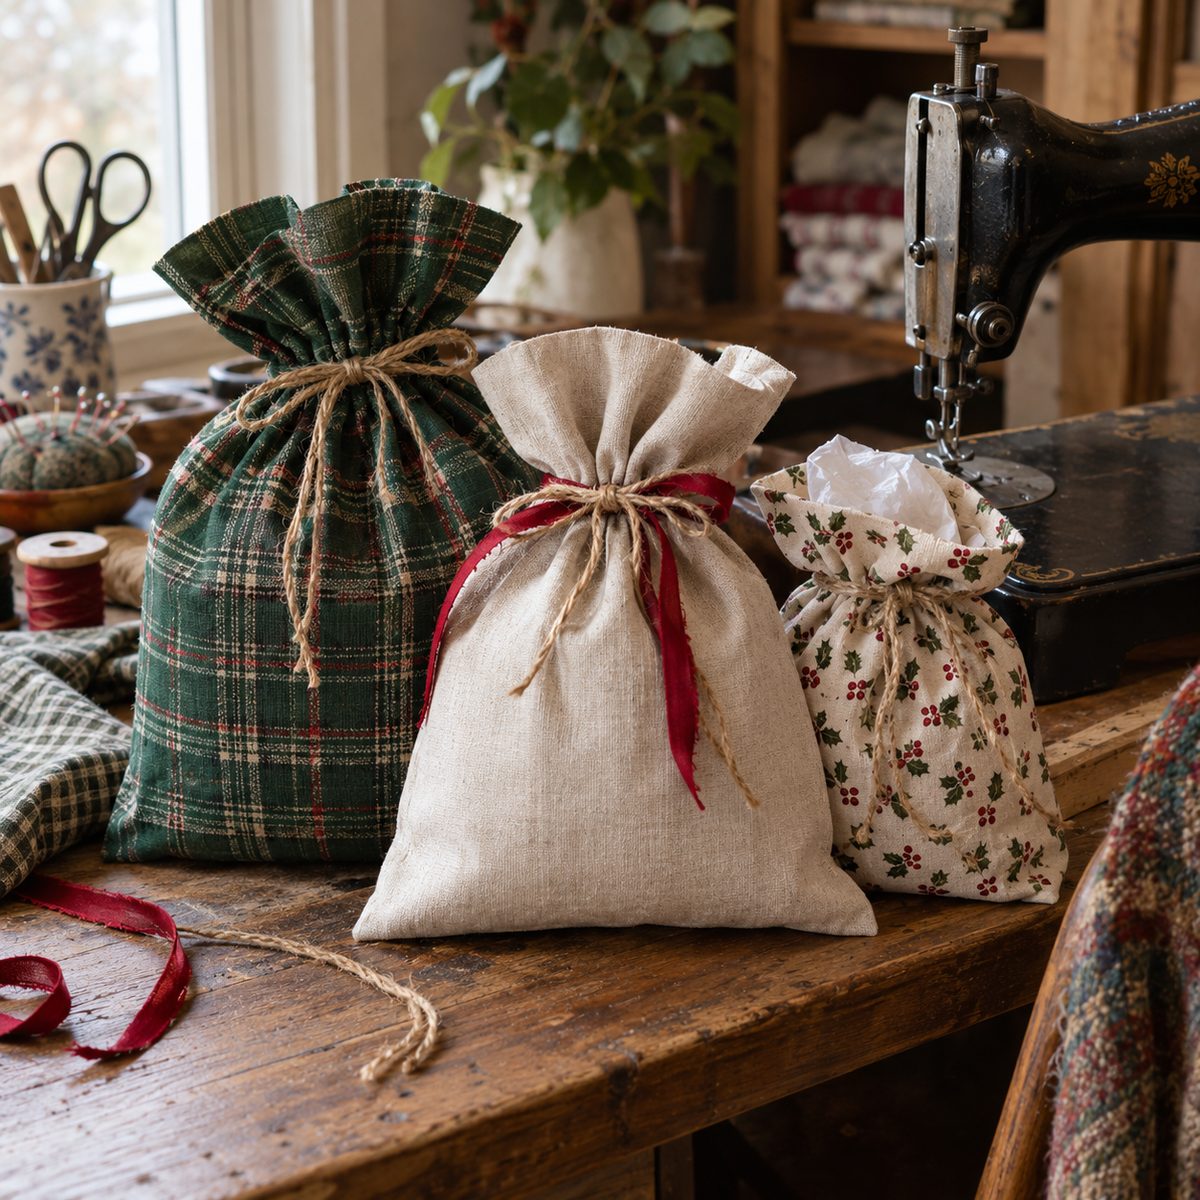
About 30 minutes. Fabric gift bags replace wrapping paper and get reused for years. Make a few in holiday prints and you will never wrestle with tape again.
For a bag about 9 by 12 inches, cut one piece of cotton 10 by 28 inches. Fold it in half, right sides together, so it measures 10 by 14 inches. Sew both sides with a 1/2-inch seam, stopping 2.5 inches below the top on each side. Press the seam allowances open, including the unsewn section, and stitch them down.
- Fold the top edge down 1/2 inch, then 1 inch, and press.
- Stitch close to the lower fold to form the casing.
- Thread a 30-inch ribbon or cord through with a safety pin.
Knot the cord ends and your bag is ready to fill.
9. Square Pincushion
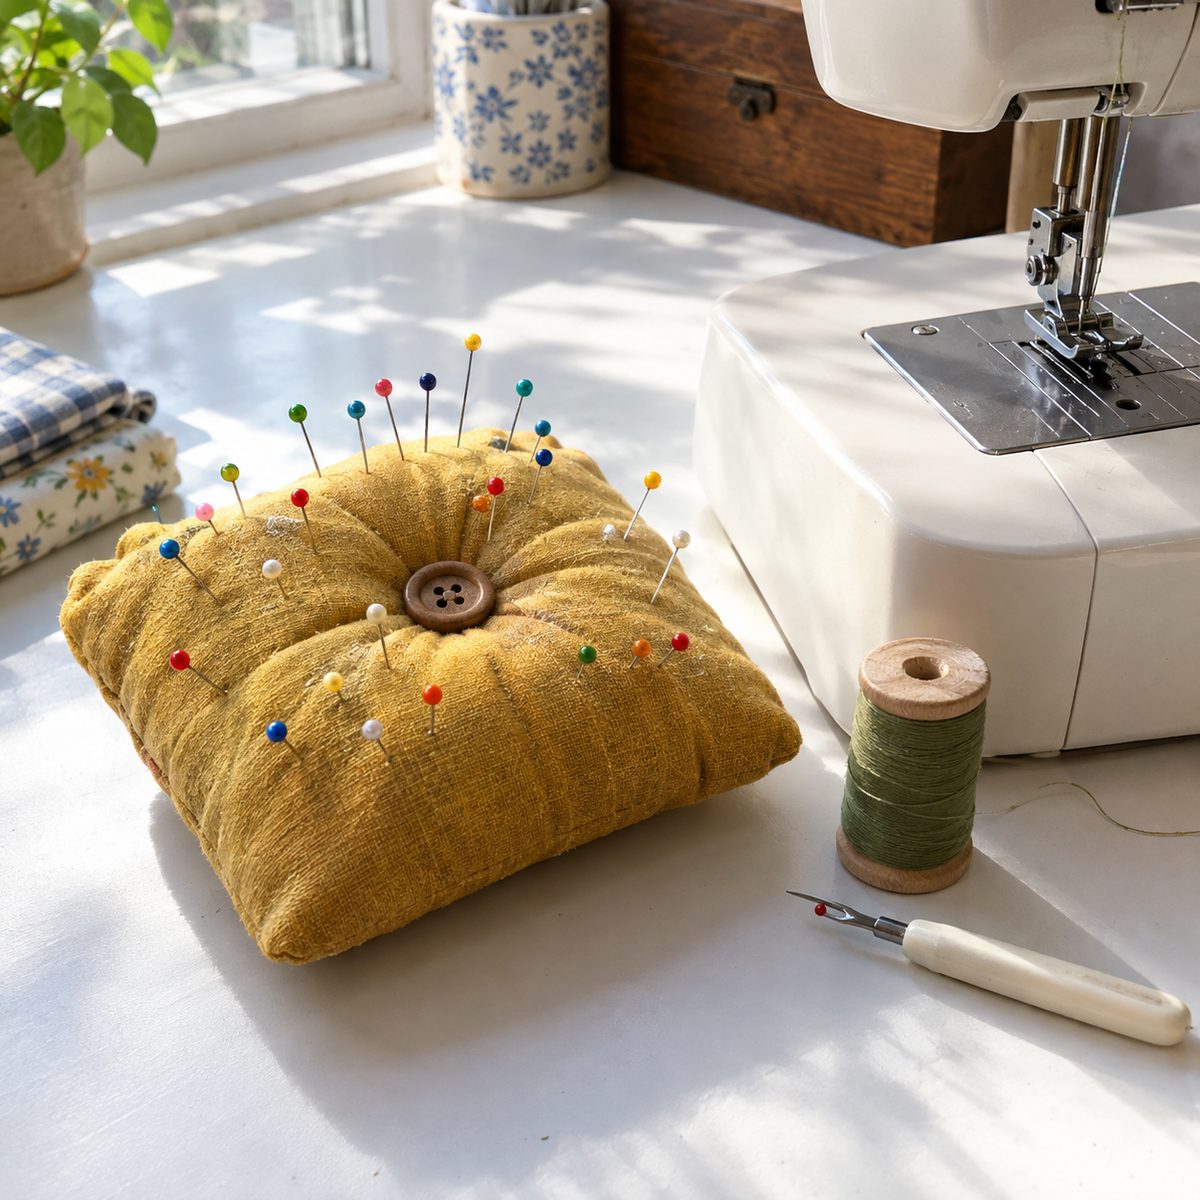
About 25 minutes. Every sewing space needs more than one pincushion, and this one is sized to keep right next to your machine.
Cut two 5-inch squares from a sturdy cotton, linen, or canvas. Sew them right sides together with a 1/4-inch seam, leaving a 2-inch opening. Clip the corners and turn.
Fill it firmly with polyester fiberfill, or use crushed walnut shells for a heavier cushion that stays put and helps keep pins sharp. A funnel made from rolled paper makes filling much less messy. Close the opening with a ladder stitch.
For a tufted look, thread a long needle with embroidery floss, pass it straight through the center twice, pull tight, and sew a button on top. The tufting takes five extra minutes and makes it look like a boutique find.
10. Padded Eyeglass Case
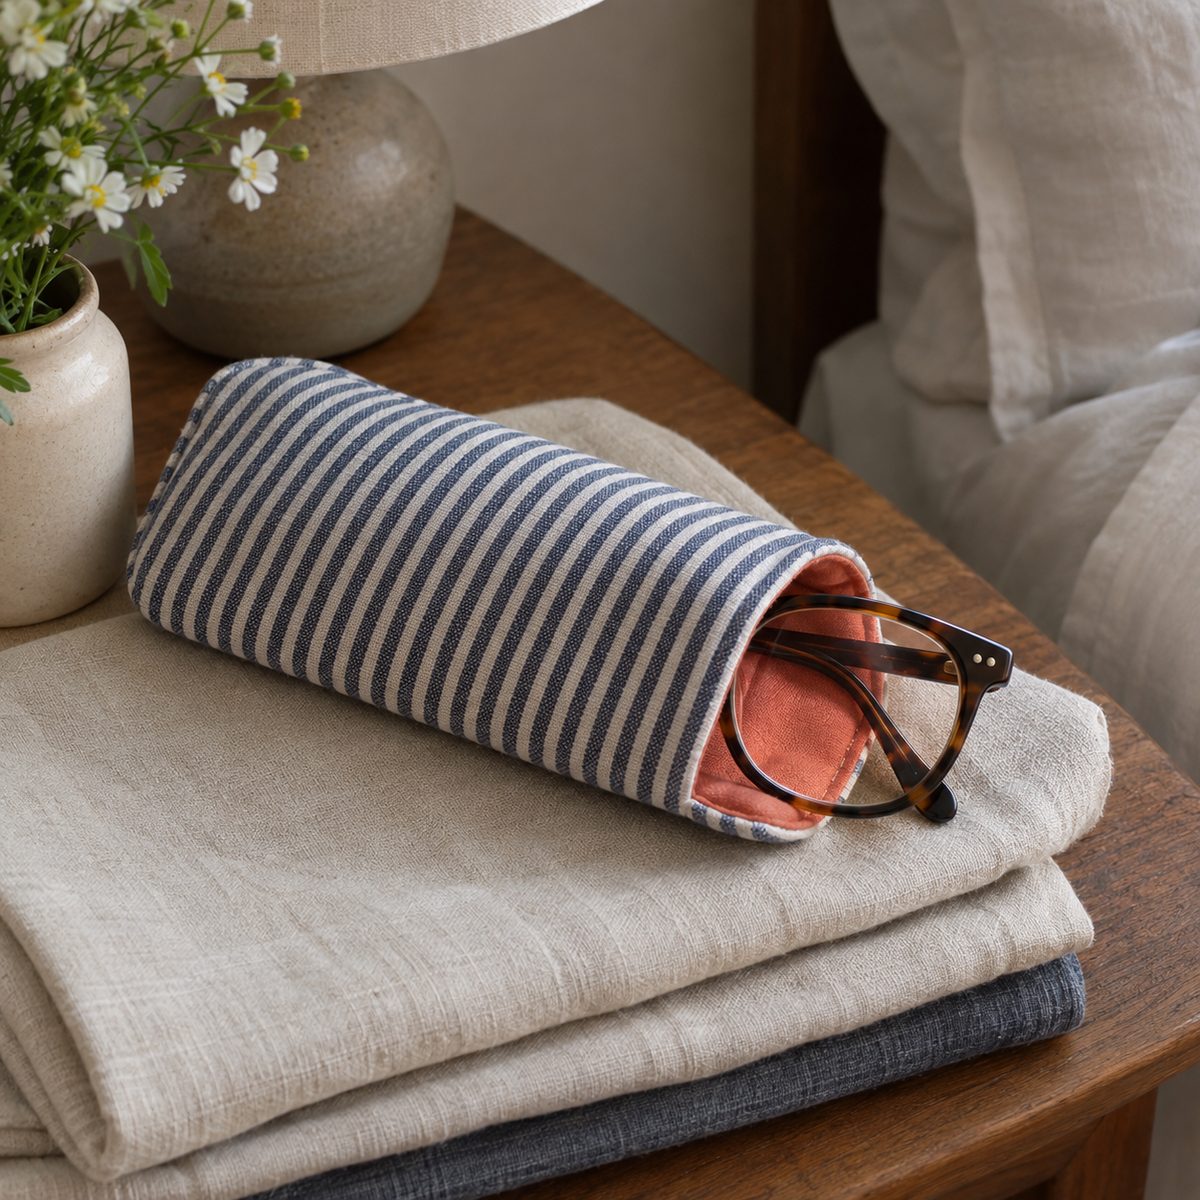
About 35 minutes. A soft, padded case protects glasses in a purse far better than a hard case you never remember to carry.
Cut one outer piece and one lining piece of cotton at 7.5 by 8 inches, plus one piece of fusible fleece the same size. Fuse the fleece to the outer fabric. Sew the outer and lining right sides together along one 7.5-inch edge, then open them out and press.
Fold the whole piece in half lengthwise, right sides together, so the outer fabric meets itself and the lining meets itself. Sew the long side and the bottom of the outer section, then the bottom of the lining, leaving a 2-inch gap in the lining bottom. Turn through the gap, stitch it closed, and push the lining inside. The finished case measures about 3.5 by 7 inches, which fits most frames.
11. Mitered-Corner Cloth Napkins
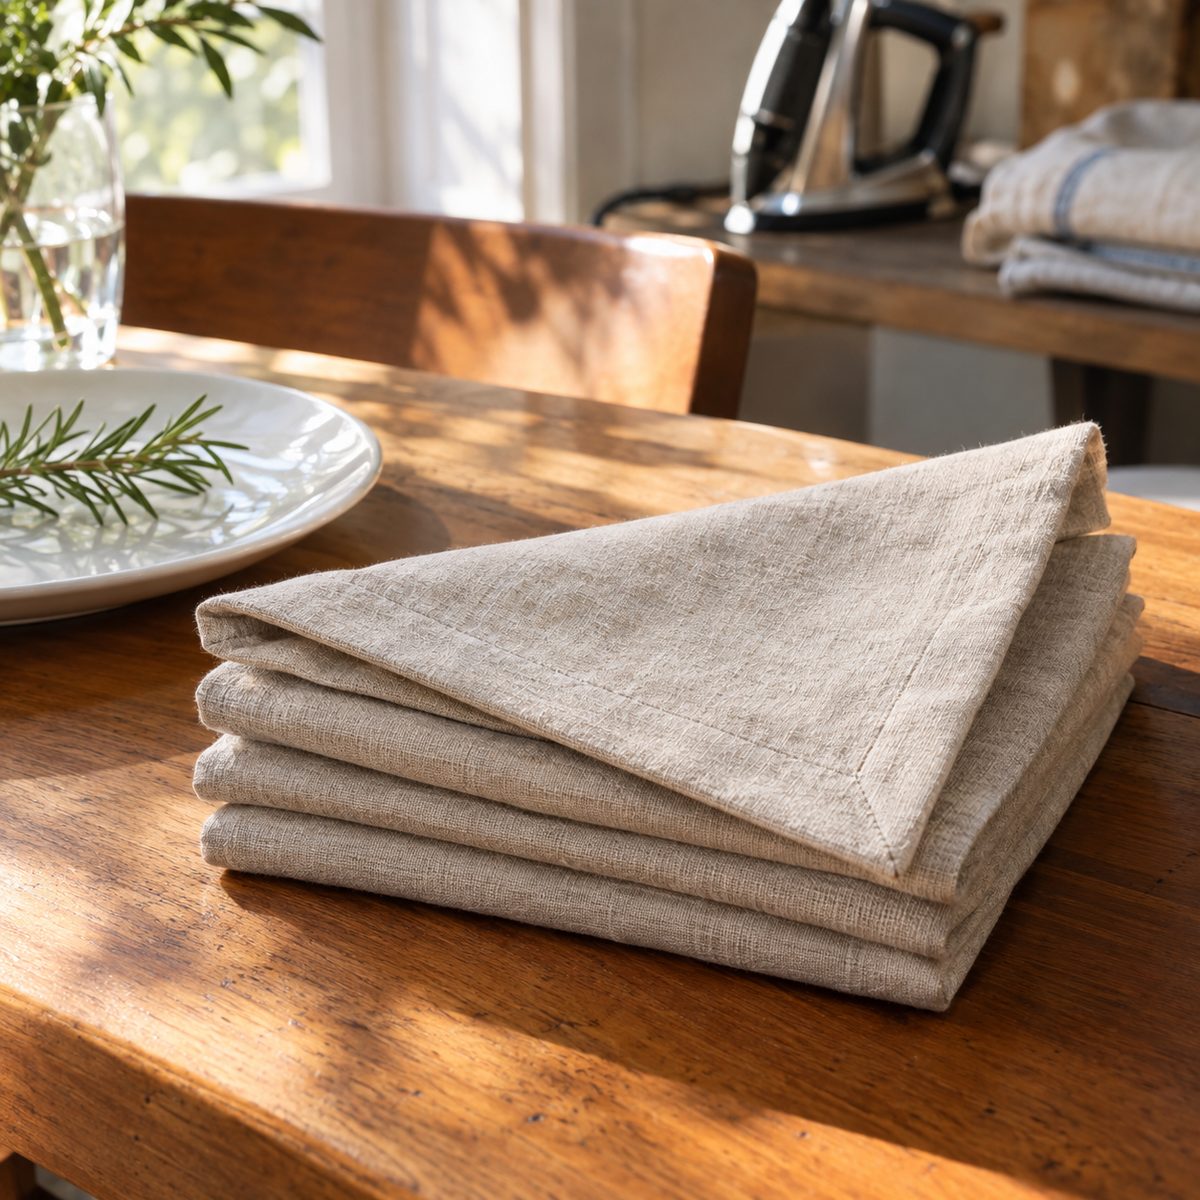
About 15 minutes per napkin. A set of four fits in an hour, and mitered corners give them a crisp, finished look that is worth learning once.
Cut 18-inch squares of linen or cotton. Press all four edges up 1/2 inch, then another 1/2 inch, and open the folds back out. At each corner, fold the point in diagonally so the fold lines match, trim the tip, and refold the hems. The corners meet in a neat diagonal seam.
Stitch around close to the inner fold, pivoting at each corner. Prewash your fabric first so the napkins do not shrink unevenly after the first wash. If you prefer a lighter edge, a narrow rolled hem works beautifully on thinner cotton lawn.
12. Zippered Coin Pouch
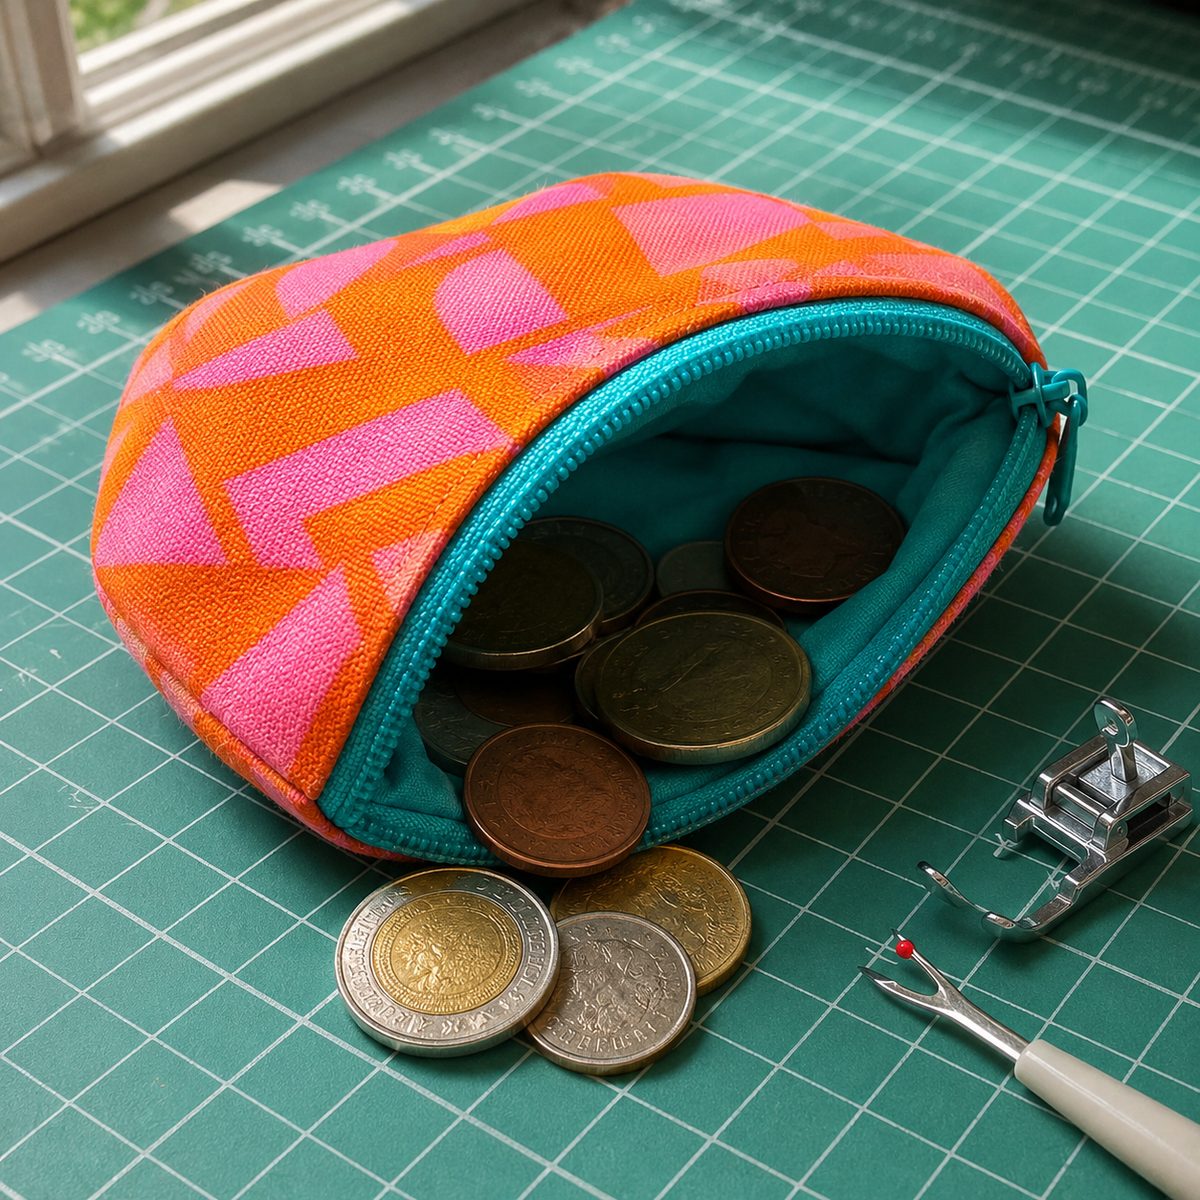
About 45 minutes. A small zipper pouch is the perfect first zipper project because the seams are short and forgiving.
Cut two outer and two lining pieces of cotton at 5 by 6 inches, plus a 7-inch zipper. Lay one outer piece right side up, the zipper face down along the top edge, and one lining face down on top. Sew with a zipper foot, then flip and press. Repeat on the other side of the zipper with the remaining pieces.
- Topstitch along both sides of the zipper.
- Open the zipper halfway (important).
- Put outers together and linings together, right sides facing, and sew around, leaving a 2-inch gap in the lining.
Trim the zipper tails, turn through the gap, and close it. Add a short fabric tab at the zipper end if you like.
13. Snap Cord Keepers
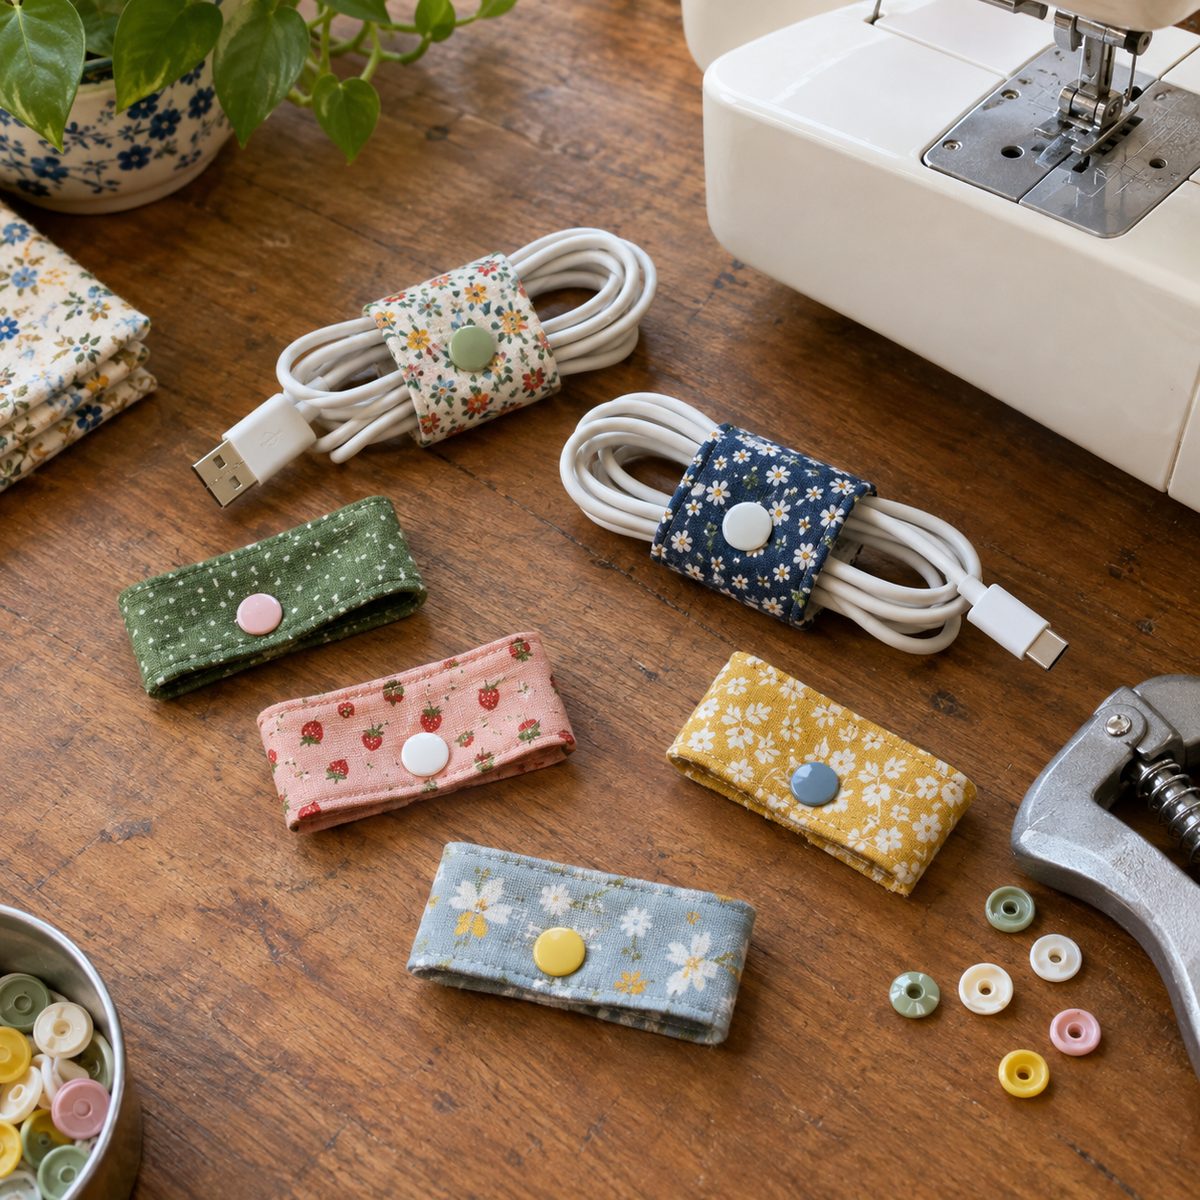
About 20 minutes for a set of six. Cord keepers tame phone chargers and earbuds in a bag, and they are a smart way to use tiny scraps.
Cut two fabric strips 1.75 by 6 inches for each keeper and one strip of lightweight interfacing. Fuse the interfacing to one strip, place both right sides together, and sew around with a 1/4-inch seam, leaving one short end open. Round the closed end if you like. Trim, turn with a tube turner, and press.
Fold the raw end under and topstitch around the whole strip. Install a plastic KAM snap about 1/2 inch from each end, on opposite sides so it closes into a loop. Batch-sewing six at once keeps this project fast.
14. Small Fabric Storage Basket
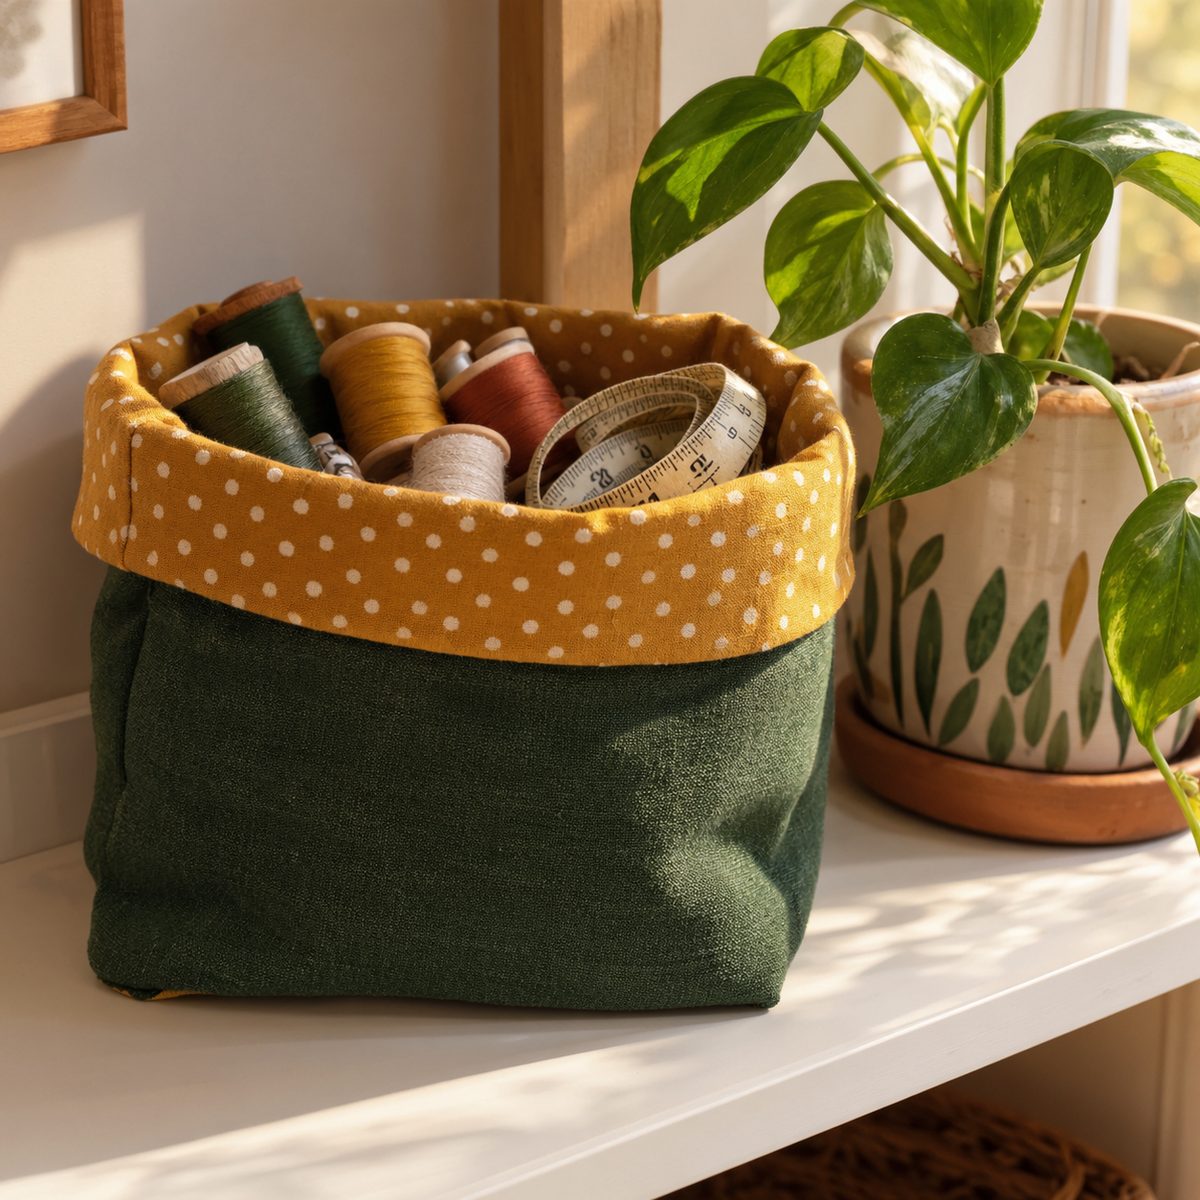
About 50 minutes. A fabric basket corrals sewing notions, bathroom supplies, or remote controls, and it stands up on its own with the right stabilizer.
Cut two outer and two lining rectangles of cotton at 10 by 8 inches, plus two pieces of fusible fleece or heavyweight interfacing the same size. Fuse to the outer pieces. Canvas or duck cloth on the outside adds even more body.
Cut a 2-inch square from each bottom corner of every piece. Sew outers together on the sides and bottom, then box the corners by matching the side seams to the bottom seam. Repeat with the lining, leaving a gap in its bottom. Nest the outer inside the lining, right sides together, sew around the top, turn, and topstitch. Fold the top down for a cuff.
15. Slip-On Dog Bandana
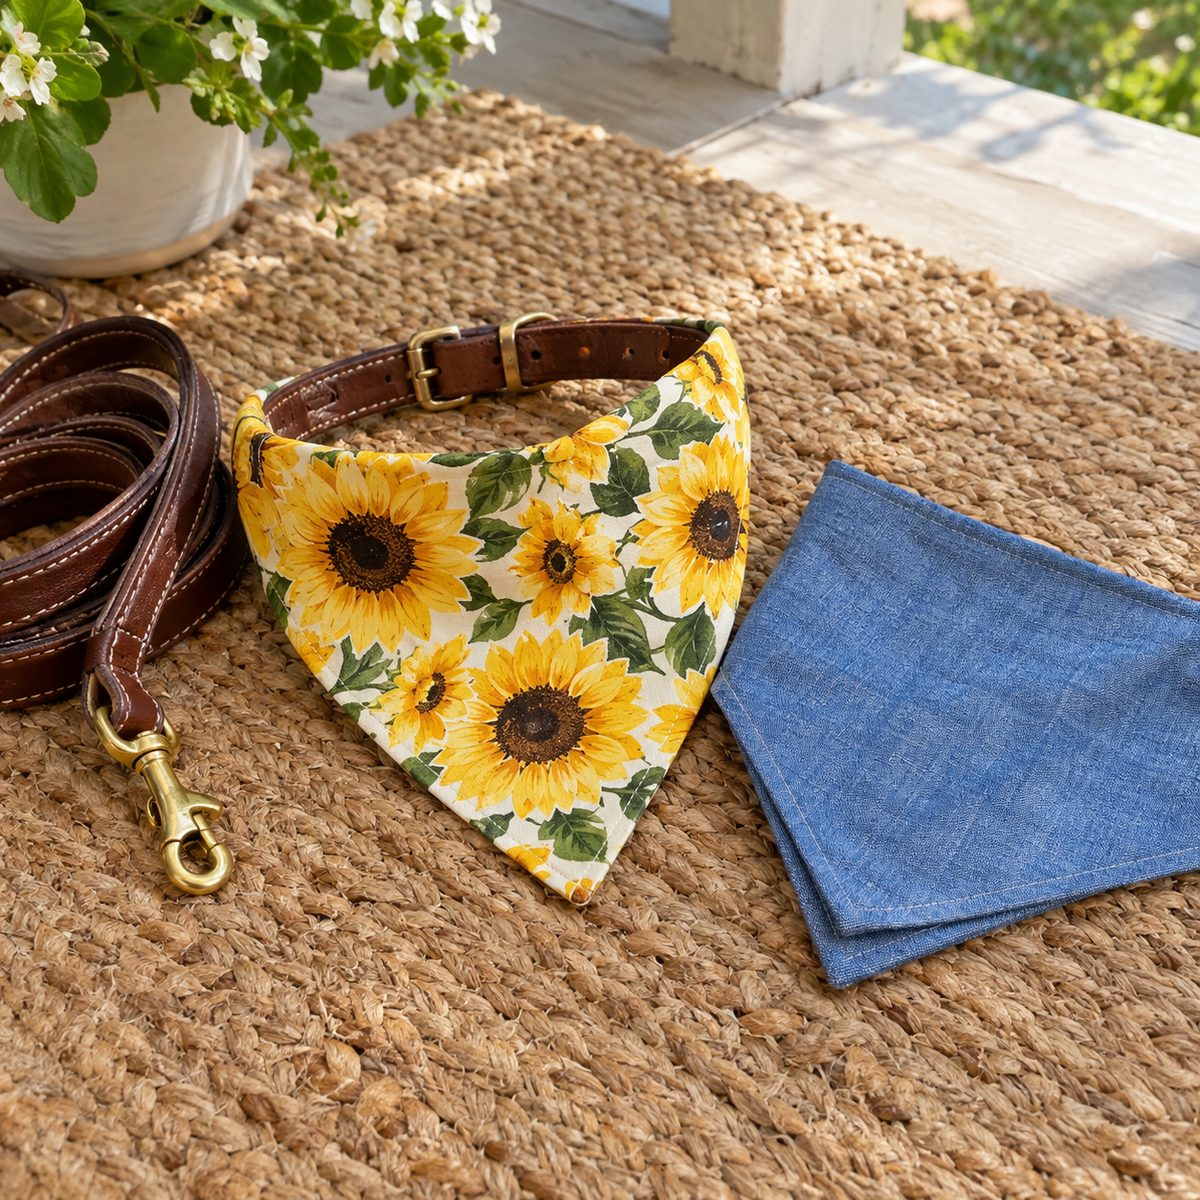
About 25 minutes. A slip-on bandana threads onto your dog’s existing collar, so there are no knots to come undone on walks.
For a medium dog, cut two triangles from cotton with a 16-inch top edge and 9-inch height. Sew them right sides together around the two angled sides, leaving the top open. Clip the point, turn, and press.
- Fold the top raw edges in 1/4 inch and press.
- Fold the top down 1.5 inches toward the back to form a collar channel.
- Stitch across to close it, keeping the channel open at the ends.
Measure the collar width first and adjust the channel so it slides on easily. Scale the triangle up or down by an inch or two for bigger or smaller dogs.
16. Lavender Sachets
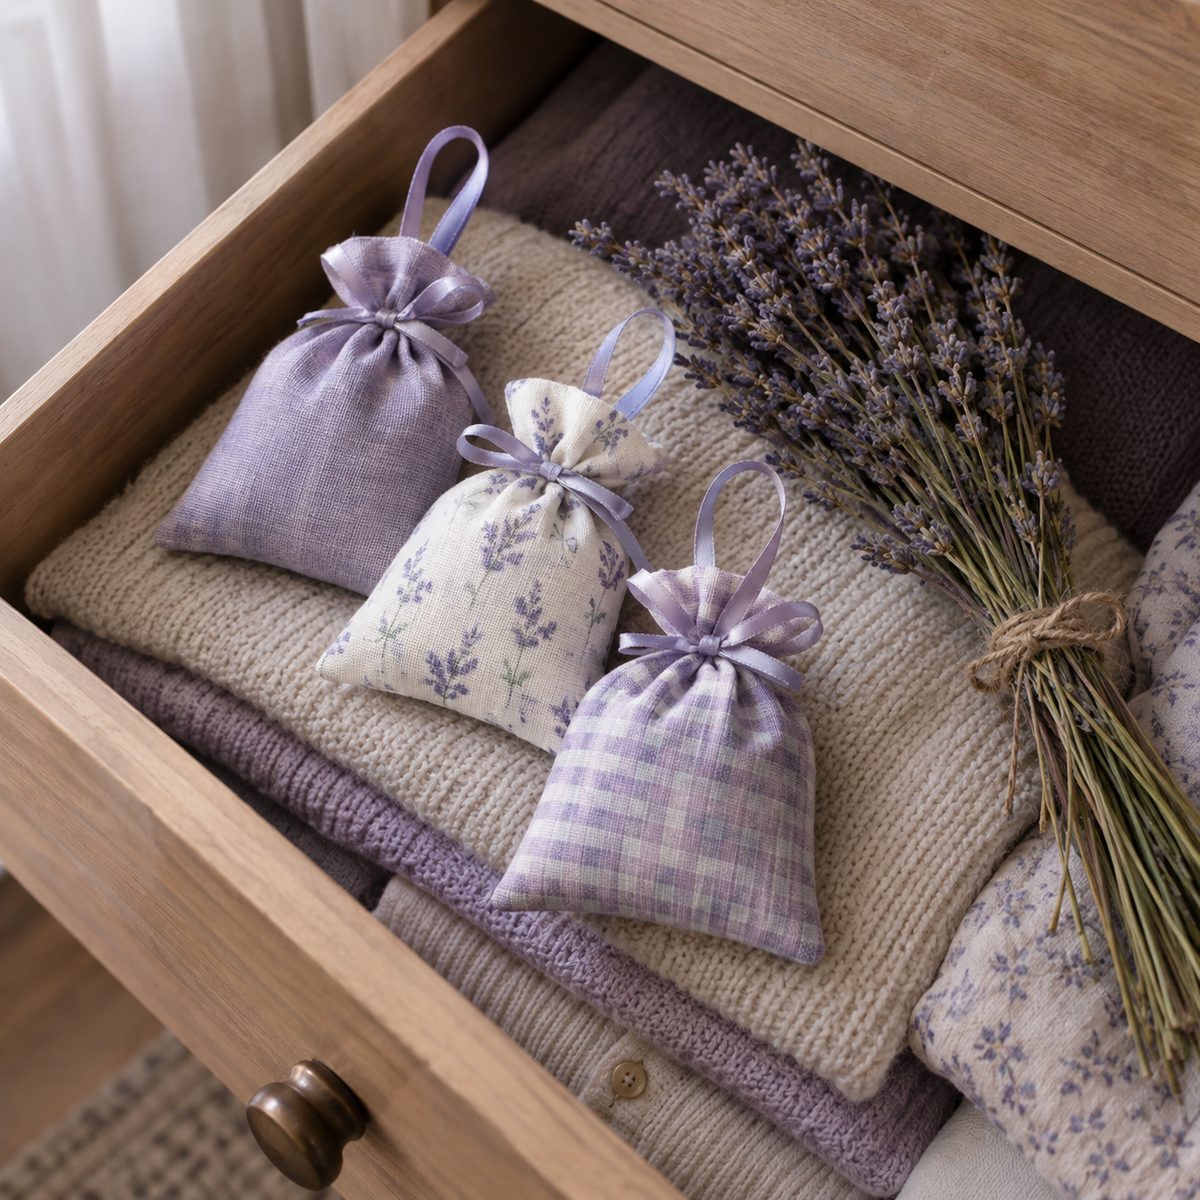
About 20 minutes for three. Lavender sachets freshen drawers and closets, and they make lovely little gifts tucked into a card.
Cut two 4-inch squares for each sachet. A loosely woven linen or cotton voile lets the scent through best. Sew around three sides with a 1/4-inch seam, clip the corners, and turn. Fold the open edge in 1/4 inch and press.
Fill about two-thirds full with dried lavender buds. A spoonful of rice mixed in adds weight so the sachet sits flat. Pin the opening closed and topstitch across it, tucking in a 4-inch loop of ribbon if you want to hang it on a hanger.
Refresh the scent later by squeezing the sachet or adding a drop of lavender oil on the fabric.
17. Pocket Tissue Holder
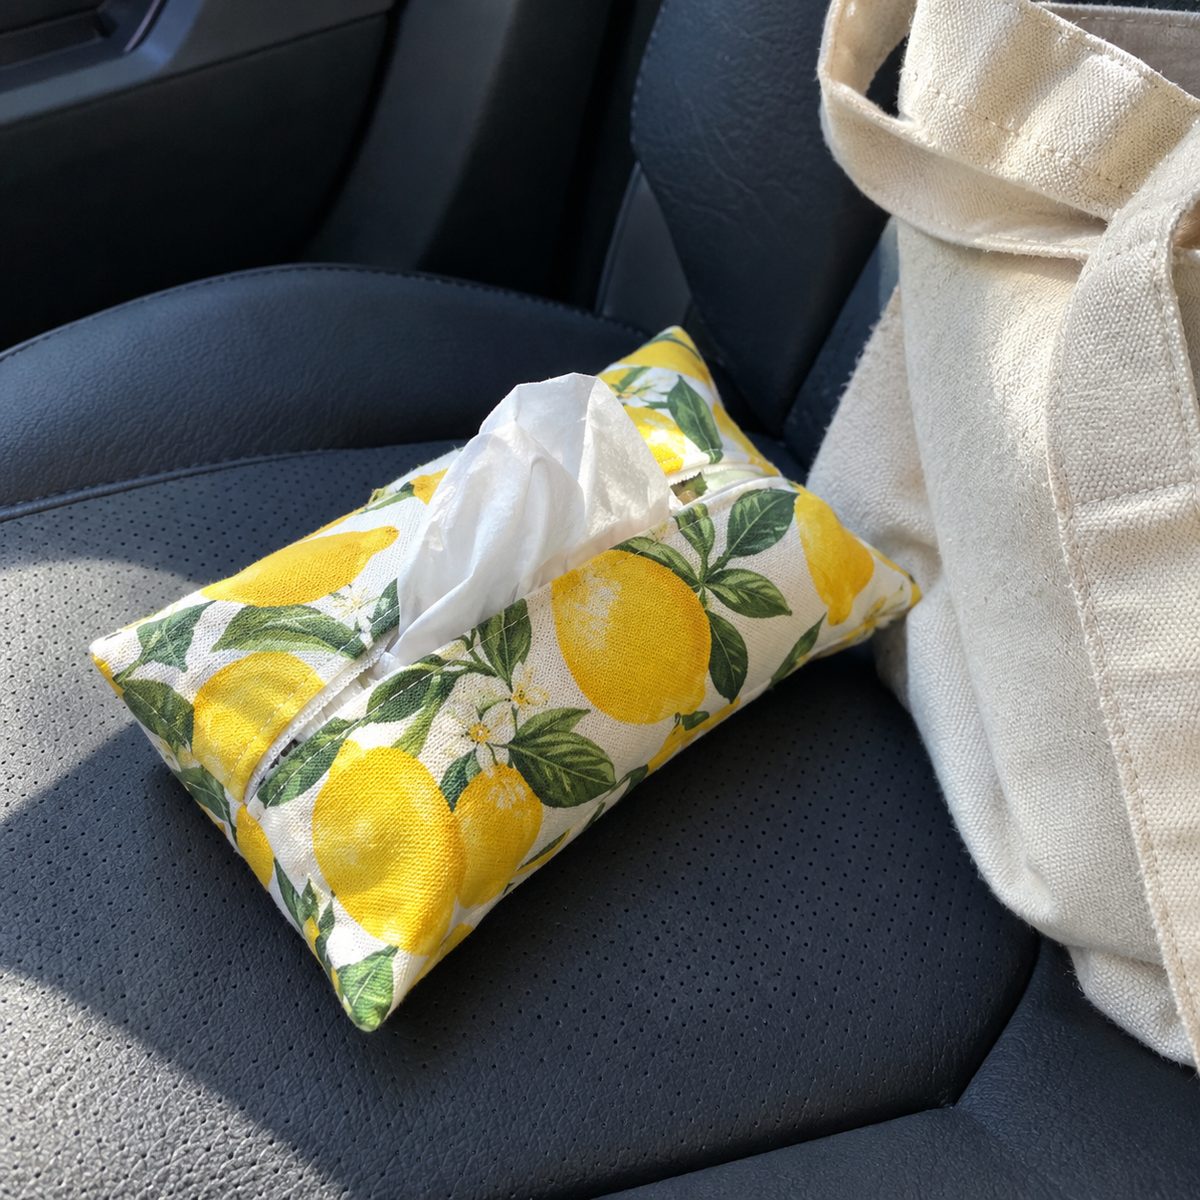
About 15 minutes. This one is almost magic: a single rectangle, two seams, and you have a tissue cover for your bag or car.
Cut one outer and one lining rectangle of cotton at 6 by 7 inches. Sew them right sides together along the two 7-inch edges, turn, and press. Topstitch both long edges if you want a crisp line.
Lay it lining side up. Fold both long edges to the center so they meet in the middle, overlapping by about 1/4 inch. Sew across both short ends with a 1/4-inch seam, then zigzag or serge the raw edges. Turn right side out through the center opening and poke out the corners.
Slide in a travel pack of tissues, and the center slit lets you pull them out one at a time.
18. Fabric Bunting Banner
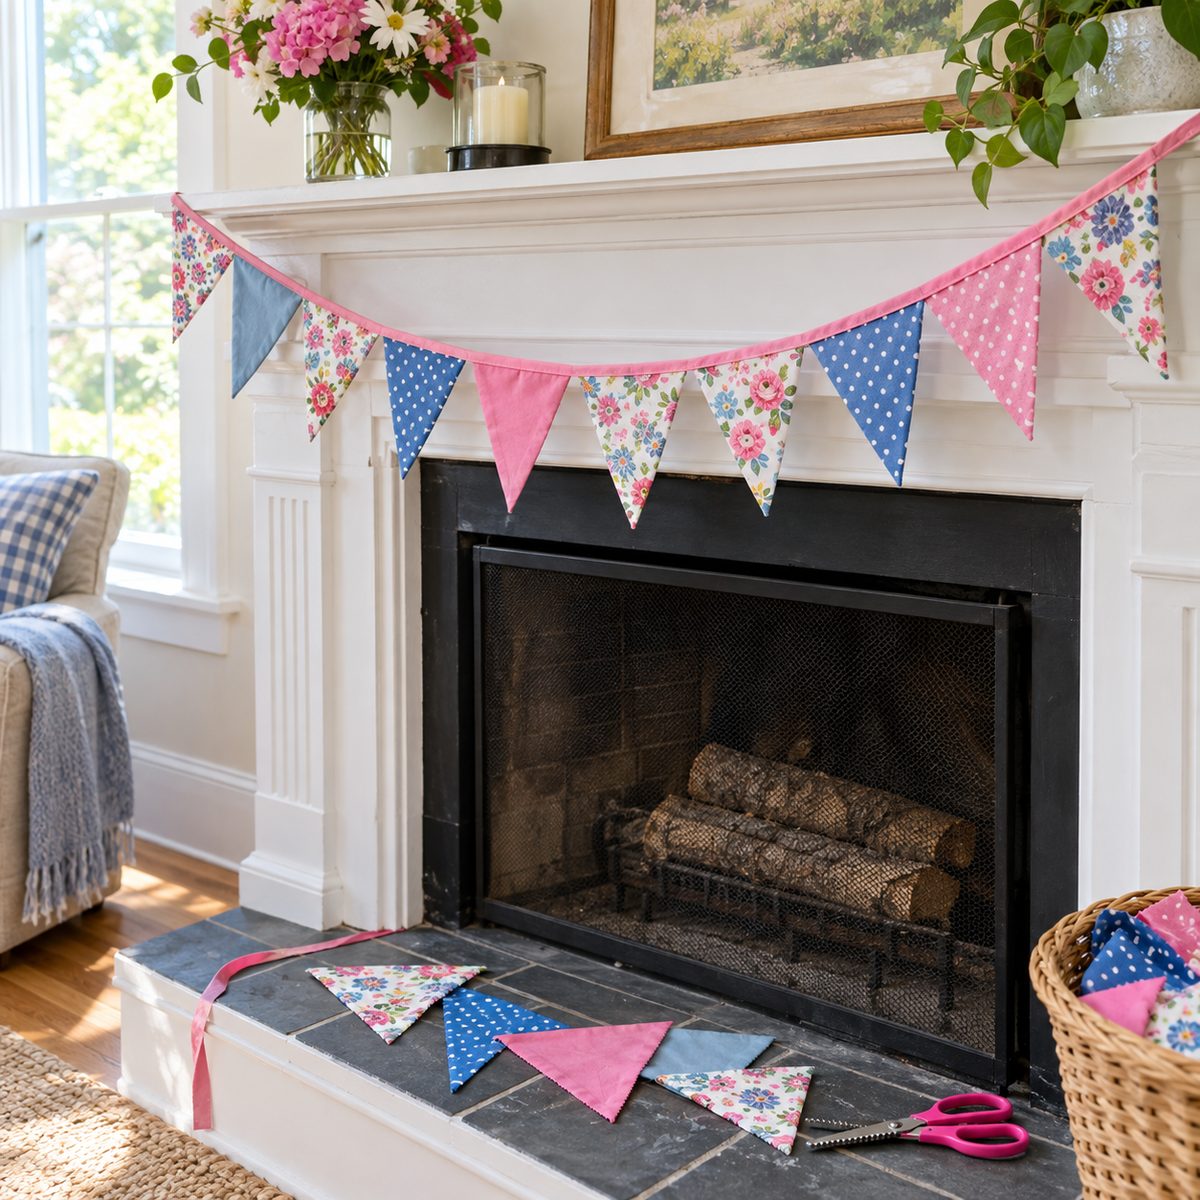
About 55 minutes for a 6-foot banner. Bunting dresses up a birthday, a nursery, or a porch, and it works beautifully with a bag of mismatched scraps.
Make a triangle template 7 inches across the top and 8 inches tall. Cut 20 triangles, which makes 10 flags. Sew pairs right sides together along the two long sides, clip the points, turn, and press.
For the string, use a 2.5-yard length of double-fold bias tape. Open it, sandwich the top raw edges of the flags inside, spacing them about 1 inch apart and leaving 12 inches free at each end for tying. Edgestitch the tape closed along its full length, catching every flag.
Pinking shears on single-layer flags cut the time nearly in half if you are in a hurry.
19. Envelope Pillow Cover
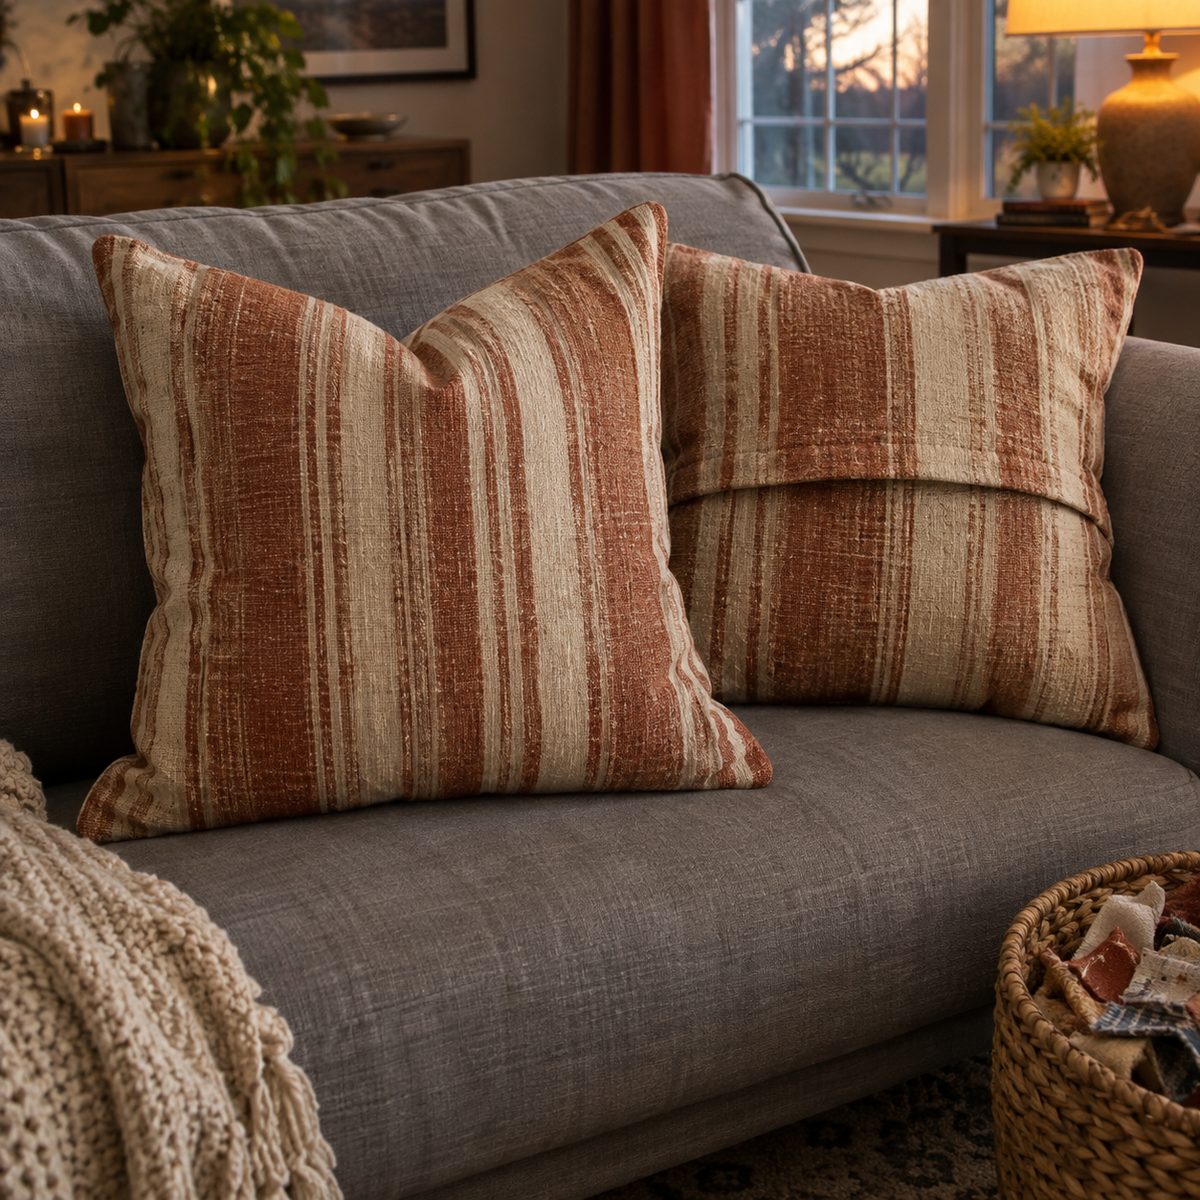
About 40 minutes. An envelope pillow cover needs no zipper or buttons, so you can refresh a sofa for the season in one evening.
For an 18-inch pillow form, cut one front piece 18 by 18 inches and two back pieces 18 by 13 inches. Home decor weight cotton or canvas holds its shape best.
- Hem one 18-inch edge on each back piece with a 1/2-inch double fold.
- Lay the front right side up, then both backs right side down, hemmed edges overlapping in the center.
- Sew around all four sides with a 1/2-inch seam.
Clip the corners, finish the seams with a zigzag, and turn right side out. Cutting the cover the same size as the form gives a nice plump, snug fit.
20. Rice-Filled Hand Warmers
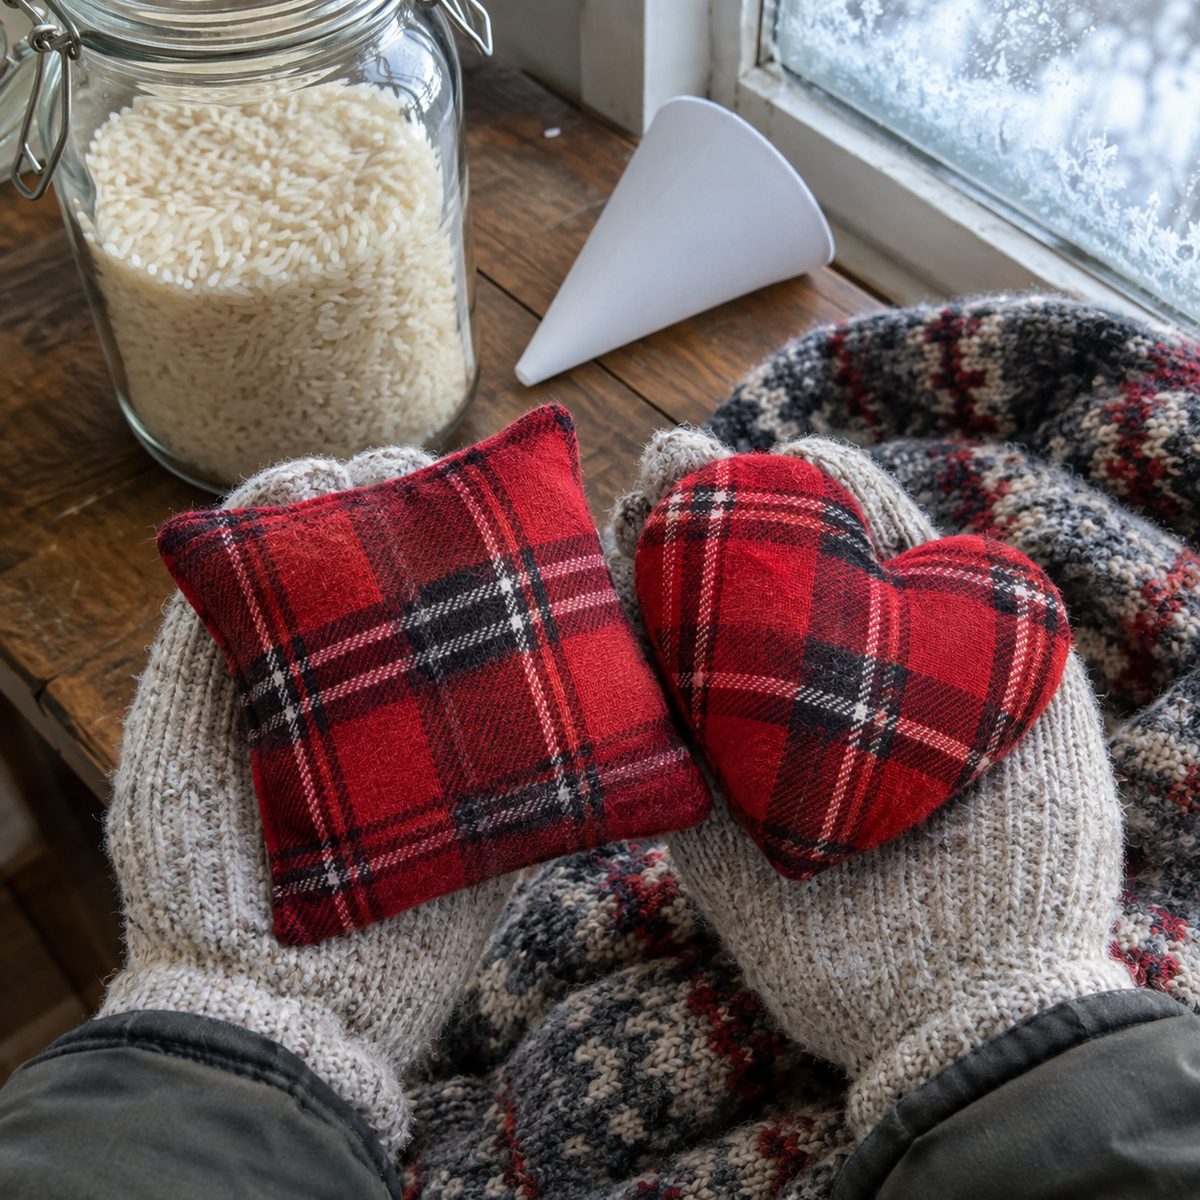
About 25 minutes for a pair. Pop these in the microwave for 20 seconds and slip them into coat pockets on cold mornings.
Use 100% cotton or flannel only, since synthetic fabrics can melt. Cut four 4-inch squares, or four 4-inch hearts for a sweeter look. Sew pairs right sides together with a 1/4-inch seam, leaving a 1.5-inch opening, then clip and turn.
Fill each one about three-quarters full with uncooked rice, using a paper funnel. Hand-stitch the opening closed with small, tight stitches so no rice escapes.
Heat in 10-second bursts and check the temperature before handing them to kids. A drop of peppermint or lavender oil on the rice before sewing adds a cozy scent.
Keep a Quick Project Queue Ready
The real secret to finishing things in under an hour is prep. Keep a small bin of precut coaster squares, scrunchie strips, and key fob strips so you can sit down and sew right away. Batch your cutting on one day, then enjoy a string of fast wins all week. If you are still building your basic skills, the beginner’s sewing guide covers the fundamentals that make every project on this list go faster.