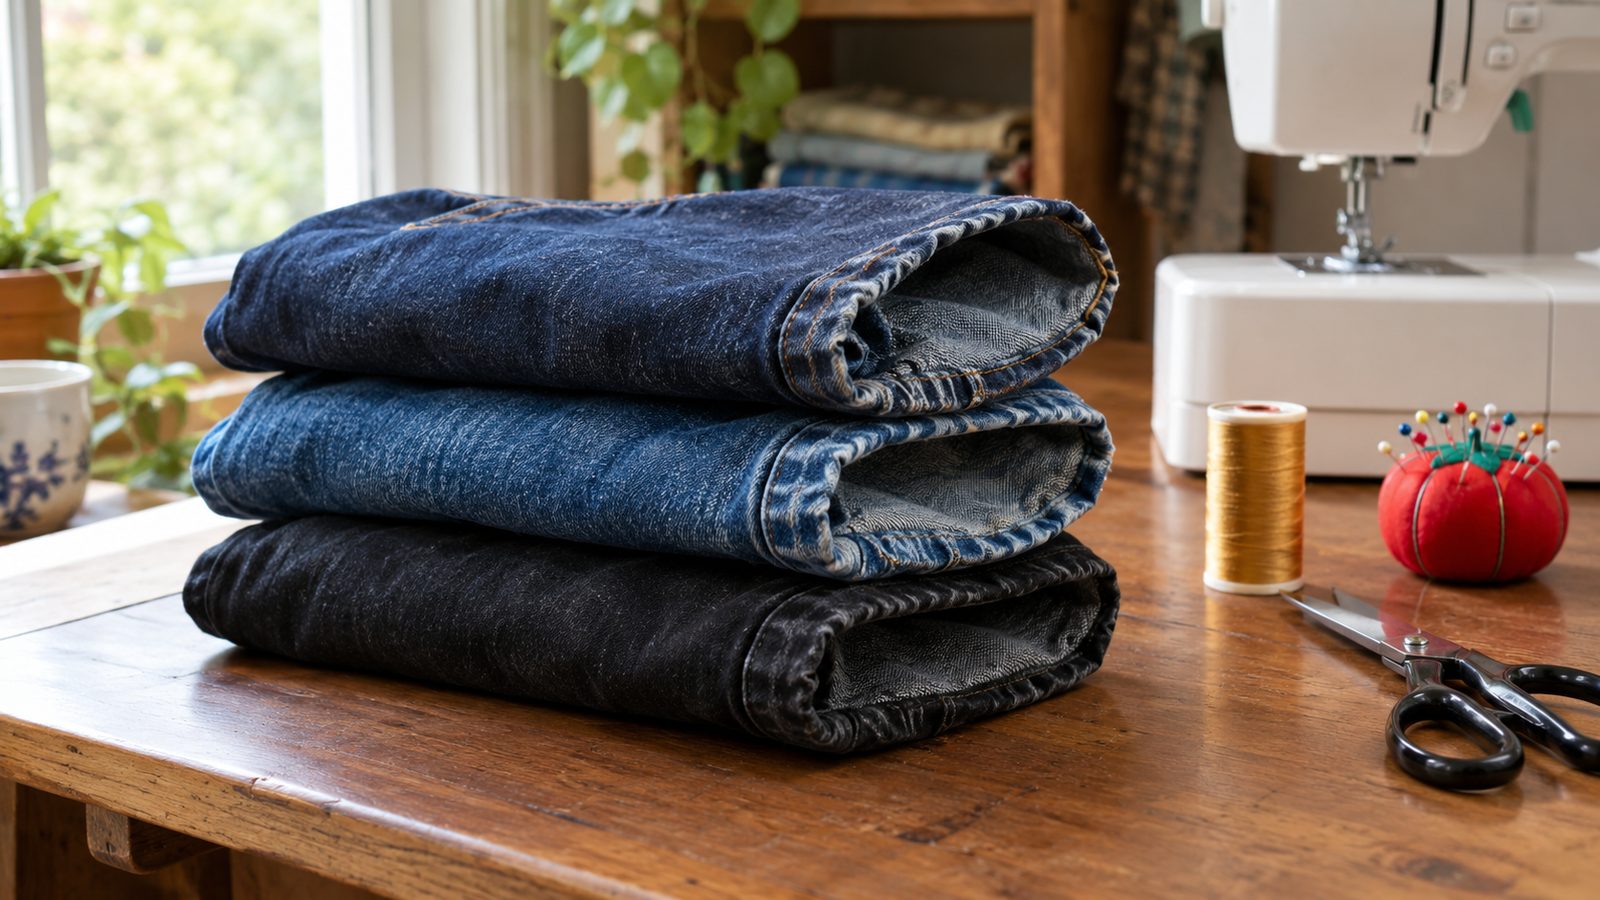
You can shorten jeans and keep the original hem, including the faded, slightly twisted edge the factory put there. You fold the extra length into a tuck just above the old hem, sew it closed, and trim what’s left inside. From the outside, the jeans look like they were bought that length.
This is often called a “euro hem.” On a home machine it takes about 30 to 45 minutes, and the only math involved is dividing one number by two. Below is the whole process, from marking the length to getting over the thick side seams without breaking a needle.
At a glance
- Time: 30–45 minutes for one pair
- Skill level: Confident beginner
- Key math: Amount to shorten ÷ 2 = the depth of your fold
- Best for: Removing roughly 1 to 4 inches from straight, bootcut, or relaxed legs
- Result: The original faded hem stays, with a small tucked seam hidden on the inside
What you’ll need
- Jeans needle (denim), size 90/14 or 100/16
- Heavy-duty or all-purpose polyester thread in a color that blends with the denim
- Zipper foot or edge-stitch foot
- Pins or sewing clips (clips are easier on thick denim)
- Measuring tape and a seam gauge
- Chalk or a washable fabric marker
- Sharp fabric scissors
- Iron and pressing cloth
- A hump jumper or a folded scrap of denim
- Optional: topstitching thread in denim gold, for a final topstitch
Needle choice matters more here than on most projects. Where the tuck crosses a side seam you can be sewing through eight or more layers of denim, and a standard universal needle will bend or skip stitches there. If you want more detail on matching needle sizes to fabric weight, my guide to what size sewing machine needle to use for cotton covers the numbering system.
Measure and mark the new length
Get the length right before you do anything else. Once the extra fabric is trimmed, there’s no going back.
- Put the jeans on with the shoes you’ll usually wear them with. A sneaker and a heeled boot can call for very different lengths.
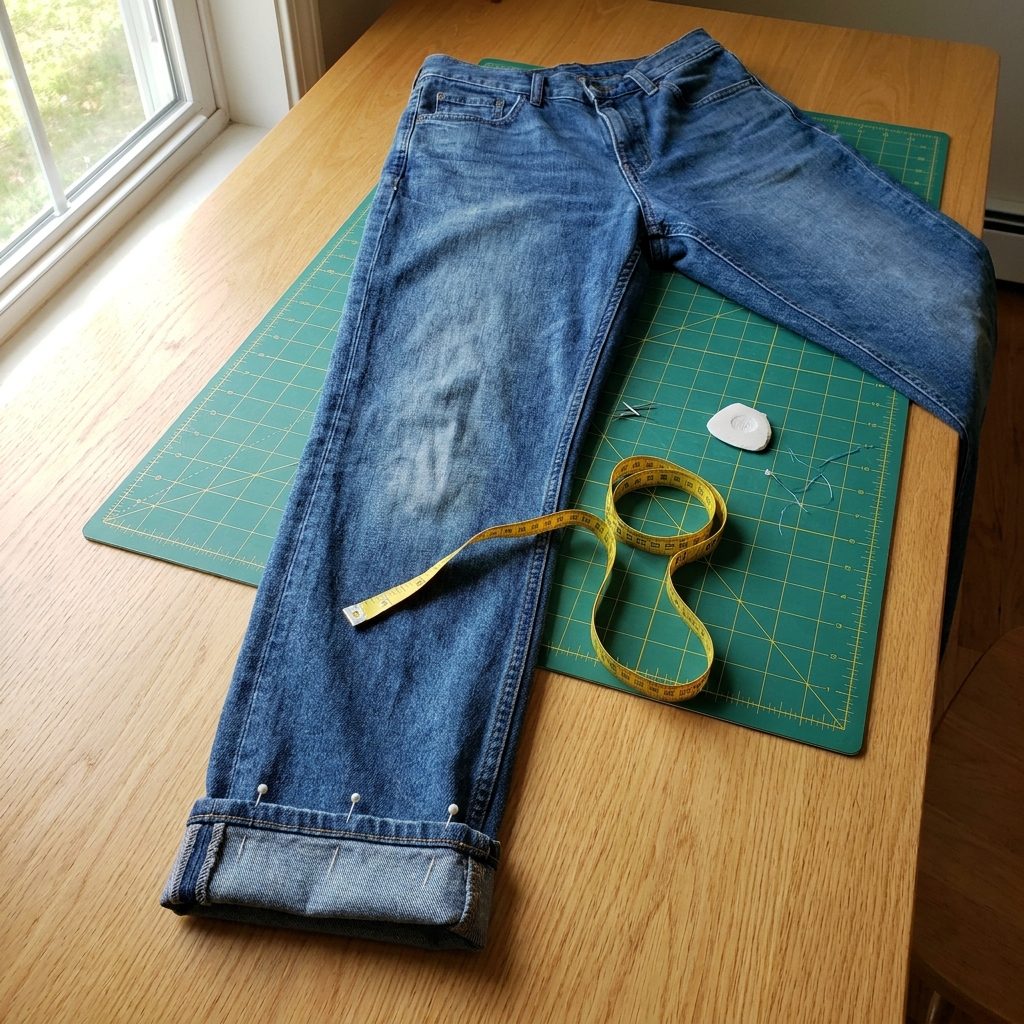
- Fold the hem under to where you want it to fall and pin it in place on the outside of the leg. Checking in a mirror, or having someone else pin while you stand straight, gives a more accurate result.
- Take the jeans off and measure from the bottom edge of the original hem up to your pinned fold. That number is the total amount you want to remove. For example, 2 inches.
- Measure the other leg the same way. Legs are often slightly different lengths, so if the two numbers only differ by 1/8 inch, use the same measurement for both. If they differ by more, hem each leg to its own number.
- Write the number down. You’ll need it in the next step.
Fold and pin the original hem
This step does most of the work. Instead of cutting the hem off, you fold the leg up on itself so the original hem sits higher, then sew a tuck that takes out the extra length.
The math works like this. When you fold fabric and sew across it, each inch of fold depth takes out two inches of length, one from each layer. So the fold only needs to be half the amount you want to remove:
- Remove 2 inches → fold depth of 1 inch
- Remove 3 inches → fold depth of 1 1/2 inches
- Remove 1 1/2 inches → fold depth of 3/4 inch
Here’s how to set up the fold:
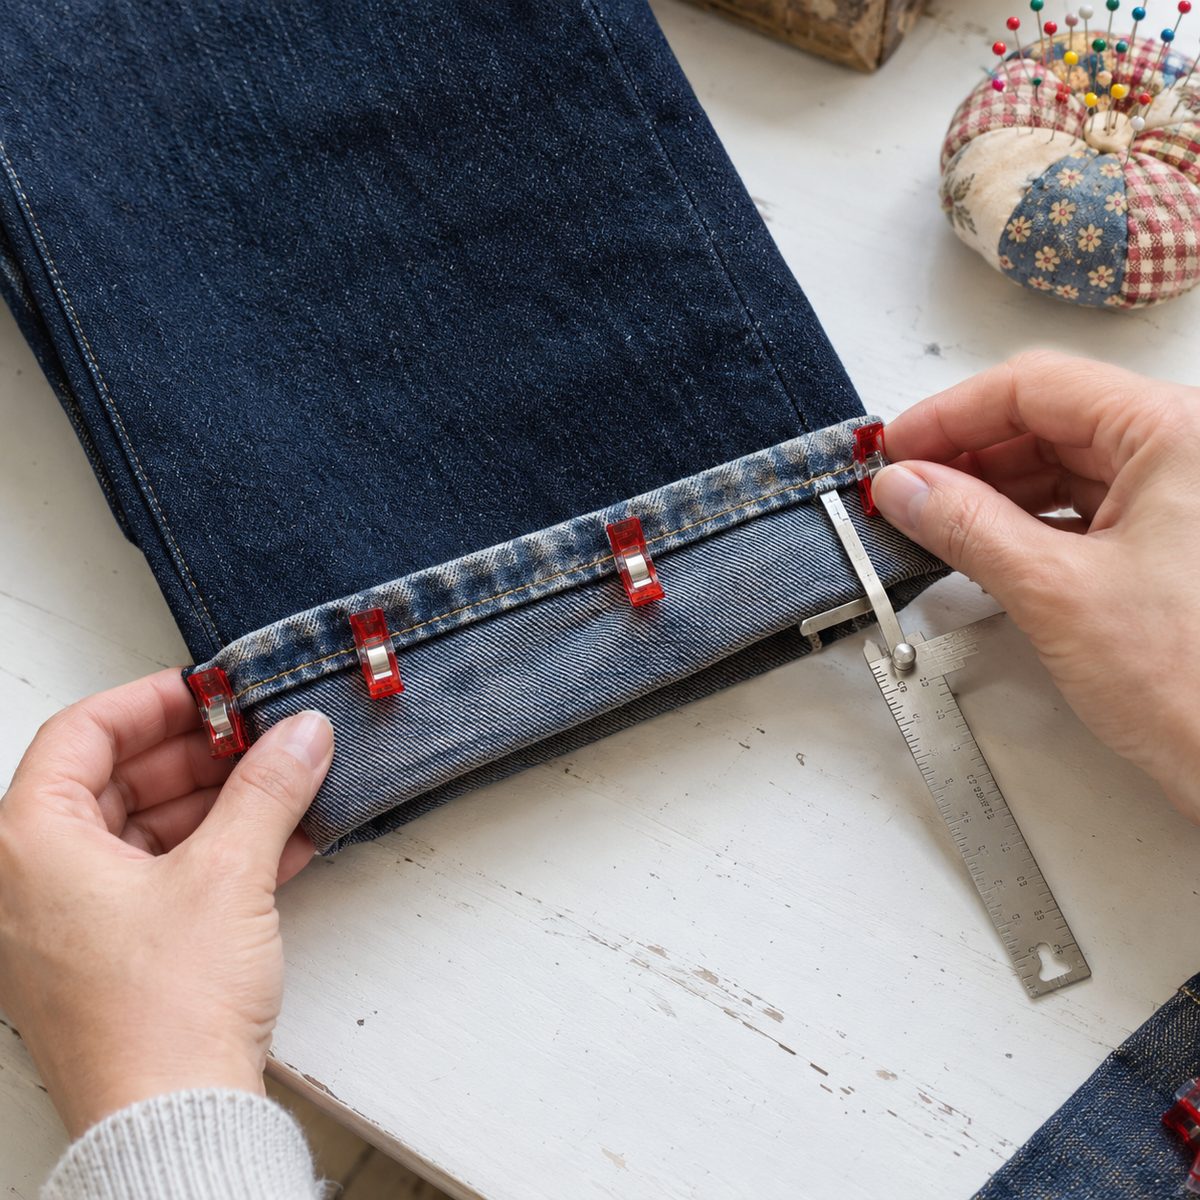
- Leave the jeans right side out. Turn the bottom of the leg up toward the outside, like a cuff, so the original hem ends up on the outside of the fold.
- Measure from the new folded edge at the bottom up to the stitched edge of the original hem band. That’s the line of hem stitching closest to the fold, where you’ll sew. Adjust the cuff until this distance equals your half measurement all the way around.
- Line up the inseam and outseam on the cuff with the same seams on the leg underneath. Matching seams keeps the leg from twisting after you sew.
- Pin or clip all the way around, checking the measurement every few inches. A seam gauge set to your half measurement makes this quicker than a tape measure.
- Do the same on the second leg, then lay the two legs side by side to make sure the cuffs match.
If you’d like extra security before the real stitching, a quick hand or machine basting stitch around the cuff holds everything in place so you can remove the pins.
Sew next to the original hem
Now you sew a line through both layers, right alongside the thick band of the original hem. The goal is to stitch as close to that band as you can without sewing onto it. If the seam is too far away, a strip of plain denim will show between the new seam and the old hem once the jeans are finished.
- Install the jeans needle and thread the machine with your matching thread. Set the stitch length to around 3 to 3.5 mm. A slightly longer stitch feeds more smoothly through heavy denim.
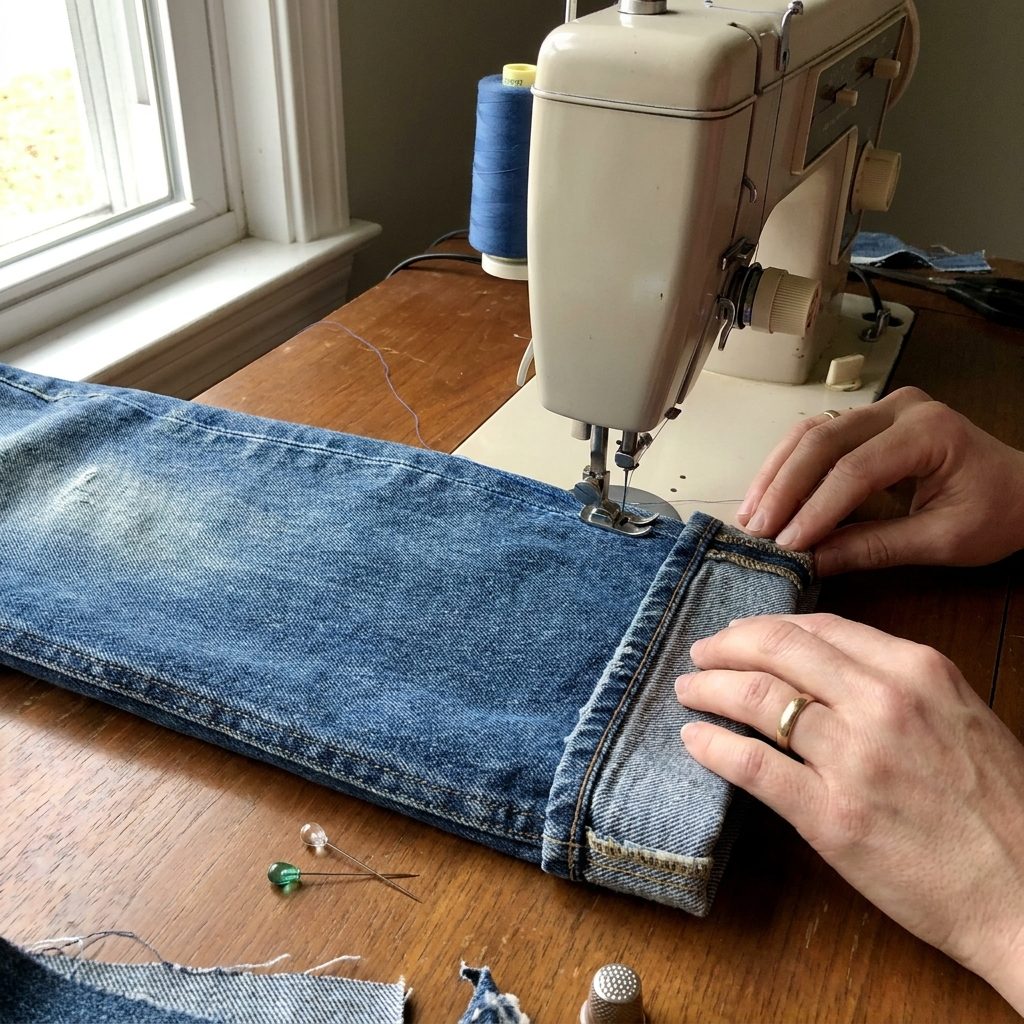
- Switch to a zipper foot. It lets the needle sit right beside the raised hem band instead of riding up on top of it.
- Slide the cuffed leg over the free arm of your machine if it has one. Stitching in the round is much easier that way.
- Start at the inseam, not the side seam, and backstitch a few stitches to lock the thread.
- Sew slowly around the leg, keeping the needle snug against the edge of the hem band. Use your hand wheel through the side seams (more on that below).
- When you get back to the start, overlap by about 1/2 inch and backstitch.
Before trimming anything, fold the cuff down and check the leg from the outside. The original hem should hang neatly below the new seam, with little or no plain denim showing between them. If there’s a visible gap, unpick that section and resew closer to the band. It’s worth the few extra minutes.
If your stitches look loopy on the underside or the thread keeps breaking in the thick spots, the tension usually needs adjusting for denim. My guide on how to set tension on a sewing machine walks through what to check.
Trim and finish the seam allowance
Once you’re happy with how the hem hangs, flip the cuff back up so you can reach the extra fabric inside the tuck.
- Trim the folded tuck, leaving about 1/2 inch of seam allowance below your stitching. Cut through both layers at once and follow the stitching line as evenly as you can.
- Finish the raw edges together so they don’t fray in the wash. A wide zigzag stitch along the edge works well, or you can run the edge through a serger if you have one.
- At the side seams, trim a little of the bulk out of the seam allowance on the diagonal. This makes the next step easier and the finished hem less lumpy.
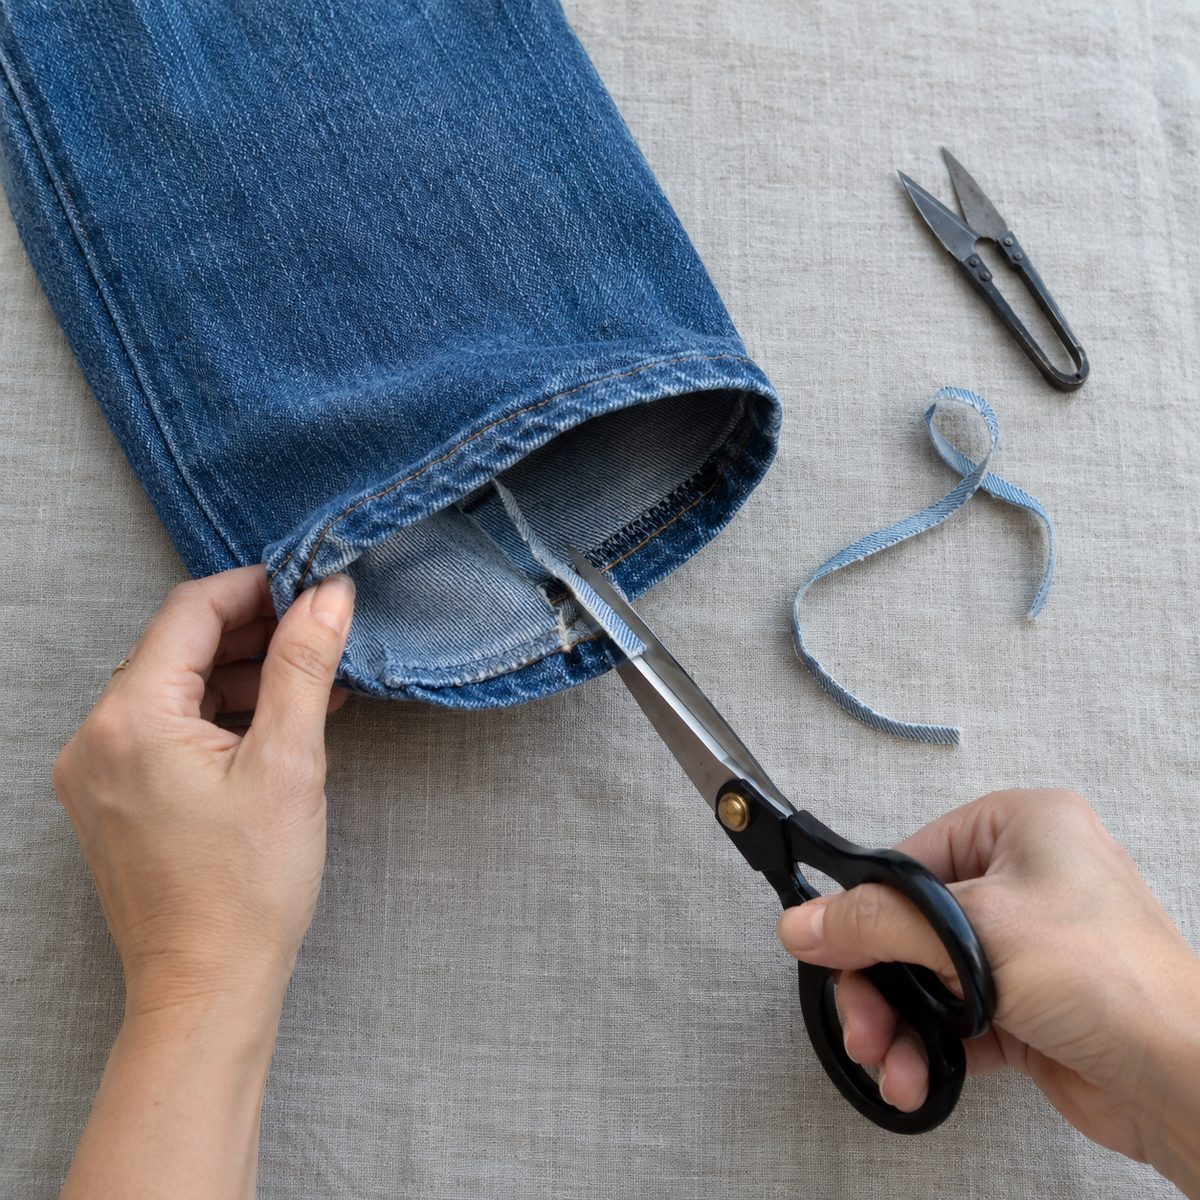
A serger gives the tidiest finish and matches how most ready-to-wear jeans are finished inside. If you’ve been thinking about getting one, my roundup of the best sergers is a good starting point. A zigzag is still perfectly durable for this, though.
Press the hem down and topstitch (optional)
Fold the original hem down so it hangs in its normal position. The finished seam allowance should point up, into the inside of the leg.
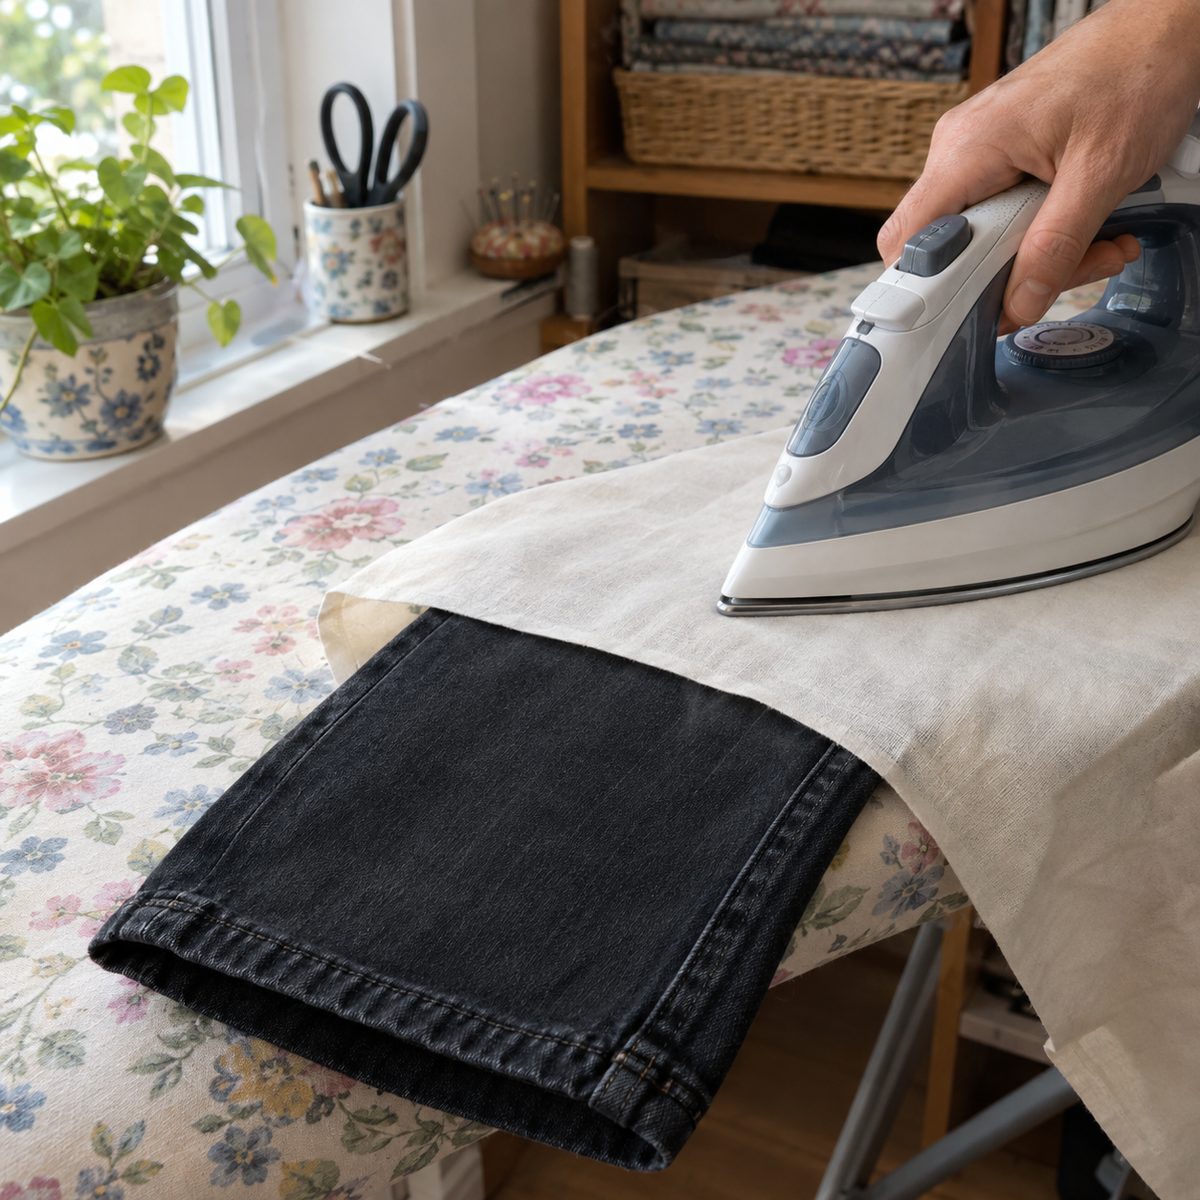
- Press from the inside first, with the seam allowance pressed up toward the waist. Use plenty of steam, and press down firmly instead of sliding the iron.
- Turn the leg right side out and press again along the seam using a pressing cloth, which keeps the denim from getting shiny.
- If you want the seam allowance to stay flat, topstitch on the outside about 1/8 inch above the seam line. This catches the seam allowance underneath and stops it from flipping down over time.
The topstitching is optional. Many people skip it because it adds a visible line above the original hem. If you do add it, gold denim thread looks close to factory stitching, and a thread that blends with the denim nearly disappears. On dark jeans I usually choose the blending thread, because one extra line of gold can look slightly off next to the original stitching.
Getting over the thick side seams
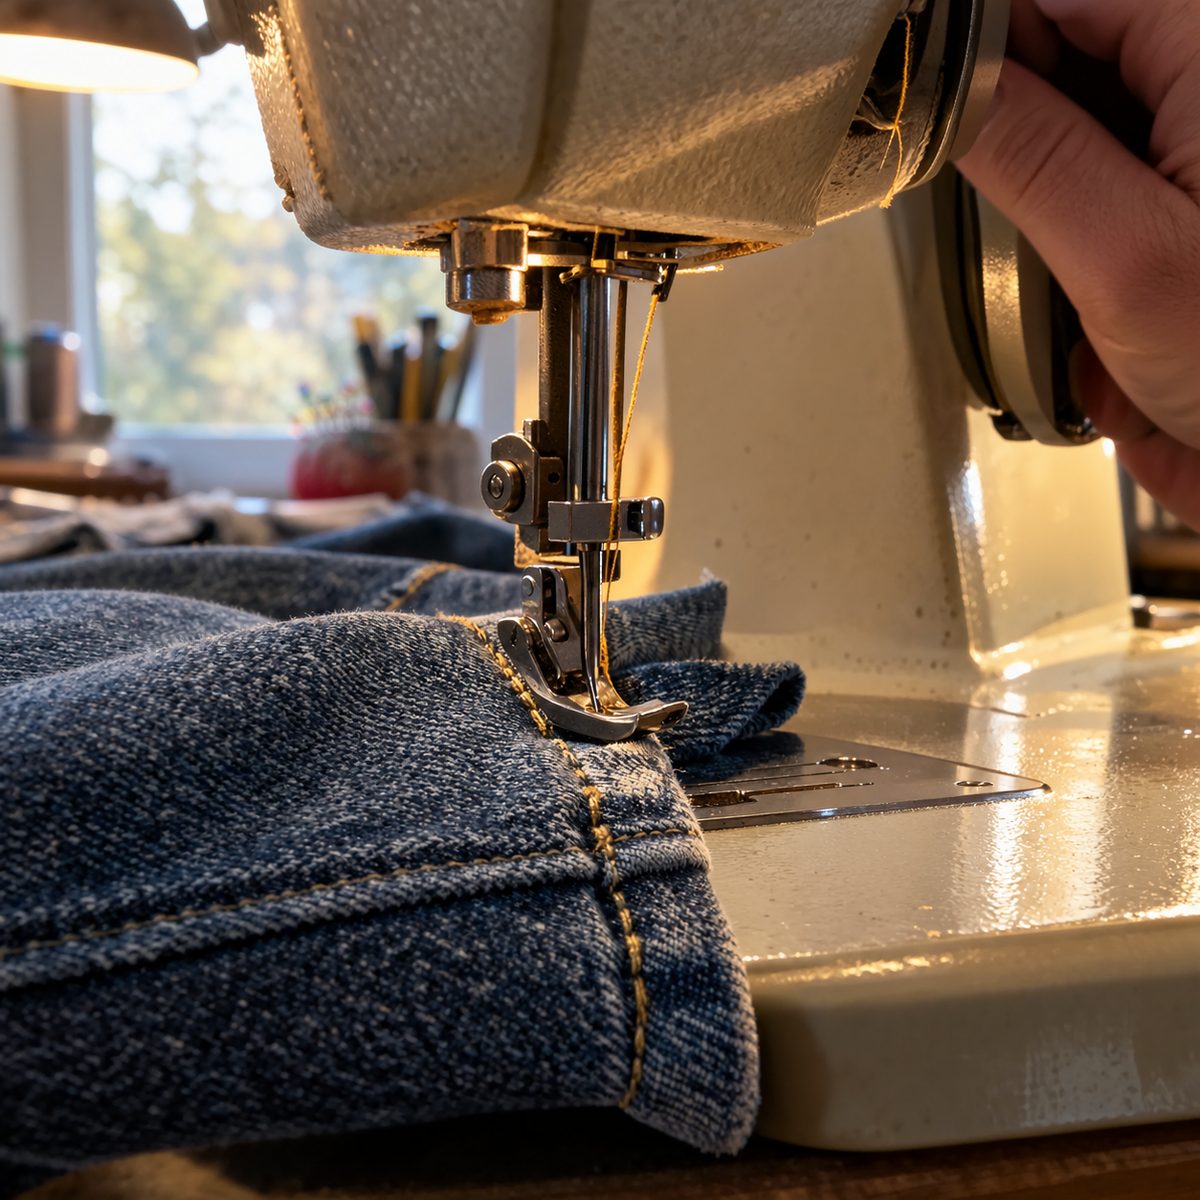
The side seams and inseams are where this project tends to go wrong. The flat-felled or overlocked seams on jeans are already thick. Fold them in half with the cuff and add the original hem band, and the stack under your presser foot can suddenly double in height.
When the front of the presser foot climbs onto that stack, the foot tilts. The feed dogs lose their grip, stitches get tiny or pile up, and the needle can deflect and snap. A hump jumper fixes this by leveling the foot.
- As you approach the thick seam, stop with the needle down just before the front of the foot reaches it.
- Lift the presser foot and slide a hump jumper (a small plastic wedge) or a folded scrap of denim under the back of the foot, behind the needle. The scrap should be roughly as thick as the seam ahead.
- Lower the foot. It should now sit level. Turn the hand wheel by hand, one stitch at a time, to climb onto the seam.
- Once the front of the foot is past the seam and starting to tip downward, stop with the needle down again. Move the leveler to the front of the foot, under the toe, and hand-walk off the seam.
- Remove the leveler and continue sewing normally.
Some sewists also pound the seam flat with a rubber mallet or hammer before sewing, placing a scrap of fabric over it to protect the denim. This compresses the fibers and can make a noticeable difference on very stiff jeans. If you still get skipped stitches at those spots, see my troubleshooting guide on why a sewing machine skips stitches. A fresh needle solves the problem more often than you might expect.
When to use a traditional hem instead
The original-hem method is my first choice for most jeans, but it isn’t always the best one. It works best when you’re taking off a moderate amount of length from a leg that’s fairly straight near the bottom. Outside that range, a traditional hem, where you cut off the extra length and fold and stitch a brand-new hem, often gives a cleaner result.
Leg shape is the first thing to check. On skinny or strongly tapered jeans, the leg gets narrower toward the ankle. If you fold up a deep cuff, the original hem is wider than the part of the leg you’re sewing it to. You’ll end up easing in extra fabric, which can cause small puckers or a slight flare right at the hem. Flares and wide bootcuts cause the opposite problem. Both are manageable if you’re only removing an inch or so, but the more you take off, the more noticeable the mismatch.
The amount of length matters too. Beyond about 4 or 5 inches, the fold gets deep enough that the leg shape usually changes noticeably, and a lot of fabric ends up inside the tuck. At that point it’s simpler to cut and rehem.
It’s also worth thinking about how you wear your jeans. The tucked seam adds a slight ridge on the inside of the hem. You won’t notice it with the hem hanging straight, but if you cuff or roll your jeans, that ridge is right on display. For jeans you plan to roll, a traditional hem with a matching gold topstitch usually looks tidier. Very heavy raw or selvedge denim can also be difficult for a home machine to sew in the tucked layers, and a single-fold traditional hem is much thinner.
Frequently asked questions
Will people be able to tell my jeans were hemmed?
Usually not from a normal distance. Because the original hem stays in place, the fading, stitching, and slight twist all look exactly the way they did from the factory. The only giveaway is a thin seam line just above the hem band. If you sew close to the band, it sits in the shadow of the hem and is very hard to spot. Thread that blends with the denim helps too.
Can I do this by hand instead of with a machine?
Yes, although it takes longer. Use a strong thread and a sturdy needle, and sew a small, tight backstitch right alongside the original hem band so the seam holds up to washing. A thimble helps a lot at the side seams. After that, trim and finish the edges the same way, using a whipstitch or blanket stitch over the raw edges instead of a zigzag.
Why does the hem look slightly longer or shorter than I planned?
Most often it’s because the seam isn’t sitting right against the hem band, or the fold depth changed as you moved around the leg. Even a 1/8-inch difference in fold depth changes the length by 1/4 inch. Measuring all the way around with a seam gauge before sewing, and sewing snug against the band, keeps the finished length accurate.
Should I wash the jeans before hemming them?
If the jeans are new and haven’t been washed, it’s a good idea. Denim, especially raw or 100% cotton denim, can shrink in length after the first few washes. Washing and drying them the way you normally would before measuring means you won’t hem them to the perfect length and then find them short a few weeks later. Pre-washed jeans that you’ve already worn can be hemmed right away.
Once you’ve done one pair, the process gets quicker. Measure carefully, divide by two, stitch snug against the old hem, and take the thick seams slowly. It’s one of the most useful alterations you can learn, and it keeps your jeans looking the way they did when you bought them.