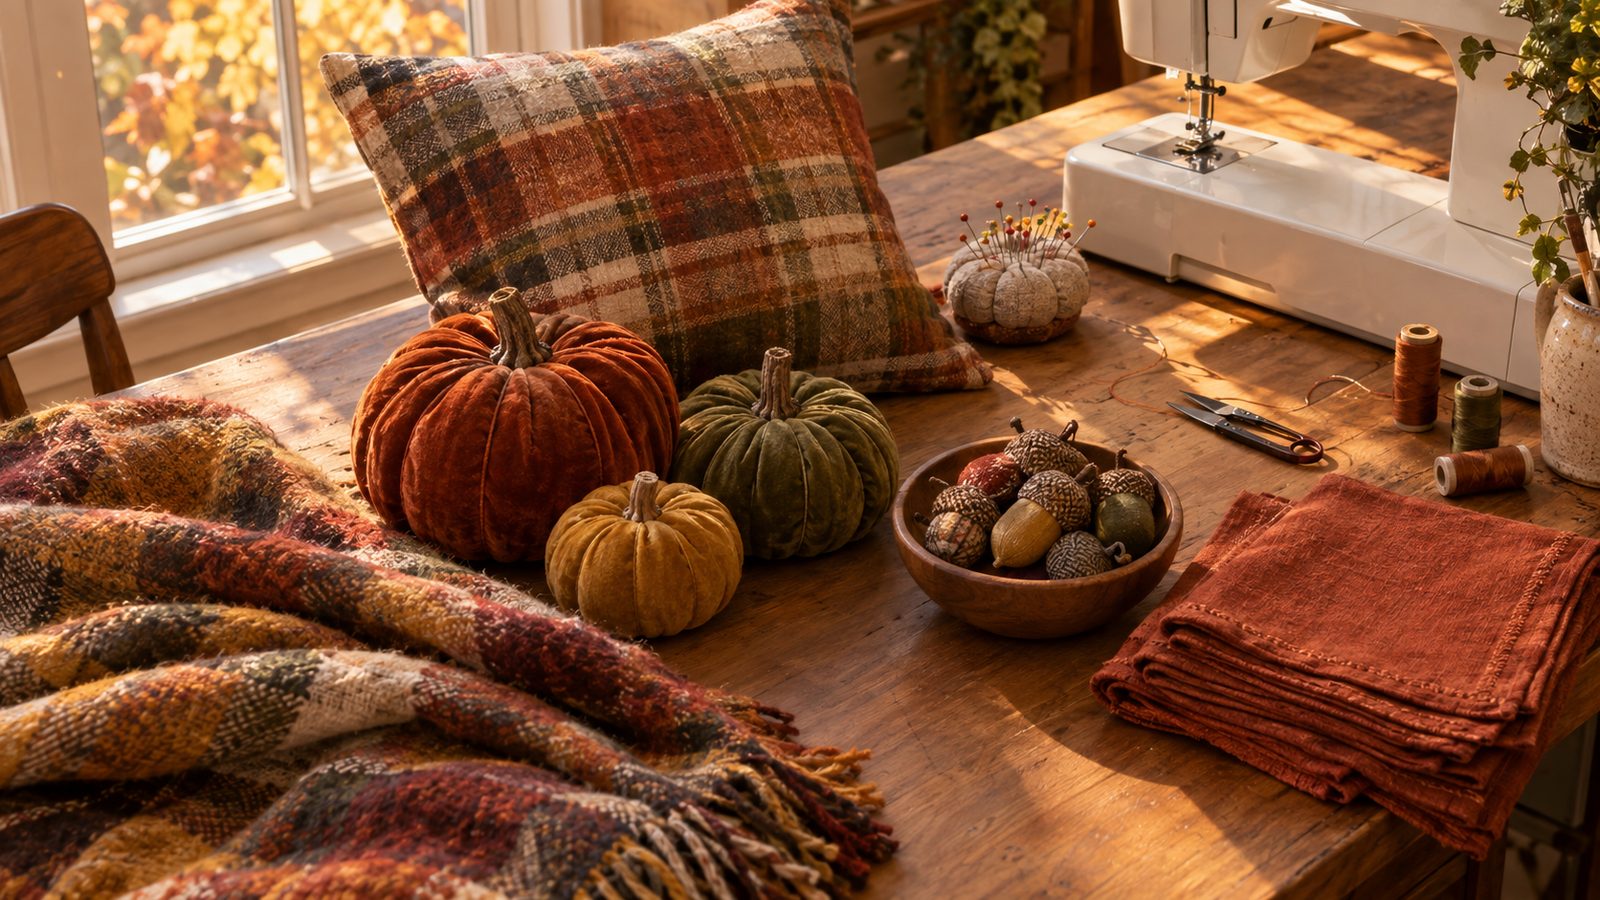
Fall is the best sewing season there is. The fabrics get softer, the colors get richer, and there’s finally a reason to stay in with the machine humming while the leaves come down outside.
These 22 autumn projects cover all of it: pumpkins and leaves for the mantel, cozy things to wear and wrap up in, Halloween makes for the kids, and linens for the Thanksgiving table. Most take an afternoon or less, and plenty are sewn from scraps or a single yard.
Each one lists time, skill level, fabric amounts, and the key steps, so you can pick one and start sewing tonight.
1. Velvet Pumpkins
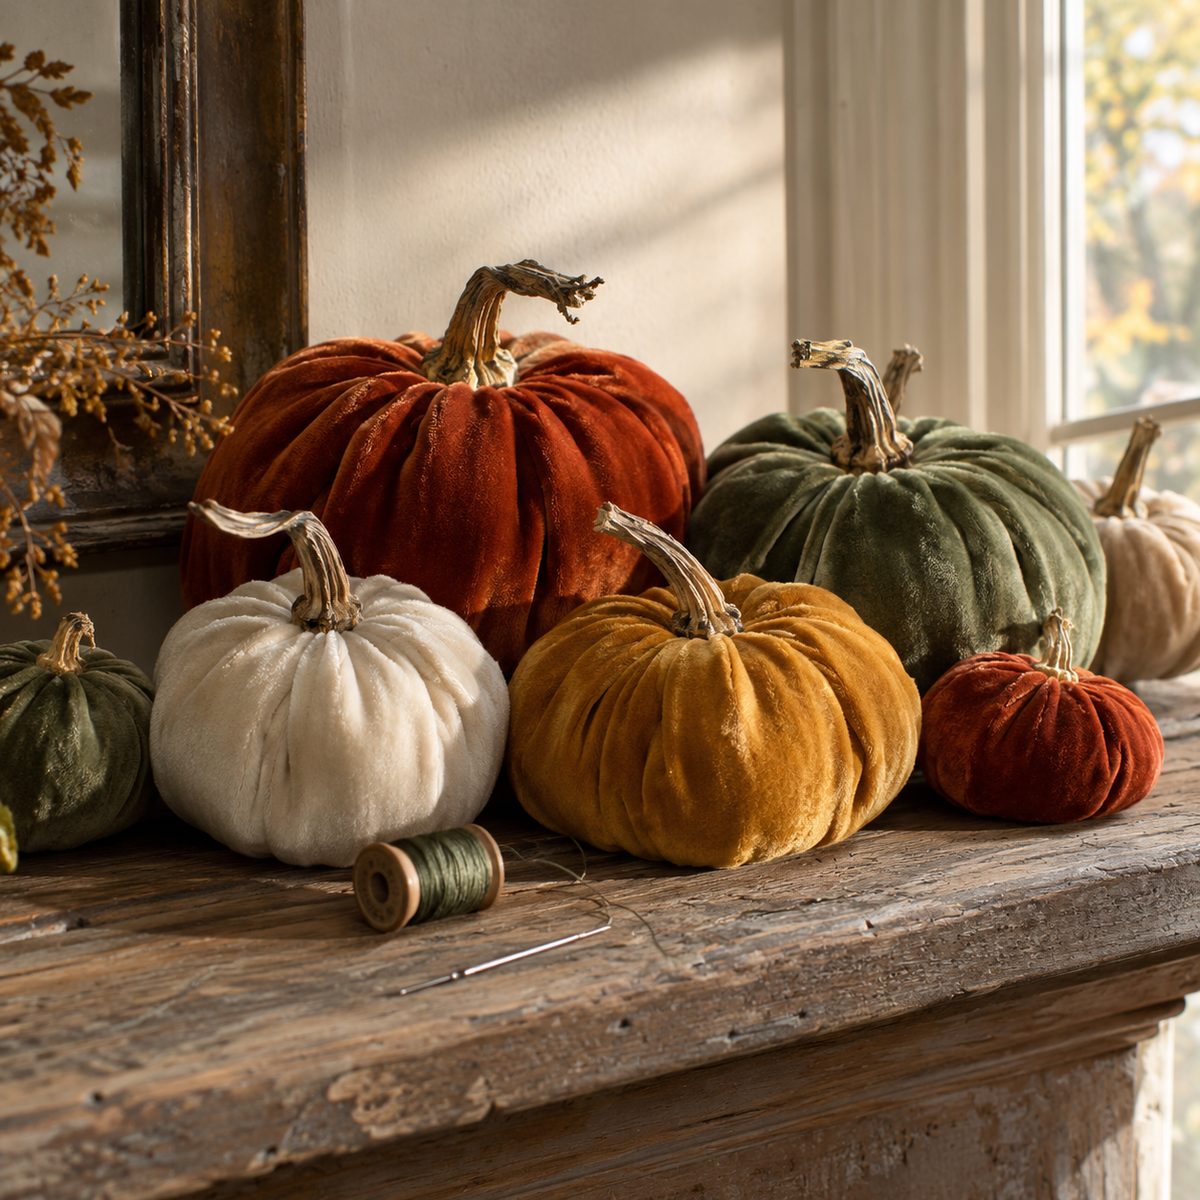
Velvet pumpkins are the fall decor piece everyone asks about, at a fraction of the boutique price. The plush pile catches the light beautifully.
Time: 20 minutes each. Skill: Beginner.
- Cut a circle of stretch or crushed velvet: 10 inches across for a small pumpkin, 18 inches for a large.
- Hand-sew a running stitch about 1/4 inch from the edge with doubled, strong thread.
- Pull the thread halfway, add a handful of rice for weight, fill with fiberfill, then cinch closed and knot.
- Hot-glue a real dried pumpkin stem or a twig over the gathered center.
2. Quilting Cotton Fabric Pumpkins
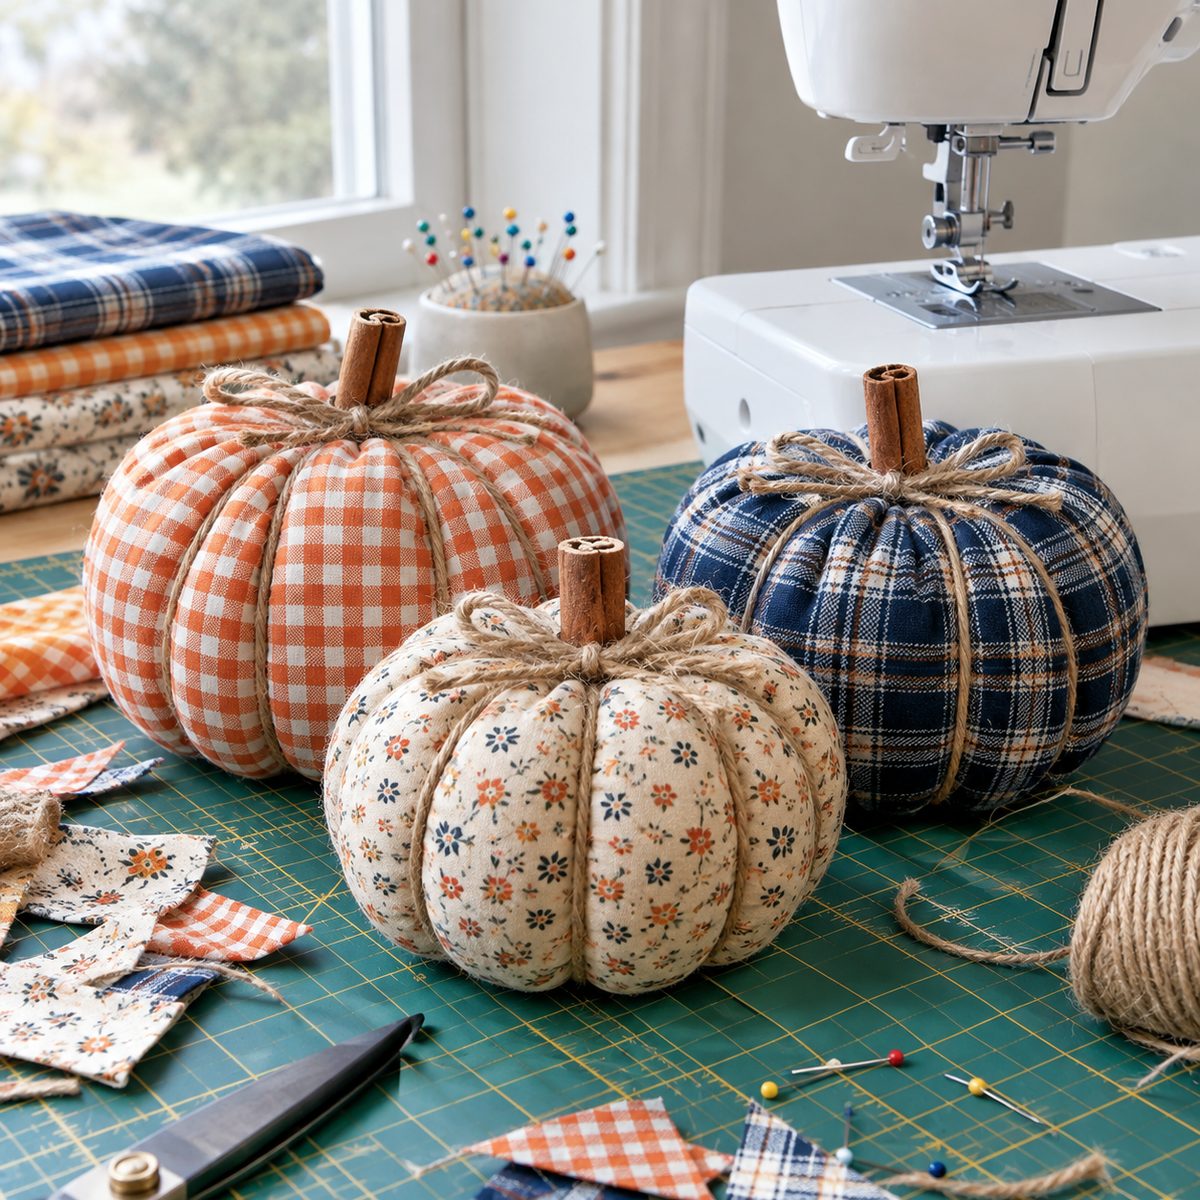
For a farmhouse look, sew pumpkins from plaids, ginghams, and small florals. Twine creates the ribs, so there’s no pattern.
Time: 30 minutes each. Skill: Beginner.
Materials: One fat quarter makes a pumpkin about 6 inches across, plus fiberfill, jute twine, and a cinnamon stick for the stem.
Cut a strip 8 x 20 inches. Sew the short ends right sides together to make a tube. Gather one long edge tightly with a running stitch and knot it, turn right side out, and stuff. Gather the top edge closed. Wrap twine top to bottom five or six times, pulling snug to form ribs, knot, and glue in the cinnamon stick.
3. Patchwork Pumpkin Table Runner
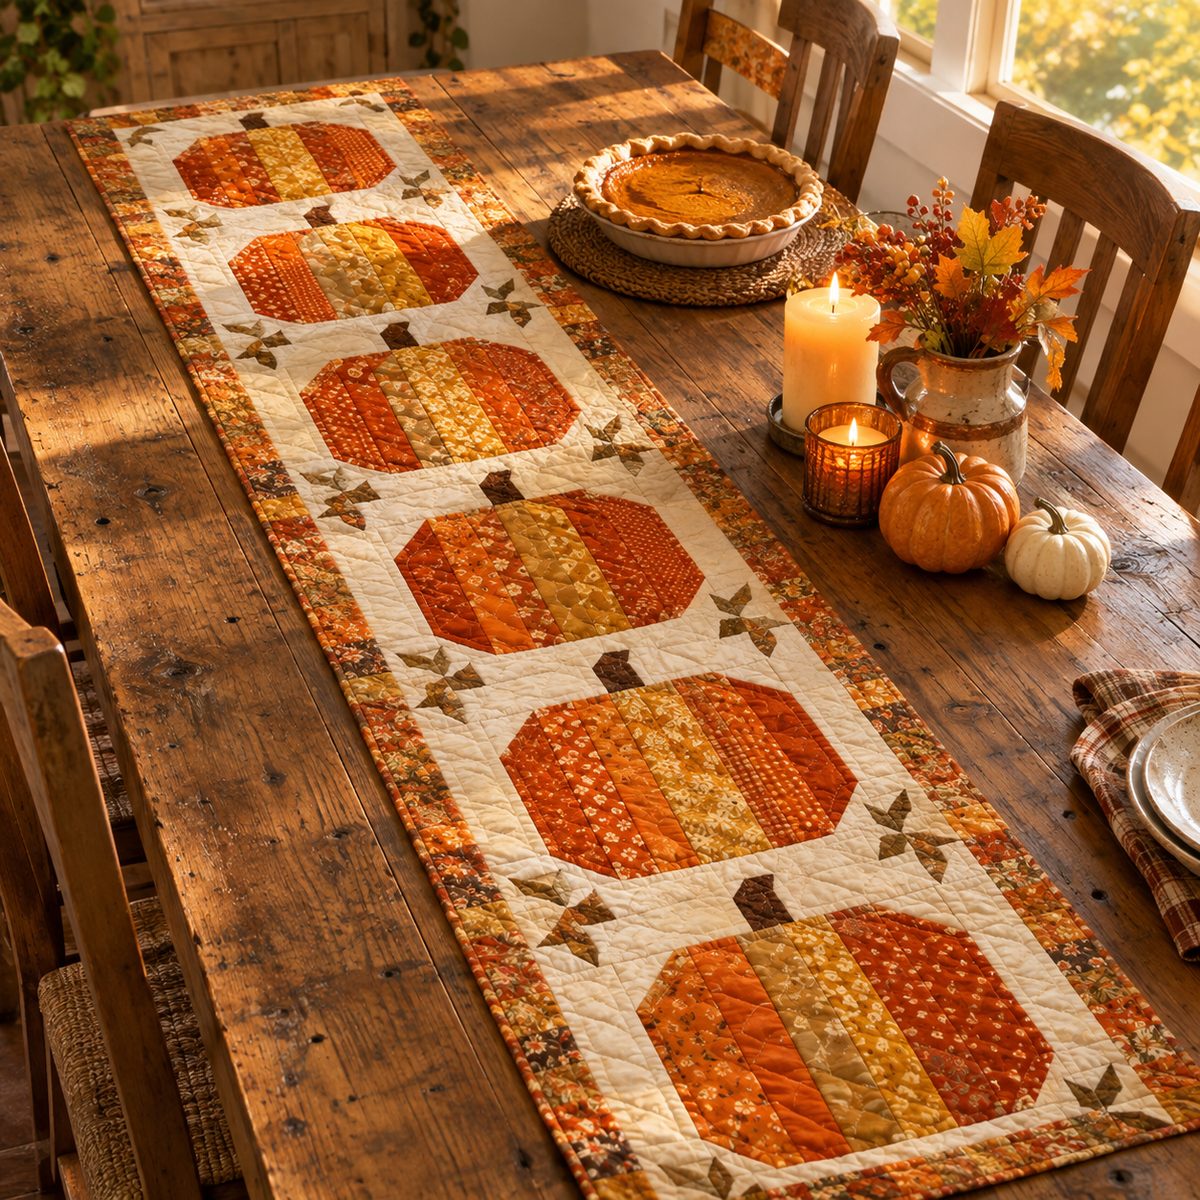
A patchwork runner sets the fall table for weeks and uses up orange and gold scraps. A stitch-and-flip corner trick turns plain squares into chunky pumpkins.
Time: 4 to 5 hours. Skill: Confident beginner.
Materials: About 1/2 yard of assorted orange prints, 1/2 yard cream background, 1/2 yard backing, a 16 x 50 inch piece of batting, and 1/4 yard for binding.
For each pumpkin block, cut a 6 1/2 inch orange square. Place 1 1/2 inch cream squares on all four corners, stitch diagonally across each, trim, and press out. Add a brown stem strip above each block, join six blocks with cream sashing, then layer, quilt straight lines, and bind. New to this? Here’s how to quilt with a regular sewing machine.
4. Fall Leaf Placemats
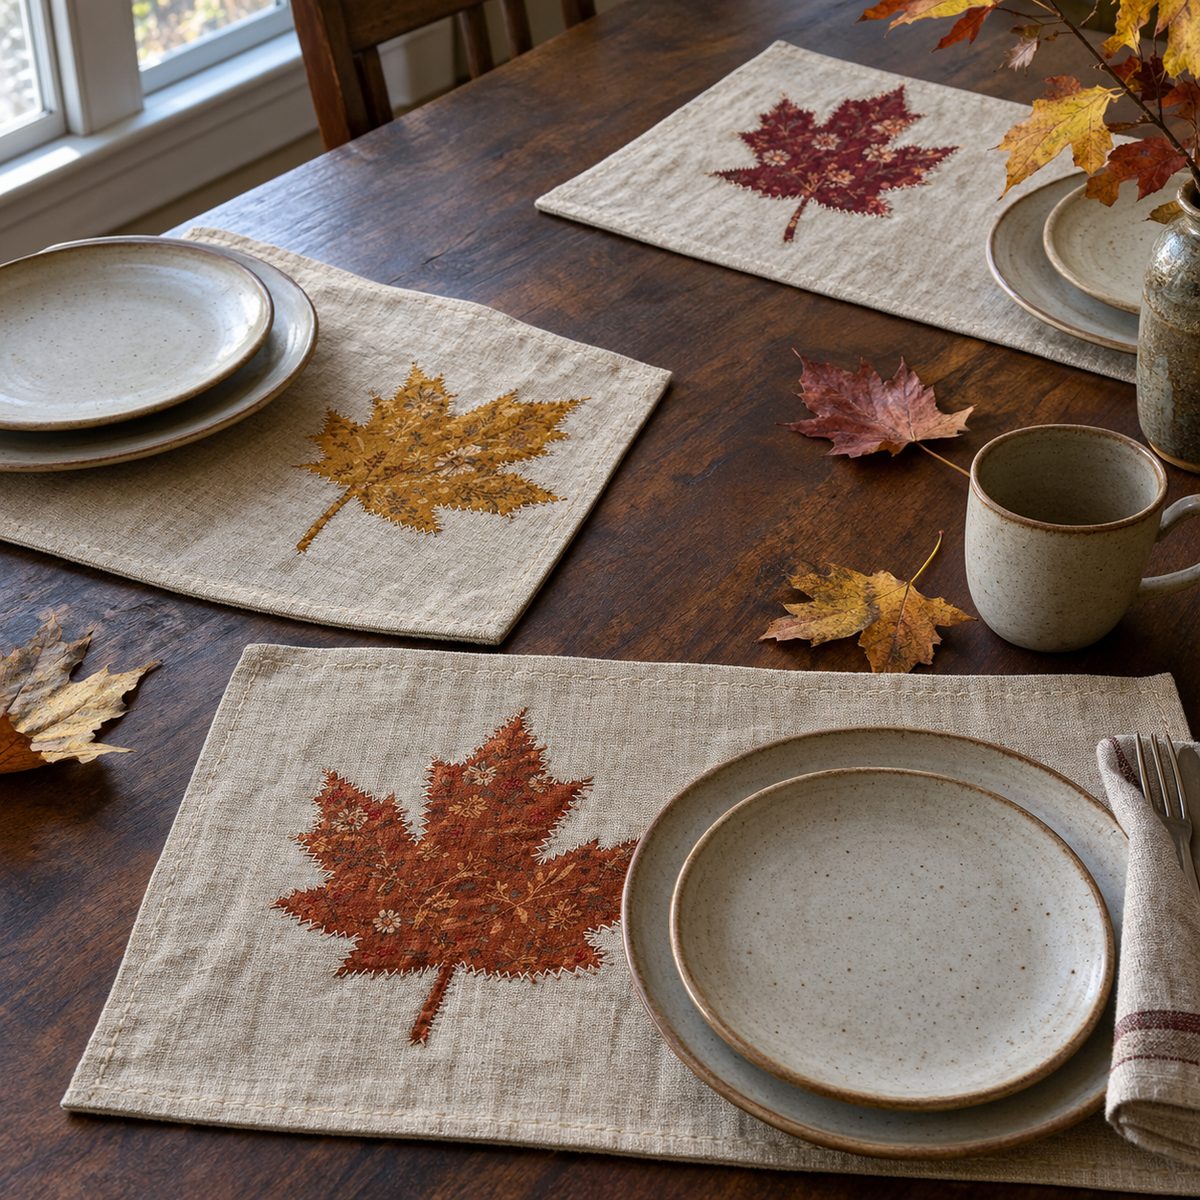
A big appliqued maple leaf in one corner turns ordinary weeknight dinners into something that feels like autumn.
Time: 1 hour each. Skill: Beginner.
Materials for four: 1 yard linen or cotton duck for fronts and backs, fat quarters of rust, gold, and red prints for leaves, fusible web, and 1/2 yard of fusible fleece.
Cut fronts and backs 13 x 19 inches. Trace a leaf about 7 inches long onto fusible web, fuse it to the leaf fabric, cut out, and iron onto the placemat front. Stitch around the edge with a small zigzag or blanket stitch. Fuse fleece to the back of the front piece, sew front and back right sides together leaving a 4 inch gap, turn, press, and topstitch all around.
5. Thanksgiving Cloth Napkins
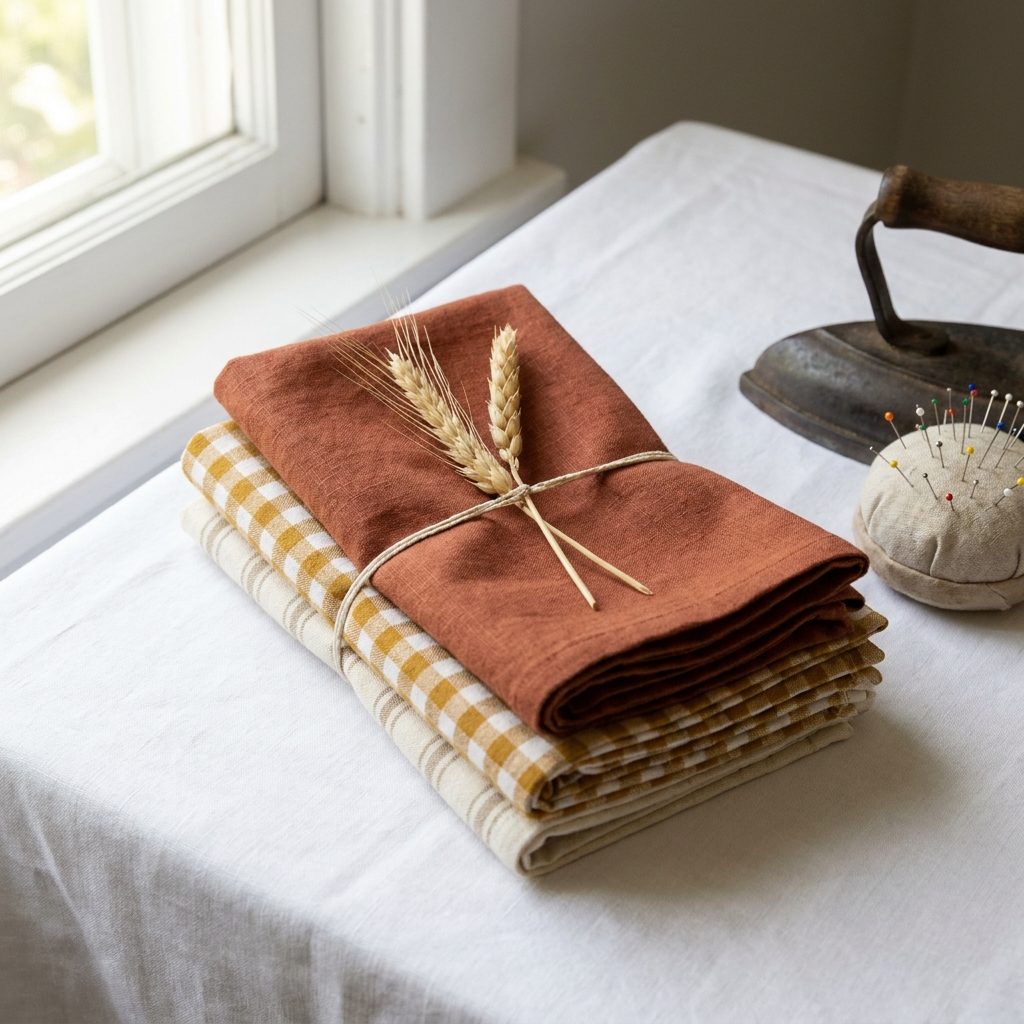
Cloth napkins make a Thanksgiving table look finished, and they’re a perfect first project.
Time: 15 minutes each. Skill: Beginner.
Materials: 1 1/2 yards of 54 inch linen or cotton makes six 18 inch napkins. Pre-wash so they won’t shrink after dinner.
Cut 19 inch squares. For a mitered look without the math, press each edge under 1/4 inch, then another 1/4 inch, and stitch close to the fold. Clip the corner bulk before the second fold so the corners lie flat. A rolled hem foot or serger gives a lighter edge on linen.
Mix two or three coordinating fabrics, like rust linen, a mustard check, and a cream stripe, so the table looks collected rather than matchy.
6. Plaid Flannel Pillow Cover
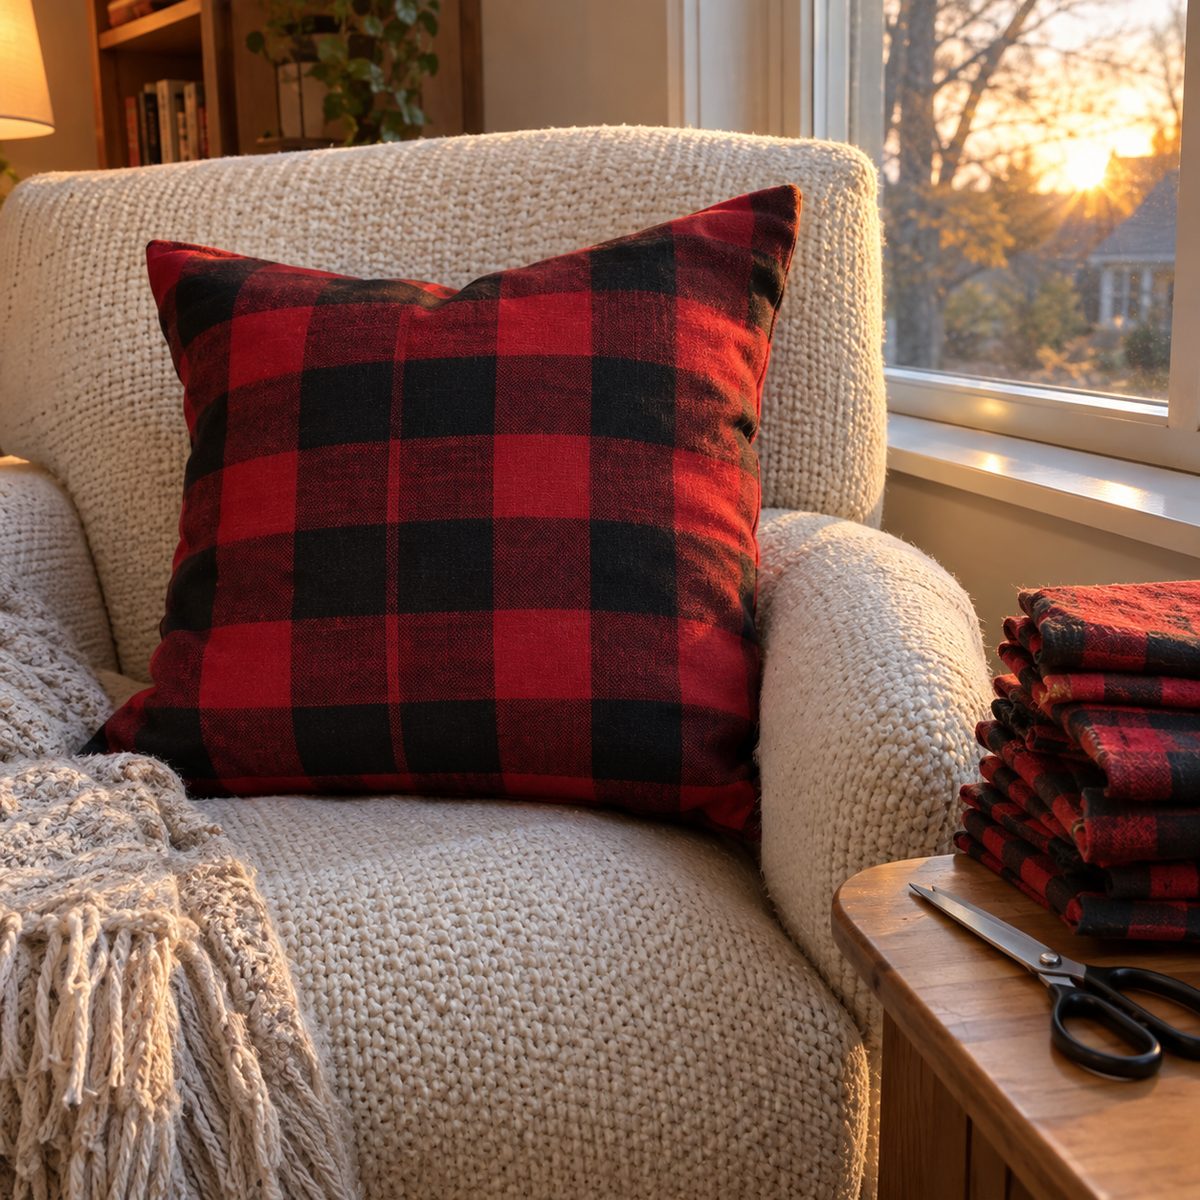
Swapping pillow covers is the quickest way to make a room feel like fall, and a buffalo check or tartan flannel does it instantly. An envelope back means no zipper and no buttonholes.
Time: 30 minutes. Skill: Beginner.
Materials for an 18 inch insert: 3/4 yard of cotton flannel.
- Cut one front at 18 1/2 x 18 1/2 inches and two backs at 18 1/2 x 13 inches.
- Double-fold hem one long edge of each back piece.
- Lay the front right side up, place the backs right side down on top so the hemmed edges overlap in the middle, and pin.
- Sew all four sides with a 1/4 inch seam, clip the corners, and turn.
7. Fabric Leaf Wreath
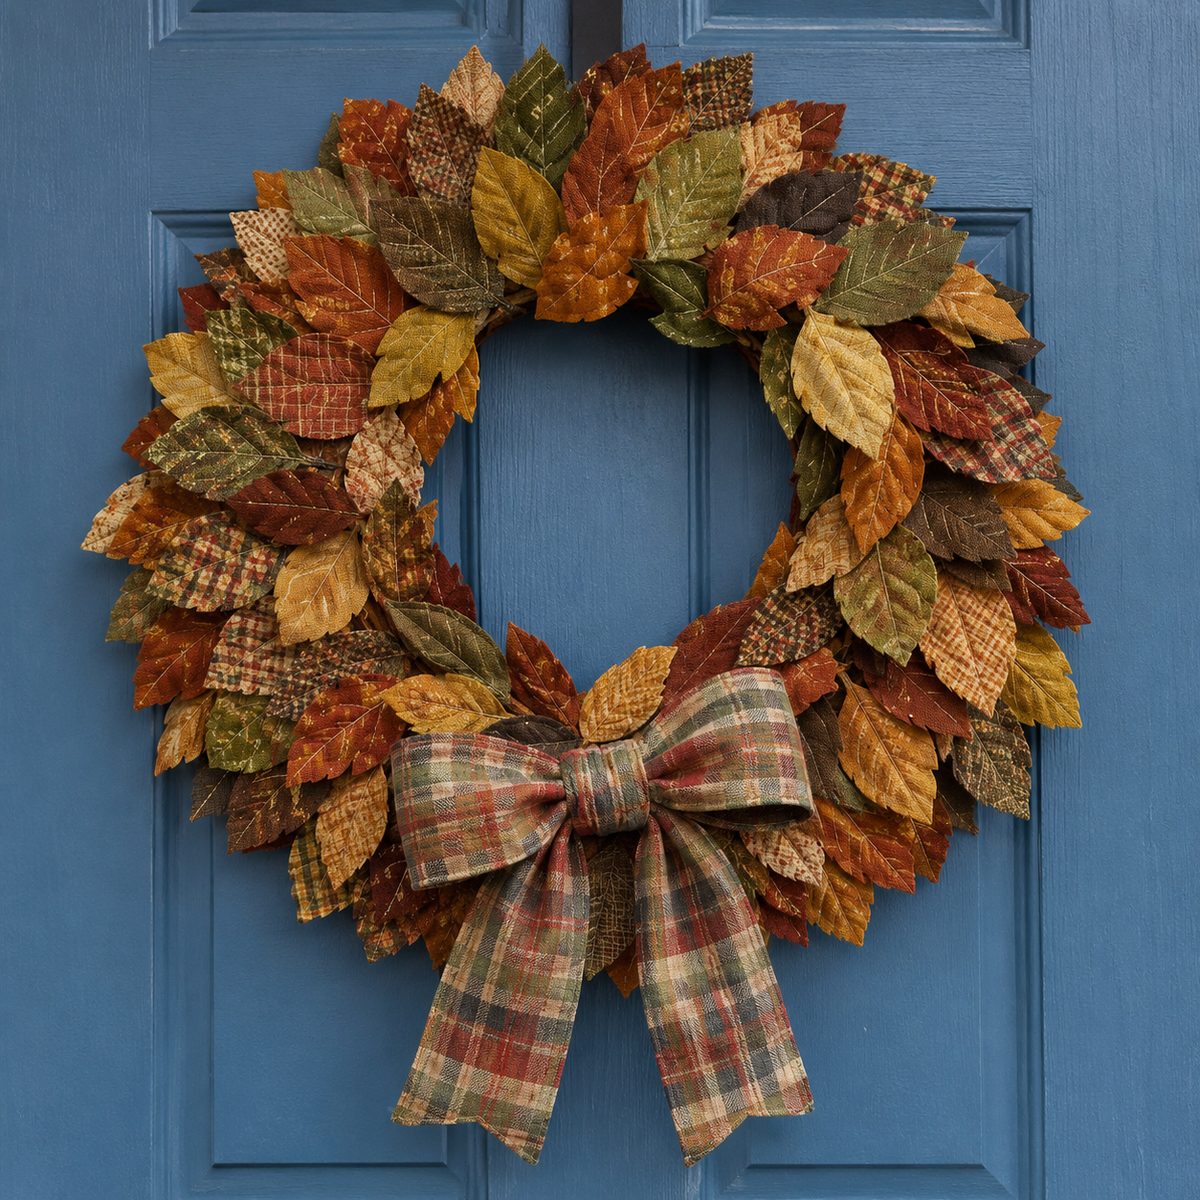
A fabric leaf wreath lasts year after year and uses every warm-toned scrap you’ve saved.
Time: 3 hours. Skill: Beginner.
Materials: A 14 inch straw or foam wreath form, about 60 leaves’ worth of scraps (roughly 1 1/2 yards total in rust, gold, olive, and brown), fusible web, and a glue gun.
Fuse two fabrics wrong sides together with fusible web so each leaf is double-sided and stiff. Cut out leaf shapes 3 to 4 inches long from a simple template. Stitch a center vein to add texture and stop curling. Pinch the base of each leaf and hot-glue it to the form, overlapping in one direction all the way around. Finish with a bow of plaid fabric strip.
8. Fabric Acorns
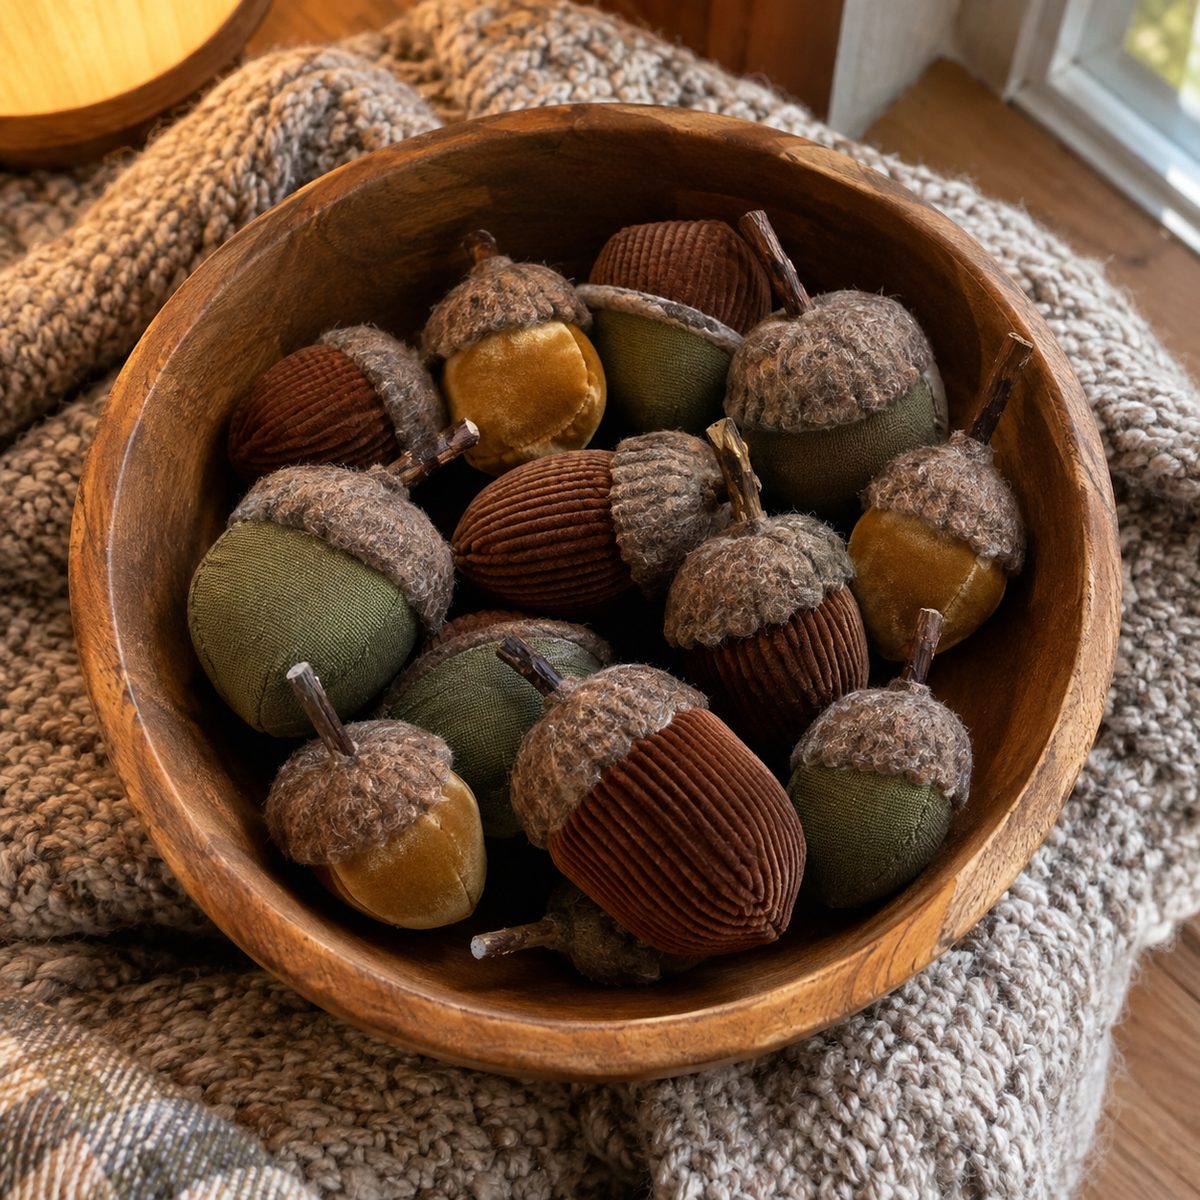
Stuffed fabric acorns are tiny, quick, and charming piled in a wooden bowl or hung as ornaments on a fall branch.
Time: 15 minutes each. Skill: Beginner.
Materials: Scraps of velvet, corduroy, or cotton for the nuts, wool felt for the caps, fiberfill, and a twig or brown embroidery floss for stems.
Cut a 4 inch circle of fabric, gather the edge with a running stitch, stuff firmly, and cinch closed. Cut a 2 1/2 inch felt circle for the cap and stitch a few radiating lines on it for texture. Glue or whipstitch the cap over the gathered end, then tuck a small twig into the center. For ornaments, loop a length of twine through the cap before gluing.
9. Flannel Blanket Scarf
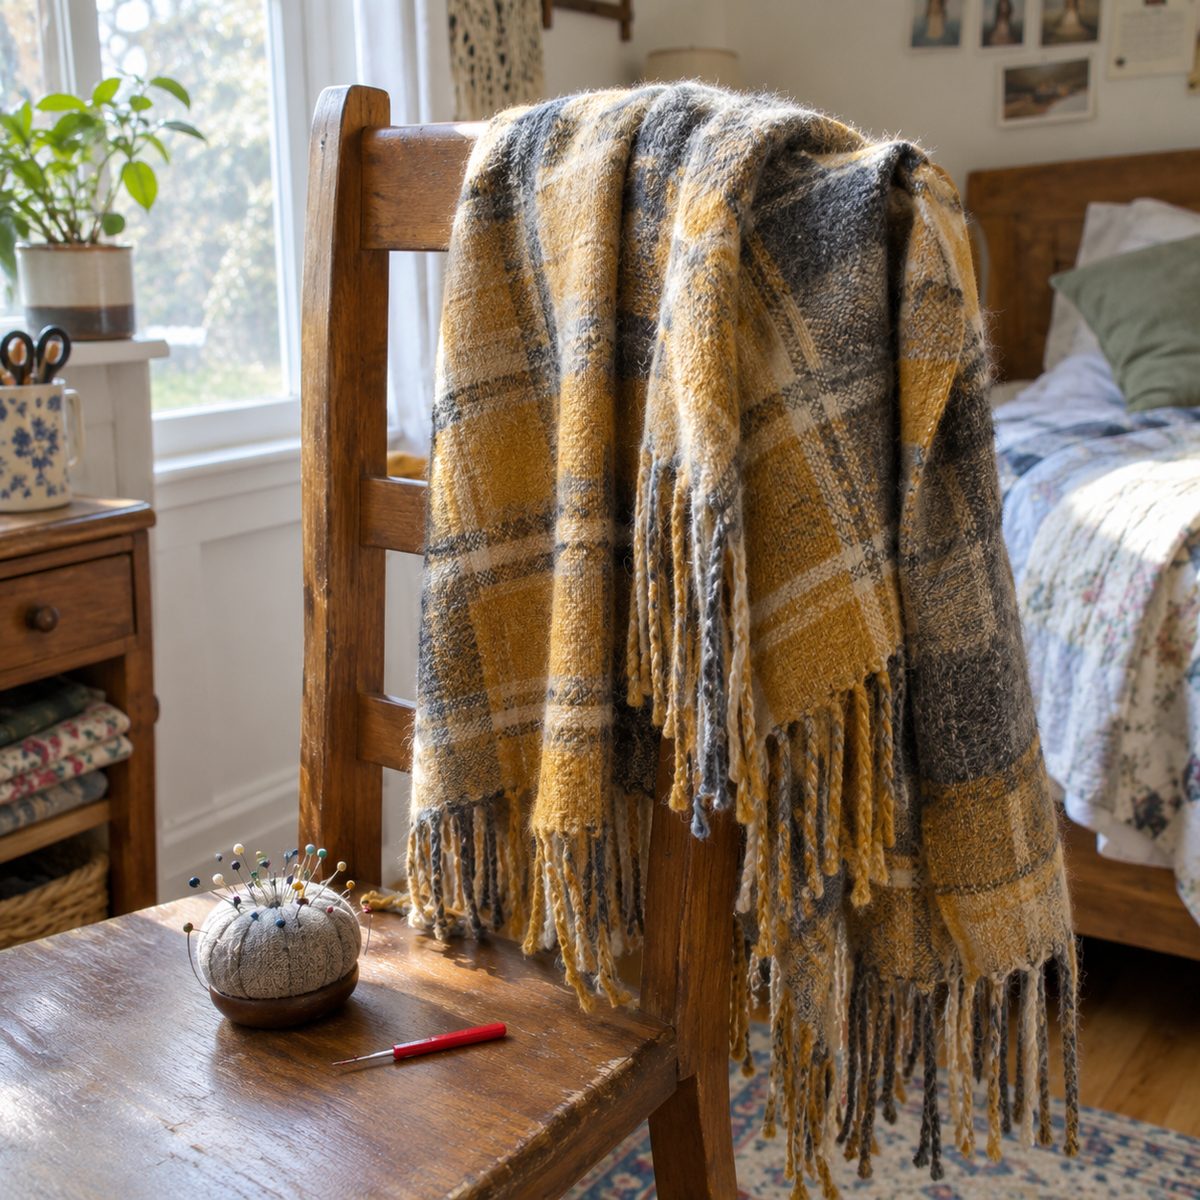
An oversized plaid blanket scarf is the easiest wearable you’ll ever sew: one straight cut and a fringe.
Time: 30 minutes. Skill: Beginner.
Materials: 1 1/4 yards of soft cotton flannel, at least 42 inches wide. Yarn-dyed plaids work best because they look the same on both sides.
Square up the fabric so you have a piece roughly 42 x 42 inches, or cut it into a 25 x 70 inch rectangle for a long wrap. Sew a straight stitch 1 inch in from every edge. Then pull out the loose threads between the raw edge and your stitching line to make a fringe on all four sides. The stitch line stops the fringe from unraveling any further in the wash.
10. Fleece Throw with Binding
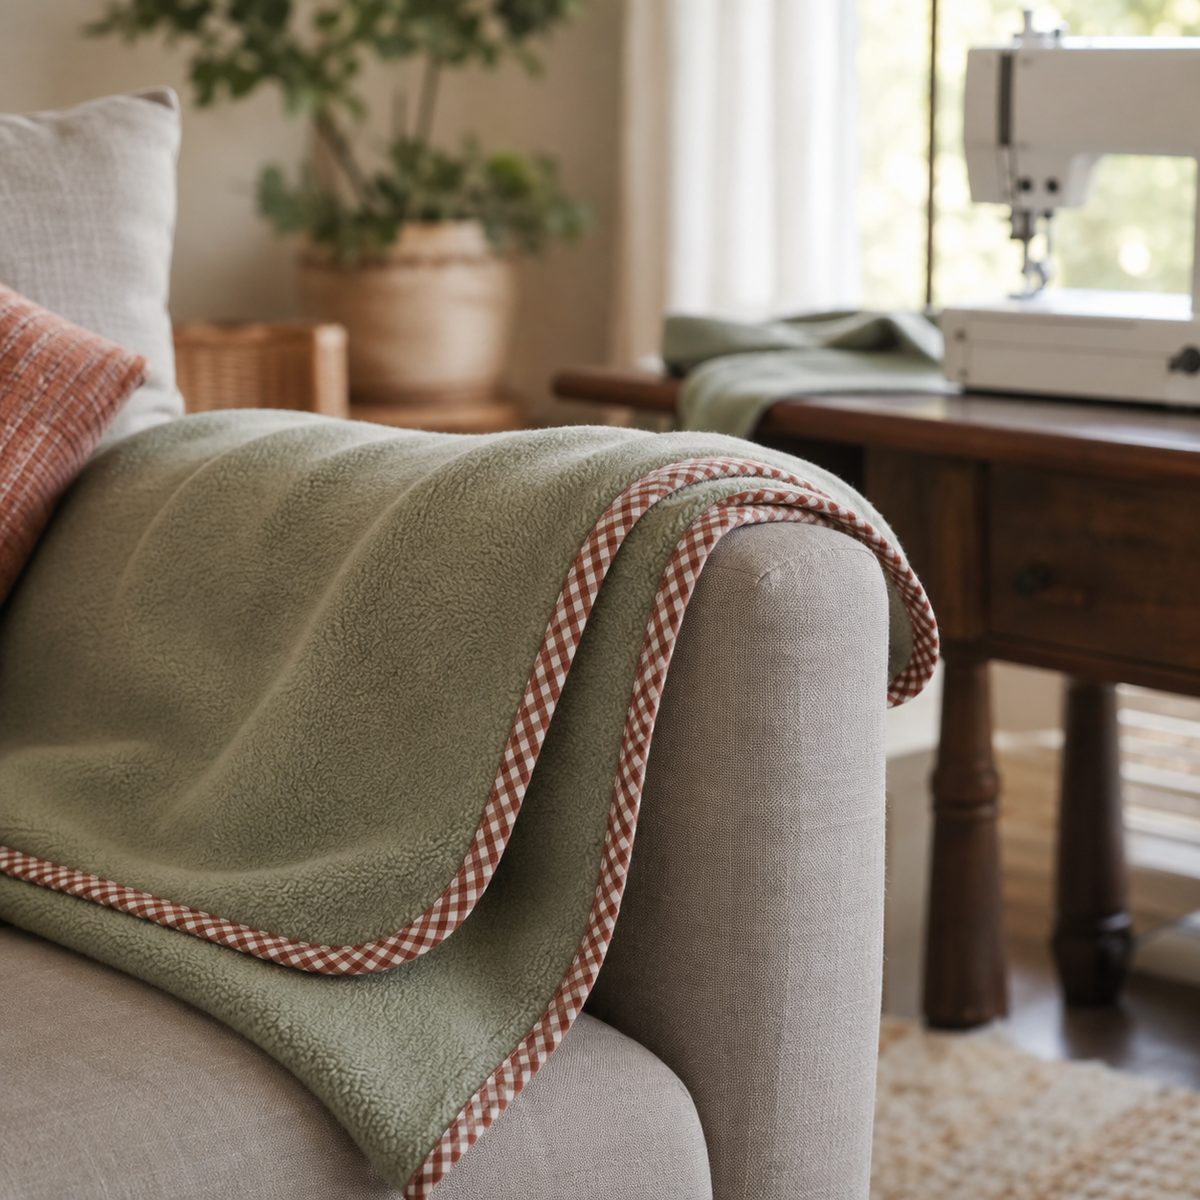
A contrasting cotton binding looks far more polished than the classic tied-fringe fleece blanket.
Time: 2 hours. Skill: Confident beginner.
Materials: 1 3/4 yards of anti-pill fleece (makes a 50 x 60 inch throw) and 1/2 yard of cotton for binding.
Trim the fleece square and round the corners slightly using a dinner plate as a guide; that lets you bind without mitering. Cut 2 1/2 inch strips of cotton on the bias so they curve around the corners, and join them into one long strip. If joining strips is new to you, see how to sew binding strips together. Press the binding in half, sew it to the front, wrap it to the back, and stitch in the ditch from the front.
Use a walking foot and lengthen your stitch to 3.0 so the fleece doesn’t stretch.
11. Cozy House Slippers
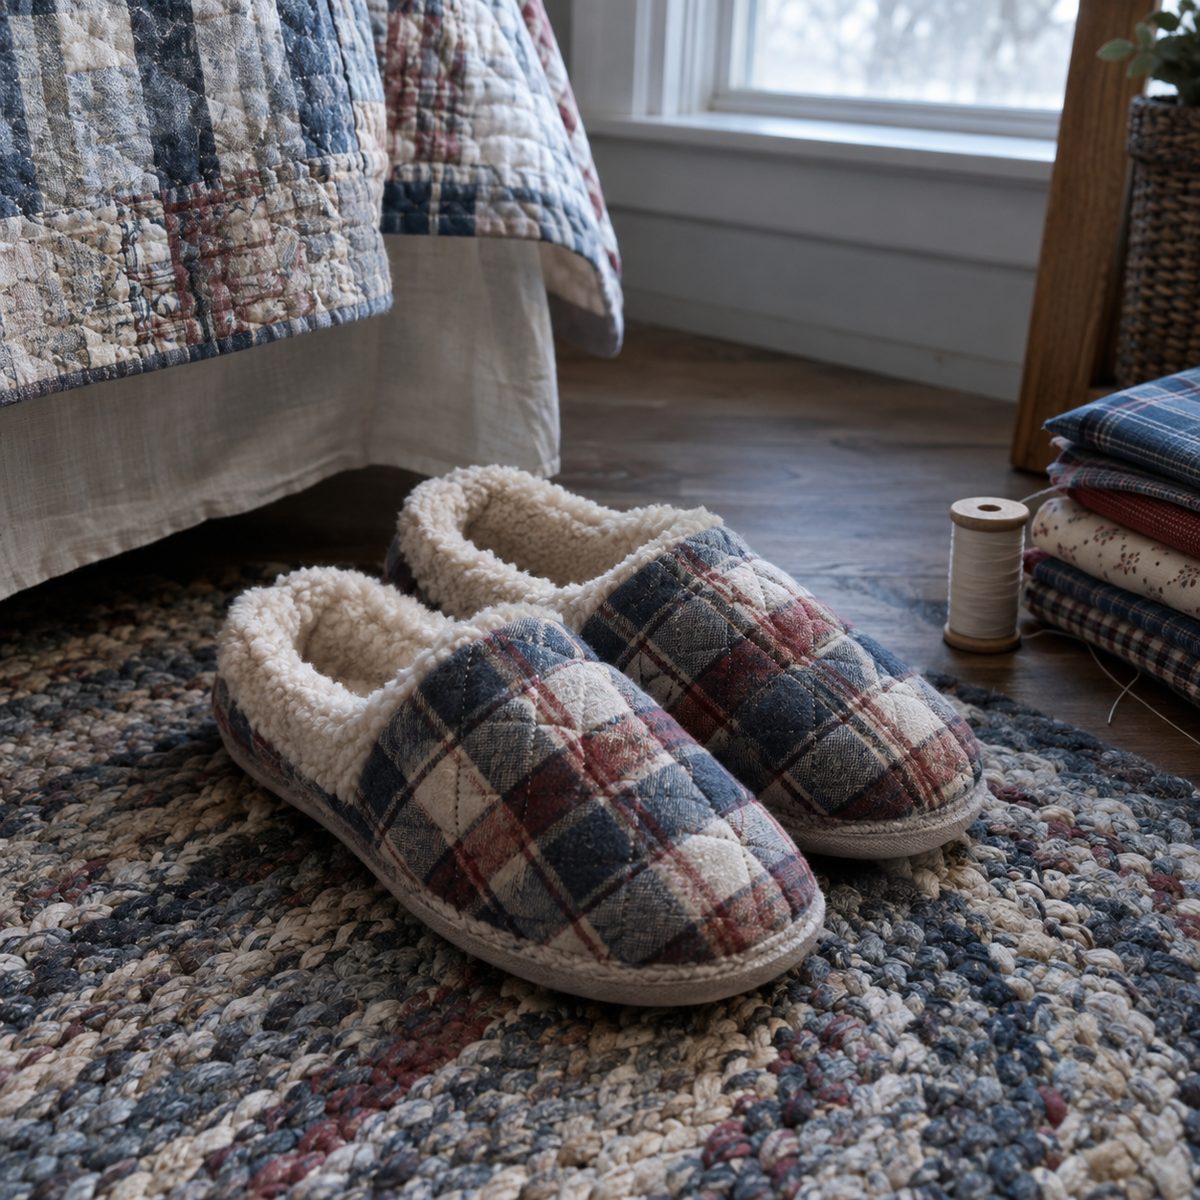
Handmade slip-on slippers get worn every day once the floors turn cold, and they come together faster than you’d think.
Time: 2 hours per pair. Skill: Intermediate.
Materials: 1/2 yard quilting cotton or flannel for the outer, 1/2 yard fleece or sherpa for lining, a layer of batting, and a piece of non-slip fabric or thick felt for the soles.
- Trace your foot and add 1/2 inch all around for the sole pattern.
- Draw a toe-cap upper that covers the front half of the foot.
- Quilt the upper layers together, bind the opening edge, then pin the upper to the sole.
- Sew the sole layers and upper together and finish the raw edge with bias binding.
12. Autumn Print Rice Heat Pack
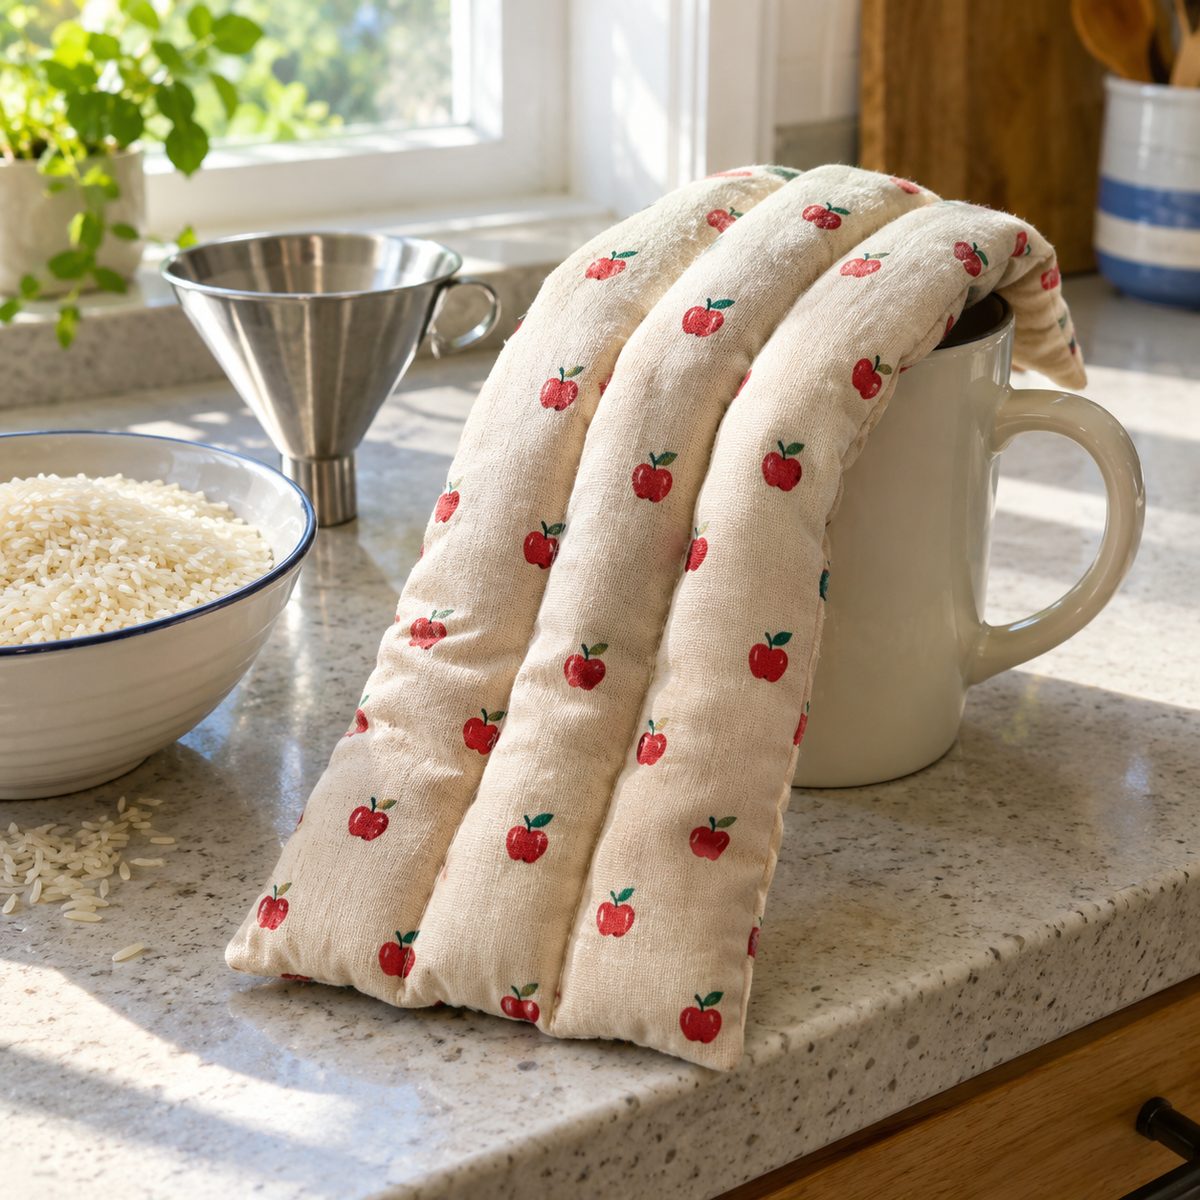
A microwavable rice pack soothes cold hands and sore shoulders, and makes a great quick gift in an apple or leaf print.
Time: 30 minutes. Skill: Beginner.
Materials: 1/4 yard of 100% cotton (no polyester, which can scorch), 3 to 4 cups of plain uncooked rice, and a removable cover if you like.
Cut two pieces 6 x 18 inches. Sew around three sides, turn, and press. Stitch channels across the width every 4 1/2 inches, then fill each section with about 3/4 cup of rice working from the bottom up, stitching each channel closed as you go. The channels keep the rice from sliding to one end. Close the top with a topstitched seam.
Heat in 30-second bursts, about 1 1/2 to 2 minutes total, with a cup of water in the microwave.
13. Apple-Picking Market Tote
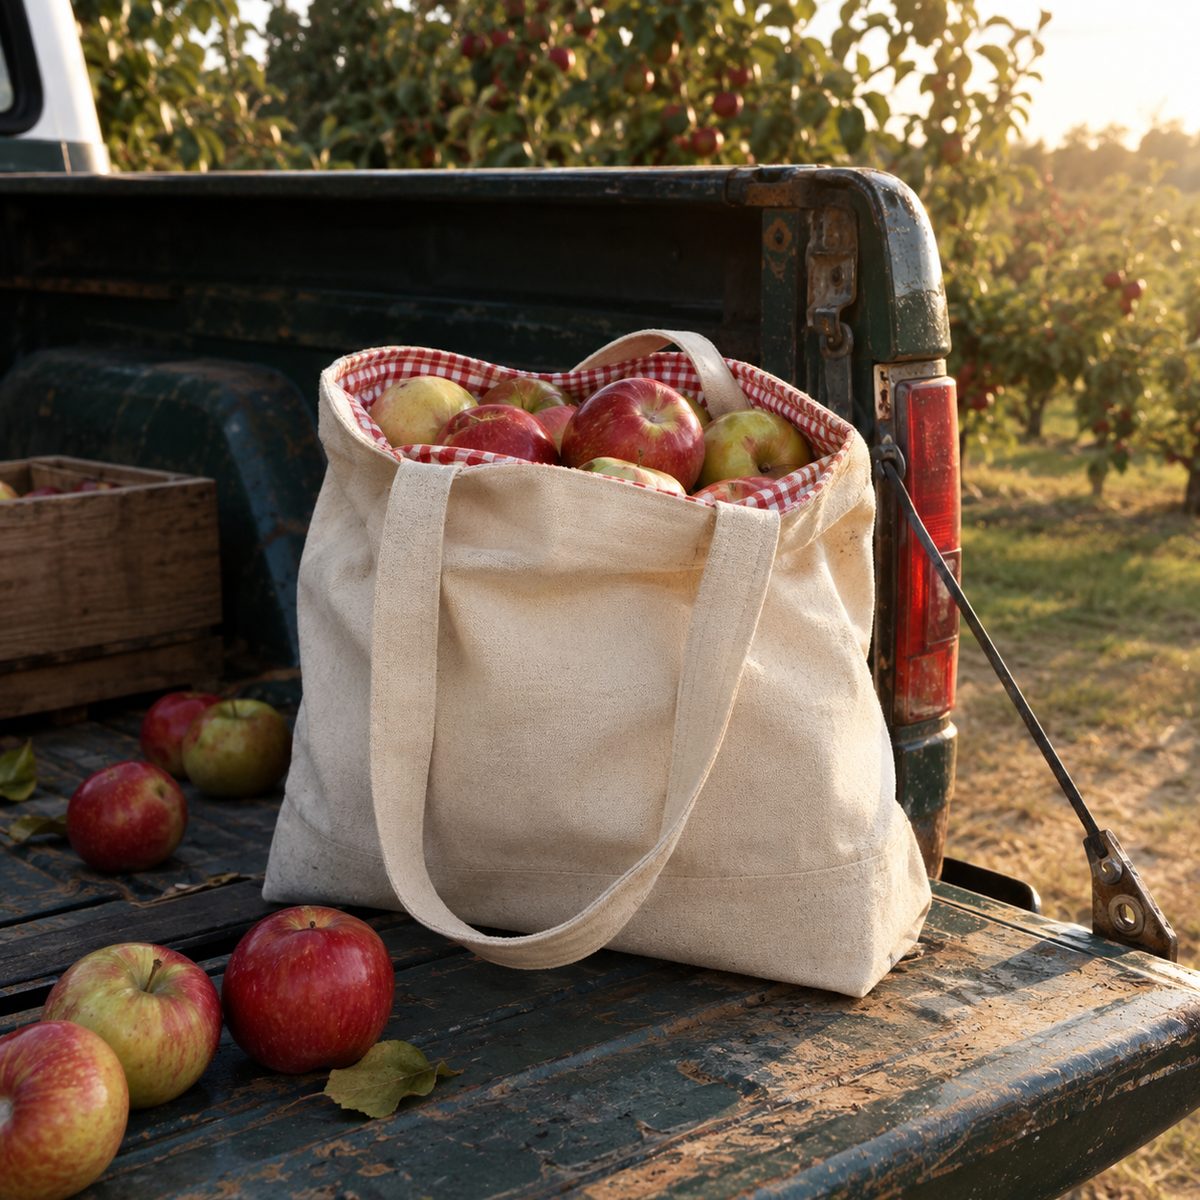
A sturdy boxed-bottom canvas tote is ideal for orchard days and farmers markets, and holds its shape when loaded with apples.
Time: 2 hours. Skill: Confident beginner.
Materials: 3/4 yard canvas or duck for the outer, 3/4 yard cotton for lining, and 1 1/2 yards of cotton webbing for straps.
Cut outer and lining pieces 18 x 34 inches each. Fold each in half, sew the sides, and box the bottom corners 4 inches deep for a wide flat base. Baste 24 inch straps to the outer, drop the lining inside right sides together, sew around the top, turn through a gap in the lining, and topstitch.
14. Corduroy Tote Bag
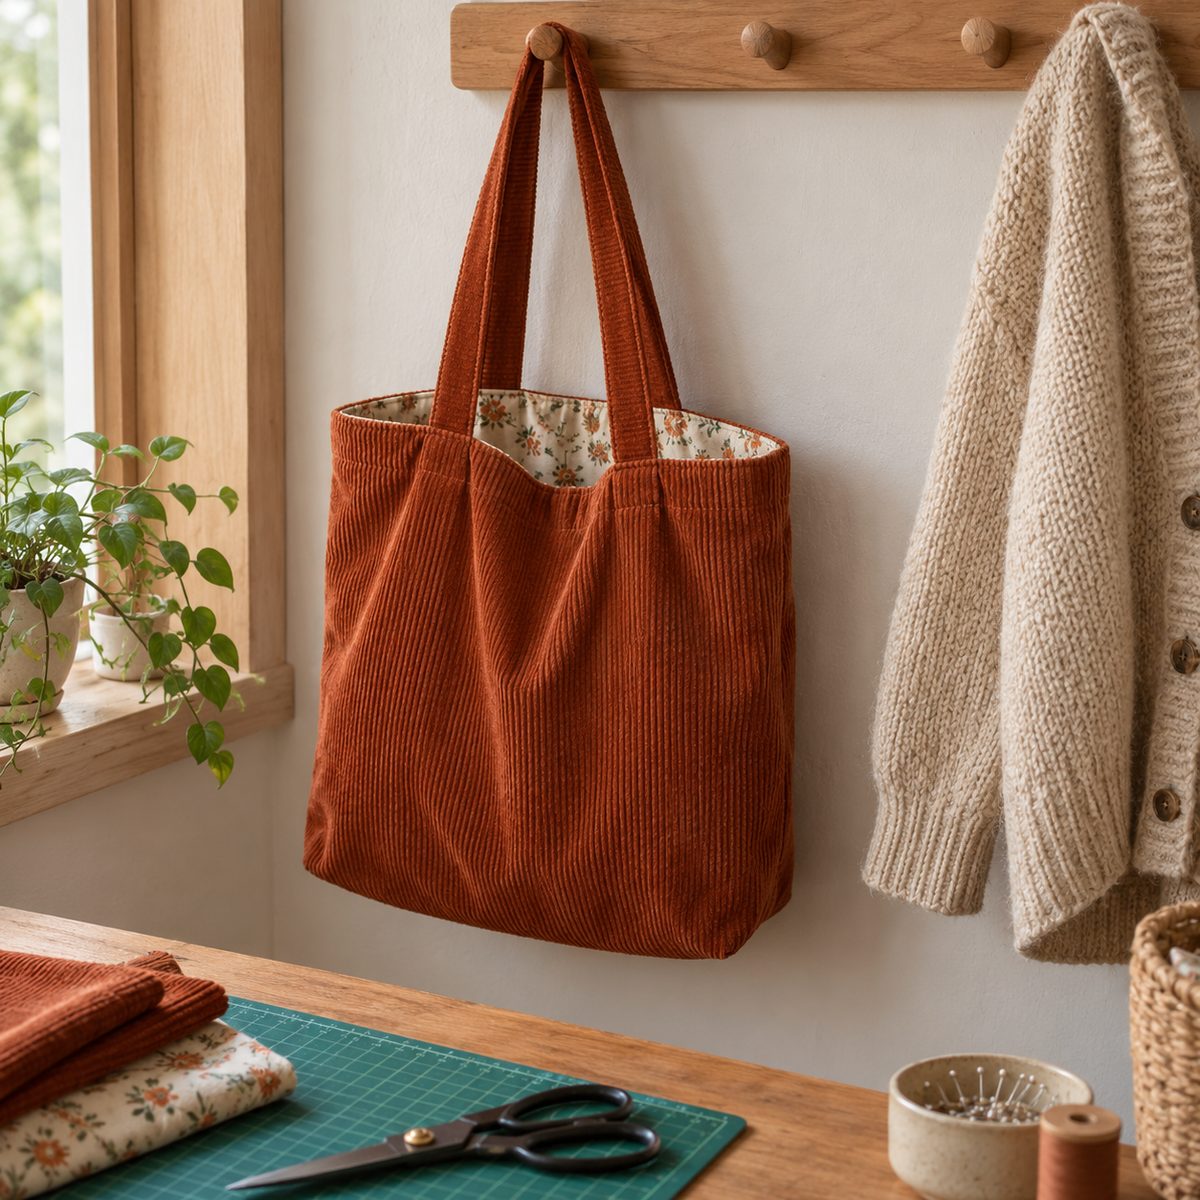
Corduroy is the unofficial fabric of fall, and a rust or camel tote becomes the bag you carry all season.
Time: 1 1/2 hours. Skill: Beginner.
Materials: 1/2 yard of medium-wale corduroy, 1/2 yard of cotton lining, and 1/2 yard of medium-weight fusible interfacing.
- Cut two outer panels, two lining panels, and two interfacing panels at 15 x 16 inches.
- Cut two strap strips 4 x 26 inches from the corduroy.
- Fuse interfacing to the corduroy, sew outer and lining bags, and box the corners 2 inches.
- Fold the straps into 1 inch strips, topstitch, and sew in at the top seam.
Keep the wale running one direction and press with a cloth.
15. Halloween Trick-or-Treat Bag
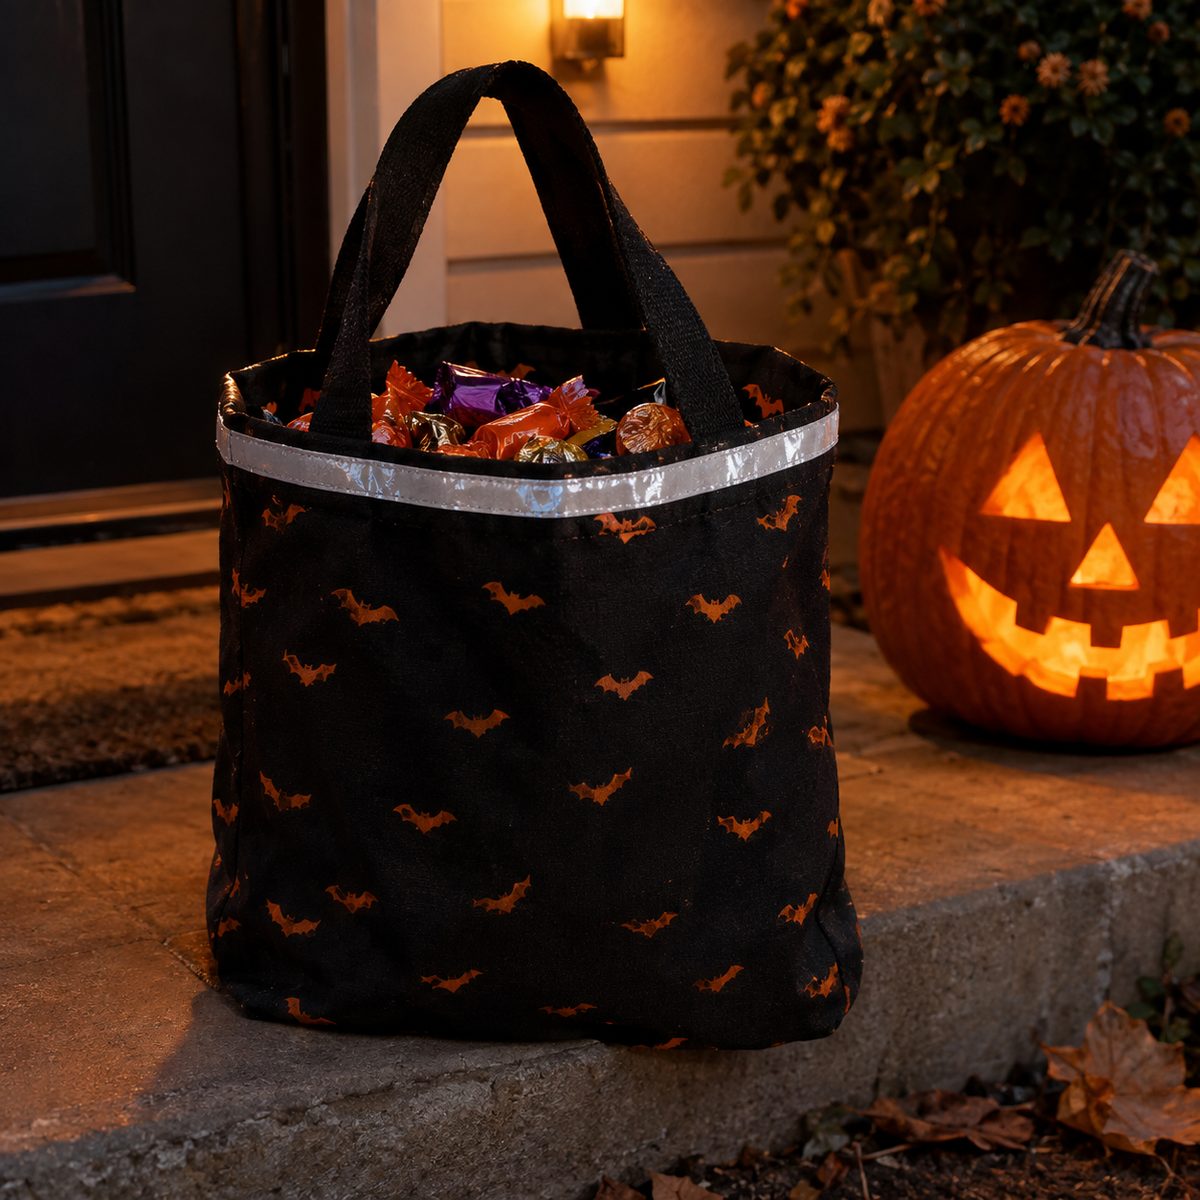
A handmade trick-or-treat bag lasts for years, and kids love picking the print.
Time: 1 hour. Skill: Beginner.
Materials: 1/2 yard Halloween cotton for the outer, 1/2 yard lining, and 1/2 yard fusible fleece.
Cut two outer and two lining panels at 14 x 16 inches, and fuse fleece to the outer panels so the bag stands up. Cut two strap pieces 3 x 20 inches. Sew the outer bag and lining bag, boxing the bottom corners 2 inches. Make the straps, baste them to the outer bag, then join outer and lining at the top and turn through a gap in the lining.
Add reflective tape around the top for dark streets.
16. Simple Halloween Costume Cape
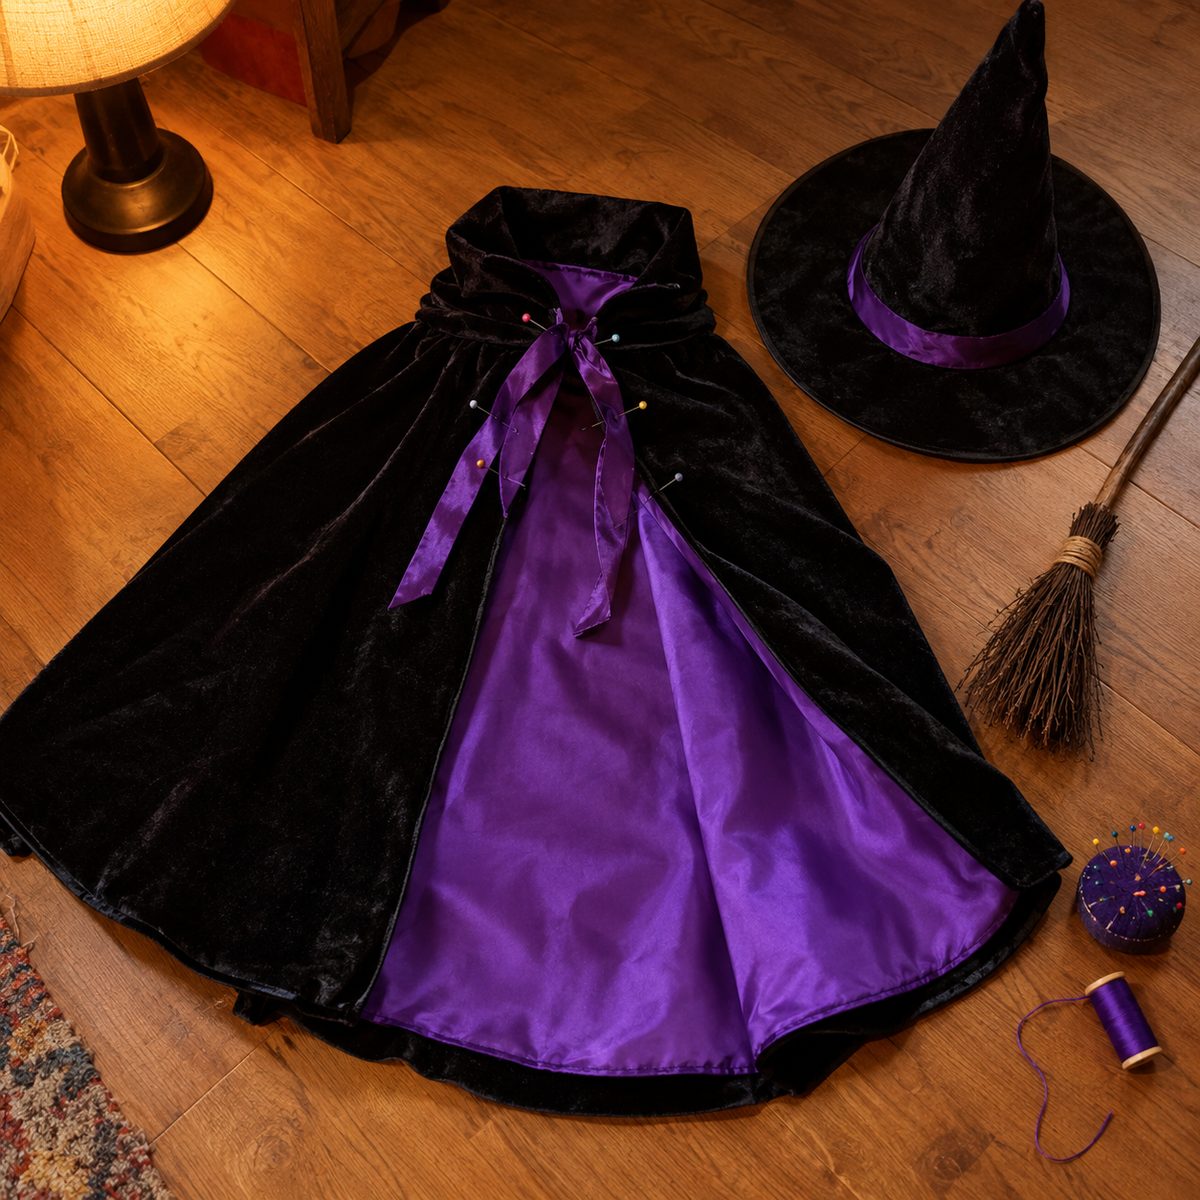
A lined cape becomes a witch, vampire, wizard, or superhero, so it gets worn well past October. For little ones, swap the ties for hook-and-loop tape.
Time: 1 1/2 hours. Skill: Beginner.
Materials for a child’s size 4 to 8: 1 yard of outer fabric (satin, velvet, or broadcloth), 1 yard of lining in a contrasting color, and 1 yard of 1 inch ribbon for ties.
Fold the fabric and cut a half-circle, or a simple trapezoid about 28 inches long, 10 inches wide at the neck and 45 inches at the hem. Cut the lining the same. Sew them right sides together, leaving the neck edge open, turn, and press. Gather the neck edge to about 12 inches and bind it with the ribbon, leaving long tails to tie.
17. Harvest Bunting
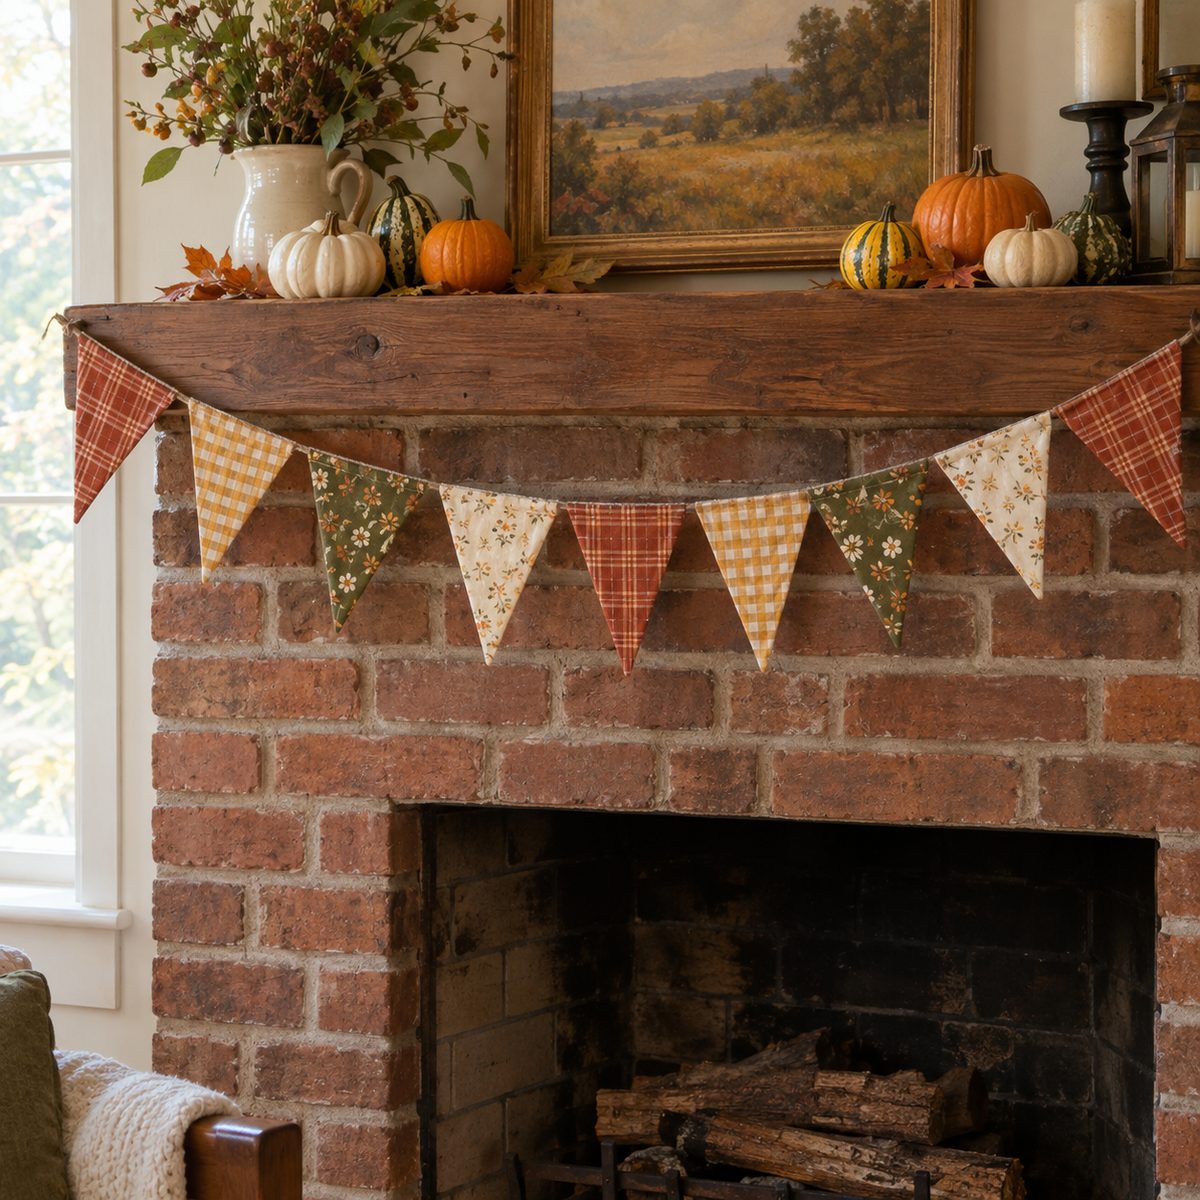
Bunting in rust, mustard, and olive prints brightens a mantel or porch, stores flat for next year, and uses up fall-colored scraps.
Time: 2 hours. Skill: Beginner.
Materials: About 1 yard total of assorted scraps (enough for 24 triangle pieces), and 4 yards of double-fold bias tape.
Cut a triangle template 7 inches across the top and 8 inches tall. Cut two pieces per flag, sew them right sides together along the two long sides, clip the point, turn, and press. Space the flags about 1 inch apart inside the folded bias tape, leaving 18 inches free at each end for hanging. Stitch the tape closed along its full length, catching every flag.
18. Fall Mug Rug
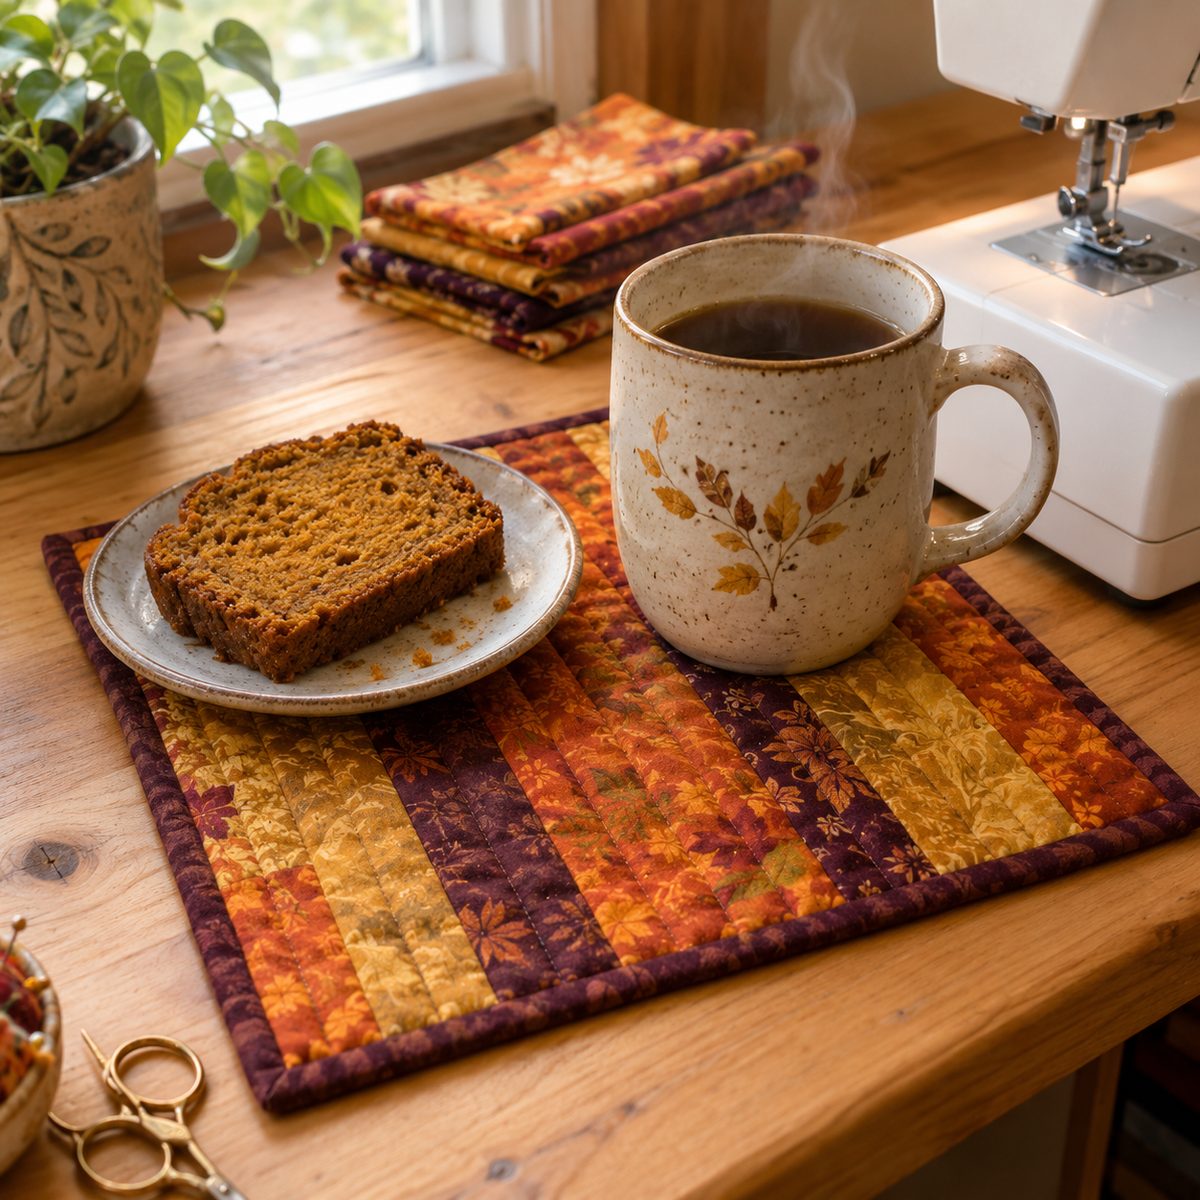
A mug rug is a mini quilt big enough for a coffee mug and a slice of pumpkin bread, and a great way to try quilting small.
Time: 1 hour. Skill: Beginner.
Materials: Scraps for a pieced top, a 7 x 10 inch backing, a 7 x 10 inch piece of batting, and a 2 1/4 x 40 inch binding strip.
- Piece a top from four or five strips of fall prints, sewn side by side and trimmed to 6 x 9 inches.
- Layer backing, batting, and top, then quilt straight lines every 1/2 inch.
- Trim and bind the edges.
Choose a cotton batting so the mug rug stays flat and handles hot drinks. More on choosing batting if you’re unsure which kind to use.
19. Reversible Fall Table Topper
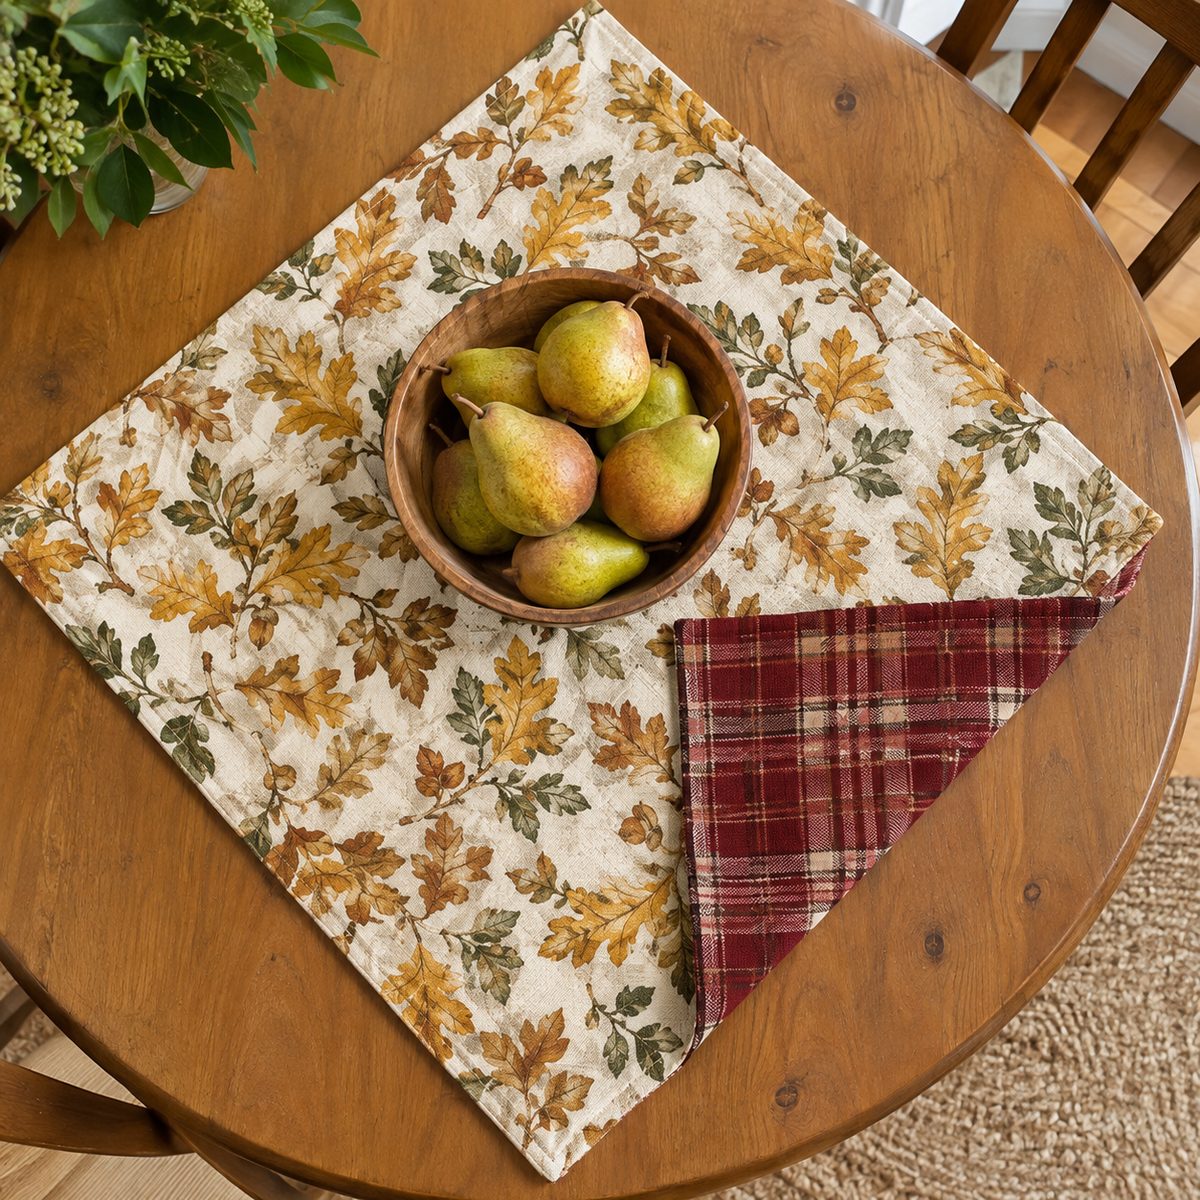
A reversible topper does double duty: a leaf print for October and a harvest plaid for Thanksgiving.
Time: 2 hours. Skill: Beginner.
Materials: 1 1/4 yards each of two coordinating cottons and a 40 inch square of thin cotton batting.
Cut both fabrics and the batting to 38 inch squares. Layer the batting, then fabric one right side up, then fabric two right side down. Sew all around with a 1/2 inch seam, leaving an 8 inch gap. Clip the corners, turn right side out, press, and topstitch 1/4 inch from the edge to close the gap. Finally, quilt a simple 6 inch grid through all layers so it lies flat and washes well.
20. Pie Slice Potholder
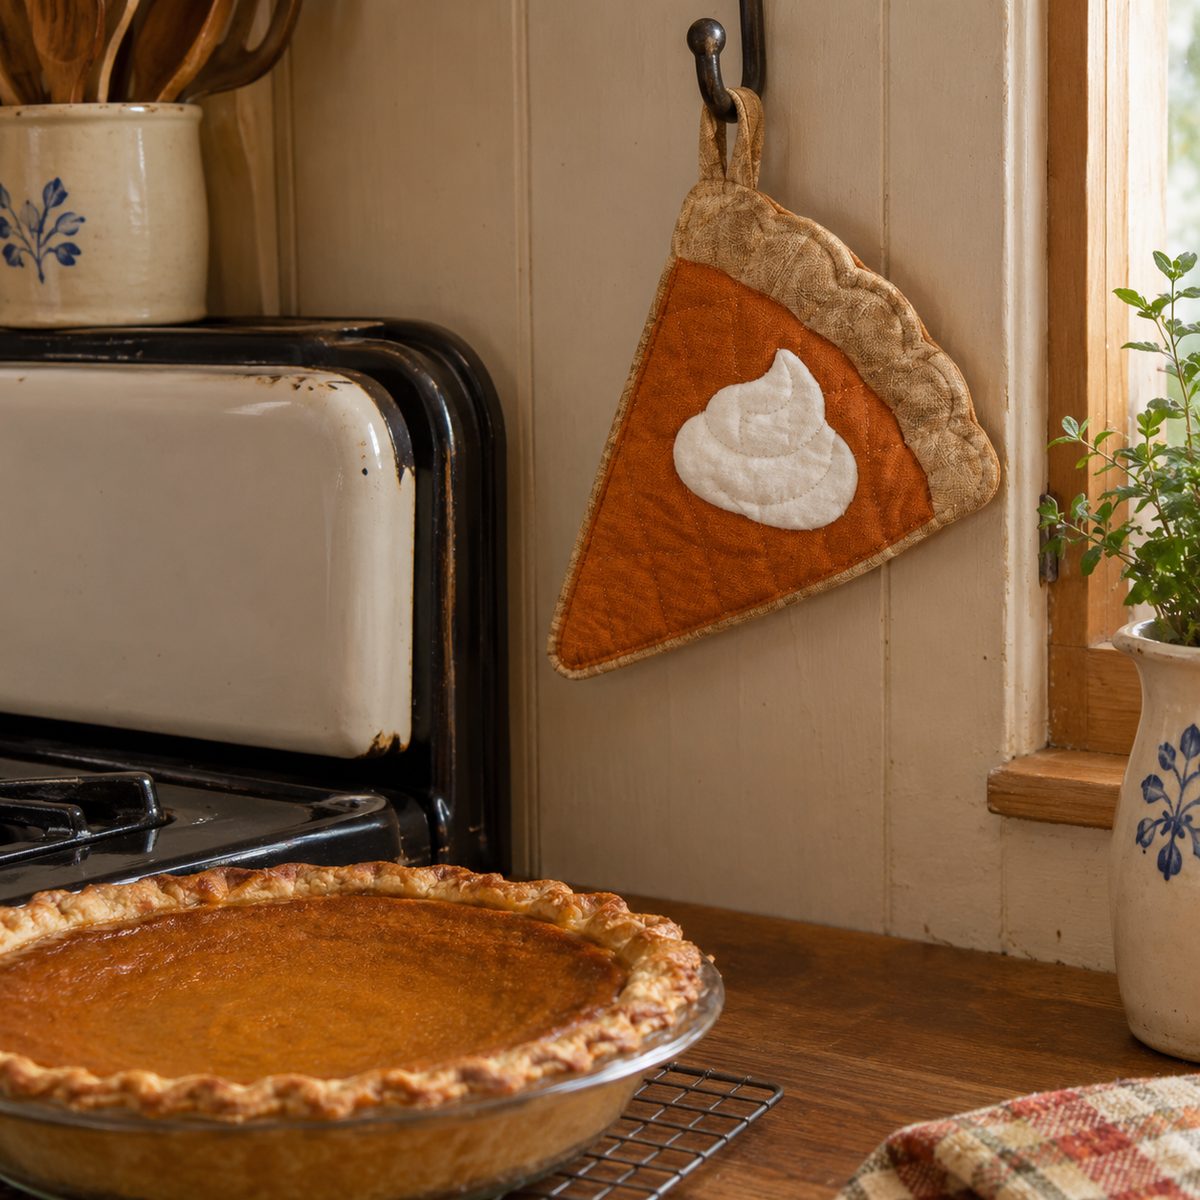
A pumpkin pie slice potholder is pure fun in the kitchen and a sweet hostess gift.
Time: 1 hour. Skill: Beginner.
Materials: Orange cotton for the filling, tan or brown cotton for the crust, a scrap of white felt or cotton for whipped cream, and two layers of heat-resistant insulated batting plus one layer of cotton batting.
Draw a triangle 8 inches tall and 7 inches wide at the crust edge, with a curved back. Piece the front from orange with a 1 1/2 inch strip of crust along the wide end. Appliqué a cloud of white “cream” near the crust. Layer front, batting layers, and backing, quilt a few lines, and bind the edges with brown bias tape, adding a hanging loop at the tip.
Always use the insulated batting; regular batting alone won’t protect your hands.
21. Sweater-Knit Pillow
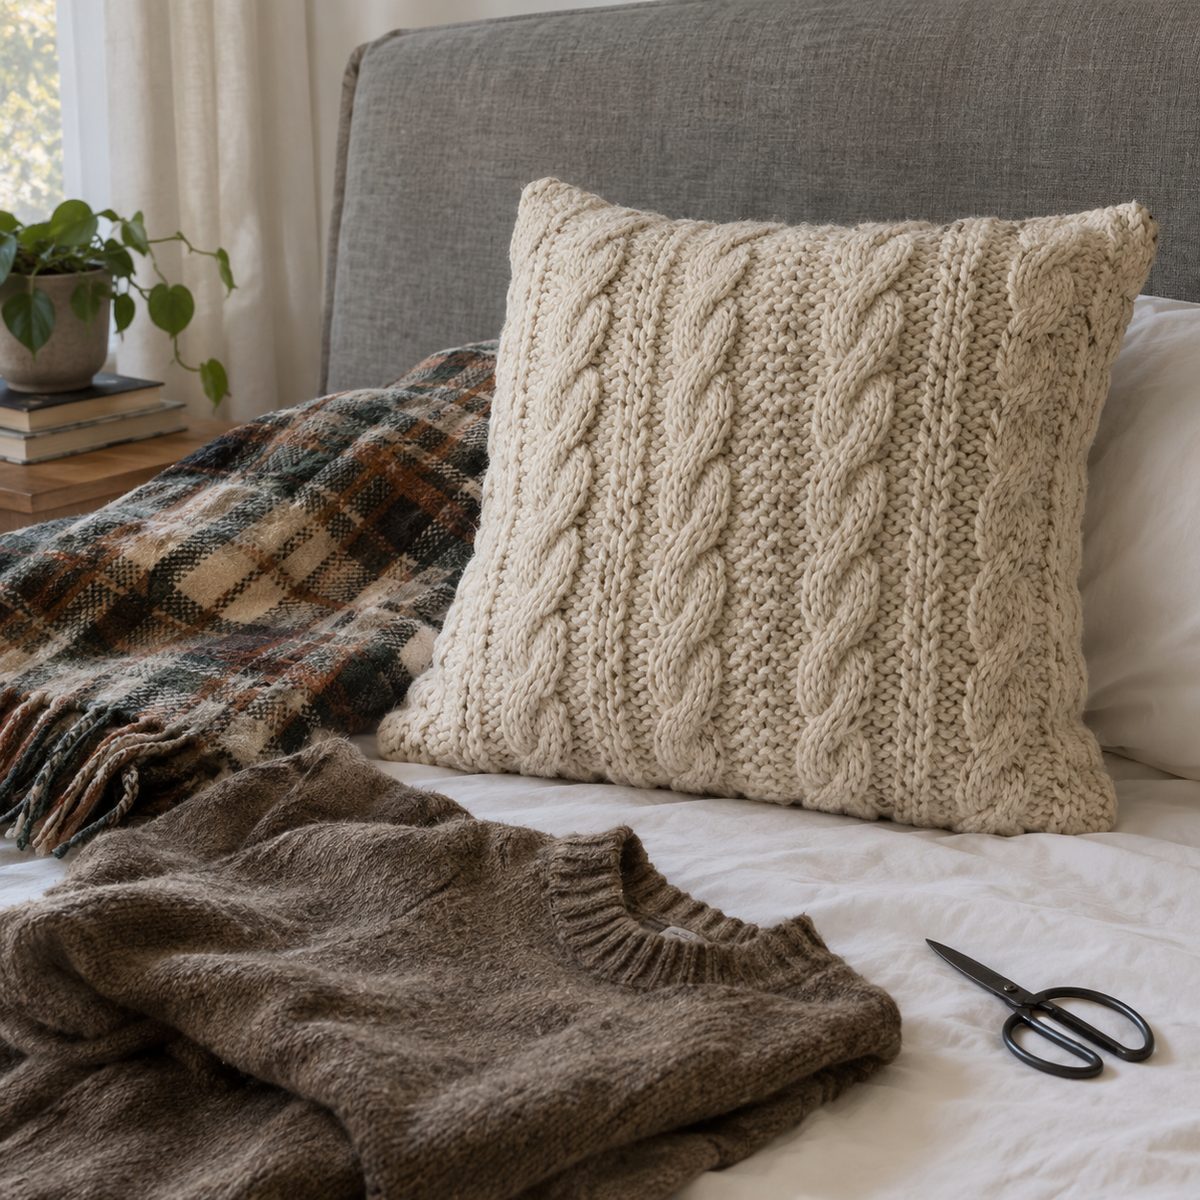
A cable-knit pillow brings instant texture to a couch or bed, sewn from sweater-knit yardage or a thrifted sweater.
Time: 45 minutes. Skill: Confident beginner.
Materials for a 16 inch pillow: 1/2 yard sweater knit (or one adult sweater), 1/2 yard cotton for the back, lightweight fusible interfacing, and a 16 inch insert.
Cut the knit front 16 1/2 inches square and fuse interfacing to the back of it so it won’t stretch or unravel. See how to stabilize knit fabric for sewing for more options. Make an envelope back from two 16 1/2 x 12 inch cotton pieces, and sew with a ballpoint needle and a slightly lengthened stitch.
22. Plaid Dog Bandana
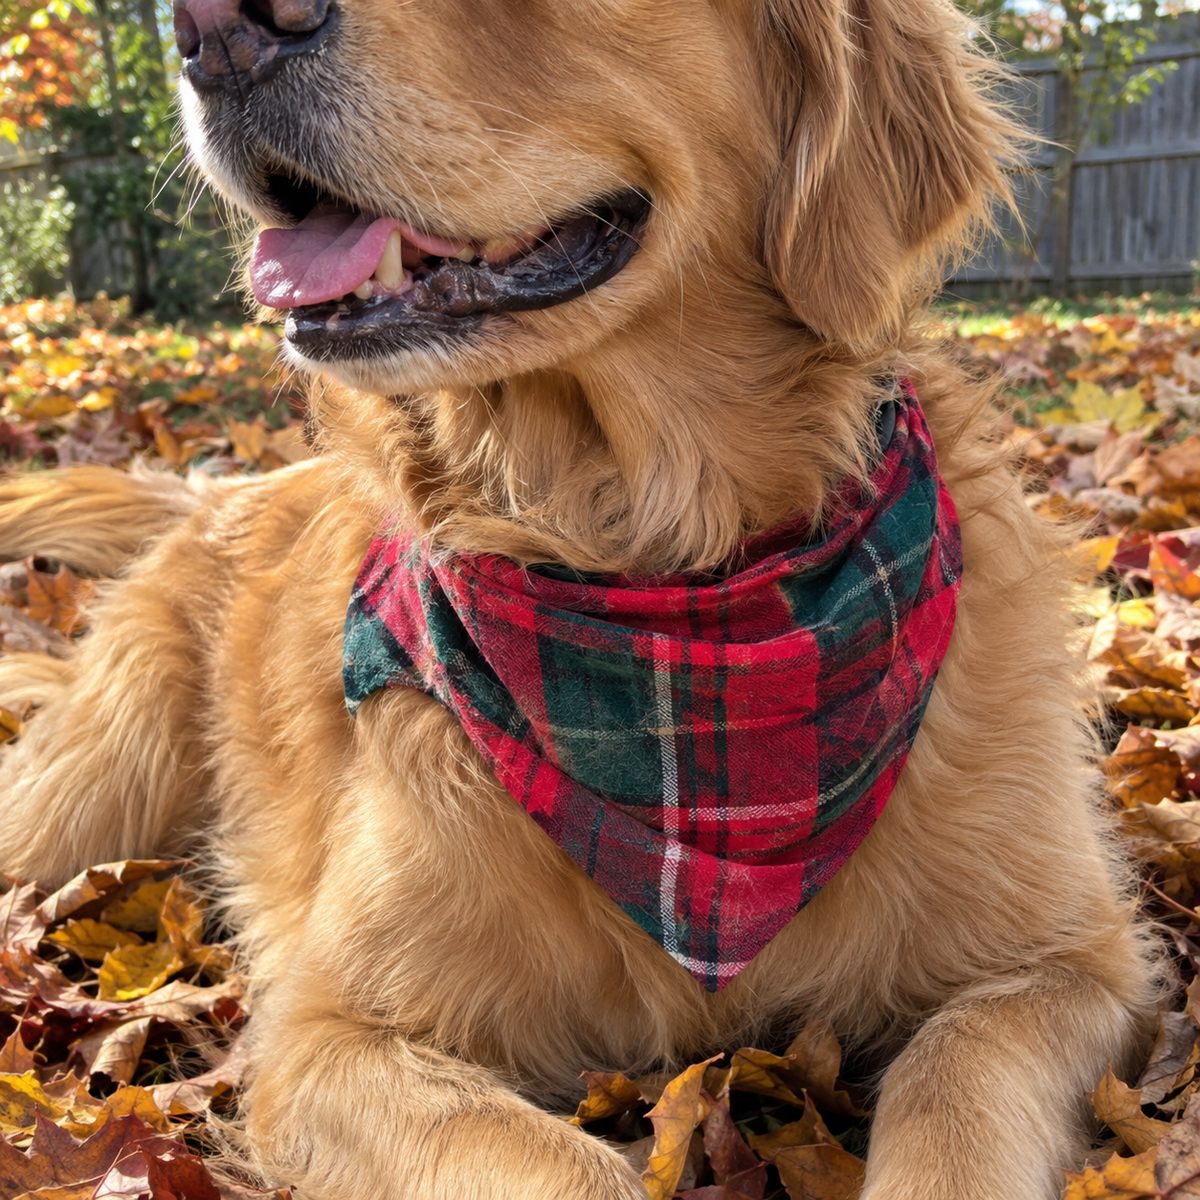
A reversible plaid bandana dresses up the family dog for fall photos. It slips onto the collar, so no tying.
Time: 30 minutes. Skill: Beginner.
Materials: One fat quarter of plaid flannel and one fat quarter of a coordinating cotton for the reverse.
- Measure the collar length and add 2 inches for the top width of the bandana.
- Cut a triangle with that top width and a depth of about half the top width (a medium dog is roughly 16 x 9 inches).
- Sew both triangles right sides together, leaving a gap, turn, and press.
- Fold the top edge down 1 1/4 inches and stitch to make a collar channel.
Pick One and Start Sewing
You don’t need to make all 22 this season. Start with a quick win, like a velvet pumpkin, a set of napkins, or a blanket scarf, and let the momentum carry you into the bigger projects. Most of these reuse the same few skills: straight seams, boxed corners, simple binding, and gathering, so each one makes the next easier. Pull out your warm-colored scraps, pre-wash any new flannel or cotton, and you’ll have a home that feels like autumn well before Thanksgiving arrives.