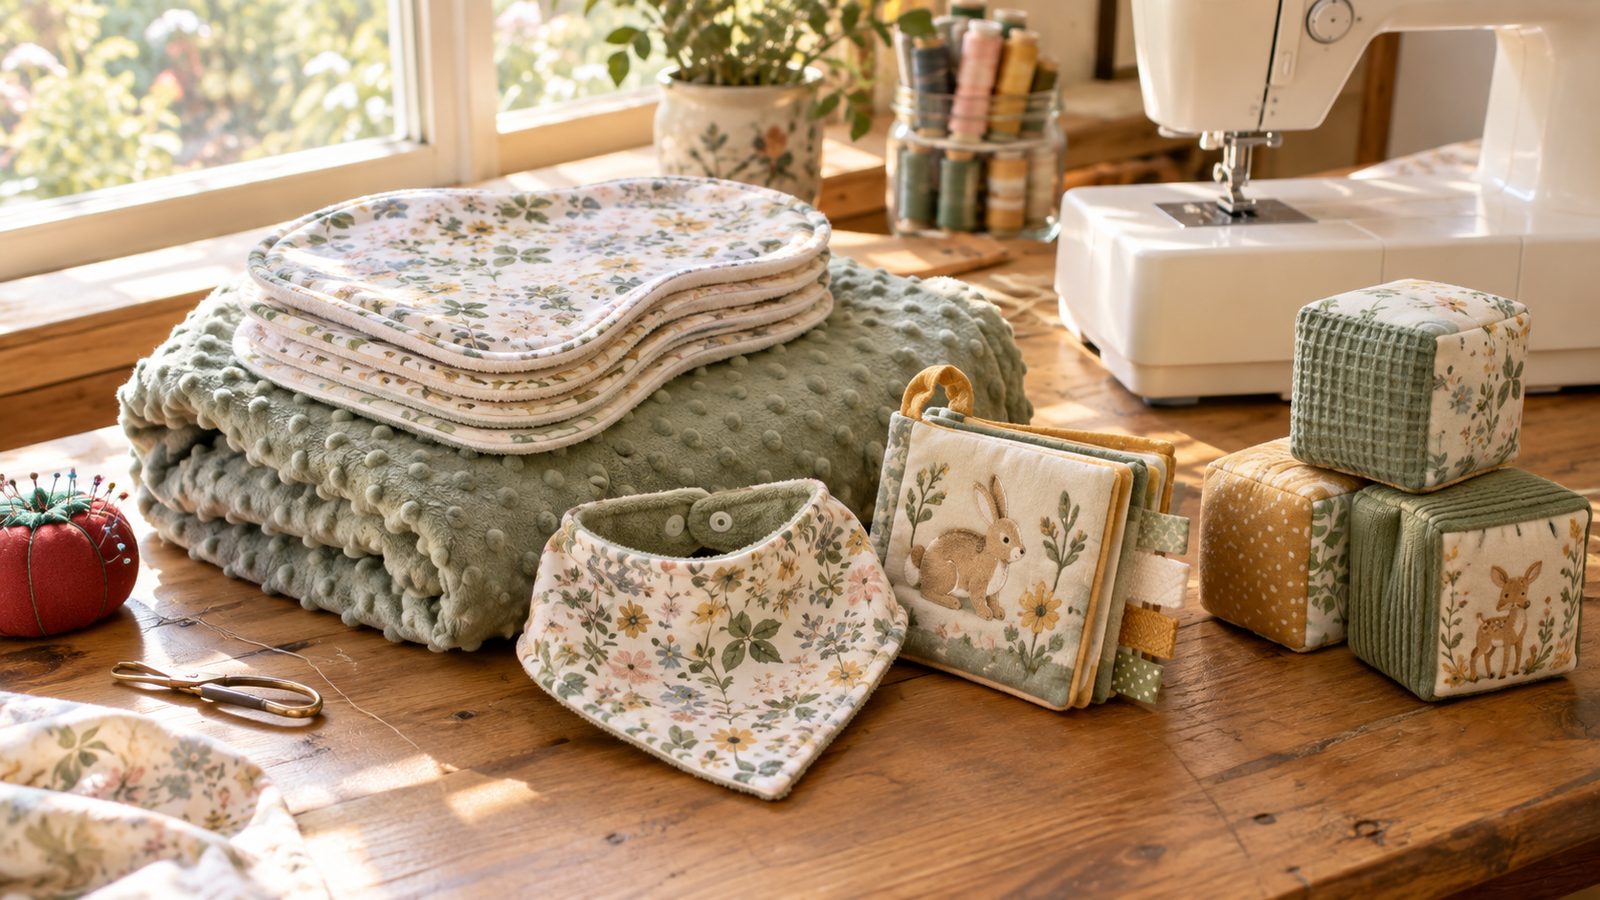
Handmade baby gifts are the ones parents actually keep. A stack of soft burp cloths or a cozy minky blanket gets used every single day, and most of these projects take an afternoon or less, often from fat quarters and scraps.
A few ground rules before you cut: pre-wash every fabric in fragrance-free detergent so it shrinks now instead of after the gift is opened. Skip buttons, beads, and anything a baby could pull off. Embroider faces, backstitch every seam, and tug-test everything you finish.
Following safe-sleep guidance, nothing on this list is meant to go loose in the crib.
1. Contoured Burp Cloths
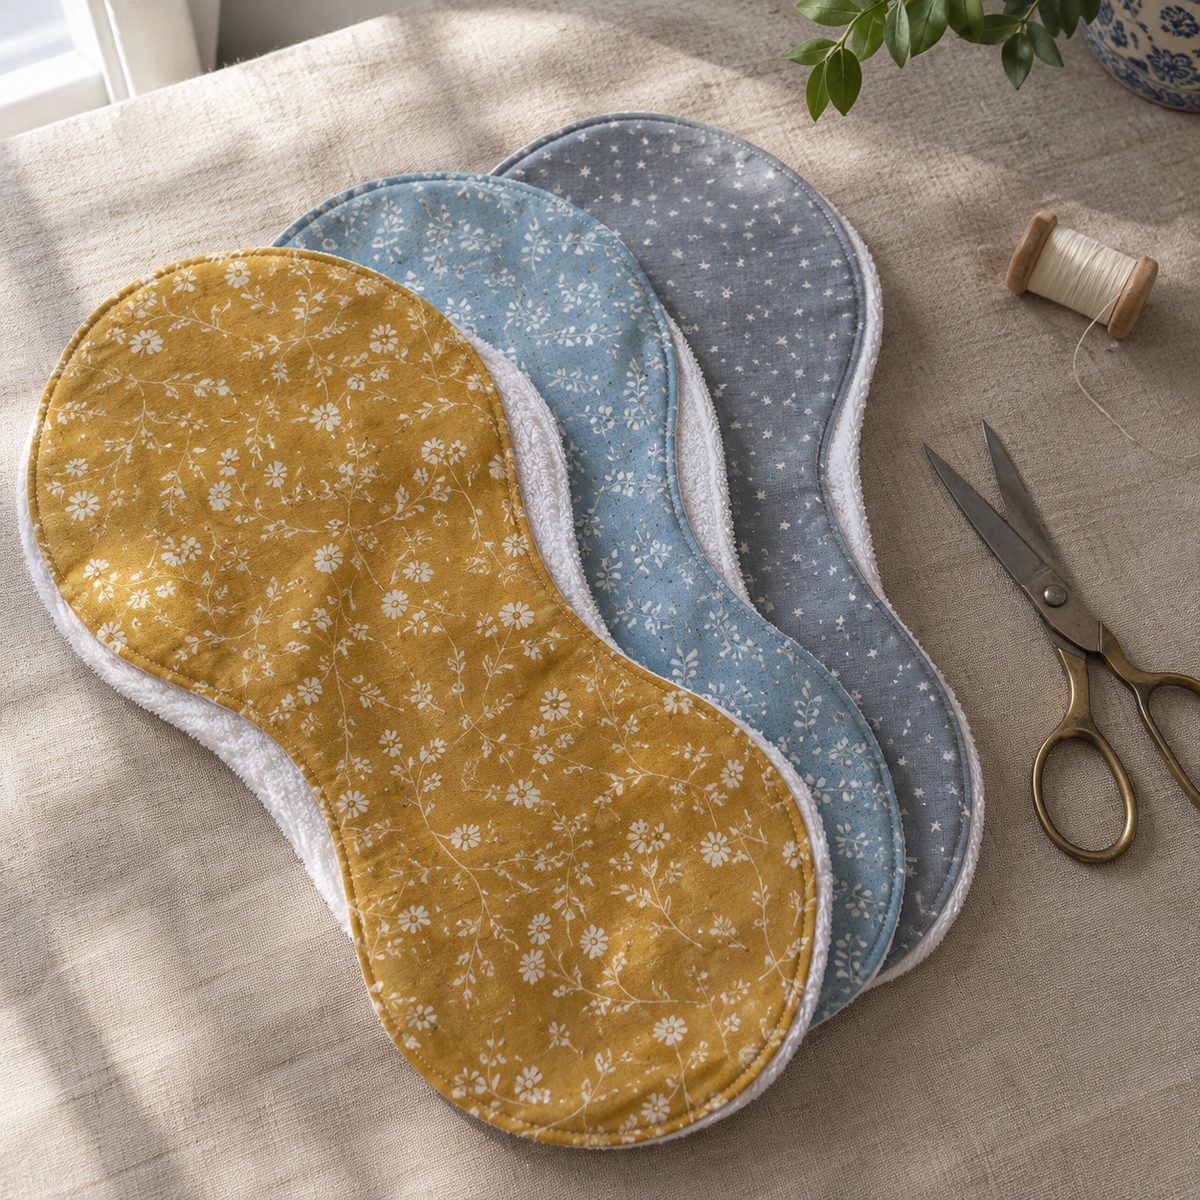
Burp cloths are the most-used baby gift there is, and new parents never have enough. A contoured shape (narrow in the middle, wider at the ends) hugs the shoulder so it stays put during feedings.
Cut a 9″ x 20″ peanut shape from quilting cotton or flannel for the front and a matching piece of terry cloth or cotton chenille for the back. Place them right sides together, stitch around with a 1/4″ seam allowance, leave a 3″ opening, then turn, press, and topstitch 1/8″ from the edge to close the gap.
- Time: about 20 minutes each, faster in batches
- Tip: use absorbent fabric on the back, not minky
Make a set of three or five and tie them with a ribbon for an easy shower gift.
2. Classic Snap Bib
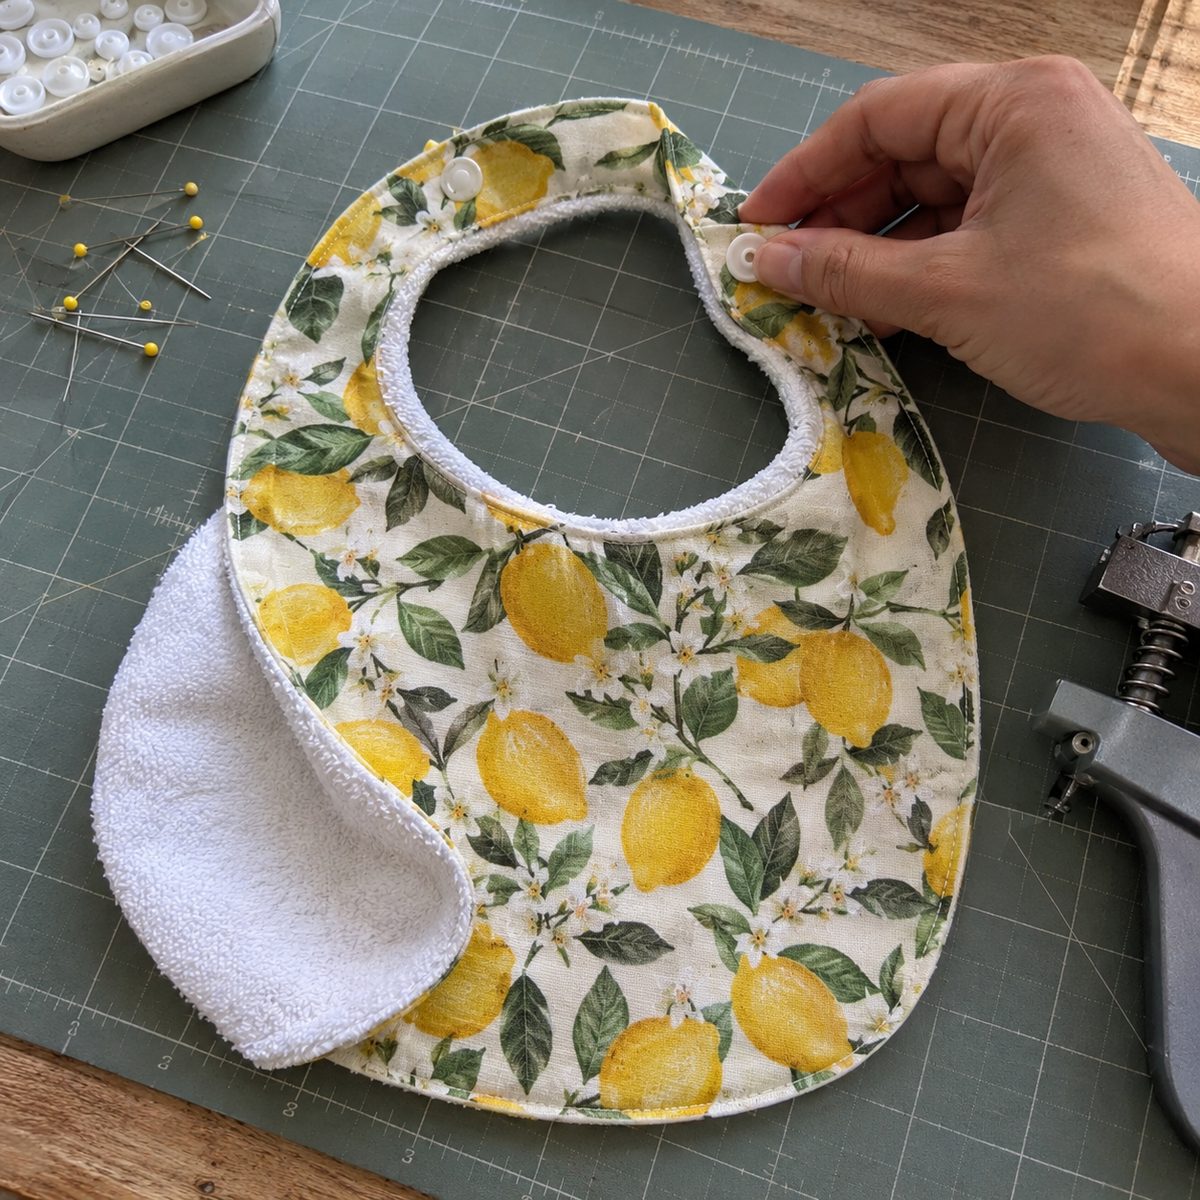
A basic bib takes about 25 minutes and uses fabric scraps you already have. Trace a bib you like or draft one about 9″ wide by 11″ long with a curved neckline roughly 4″ across.
Layer a cotton print front, a terry or flannel back, and, if you want a waterproof bib, a middle layer of PUL. Sew around with the right sides together, leaving an opening on a straight edge, clip the curves, turn, and topstitch.
For closures, plastic KAM snaps are my go-to. They are smooth, lightweight, and far more secure than a sew-on button. Set them firmly with the press and check that they cannot be pried off with a fingernail. Skip Velcro, which snags everything in the wash.
As with any bib, take it off before naps and never leave a baby asleep wearing one.
3. Bandana Drool Bib
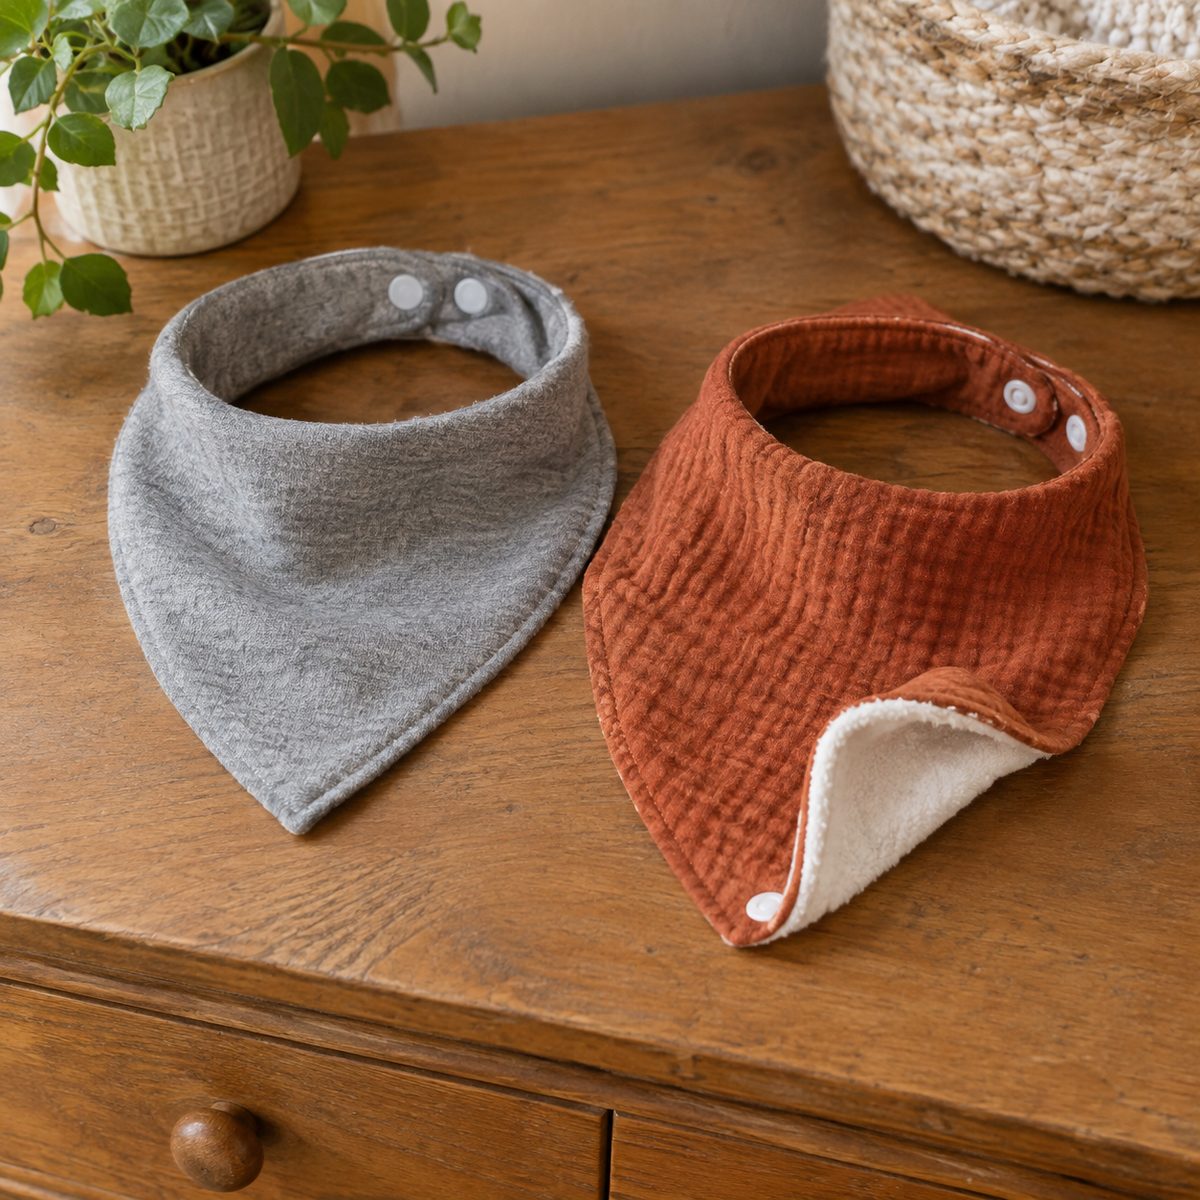
Bandana bibs are the stylish cousin of the regular bib, perfect for drooly teething months. The triangle shape looks like a little scarf and catches drips before they soak the onesie.
Draft a triangle about 15″ across the top and 7″ deep, with the top edge gently curved to fit the neck. Cut one front from cotton knit, double gauze, or a cute print, and one back from absorbent fleece or bamboo terry. Sew right sides together, turn through a 2″ gap, and topstitch.
Add two plastic snaps at the ends, placed so you can adjust the neck size. The bib should sit loosely at the collarbone, never snug against the throat.
- Fabric needed: one fat quarter makes two or three
- Safety: for supervised, awake wear only
4. Double Gauze Swaddle Blanket
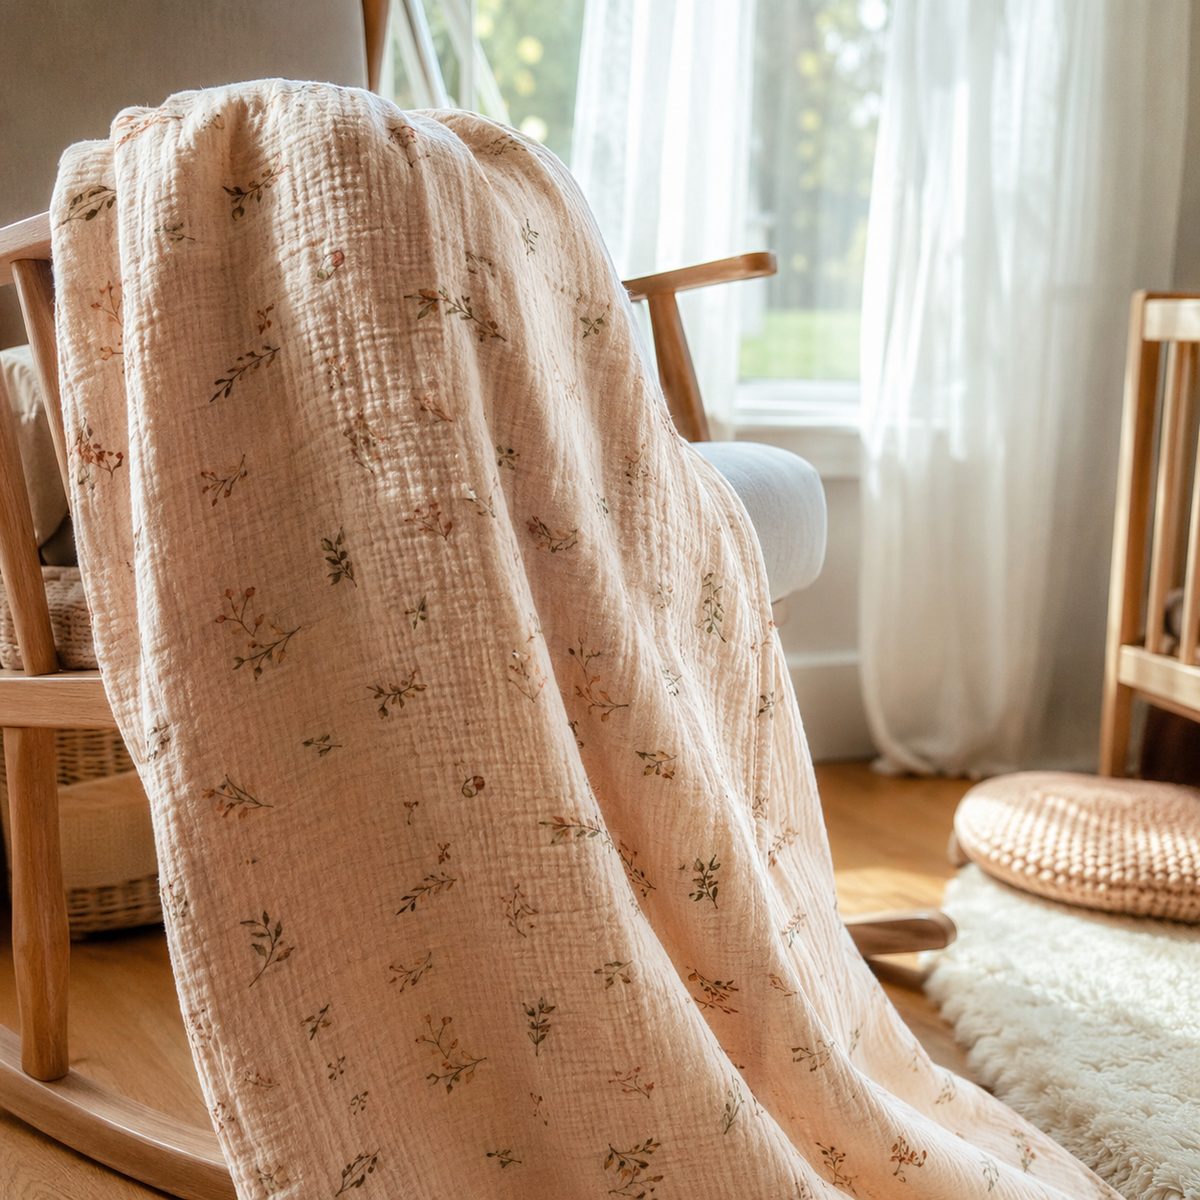
Double gauze is two layers of airy cotton gauze tacked together, and it makes the dreamiest breathable swaddle. It is also one of the easiest projects on the list, since you only need to hem one big square.
Buy 1 1/4 yards of 45″ to 50″ wide double gauze, pre-wash it (it shrinks and gets delightfully crinkly), then trim to a square about 44″ x 44″. Finish the edges with a narrow double-fold hem: press under 1/4″, then another 1/4″, and stitch close to the fold. A rolled hem on a serger looks lovely here too.
Use a walking foot or lengthen your stitch to 3 mm, because gauze can shift. Swaddles are for babies who are not yet rolling, so mention that on a gift tag if you like.
5. Minky Receiving Blanket
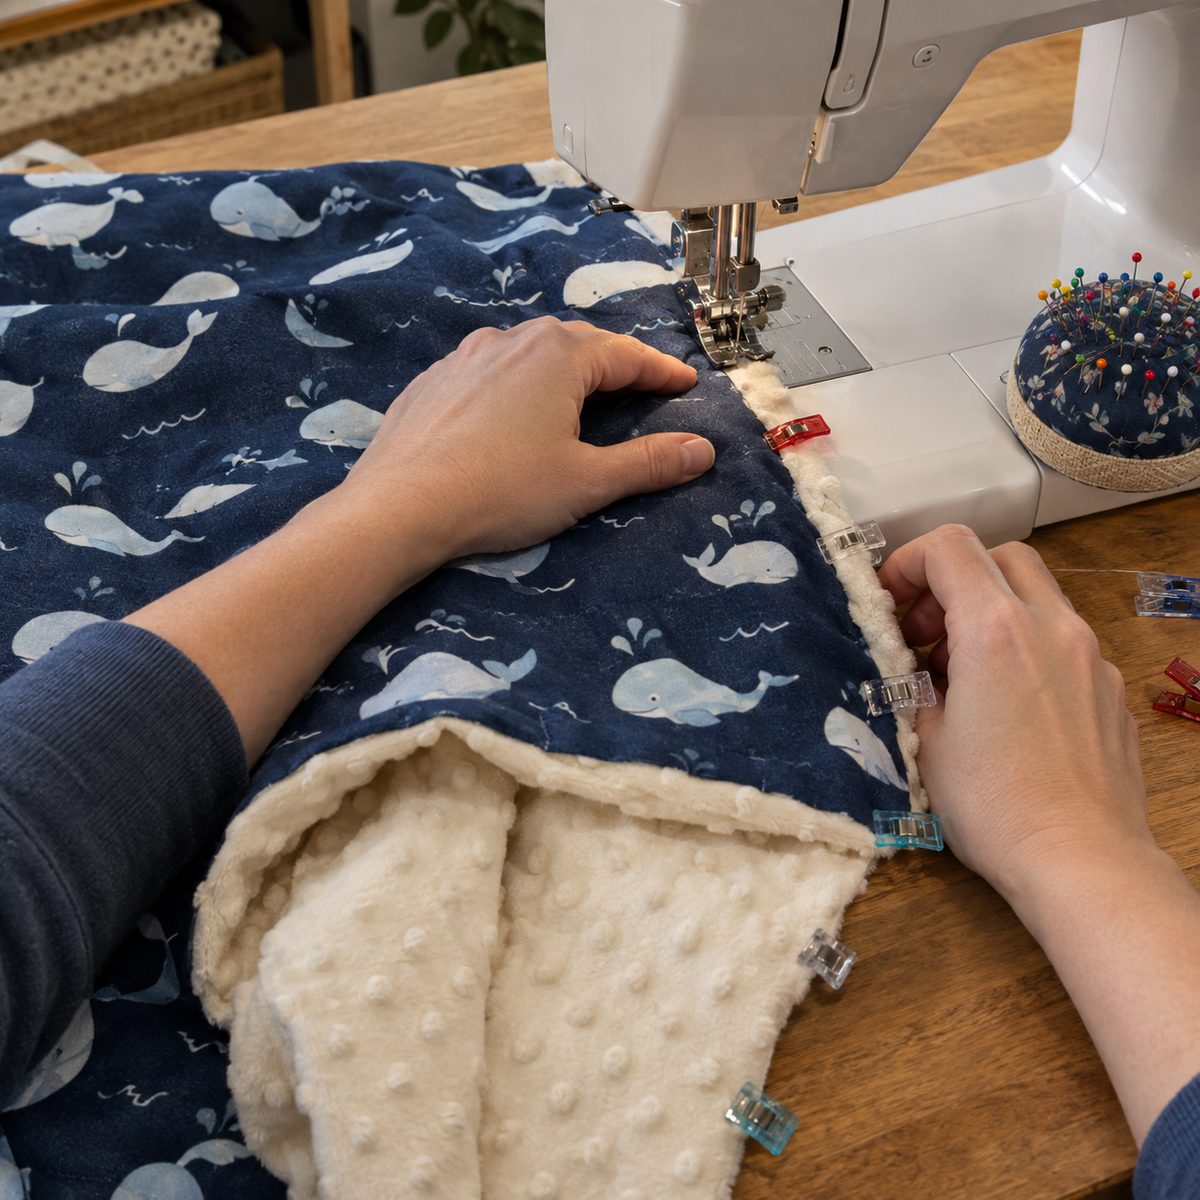
Nothing says baby shower like a squishy minky blanket with a cotton print on the other side. Minky is a plush polyester that stretches and sheds when cut, so a few tricks make all the difference.
Cut a 30″ x 36″ rectangle of minky and one of quilting cotton. Place right sides together and pin every 2″ (or use clips). Sew with a walking foot, a ballpoint or stretch needle, and a 1/2″ seam allowance with the minky on the bottom so the feed dogs help ease it along. Leave a 6″ opening, trim the corners, turn, and topstitch 1/4″ from the edge.
- Tip: cut minky with the nap running down, then shake it outside to remove fluff
- Time: about 1 hour
This is a stroller and playtime blanket, not a crib blanket for a young baby.
6. Taggie Ribbon Blanket
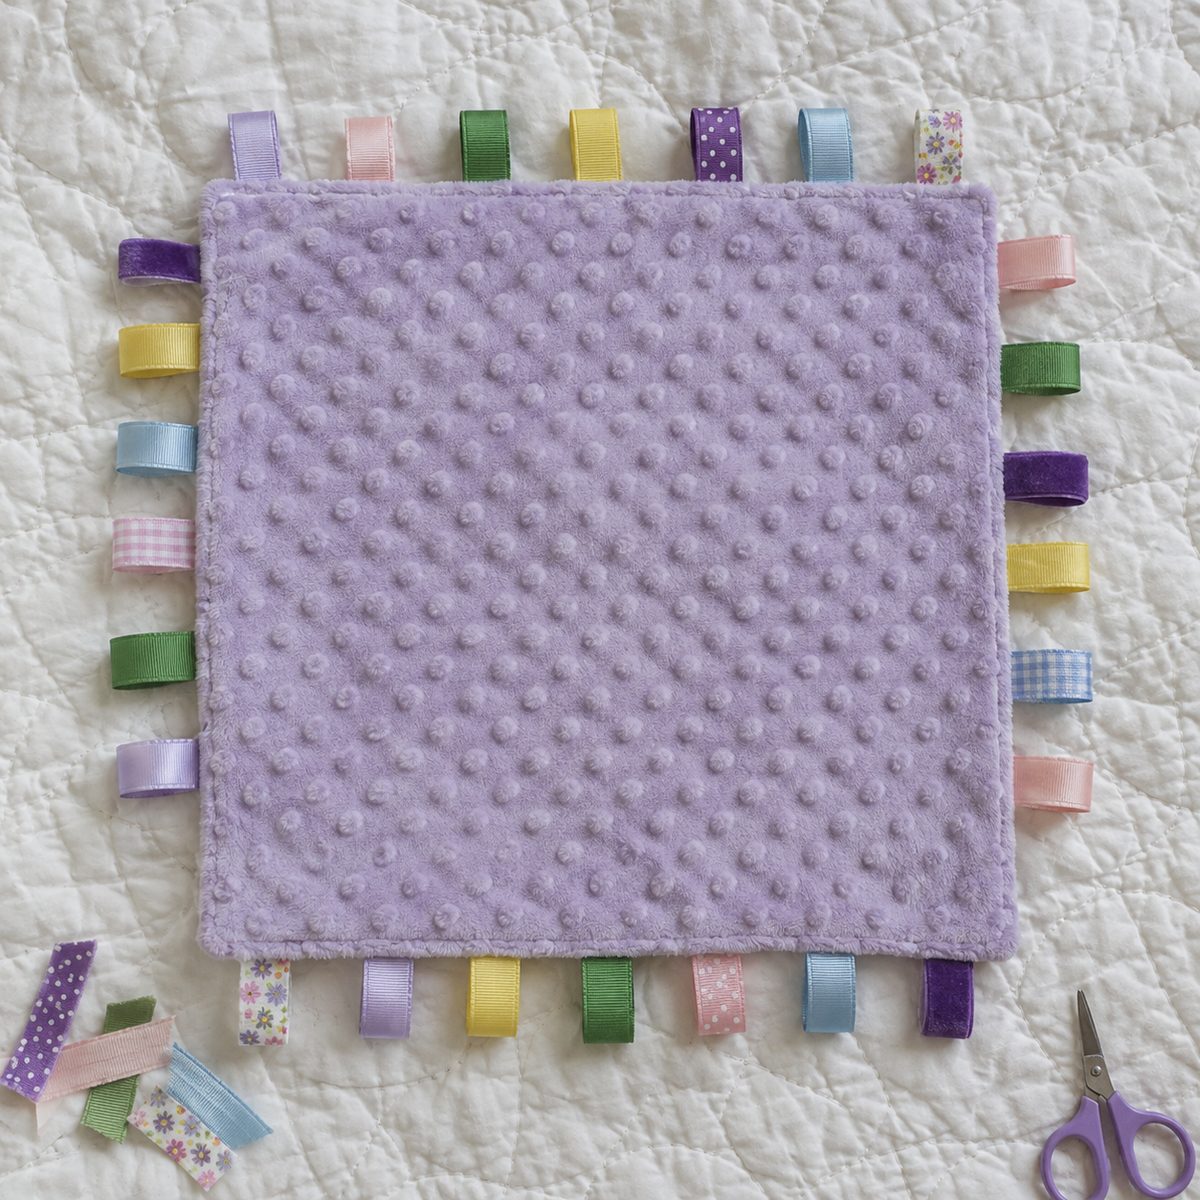
Babies love to fiddle with tags, so a taggie blanket gives them a whole square of them. It is quick, uses ribbon scraps, and is one of the most popular handmade gifts at showers.
Cut two 14″ squares, one minky and one cotton or flannel. Cut ribbons in different textures (grosgrain, satin, velvet) into 4″ lengths and fold each in half into a closed 2″ loop. Baste the loops to the right side of one square, raw edges aligned, spacing them 2″ to 3″ apart. Lay the second square on top, sew all around with a 1/2″ seam, turn through a gap, and topstitch.
For safety, keep loops short and closed so tiny fingers cannot get tangled, and backstitch over each ribbon. Heat-seal ribbon ends with a lighter so they do not fray.
7. Fabric Crinkle Book
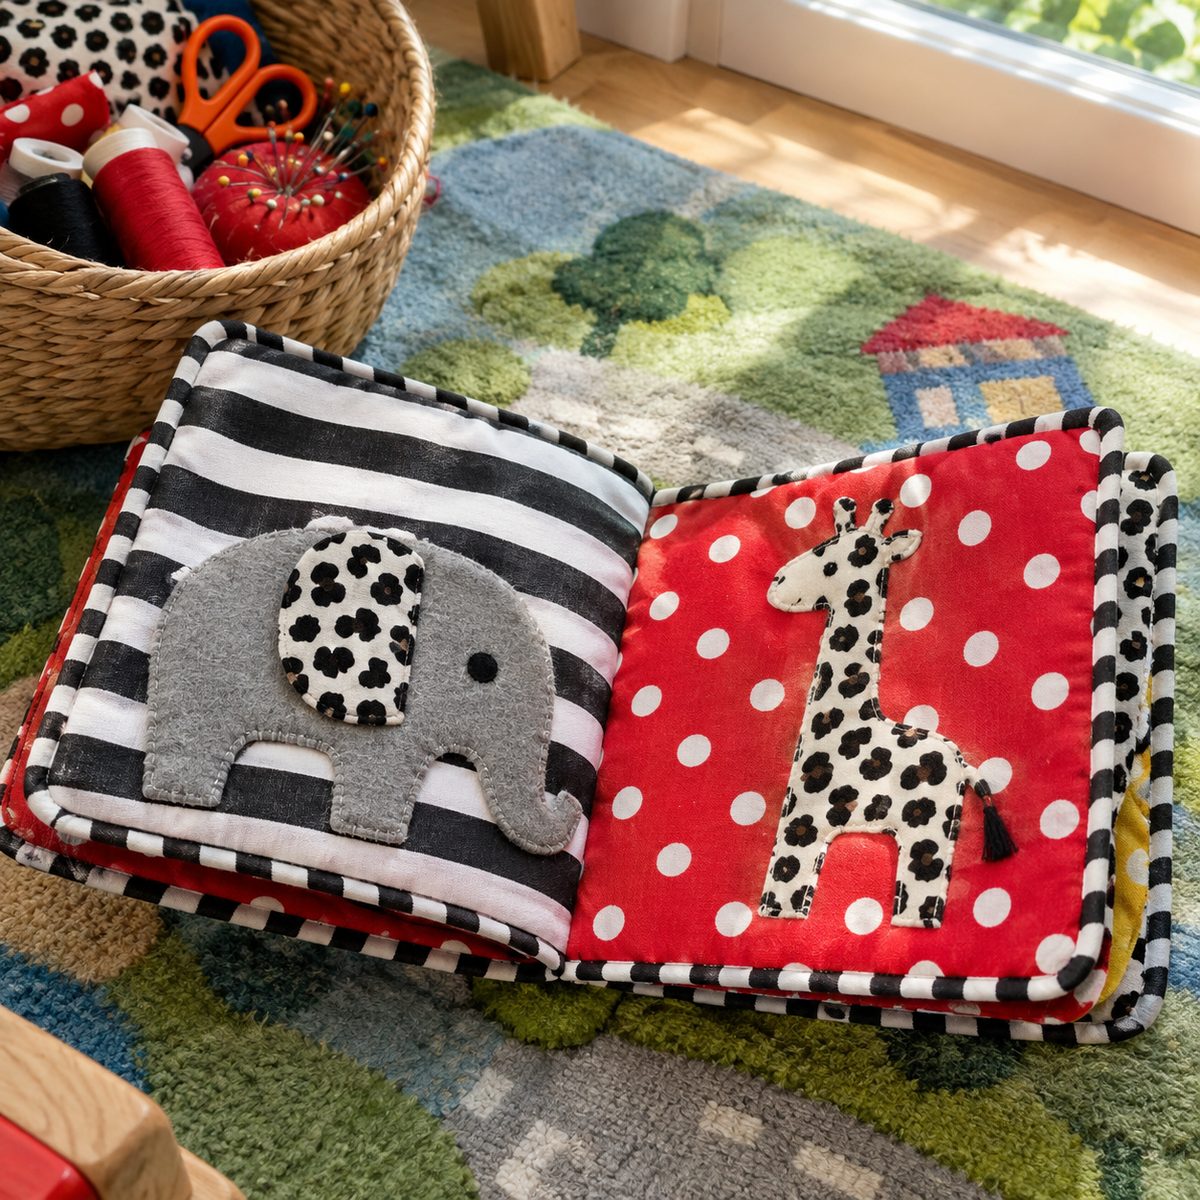
A soft crinkle book is a sensory toy that babies can chew, squish, and bat at. Each page crackles when squeezed, which keeps little hands busy during tummy time or car rides.
Cut six 8″ squares of cotton with bold, high-contrast prints (animals, shapes, and stripes work well) and three 7 1/2″ squares of crinkle film. Sandwich one crinkle square between two fabric squares, stitch around the edges, then finish with bias binding or a zigzag.
Stack the three pages and sew a straight line down the center, backstitching at both ends, to create the spine. Add appliqué shapes if you like, but embroider details rather than adding buttons or googly eyes.
- Crinkle material: buy purpose-made crinkle film, which is sturdy and washable
- Time: about 90 minutes
8. Soft Fabric Blocks
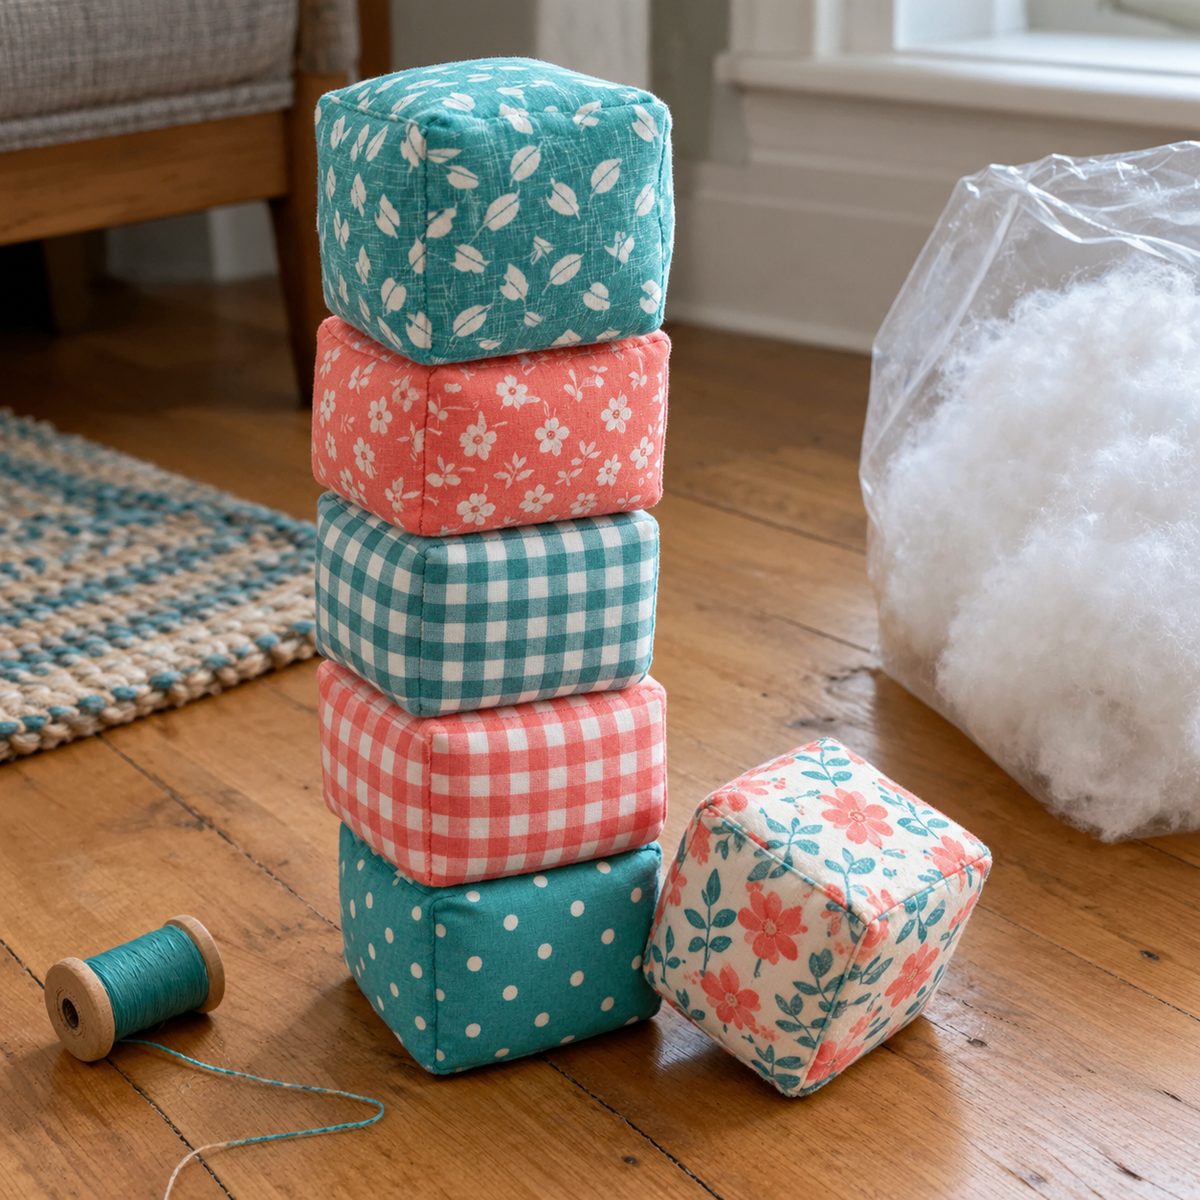
Fabric blocks are safe for stacking, knocking over, and chewing. Make a set of three or six in coordinating prints and you have a toy that lasts through the toddler years.
For a 4″ block, cut six 4 1/2″ squares per block. Sew four squares into a strip, join the ends to make a ring, then add the top and bottom squares, pivoting at each corner with the needle down. Leave part of one seam open, turn, and stuff firmly with polyester fiberfill.
Ladder-stitch the opening closed by hand and pull on each seam to make sure it holds. Tuck a square of crinkle film inside if you want sound, and skip rattles or bells, which could escape if a seam ever gives way.
- Fabric: quilting cotton, minky, or corduroy for texture
- Seam allowance: 1/4″, sewn with a 2 mm stitch
9. Security Lovey
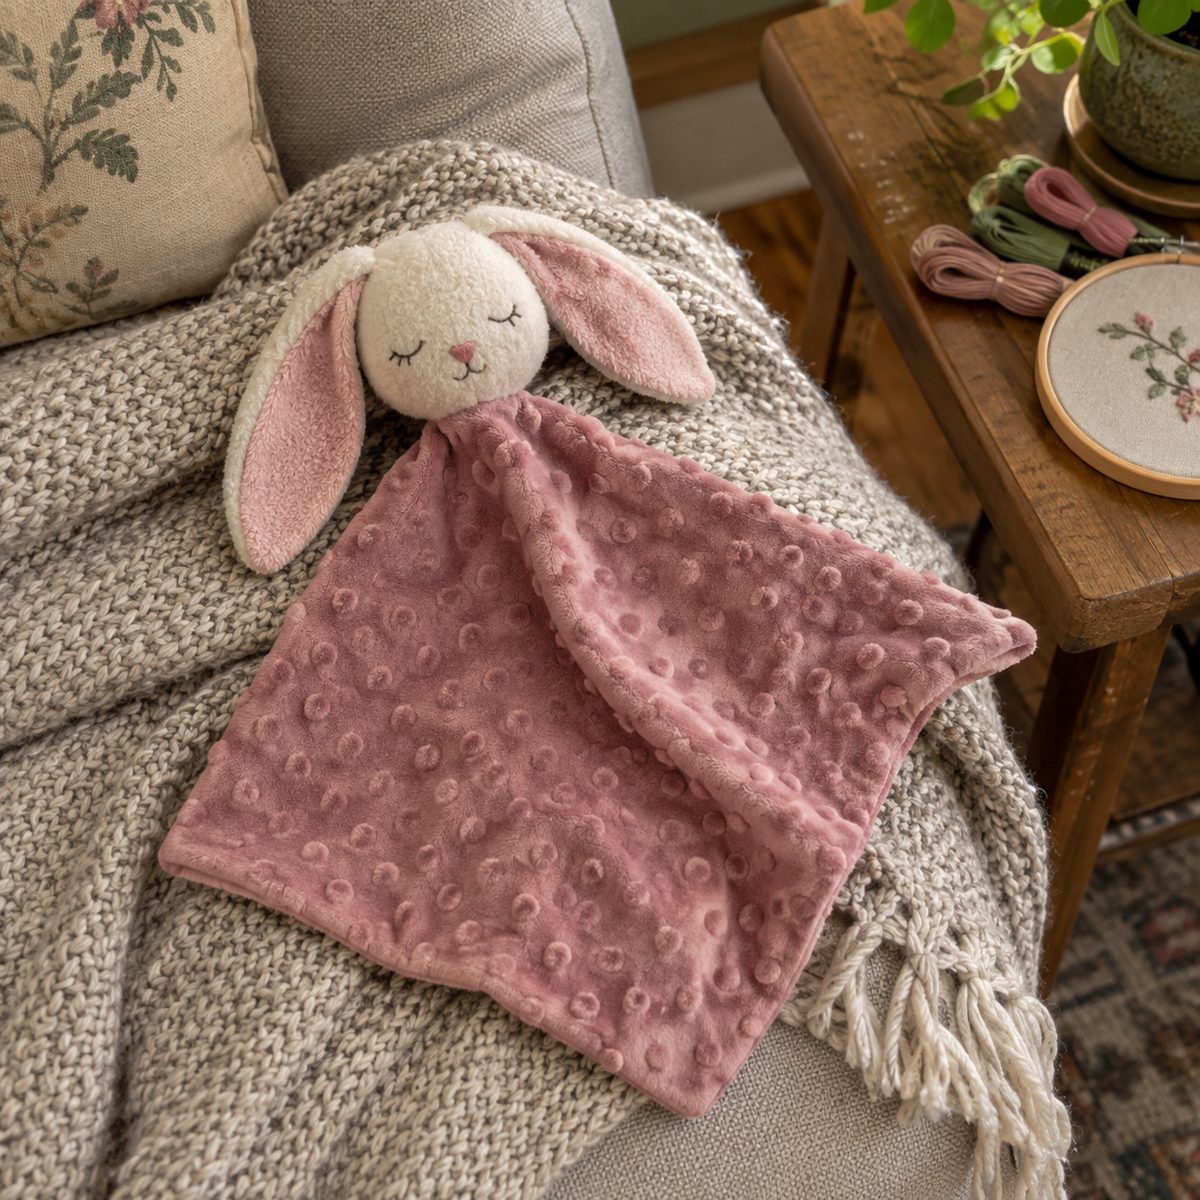
A lovey is a small comfort blanket with a stuffed animal head, and it often becomes a child’s favorite object. It makes a sweet keepsake gift.
Cut two 13″ squares of minky or flannel. For the head, sew a simple bunny, bear, or elephant shape from felt or fleece, stuff it lightly, and stitch it firmly to the center of the blanket. Embroider the eyes and nose with a satin stitch rather than using safety eyes or buttons. Sew the two squares right sides together, turn, and topstitch.
Safe-sleep guidance says to keep soft objects out of the crib until at least 12 months, so a lovey is for cuddles during awake time and car rides for now. Write that on the gift tag so parents know.
10. Portable Changing Pad
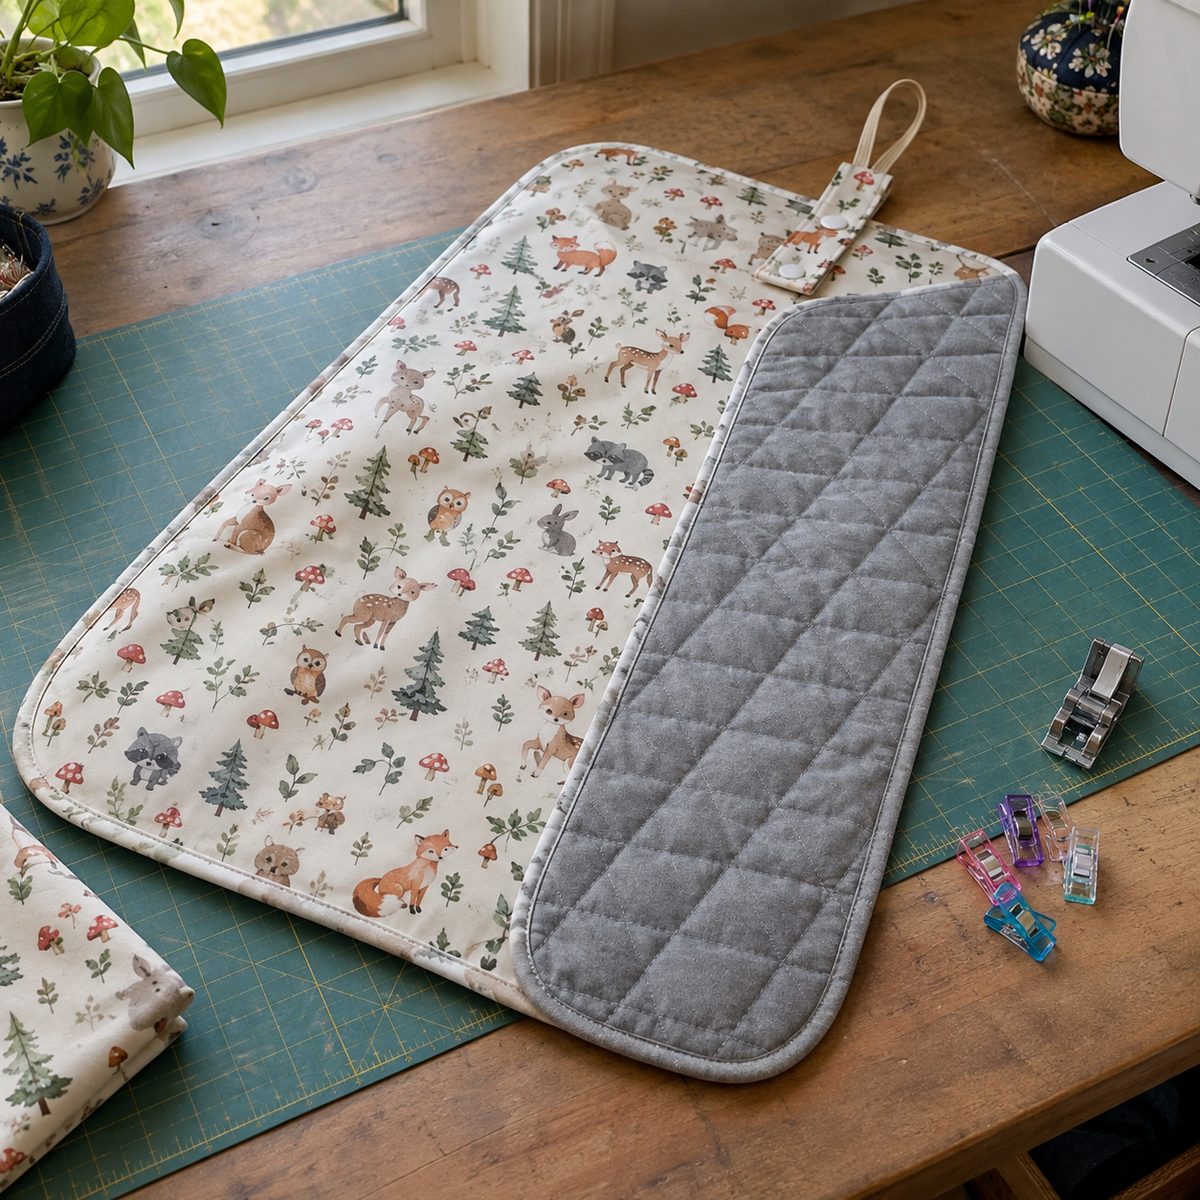
A fold-up changing pad slips into a diaper bag and turns any public restroom counter into a clean spot. It is one of those practical gifts that parents are grateful for.
Cut an outer rectangle of laminated cotton or PUL and a matching one of quilting cotton, both 16″ x 24″. Add a layer of thin cotton batting for cushioning. Quilt a few straight lines through all three layers, then bind the edges or sew right sides together and turn.
Fold into thirds and stitch on an elastic loop and a plastic snap to close it. Use a Teflon or walking foot on the laminate side so it doesn’t stick. Remind the new parents never to step away from a baby on the changing surface.
11. Cuffed Knit Baby Pants
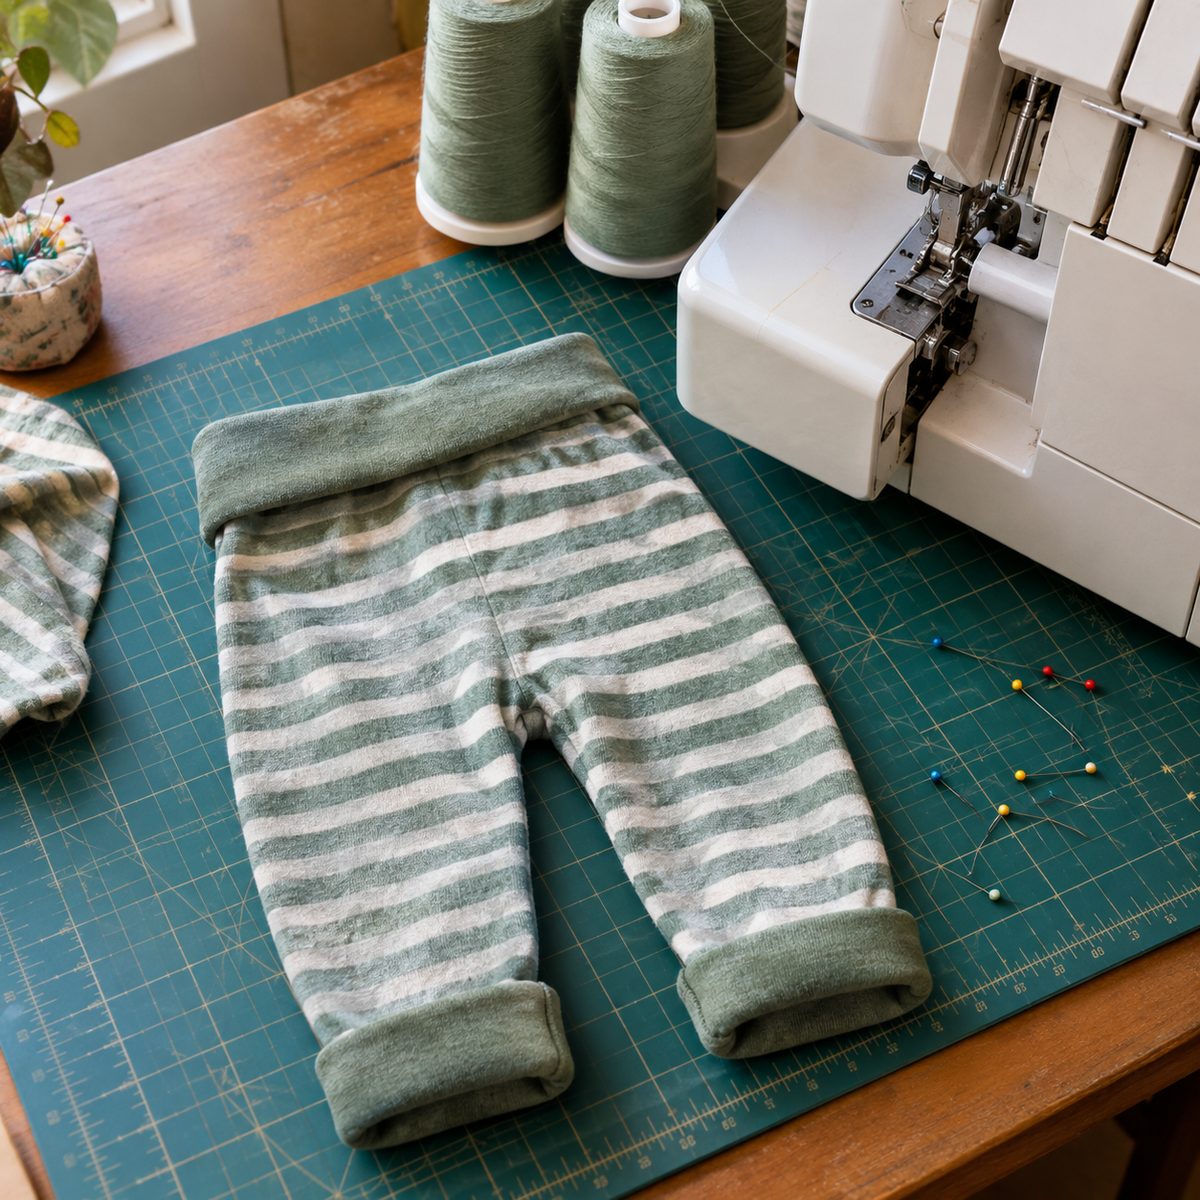
Baby pants (sometimes called “big butt pants”) have a roomy seat for cloth diapers and fold-over cuffs so they grow with the baby. They take about 40 minutes from scraps of knit fabric.
Use a stretchy cotton-spandex jersey or interlock. Cut two leg pieces, two ankle cuffs, and a waistband. Sew the rise seams, then the inseam, all with a stretch stitch or serger. Fold the cuffs and waistband in half and stretch them slightly as you attach them.
- Waistband: cut about 85% of the waist opening for a snug fit
- Size: make 3-6 months or larger; newborn sizes are outgrown fast
If your stitches skip on knit, switch to a ballpoint needle. Skip drawstrings on baby clothes. A knit band or soft elastic casing is safer.
12. Soft Headband Bows
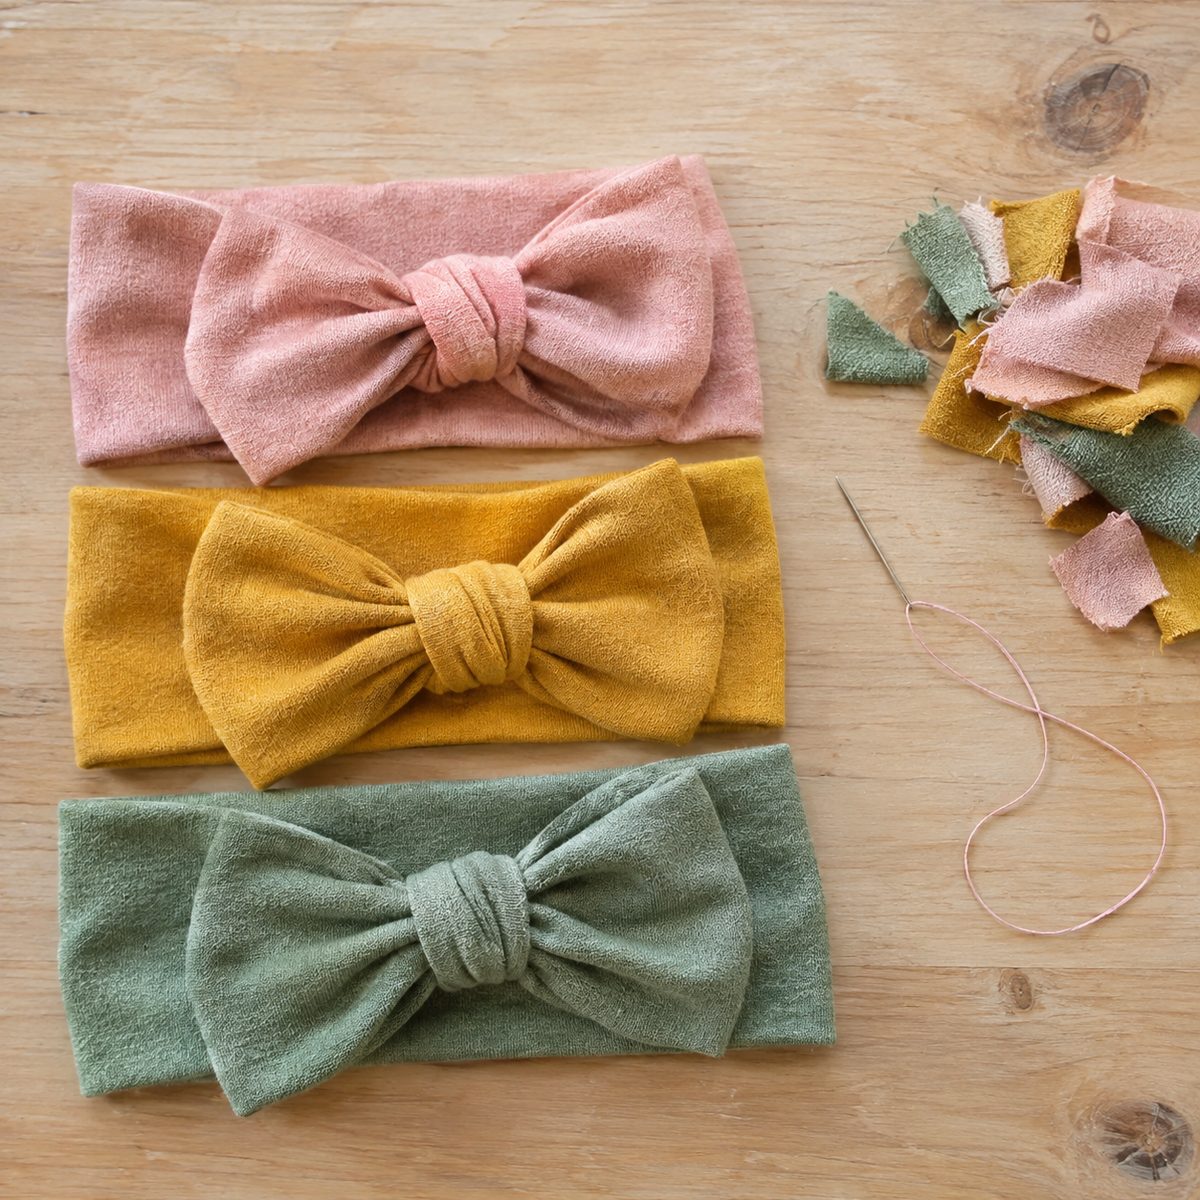
Tiny bows are adorable, but hard clips and loose embellishments are choking hazards for babies. A soft, all-fabric headband bow is the safer handmade option.
For the band, cut a strip of cotton-spandex knit 3″ x 15″ (adjust to the baby’s head, about 14″ around for a newborn). Fold it in half lengthwise, sew along the long edge, turn, and join the ends. For the bow, sew a 5″ x 3″ rectangle into a tube, turn, and pinch the center with a 1 1/2″ knot strip wrapped around the band. Hand-stitch the knot in place through all layers.
Make sure the band is stretchy and loose enough to leave no marks. Headbands are for photos and outings only, never for naps or unsupervised time.
13. Nursing Cover with Boned Neckline
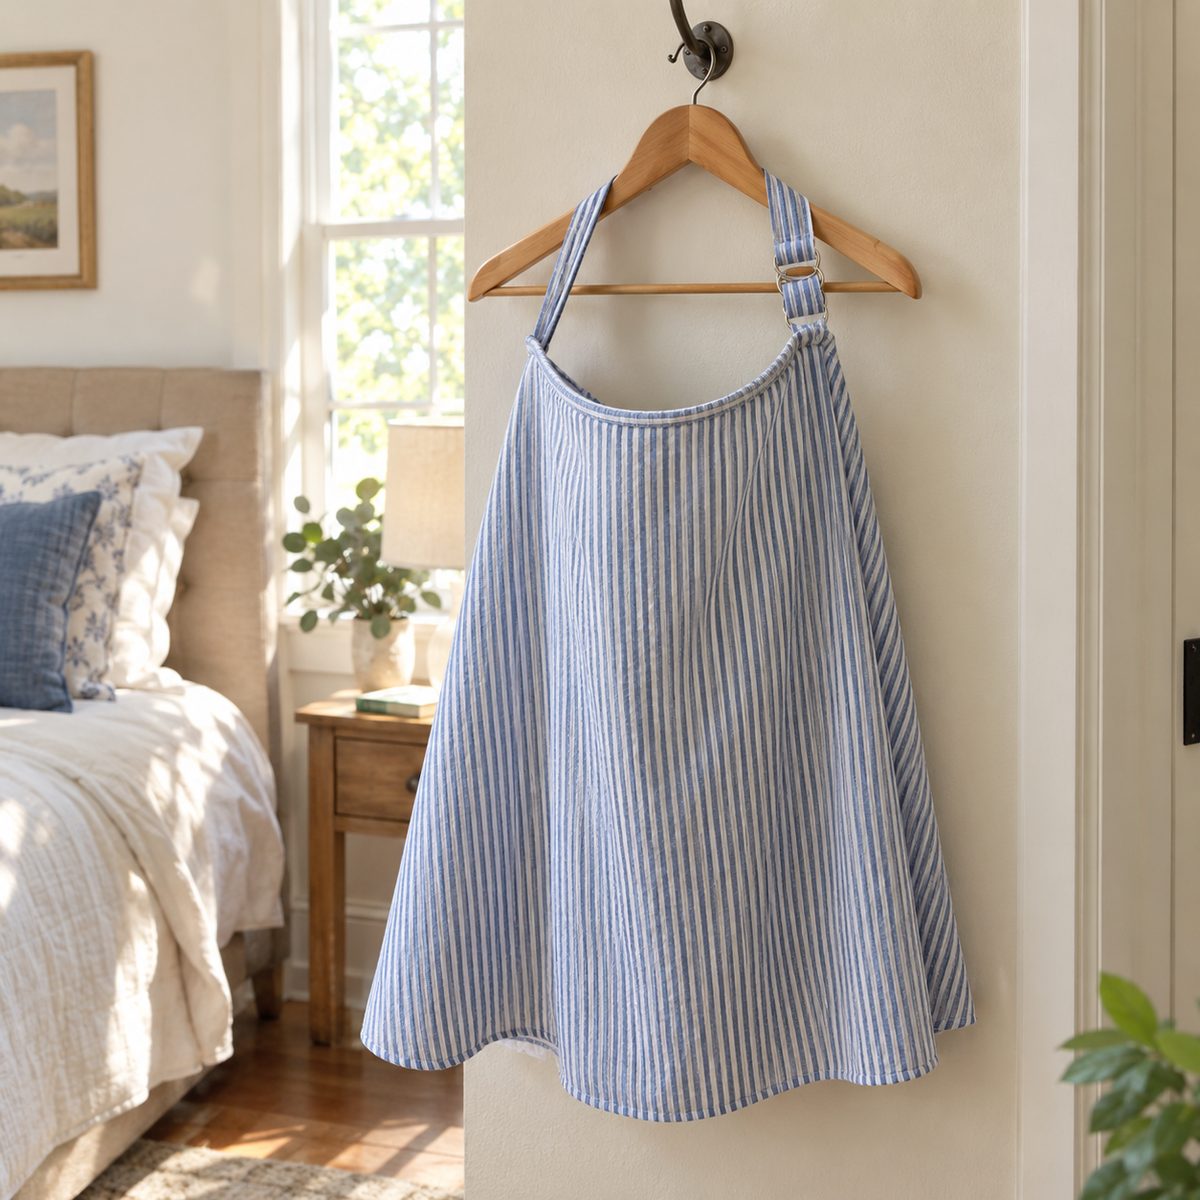
A nursing cover gives privacy while letting parent and baby see each other. The secret is a flexible boning strip in the neckline that holds it open for airflow.
Cut a 36″ x 26″ rectangle of lightweight cotton or double gauze. Hem all four sides with a double-fold 1/4″ hem. Cut a 26″ strip of fabric for the neckline strap, fold and hem it, then thread it through two D-rings on one end so it is adjustable.
Slide a 14″ piece of plastic boning into a small casing centered on the top edge and stitch both ends closed. Attach the strap ends about 7″ from the center on each side.
- Fabric: choose breathable fibers, not fleece or minky
- Time: about 1 hour
14. Snug Fitted Crib Sheet
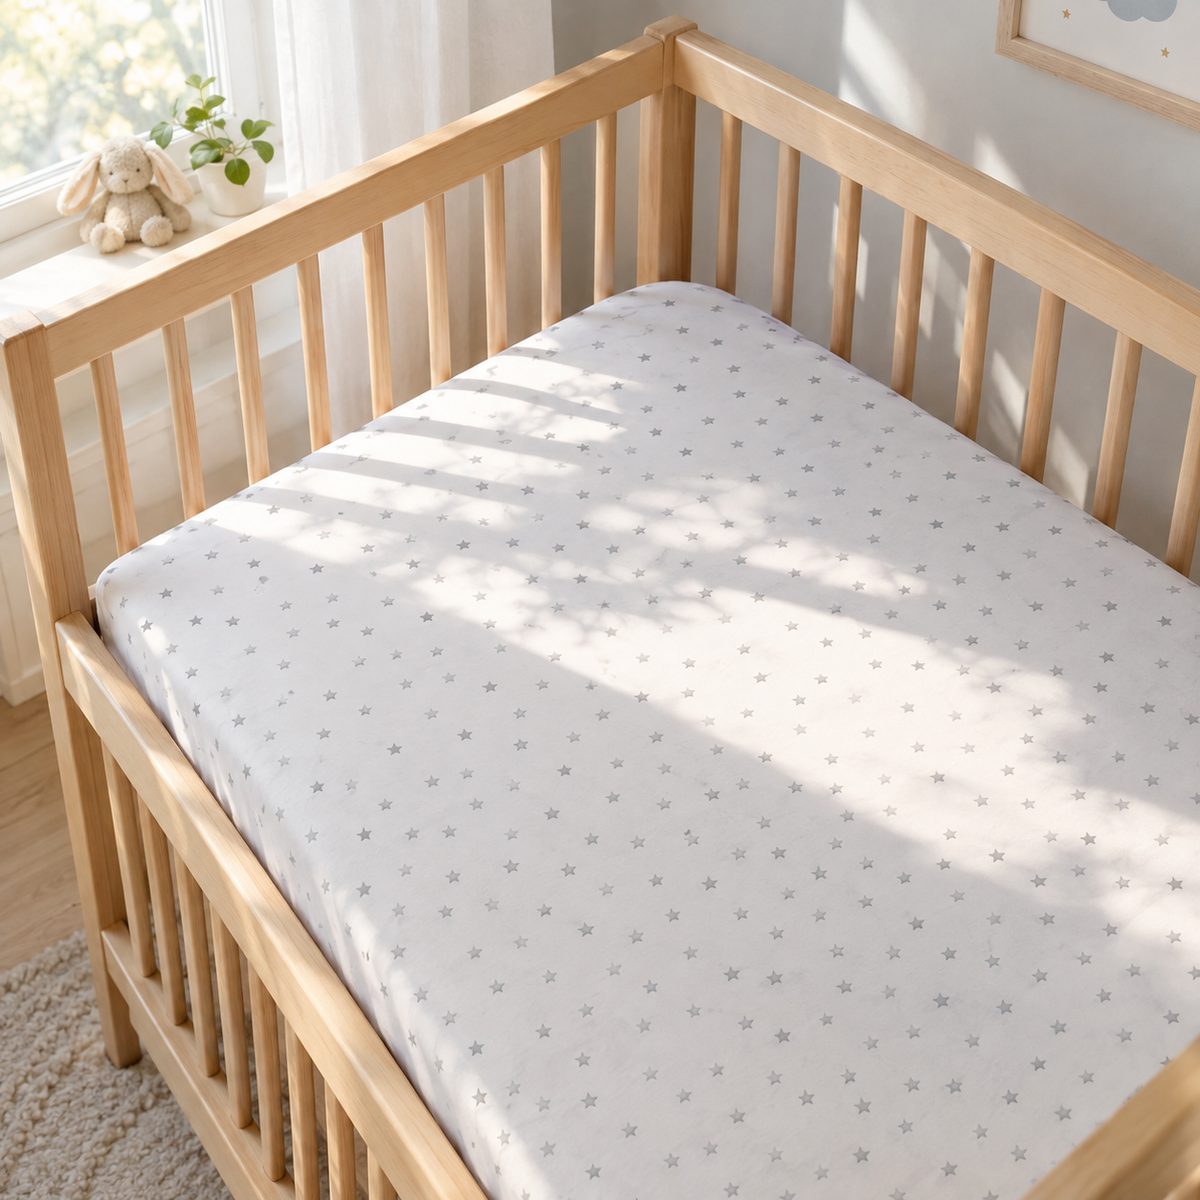
A fitted crib sheet is one of the few things that belongs in the crib, and a handmade one in a cute print is a real treat. The key is a tight fit: it must stay snug around the mattress with no slack.
For a standard 28″ x 52″ crib mattress about 6″ deep, cut a 45″ x 69″ rectangle of pre-washed cotton, flannel, or jersey. Cut an 8″ square out of each corner. Sew each corner closed with a 1/2″ seam to form a box. Press under a 1/2″ casing and thread 1/4″ elastic all the way around, pulling it snug.
Test the fit on the actual mattress. If you can lift the sheet away from the corners, tighten the elastic. Use a sheet that fits, and nothing else, in the crib.
15. Diaper and Wipes Clutch
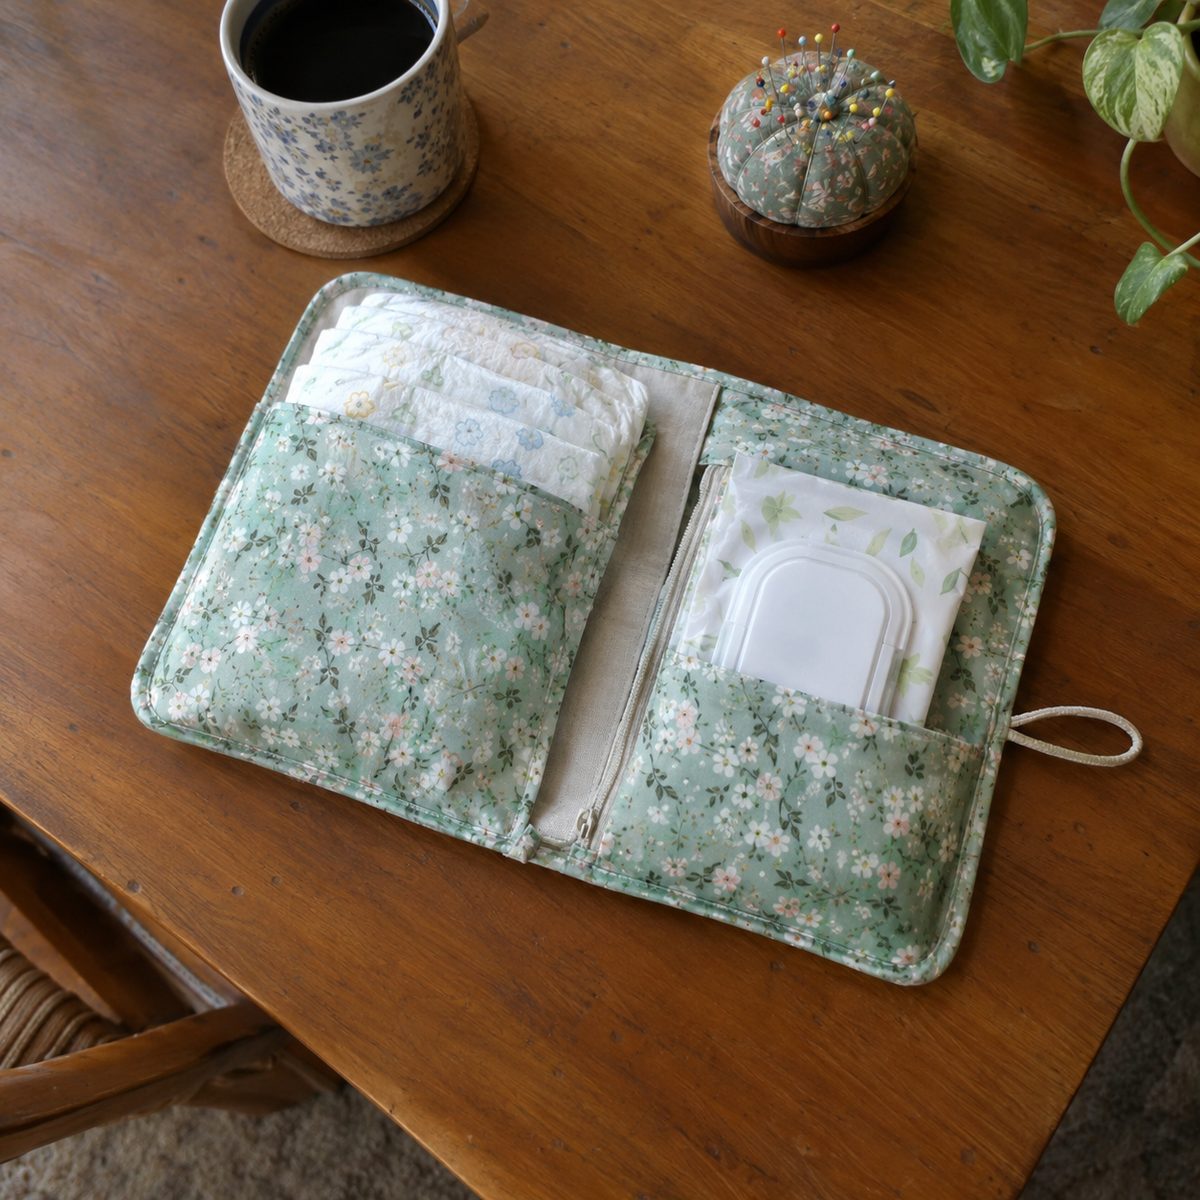
A diaper clutch holds two or three diapers and a travel pack of wipes so parents can leave the big diaper bag in the car. It is a great way to use fun prints and a little interfacing.
Cut an outer and lining piece 11″ x 22″, and fuse medium-weight interfacing to the outer piece for body. Fold up a 7″ pocket on each end so you have two pockets and a center panel. Sew around the edges, turn, and topstitch.
Add an elastic loop and a KAM snap or button tab to close it. It fits in a purse and takes about 45 minutes.
- Fabric: quilting cotton or canvas outer, cotton or laminated lining
- Bonus: add a slip pocket for diaper cream
16. Hooded Baby Towel
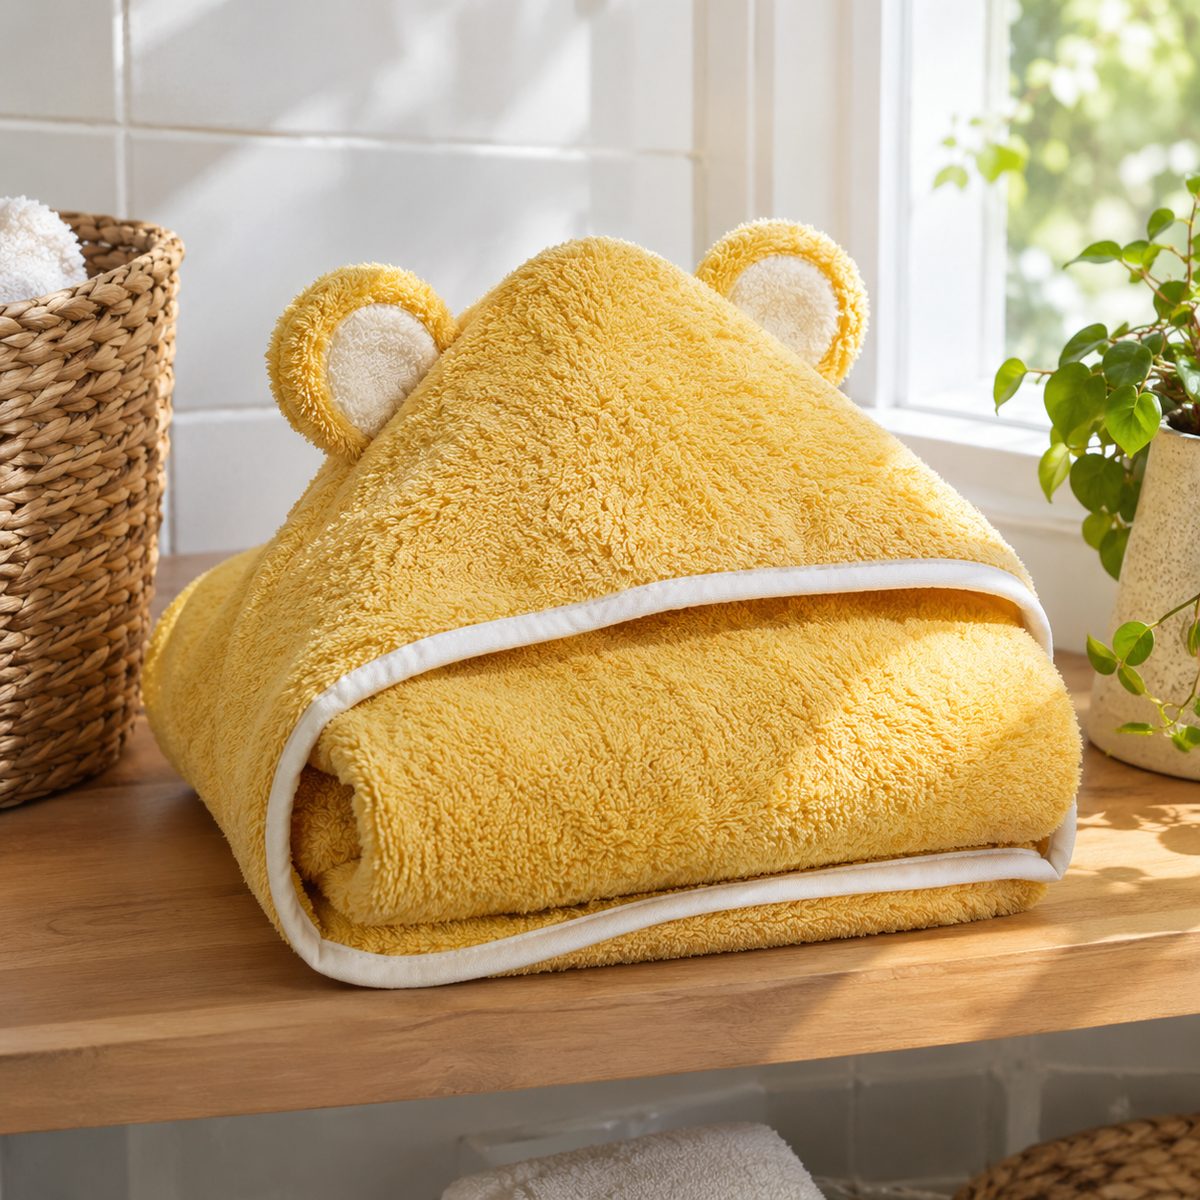
Store-bought baby towels are often thin and small. A handmade hooded towel made from a full-size bath towel wraps a baby completely and lasts for years.
You need one standard bath towel (about 27″ x 52″) and one matching hand towel. Cut a right triangle from one corner of the hand towel, with two 12″ sides. Bind or zigzag the long edge of the triangle, then place it on one corner of the bath towel, raw edges aligned, and stitch it down.
Trim the bath towel to a 36″ square if you want a more compact size, and bind all the raw edges with bias tape. Use a size 90 or 100 needle and a longer stitch length to go through the thick terry.
- Time: about 45 minutes
- Tip: appliqué ears on the hood with a satin stitch
17. Fabric Nursery Storage Bins
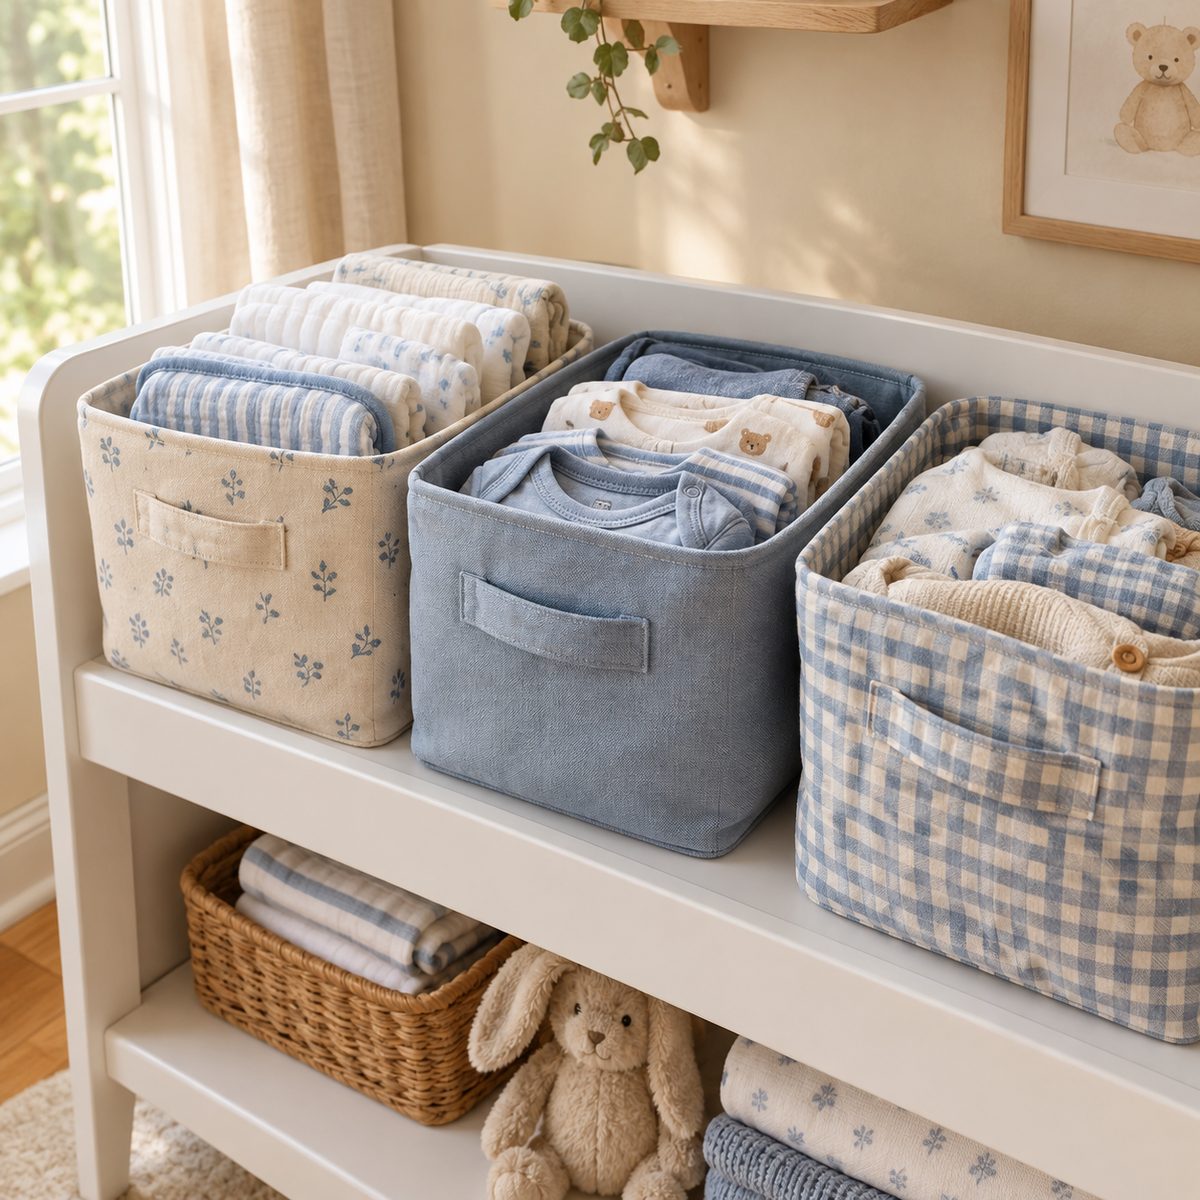
Soft fabric bins keep diapers, burp cloths, and small clothes organized on changing-table shelves. They are practical for parents, and you can match them to the nursery colors.
For a 9″ cube, cut an outer and a lining piece, each 20″ x 29″. Fuse heavy interfacing or fusible fleece to the outer so the bin stands on its own. Fold each piece in half, sew the sides, and box the corners by stitching across 4 1/2″ triangles. Slide the lining inside the outer, fold the top edge down, and topstitch.
Add fabric handles or a label pocket. Canvas, duck, and home decor fabric give the most structure. Make a set of two or three in coordinating prints for a gift parents will appreciate long after the baby grows out of the burp-cloth stage.
18. Quilted Tummy Time Mat
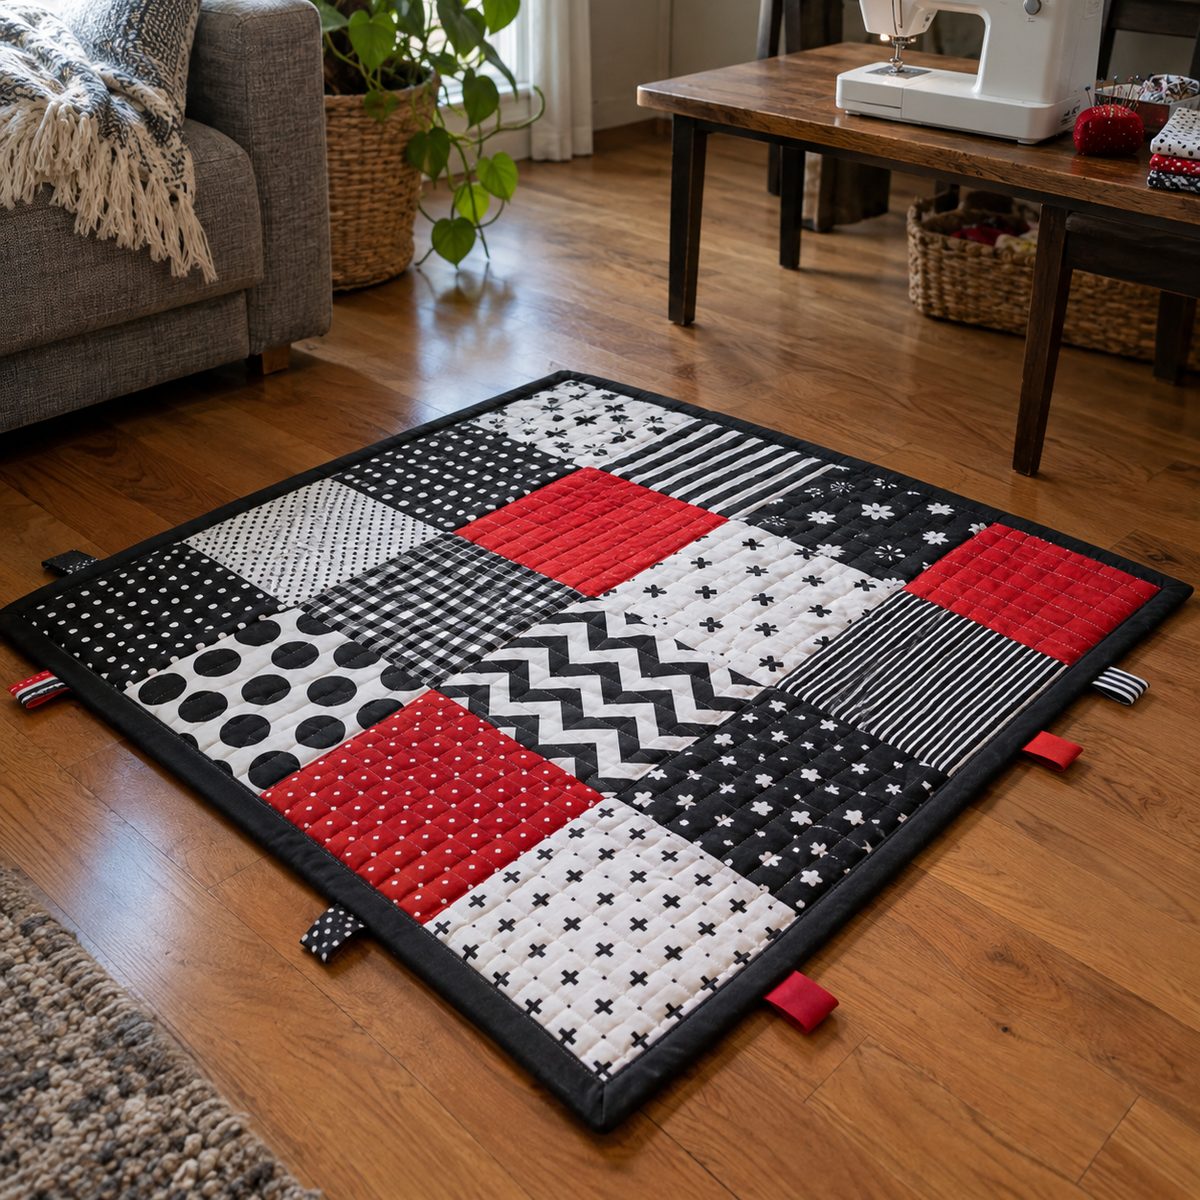
Tummy time builds a baby’s neck and shoulder strength, and a padded mat makes the floor a cozy, clean place for it. Think of it as a mini quilt without the fuss.
Cut a 36″ square of cotton for the top, or piece it from 9″ squares. Layer it with cotton batting and a minky or flannel backing. Quilt straight lines 3″ to 4″ apart with a walking foot, then trim and bind the edges.
- Contrast: high-contrast black and white prints are fun for young eyes
- Extra: add a few folded ribbon tags to the edges
The mat is for supervised floor play only, never sleep. If you are new to quilting, a regular sewing machine handles this size easily.
Putting Together a Handmade Baby Gift
If you are sewing for a baby shower, pair one bigger project with a few quick ones: a minky blanket with three burp cloths, or a changing pad with a diaper clutch. Tie the bundle with ribbon and tuck in a card with washing instructions and any safety notes. Pre-wash, check every seam twice, and keep small parts off entirely. For more ideas once the baby arrives, browse these handmade gifts to sew.