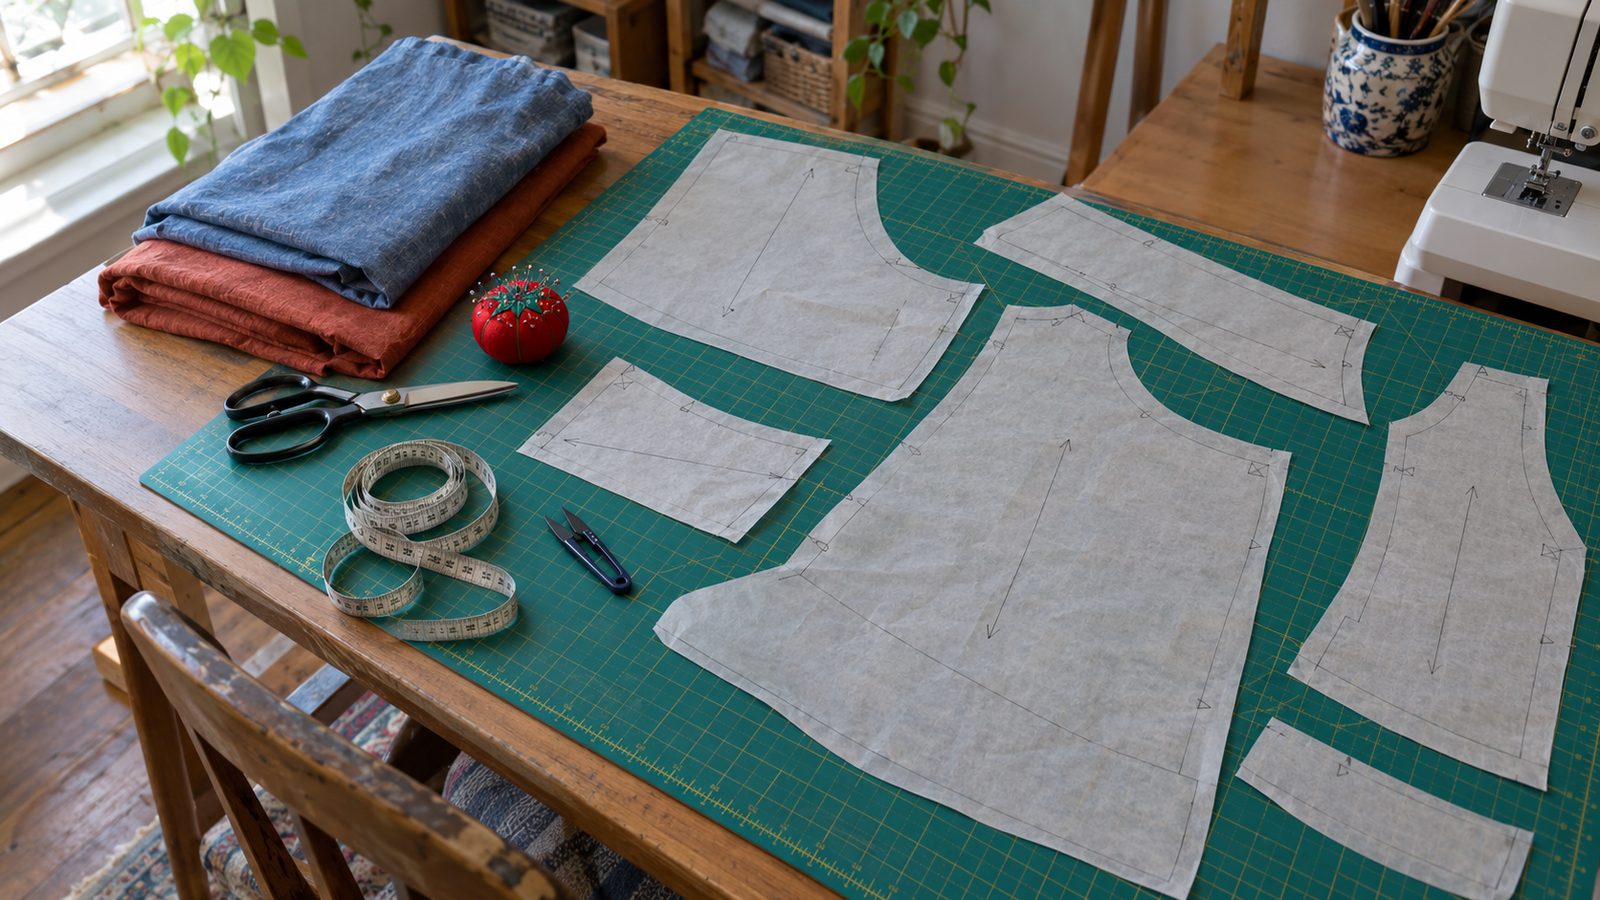
A sewing pattern looks like a lot of information at first, but it is really just a set of answers to a few simple questions: what am I making, what size should I cut, how much fabric do I need, and in what order do the pieces go together. Once you know where each answer lives, the whole thing gets much less intimidating.
This walkthrough follows a commercial pattern the way you’ll actually meet it, from the outside of the envelope to the tissue pieces inside. By the end you’ll know how to choose your size, buy the right amount of fabric, decode the symbols printed on the tissue, and lay everything out for cutting.
The envelope front
The front of the envelope is the sales pitch, but it is also your first clue about whether a pattern suits you. You’ll usually see a photo or illustration of the finished garment, often in more than one version. Those versions are called views, and they’re typically labeled with letters. View A might be a short-sleeved top, while View B adds a longer sleeve and a tie at the waist. Everything else in the pattern refers back to these letters, so note which view you want before you go any further.
Look past the styled photo and study the line drawings too, which are sometimes on the front and sometimes on the back. Illustrations show seam lines, darts, pockets and closures far more honestly than a photo of a model in good lighting. If you can see four darts, an invisible zipper and a lined bodice, you know what skills the project will ask of you.
Many pattern companies also print a skill level on the front, such as “easy” or “beginner.” Treat it as a helpful guide rather than a promise. A simple shape in a slippery fabric can be harder than a detailed shape in stable cotton.
The envelope back: sizes, measurements and yardage
Flip the envelope over and you’ll find the most important information on the whole package. The back usually holds a short description of the garment, a list of suggested fabrics, a list of notions, a body measurement chart, a yardage chart and, often, a finished garment measurement chart. It’s dense, so take it one block at a time.
Body measurements vs. finished measurements
This is the part that trips up nearly every new sewist. Pattern sizes are not the same as ready-to-wear sizes. If you wear a size 10 in stores, you might be a 14 or 16 in a commercial pattern. That’s why you should always choose by measurement, never by the number on your clothing tags.
The body measurement chart lists the bust, waist and hip measurements of the body each size was drafted for. The finished garment measurements tell you how big the actual garment will be once it’s sewn. The difference between the two is called ease. A fitted dress might have only 2 inches of ease at the bust, while a relaxed tunic might have 8 inches or more. Designers build in ease on purpose to create the look they intended, so the finished measurements tell you how roomy the garment will feel on you.
Finished measurements are sometimes printed on the tissue itself rather than the envelope, often near the bust point or hipline of the front pattern piece. It’s worth hunting for them.
How to pick your size
- Take your bust, waist and hip measurements over the underwear you’d wear with the garment, keeping the tape snug but not tight.
- Find where each measurement falls on the body measurement chart. Don’t be surprised if they land in three different sizes; that’s completely normal.
- For tops and dresses, start with the size that matches your bust (or your high bust if you’re fuller in the cup, since patterns are drafted for a smaller cup). For skirts and pants, start with your hip measurement.
- Check the finished measurements for that size and make sure you like the amount of ease. If a loose style looks like it will swim on you, you can size down.
- If you fall between sizes at the waist or hip, plan to blend between sizes on the tissue by drawing a smooth line from one size’s cutting line to the other.
Multi-size patterns make blending easy, since every size is nested on the same tissue with its own style of cutting line (solid, dashed, dotted and so on).
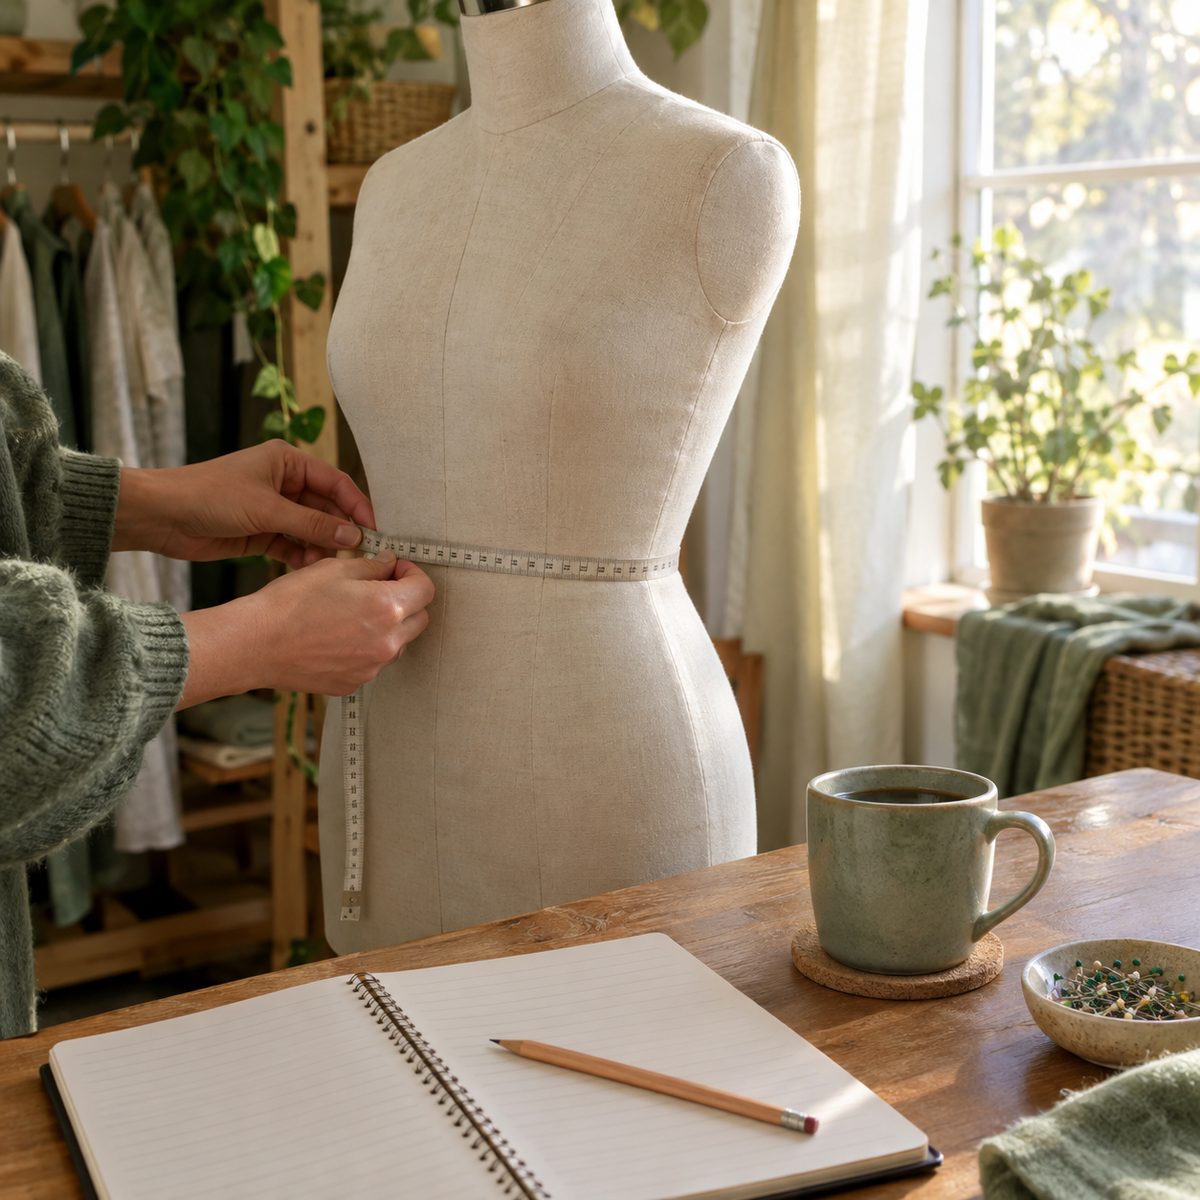
Reading the yardage chart
The yardage chart tells you how much fabric to buy. Down one side you’ll see the views; across the top you’ll see sizes. Inside each view there are usually separate rows for different fabric widths, most commonly 45 inches and 60 inches. To read it, find your view, find the row for the width of fabric you plan to buy, then slide across to the column for your size. The number where they meet is how many yards you need.
A few details are easy to miss. Look for notes such as “with nap” or “without nap.” Fabrics with a pile or a one-way print, like corduroy, velvet or a print with all the flowers pointing up, need all the pieces laid in the same direction, which uses more fabric. The chart will also list separate amounts for lining, interfacing and contrast fabrics.
Right next to the yardage, you’ll find the notions list: zippers, buttons, elastic, thread, seam tape and anything else you’ll need. If some of those terms are new, here’s a rundown of common sewing notions. I like to buy everything on that list in one trip so I’m not stuck mid-project waiting for a zipper.
One practical tip: if you plan to prewash your fabric, and you usually should, buy a little extra to allow for shrinkage. This article on washing fabric before sewing explains why it matters.
The instruction sheet
Open the envelope and you’ll find folded tissue and one or more large printed sheets. The instruction sheet is your roadmap, and it’s worth reading all the way through before you touch scissors. It generally includes:
- A pattern piece key: small drawings of every piece, numbered or lettered, with a list showing which pieces belong to each view.
- General instructions: seam allowance width (often 5/8 inch for commercial patterns, though many independent designers use 3/8 or 1/2 inch), how to adjust length, and how to read the symbols.
- Cutting layouts: diagrams showing how to arrange the pieces on your fabric for each view, size range and fabric width.
- Step-by-step sewing directions: numbered illustrations that walk through construction in order.
Pay close attention to the shading in the illustrations. Most pattern companies use one shade to show the right side of the fabric, another for the wrong side, and a third for interfacing or lining. There’s always a small legend near the top that tells you which is which. Misreading that shading is one of the easiest ways to sew a piece in upside down or inside out.
Also check the seam allowance before you start. If you’re used to one company’s 5/8 inch and switch to a designer who uses 3/8 inch, sewing the wrong allowance will change the fit noticeably.
Pattern markings decoded
The tissue pieces are covered in lines and symbols, and each one has a job. Most patterns use a very similar visual language, so once you learn it, it carries over from brand to brand. Here are the markings you’ll see most often:
- Grainline: a long straight line with arrows at one or both ends.
- Place on fold: a bracketed line with arrows pointing toward the edge of the piece.
- Notches: small triangles or short lines along the cutting line.
- Dots or circles: small filled or open circles inside the piece.
- Lengthen/shorten lines: a pair of parallel lines across the piece.
- Darts: a V or diamond shape made of stitching lines that meet at a point.
The grainline tells you how to position the piece on the fabric. It must run parallel to the selvage, the finished edge of the fabric. To check it, measure from one end of the arrow to the selvage, then measure from the other end. When both measurements match, the piece is on grain. A piece that’s even slightly off grain can twist or hang crookedly after it’s sewn.
The place on fold bracket means that edge goes right along the folded edge of your fabric, so when you cut and open it up you get one symmetrical piece, like a full front bodice. Never cut along a fold line.
Notches are matchmaking marks. A single notch on a front piece lines up with a single notch on the matching side seam, while double notches usually mark the back and triple notches often appear on sleeves. Cut them outward as little triangles or snip a tiny clip into the seam allowance, no deeper than about 1/4 inch.
Dots mark spots that need precise placement: where a pocket sits, where to stop stitching, where a sleeve cap meets the shoulder seam, or where a zipper ends. Transfer them to the wrong side of your fabric with a fabric marker, chalk or a tailor’s tack.
Lengthen/shorten lines show the safest place to alter length without distorting the shape. To lengthen, cut between the lines and spread the pieces apart by the amount you need, taping paper behind them. To shorten, fold a tuck along the lines. Then redraw the cutting edges so they’re smooth.
Darts are shaped folds that give flat fabric curves for the bust, waist or hip. Transfer both stitching legs and the point. When you sew, fold the fabric so the legs line up, then stitch from the wide end to the point, tapering off right at the tip.
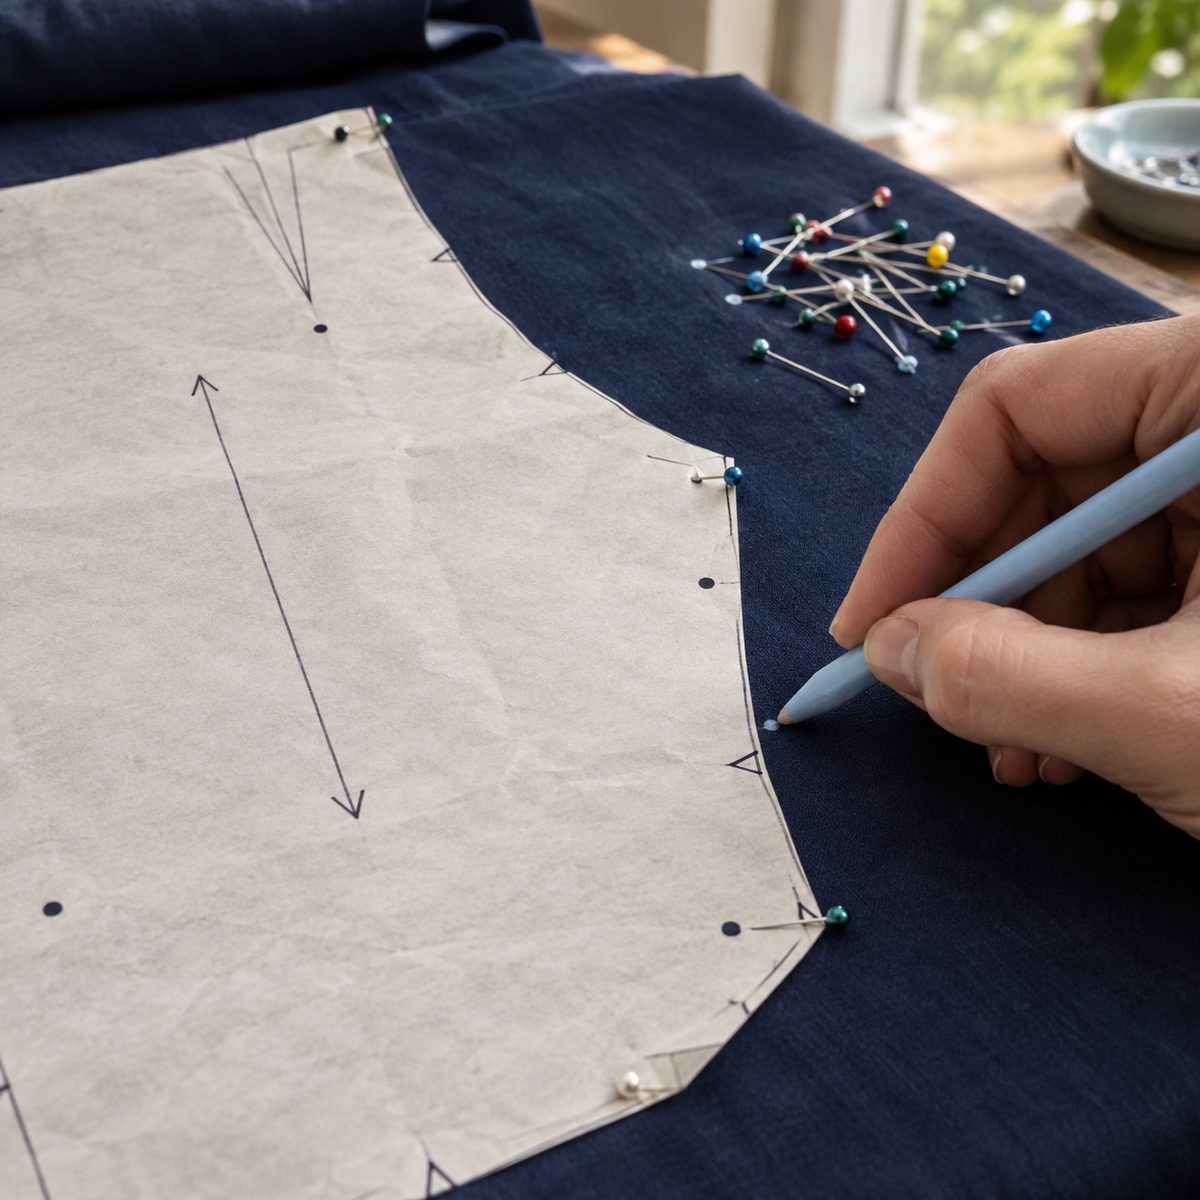
You’ll also see the cutting line for each size and, on some patterns, a stitching line inside it. Buttonhole markings, hemlines and placement lines for pockets or trims round out the set. If a symbol is unfamiliar, the general instructions on the instruction sheet always include a key.
Laying out and cutting
With your size chosen and your fabric washed and pressed, it’s time to put everything together. The cutting layout diagrams on the instruction sheet show you exactly how to arrange the pieces, so find the one that matches your view, size range and fabric width, and circle it so you don’t lose your place.
- Cut out the tissue pieces you need for your view, leaving a little margin around each. Press them with a dry iron on low heat to remove creases.
- If you’re working with a multi-size pattern and want to keep all sizes, trace your size onto pattern paper or tracing paper instead of cutting the tissue.
- Fold your fabric as the layout shows, usually right sides together with selvages matching. Smooth it out on a large flat surface or cutting mat.
- Lay out the largest pieces first, following the diagram. Pieces shown shaded in the layout are placed printed side down.
- Check every grainline with a tape measure before you pin or weight anything.
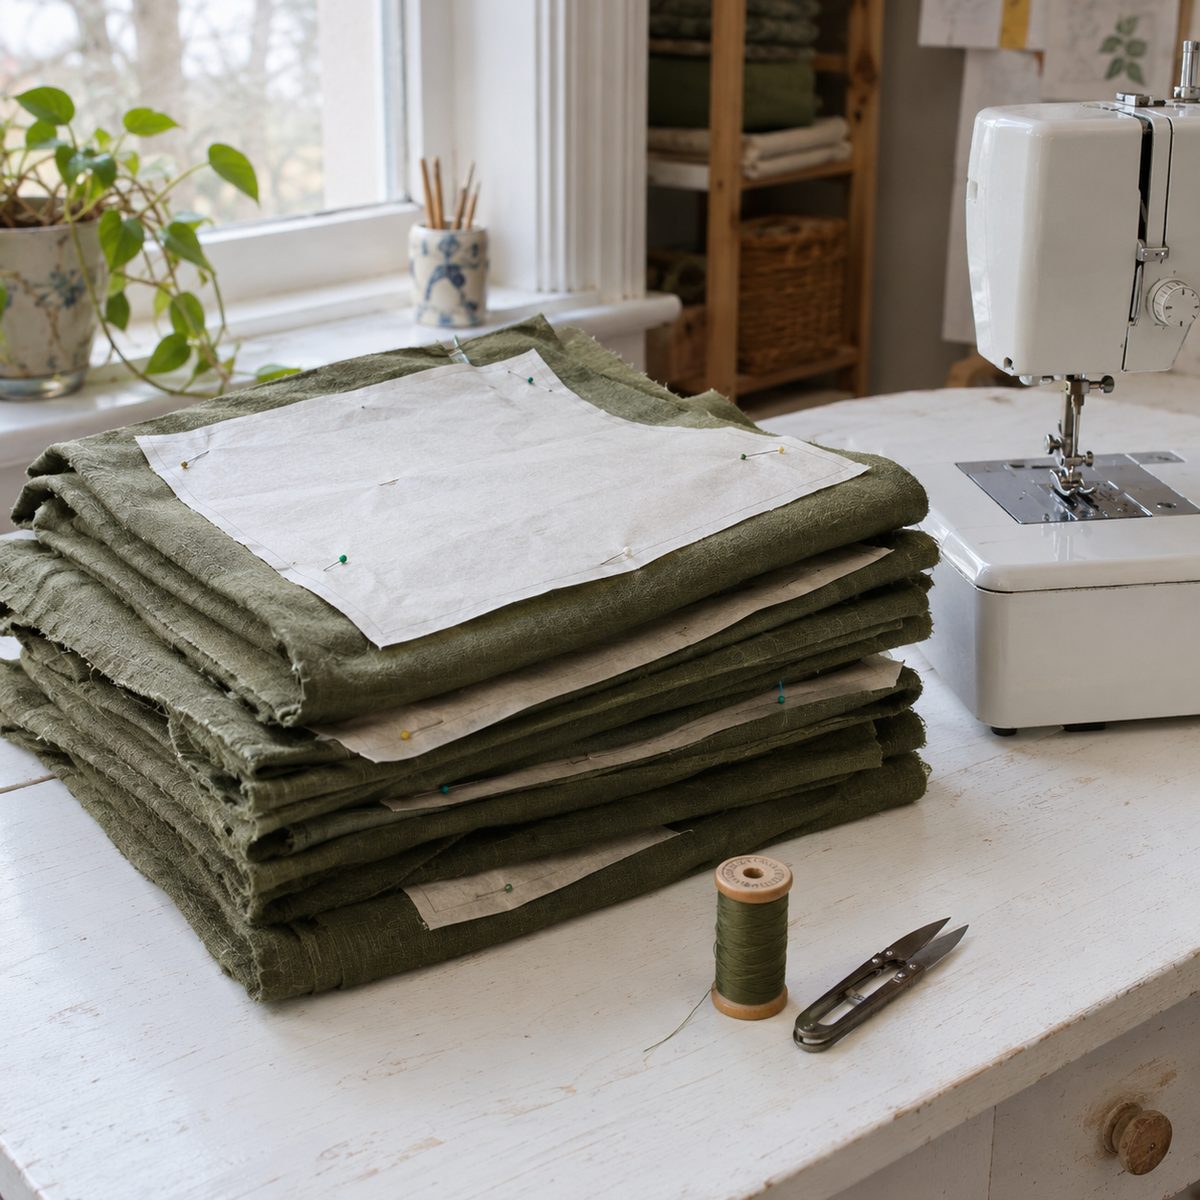
- Pin or use pattern weights, placing pins inside the cutting line and perpendicular to the edge.
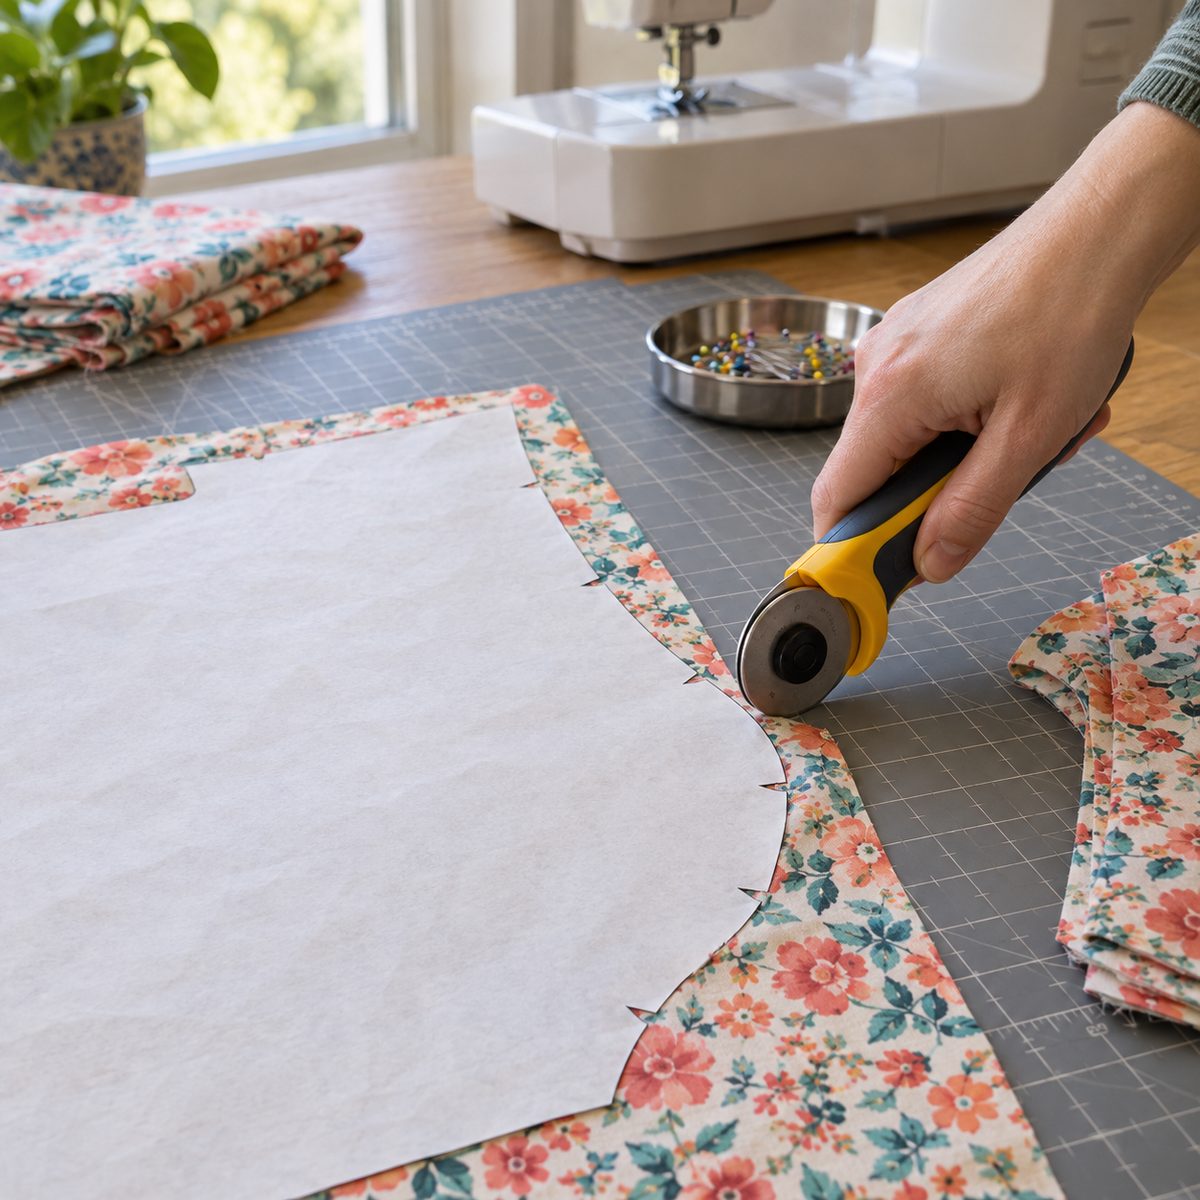
- Cut with long, smooth strokes using sharp fabric shears or a rotary cutter, cutting notches as you go.
- Transfer dots, darts and other interior markings before removing the tissue.
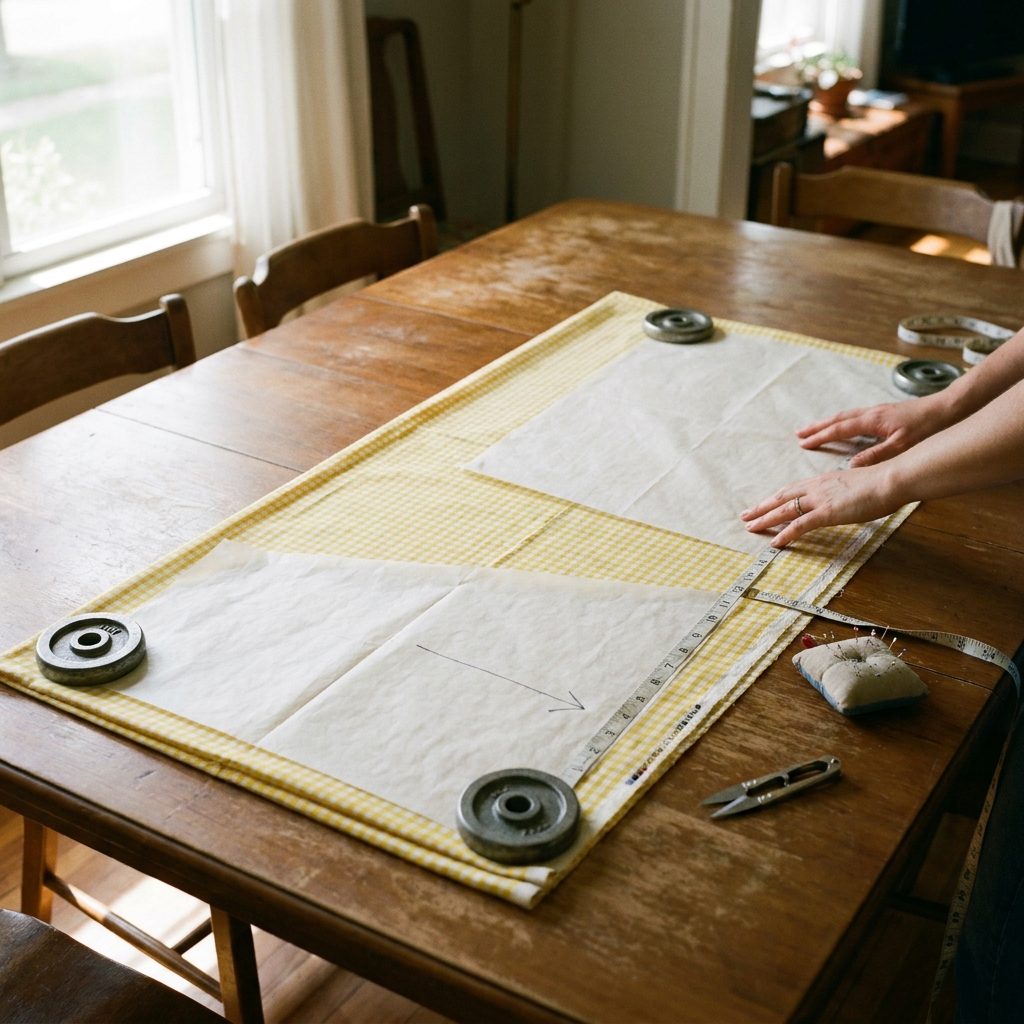
Pay attention to notes such as “cut 2” or “cut 1 on fold.” “Cut 2” on folded fabric gives you a mirror-image pair, which is what you want for things like sleeves and side panels. Some pieces say “cut 1 of interfacing” as well, so keep them handy for a second round of cutting.
Before you remove the tissue, fold each cut piece with its pattern piece still pinned in place, or label the wrong side with a small piece of tape. It’s surprisingly easy to confuse a front facing with a back facing once the paper is gone.
Common beginner mistakes to avoid
The most common mistake by far is picking a size from ready-to-wear labels instead of measurements. It leads to garments that are too big, too small or oddly proportioned, and it’s discouraging because the sewing itself may be perfect. Always measure yourself and check both the body chart and the finished measurements.
Skipping the pattern piece key is another easy slip. Many envelopes hold pieces for several views, and it’s easy to cut an extra sleeve or miss a facing entirely. Check the list for your view, set aside only those pieces, and put the rest back in the envelope right away.
Ignoring grain causes more trouble than most beginners expect. Eyeballing a grainline might look fine on the table, but a piece cut off grain can make side seams swing toward the front or make pant legs twist. Measure from both ends of the arrow every time.
Forgetting to transfer markings is a quieter problem that shows up later. When you reach the step that says “match dots” or “stitch to large dot,” you’ll have nothing to match. Taking five extra minutes to mark everything before unpinning the tissue saves a lot of guesswork.
Finally, don’t skip reading the instructions start to finish before sewing. Construction order matters. Sometimes a pocket has to go on before a side seam is closed, or a facing has to be interfaced before it’s attached. If you like to test tricky steps first, a basting stitch lets you check fit and placement before you commit to permanent stitching. And if you’re just starting your sewing journey overall, the beginner’s sewing guide covers the basics that make pattern work easier.
Frequently asked questions
Why is my pattern size bigger than my clothing size?
Commercial pattern sizing is based on a standard set of body measurements that hasn’t changed the way store sizing has over the decades. Ready-to-wear brands have gradually shifted their numbers, so most people measure one to three sizes larger in patterns than they buy in stores. The number on the envelope is just a label. Go by your bust, waist and hip measurements and ignore the size you usually wear.
Do I have to cut the tissue pattern, or can I trace it?
You can do either. Cutting the tissue is faster, but it means you lose the larger sizes if you cut along a smaller line. Tracing onto pattern paper, tracing paper or even medical exam table paper keeps the original intact, which is helpful if you want to make the pattern in a different size later, share it, or save an untouched copy before making fit adjustments.
What does “with nap” mean on a yardage chart?
“With nap” means all the pattern pieces need to face the same direction on the fabric. It applies to fabrics that look different depending on which way they’re turned, such as velvet, corduroy, faux fur, satin with a sheen, and one-way prints. Because you can’t flip pieces to fit them together tightly, “with nap” layouts need more fabric, so always buy the yardage listed for with-nap if your fabric has a direction.
Is the seam allowance included in the pattern pieces?
For almost all commercial patterns, yes. The seam allowance is already built into the pieces, so you cut on the cutting line and sew the stated distance in from the edge, commonly 5/8 inch. Some independent patterns and older or European designs don’t include seam allowances, and they’ll say so clearly on the instruction sheet. Always check before you cut so your garment doesn’t end up too small.
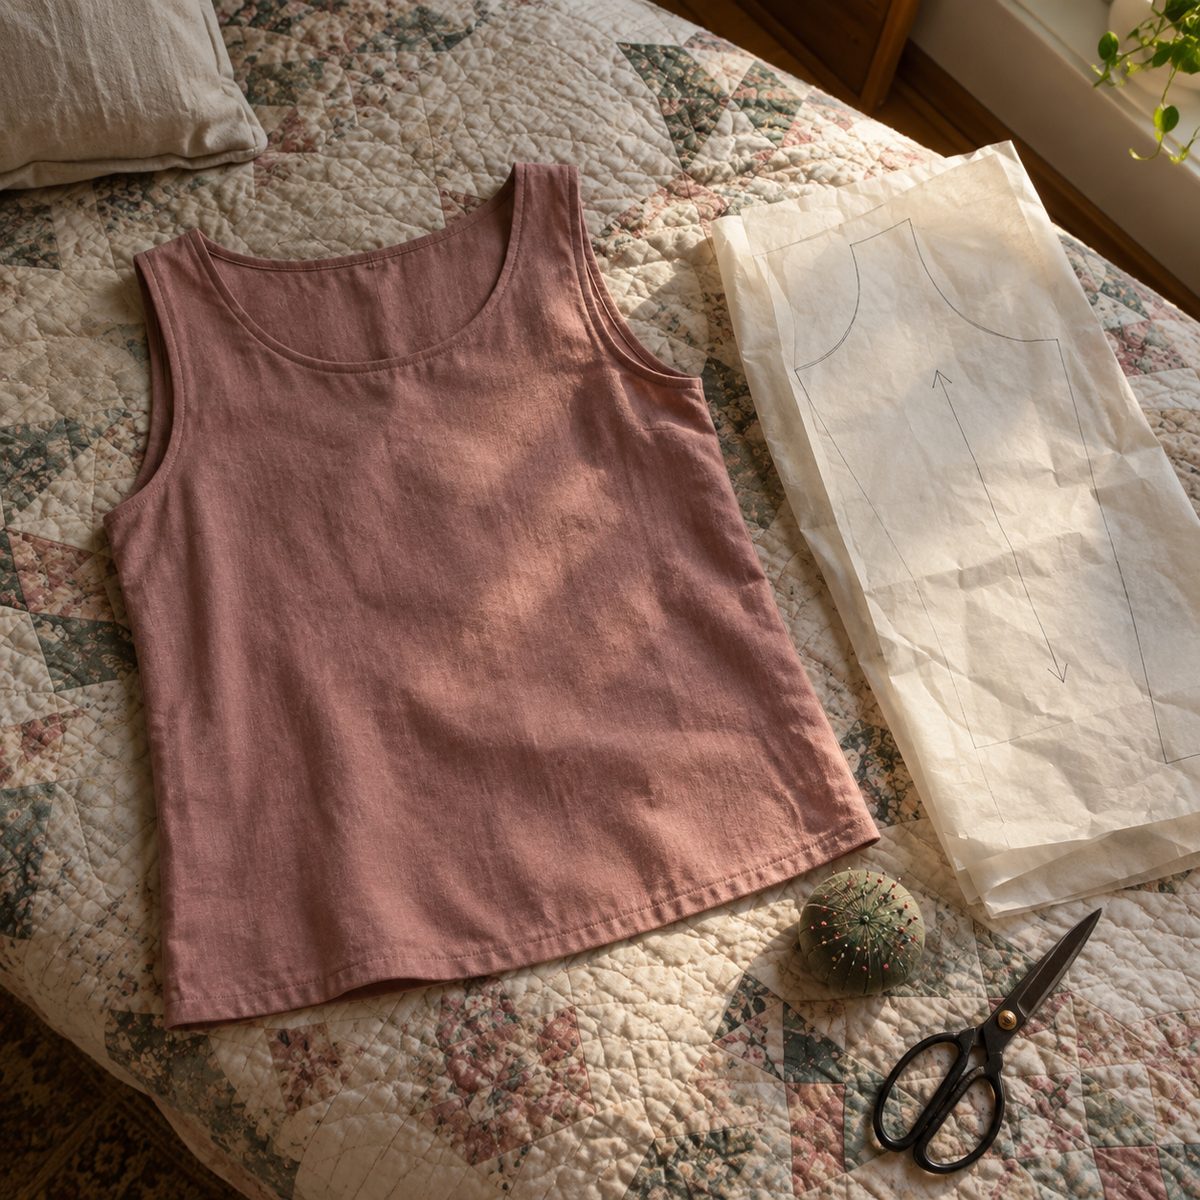
Reading a sewing pattern is a skill that gets easier every single time. The first envelope might take an evening to fully absorb, but by your third or fourth project you’ll flip straight to the measurement chart, spot the grainline without thinking, and find notches by feel. Start with a simple pattern with just a few pieces, take your time with the markings, and let each project teach you a little more.