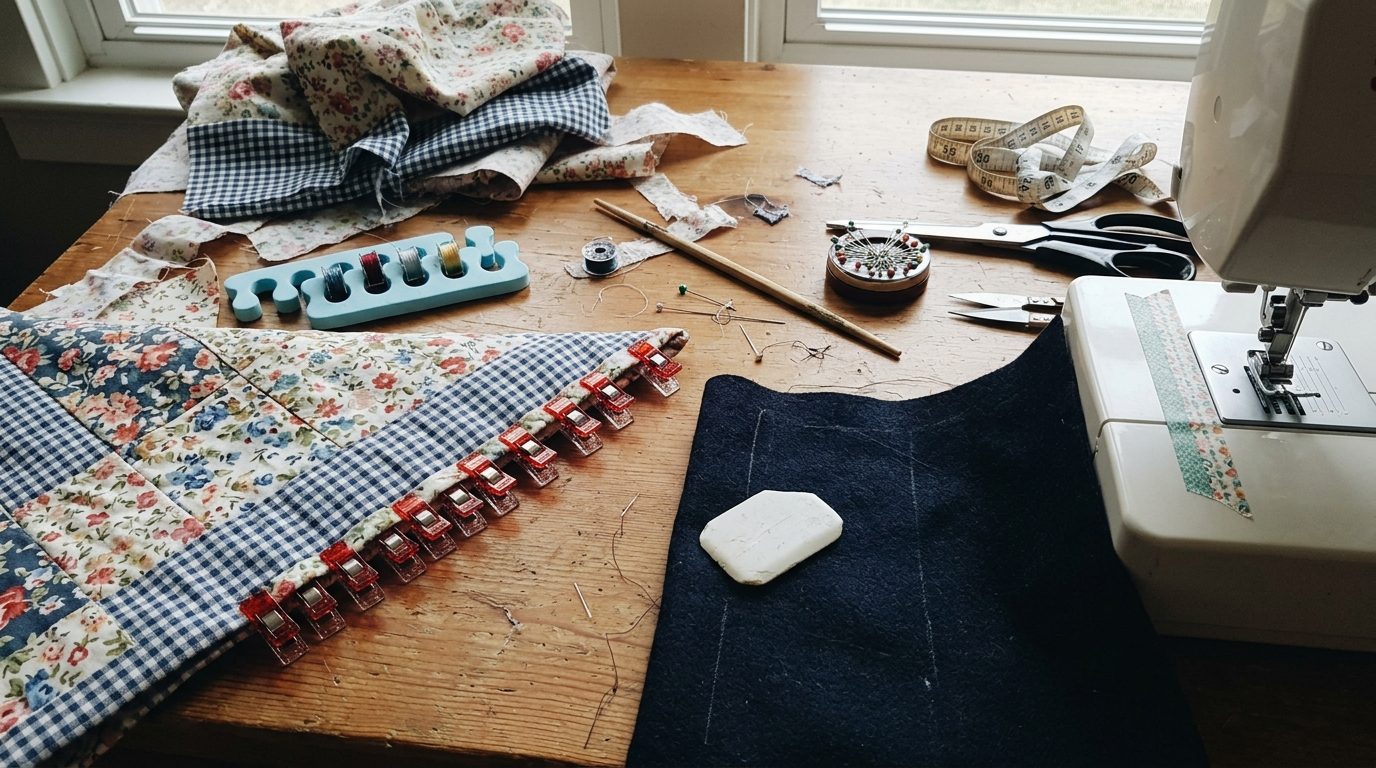
Most sewing frustration doesn’t come from hard patterns. It comes from small things: thread that won’t go through the needle, wobbly seams, pins stabbing your fingers, fabric that slides around like it has somewhere better to be.
The good news is that most of those problems have a cheap, simple fix, usually something already sitting in your sewing box or bathroom cabinet. These are the tricks I reach for on nearly every project.
Each one below covers the trick, why it works, and exactly how to do it, so you can try it the next time you sit down at the machine.
1. Make a Seam Guide From a Rubber Band or Washi Tape
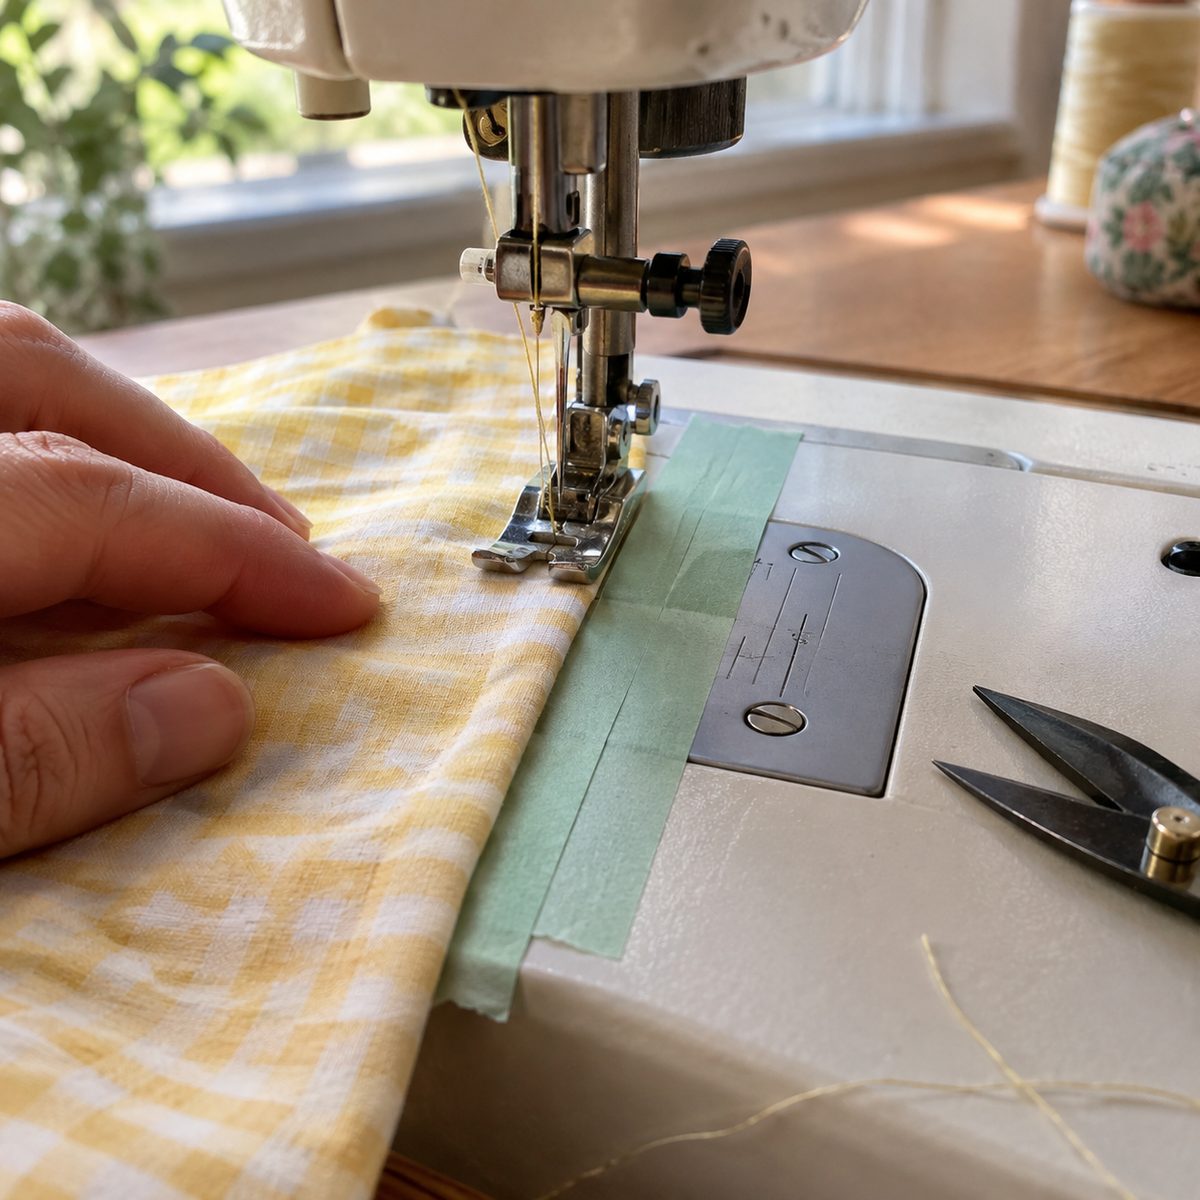
Straight, even seam allowances are the difference between pieces that match and pieces that don’t. Most needle plates have etched lines, but they’re thin and easy to lose track of. A raised or brightly colored guide gives your fabric edge something to follow.
For a quick guide, measure from the needle to your seam allowance (usually 5/8 inch for garments, 1/4 inch for quilting) and lay three or four stacked strips of washi or painter’s tape along that line. The stack creates a small ridge the fabric edge bumps against. On a free-arm machine, a wide rubber band stretched around the arm at the right distance works the same way.
- Keep tape clear of the feed dogs and bobbin cover.
- Replace tape every few weeks so the adhesive doesn’t get gummy.
2. Stiffen Thread With Hairspray for Easy Threading
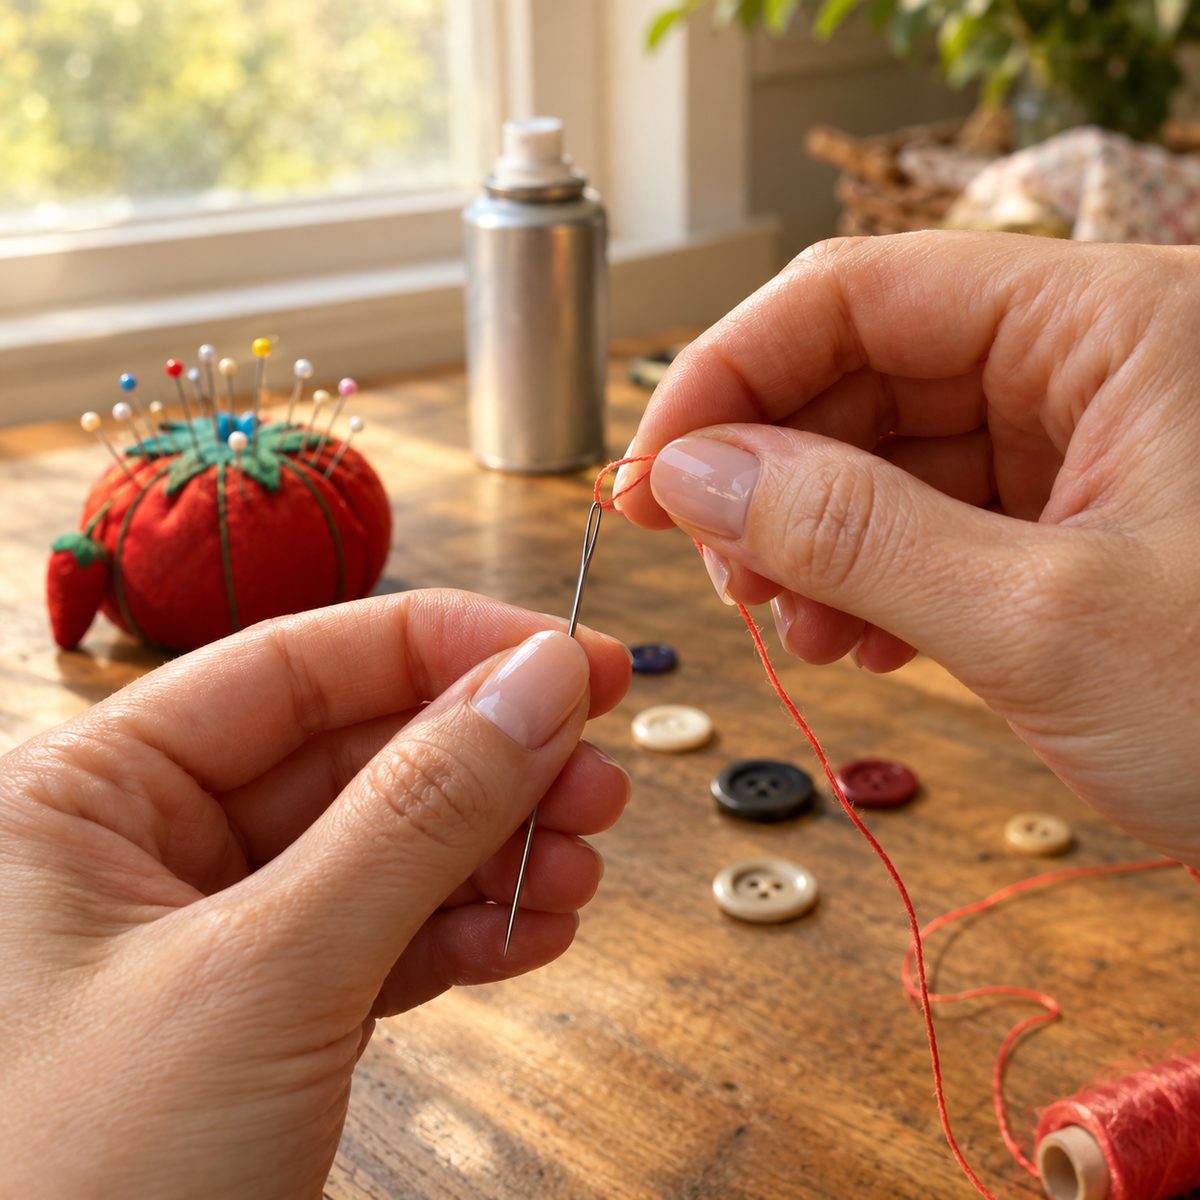
Frayed, floppy thread ends are the main reason threading a needle takes five tries. Hairspray coats the loose fibers and dries stiff in seconds, turning a fuzzy tip into a firm point that slides straight through the eye.
Here’s how to do it without gunking up your machine:
- Snip the thread at a sharp angle with good scissors.
- Mist a little hairspray onto your fingertips, away from the machine.
- Pinch and roll the last inch of thread between your fingers.
- Wait about 10 seconds, then thread.
This works for both hand needles and machine needles, and it’s especially handy with slippery polyester or rayon embroidery thread. A dab of beeswax or a lick of thread conditioner does the same job if you’d rather not keep hairspray in your sewing room.
3. Use Clips Instead of Pins for Thick or Delicate Layers
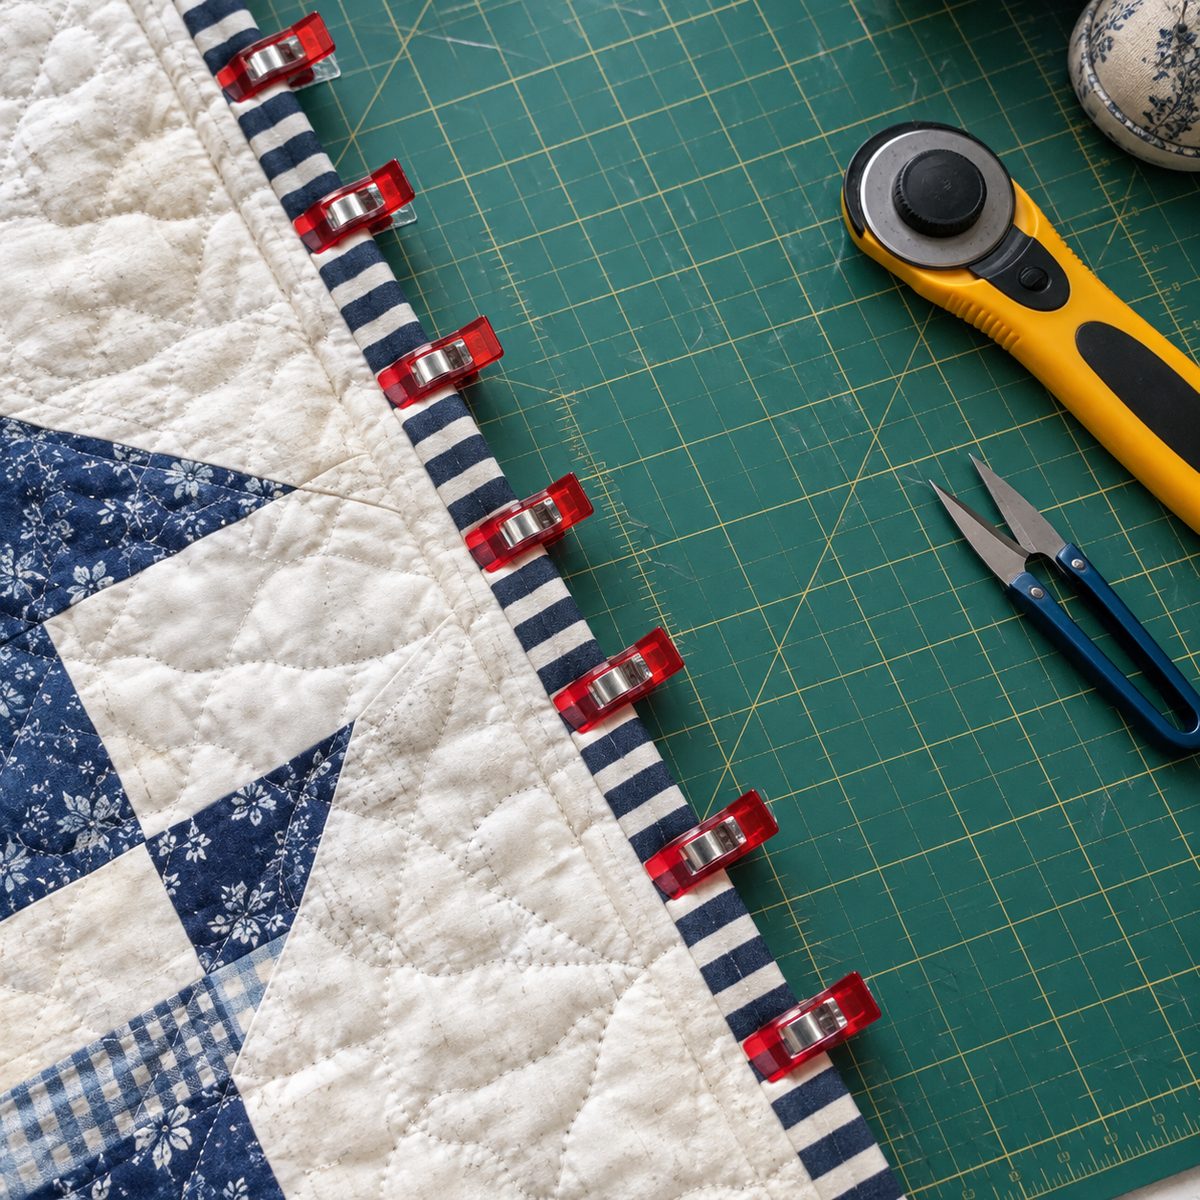
Small spring clips, often sold as wonder clips, hold layers together without putting a single hole in the fabric. That matters for vinyl, laminated cotton, leather, and oilcloth, where pin holes are permanent. They also grip bulky layers like binding, quilt edges, and bag seams far better than pins, which tend to pop out or bend.
Clip every 3 to 4 inches along the seam, with the flat side of the clip on the bottom so it slides under the presser foot area easily. Remove each clip as it approaches the foot. Unlike pins, you’ll never be tempted to sew over one.
A pack of 50 is inexpensive, and cheap binder clips or hair clips work in a pinch for straight seams. I still use pins for lightweight cotton and curves, but clips are my go-to for anything thick.
4. Press Every Seam Before Crossing It
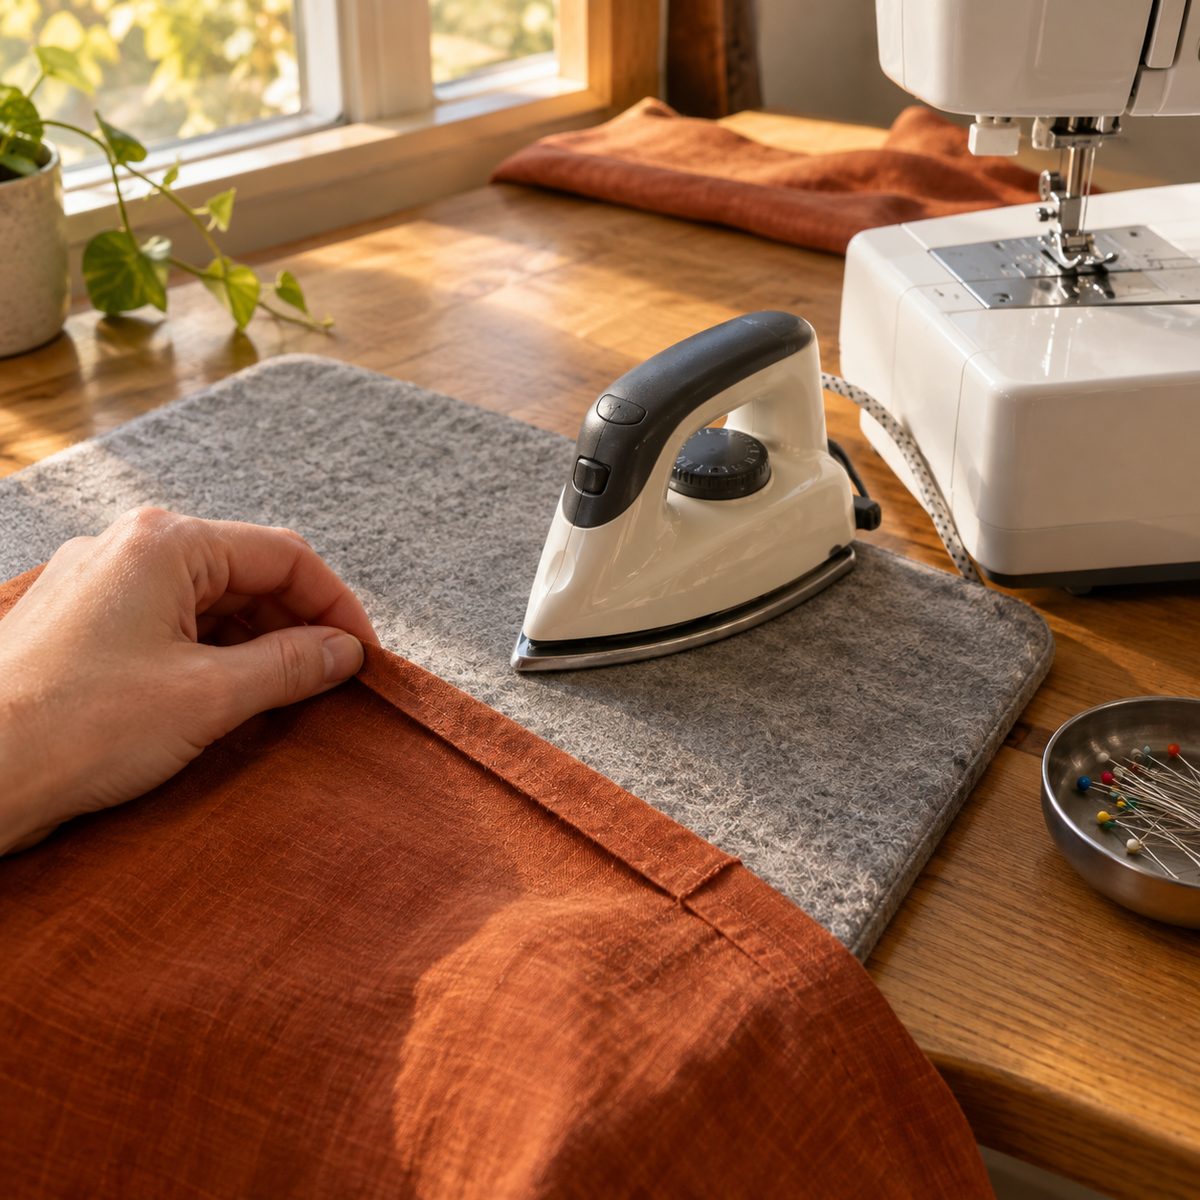
It’s tempting to sew a stack of seams and iron everything at the end, but pressing as you go is what makes homemade projects look professional. A pressed seam lies flat, so the next seam crossing it lines up accurately instead of wobbling over a lumpy ridge.
The routine is simple: sew the seam, press it flat as sewn to set the stitches, then open it or press it to one side as your pattern says. Press by lifting and lowering the iron rather than sliding it, which can stretch the fabric out of shape.
To save trips across the room, set a small travel iron and a wool pressing mat right next to your machine. A mat about 13 by 17 inches handles most garment and quilt block seams, and the wool holds heat so seams press flatter and faster.
5. Store Bobbins in a Foam Toe Separator
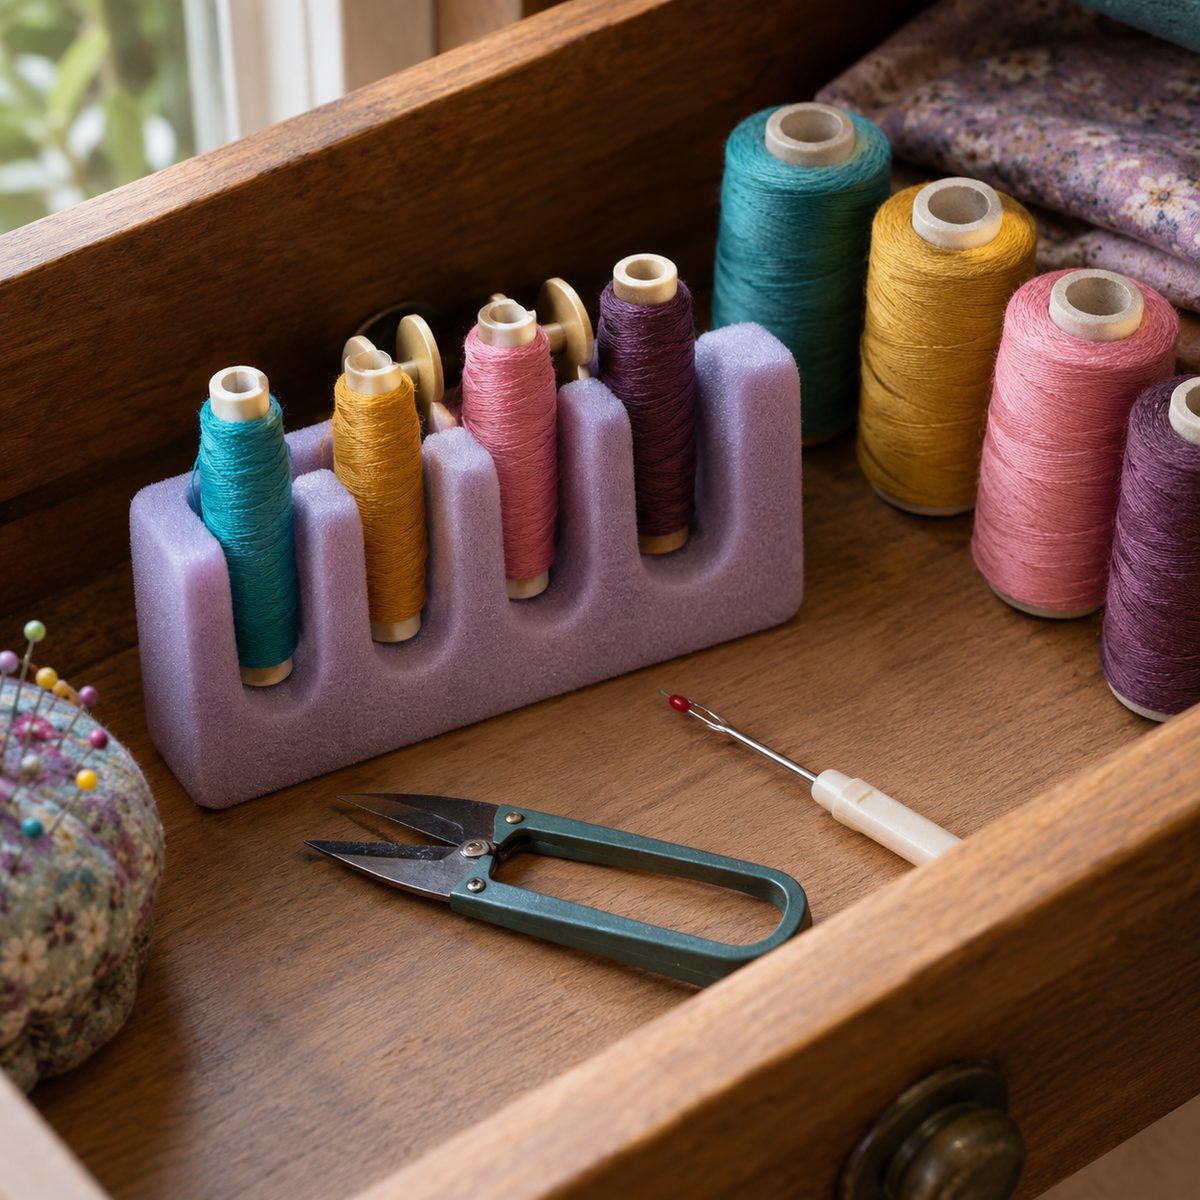
Loose bobbins roll off tables and unwind into tangled nests in the bottom of your sewing box. A foam pedicure toe separator costs almost nothing and holds bobbins upright in its slots, so thread stays neat and you can see every color at a glance.
Press each bobbin down into a gap between the foam “fingers.” The foam grips the rim gently enough not to scratch plastic bobbins. One separator holds four or five, and you can line several up in a drawer or tackle box.
Other cheap options that work well:
- A pool noodle slice with a dowel through the middle
- Golf tees pushed through the center hole and stood in a block of foam
- Silicone bobbin rings that snap around the rim
Whatever you use, keep each bobbin paired with its matching spool so you’re never guessing.
6. Mark Fabric With a Soap Sliver
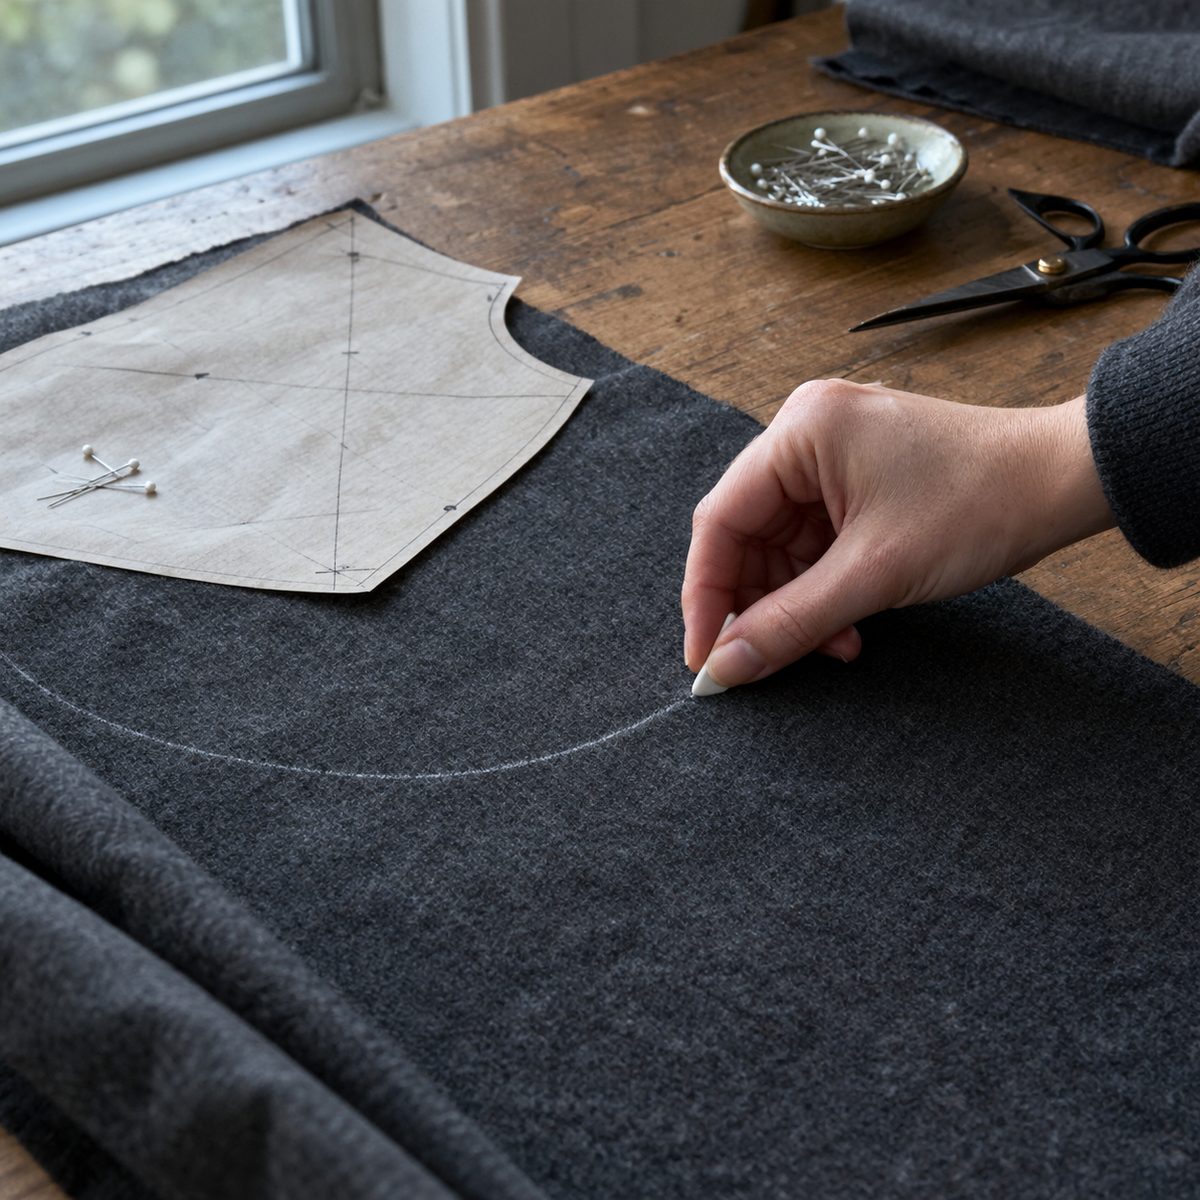
That thin leftover sliver of bar soap is one of the best fabric markers you can own. It draws a crisp, visible line on dark fabrics, it doesn’t need sharpening once it’s worn thin, and it washes or brushes out completely, which is why tailors have used it for generations.
Let a sliver dry out for a few days so it firms up, then draw lines the same way you would with tailor’s chalk. The thin edge gives a fine line for darts, pocket placement, and hem lines.
- Use plain white soap without moisturizers or dyes.
- Test on a scrap first, especially on silk or wool.
- Steam or a damp cloth removes any leftover marks.
It works best on darker cottons, wool, denim, and flannel. On white or pale fabric, switch to a water-soluble pen instead.
7. Change Your Needle More Often Than You Think
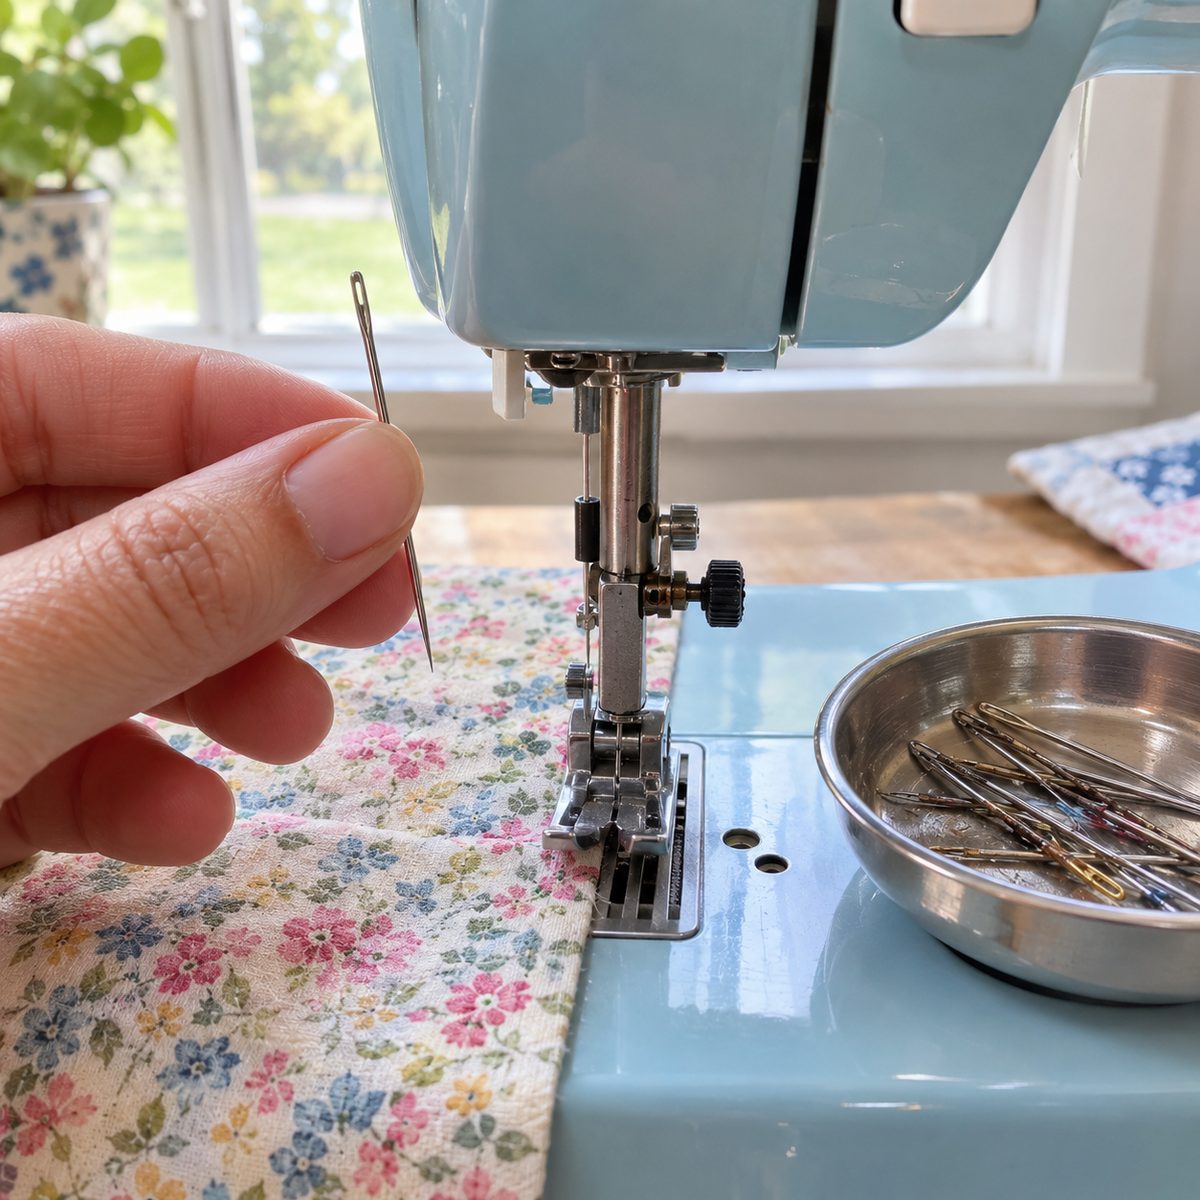
A dull or slightly bent needle causes more problems than almost anything else: skipped stitches, pulled threads, puckered seams, and a thumping sound as it punches through fabric. Many sewists use the same needle for months without realizing it’s the culprit.
A good rule is to put in a fresh needle every 6 to 8 hours of sewing, or at the start of every new project. Change it immediately if you hit a pin or hear a popping sound.
Match the needle to the fabric, too. Universal 80/12 is a solid default for quilting cotton, ballpoint needles for knits, and 90/14 or 100/16 denim needles for heavy layers. This guide to what size sewing machine needle to use for cotton covers the details. Tape a small note to your machine with the date you last changed it.
8. Sew Slippery Fabric With Tissue Paper Underneath
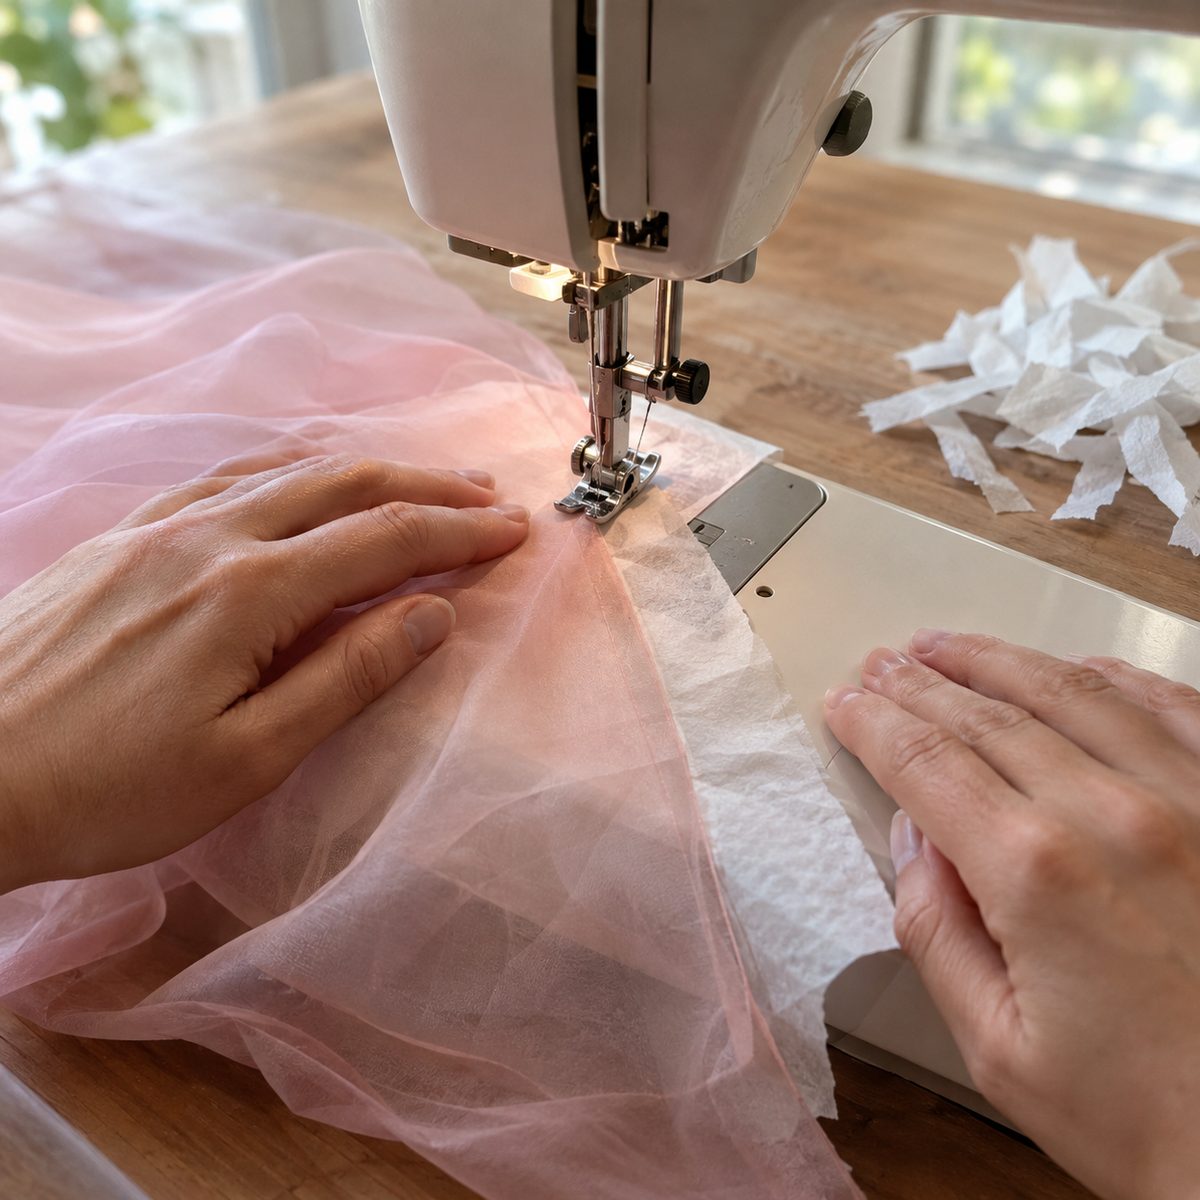
Chiffon, silk, rayon challis, and thin knits love to get pulled down into the needle plate or stretch out of shape as you sew. Tissue paper gives the feed dogs something stable to grip, so the fabric moves evenly and your stitches stay smooth.
Cut strips of plain gift tissue about 2 inches wide and place them under the seam, between the fabric and the machine bed. Sew right through the paper and fabric together. When you’re done, tear the tissue away gently along the stitch line; the needle perforations make it rip off cleanly.
Use a slightly shorter stitch length, around 2.0 mm, so the paper tears out easily without distorting stitches. Plain white tissue is safest, since colored tissue can bleed if it gets damp. Tear-away stabilizer does the same job if you sew sheers often.
9. Baste With a Washable Glue Stick
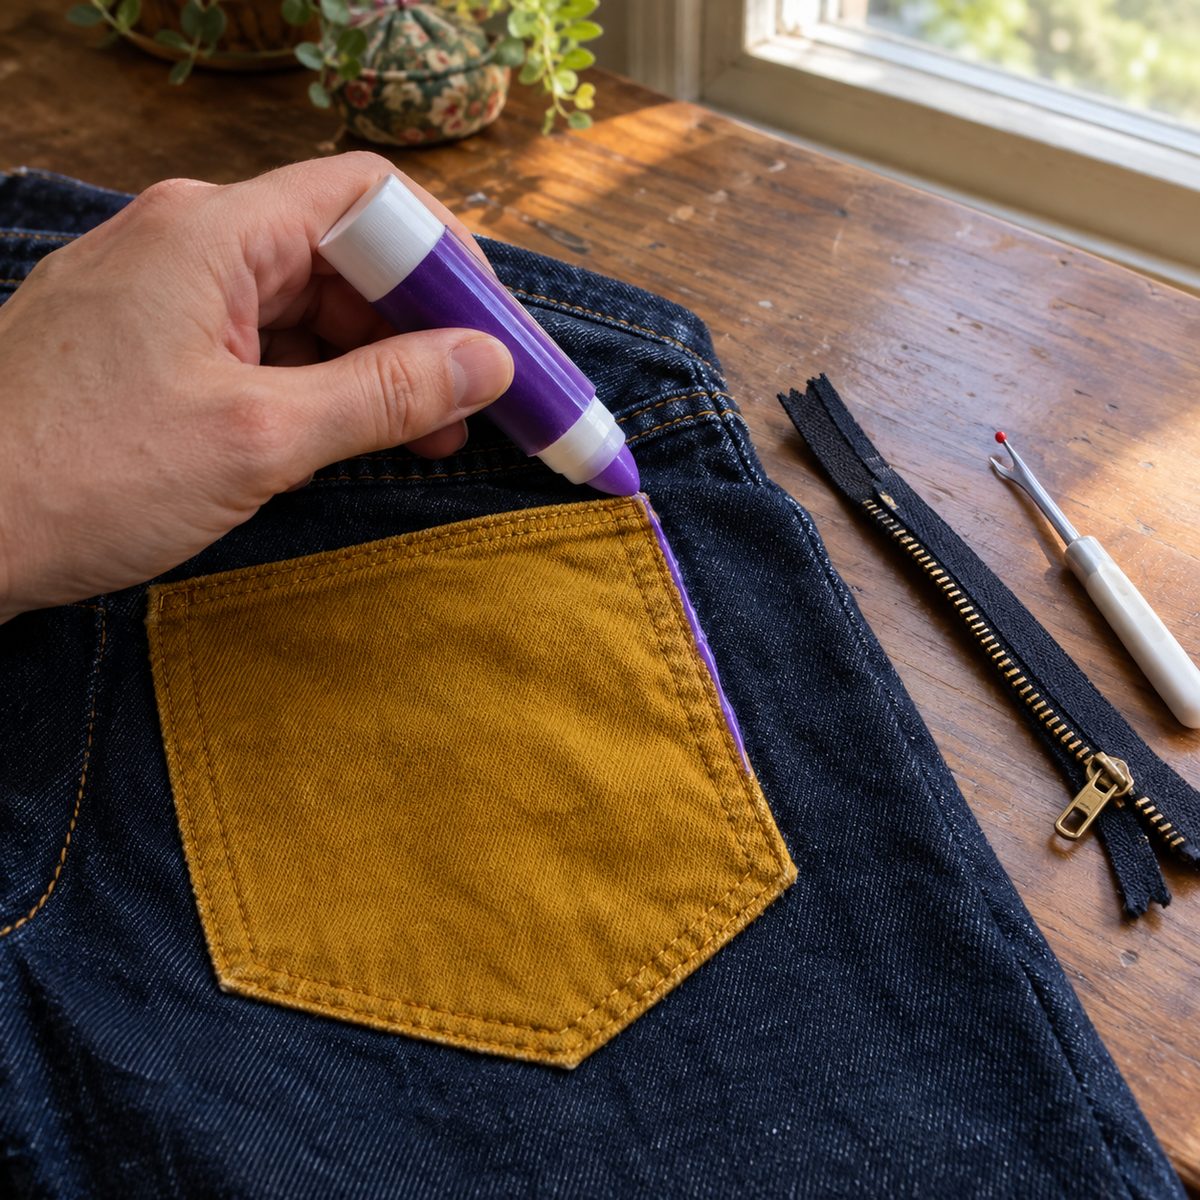
Zippers, patch pockets, appliqué, and binding all tend to shift when you pin them. A dab of washable school glue stick holds them exactly in place with no pins in the way of the presser foot, and it washes out in the first laundry.
Run a thin line of glue on the seam allowance, not where the stitches will go, then press the pieces together with your fingers or a quick touch of a dry iron to set it. Give it a minute to dry before sewing. For binding, a few dots every 2 inches is plenty.
Use the purple-that-dries-clear kind so you can see where you’ve glued. It’s faster than hand basting stitches and far more accurate than pins for zippers. Skip it on fabrics you can’t wash, like some wools and silks.
10. Sweep Up Dropped Pins With a Magnet
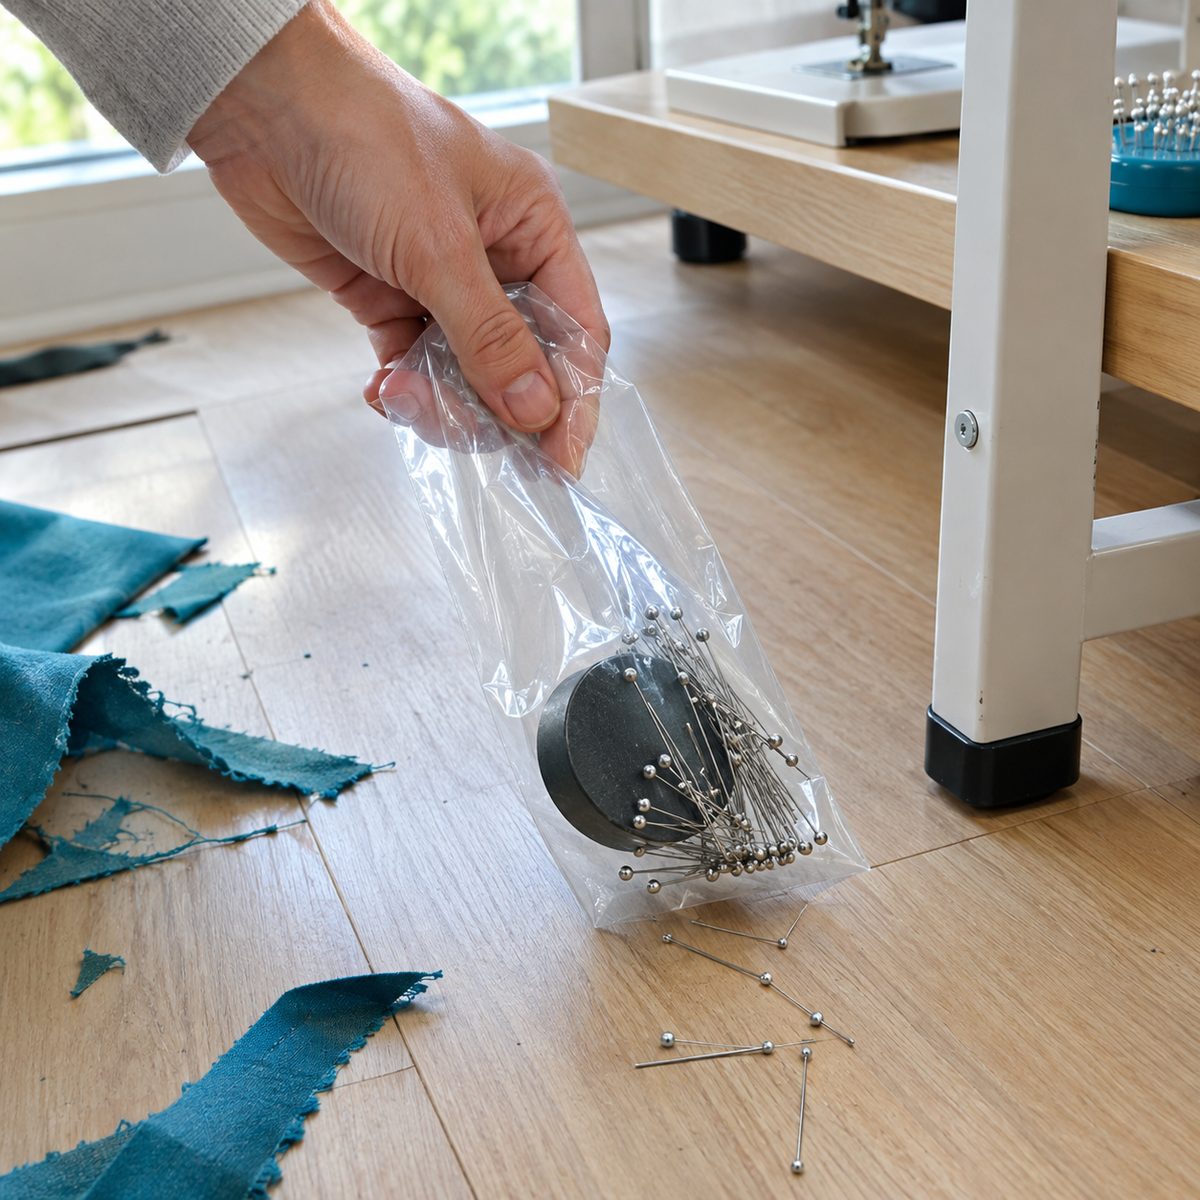
Dropped pins disappear into carpet and turn up later in bare feet or the vacuum. A strong magnet finds them in seconds without you crawling around with a flashlight.
A magnetic pincushion is the easiest version: toss pins onto it as you remove them while sewing, and they stay put. For cleanup, slide a telescoping magnetic pickup tool or a strong magnet wrapped in a plastic bag across the floor. When you’re done, pull the magnet out of the bag and the pins drop off neatly into your hand.
Make it a habit to sweep the area around your cutting table and chair at the end of every session. Keep magnets away from computerized sewing machine screens and phones, and never set one on the machine itself.
11. Start Seams on a Scrap Leader
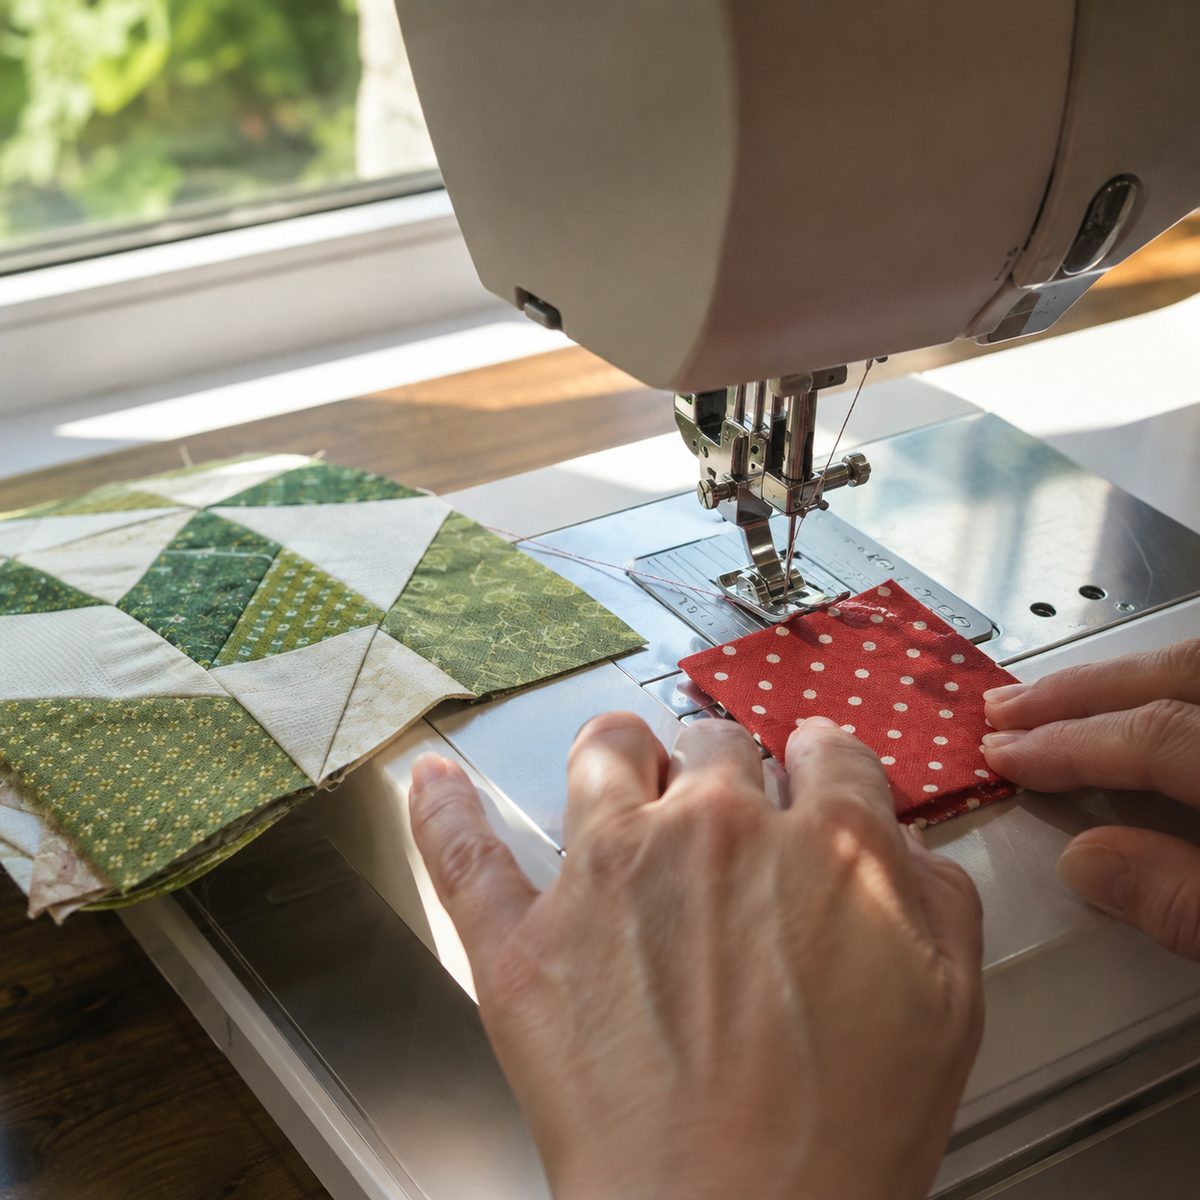
If your machine eats the corner of your fabric or leaves a snarl of thread on the underside at the start of a seam, a small scrap “leader” (quilters call it a thread bunny) solves it.
Fold a 2-inch square of scrap cotton in half and sew onto it first. Without cutting the threads, feed your real fabric right behind it and keep sewing. The scrap holds the thread tails taut and gives the feed dogs something to grip, so your actual seam starts cleanly with no bird’s nest. At the end of a seam, sew back onto the scrap and snip the project free.
It also saves thread, since you’re not pulling long tails for every seam. Keep a small stack of pre-folded scraps next to the machine; one scrap lasts for dozens of seams.
12. Test Every Stitch on a Scrap First
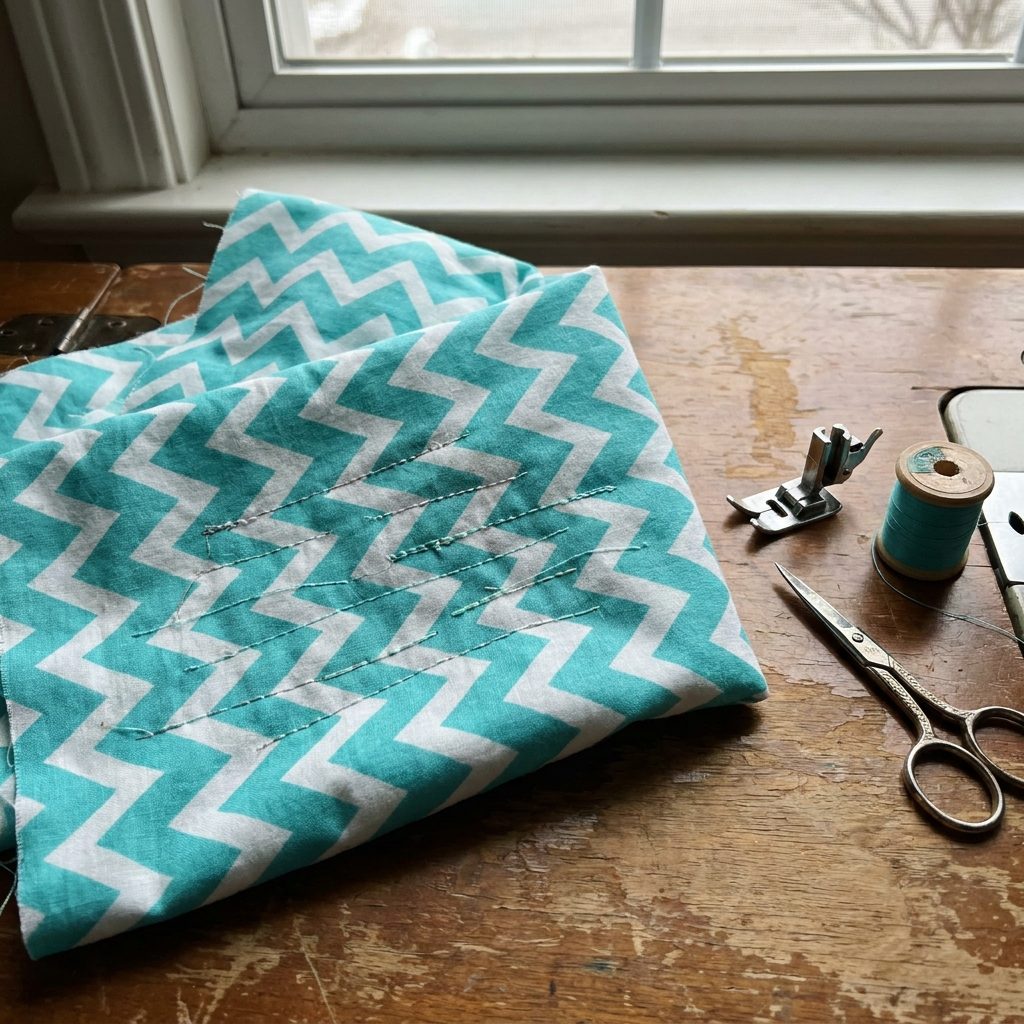
Before you sew on your real project, run a quick test on a scrap of the same fabric, folded to the same number of layers. It takes 30 seconds and catches problems before they end up on your finished piece.
Check a few things on the test seam:
- Stitches look the same on the top and bottom.
- No loops, puckers, or pulled threads.
- Stitch length suits the fabric (2.5 mm is a good default).
If the stitches look off, adjust one setting at a time and test again. Loops on the bottom usually mean the top tension is too loose, and our guide on how to set tension on a sewing machine walks through the fix. Pin your good test scrap to the project so you remember the settings next time.
13. Thread Elastic Through a Casing With Two Safety Pins
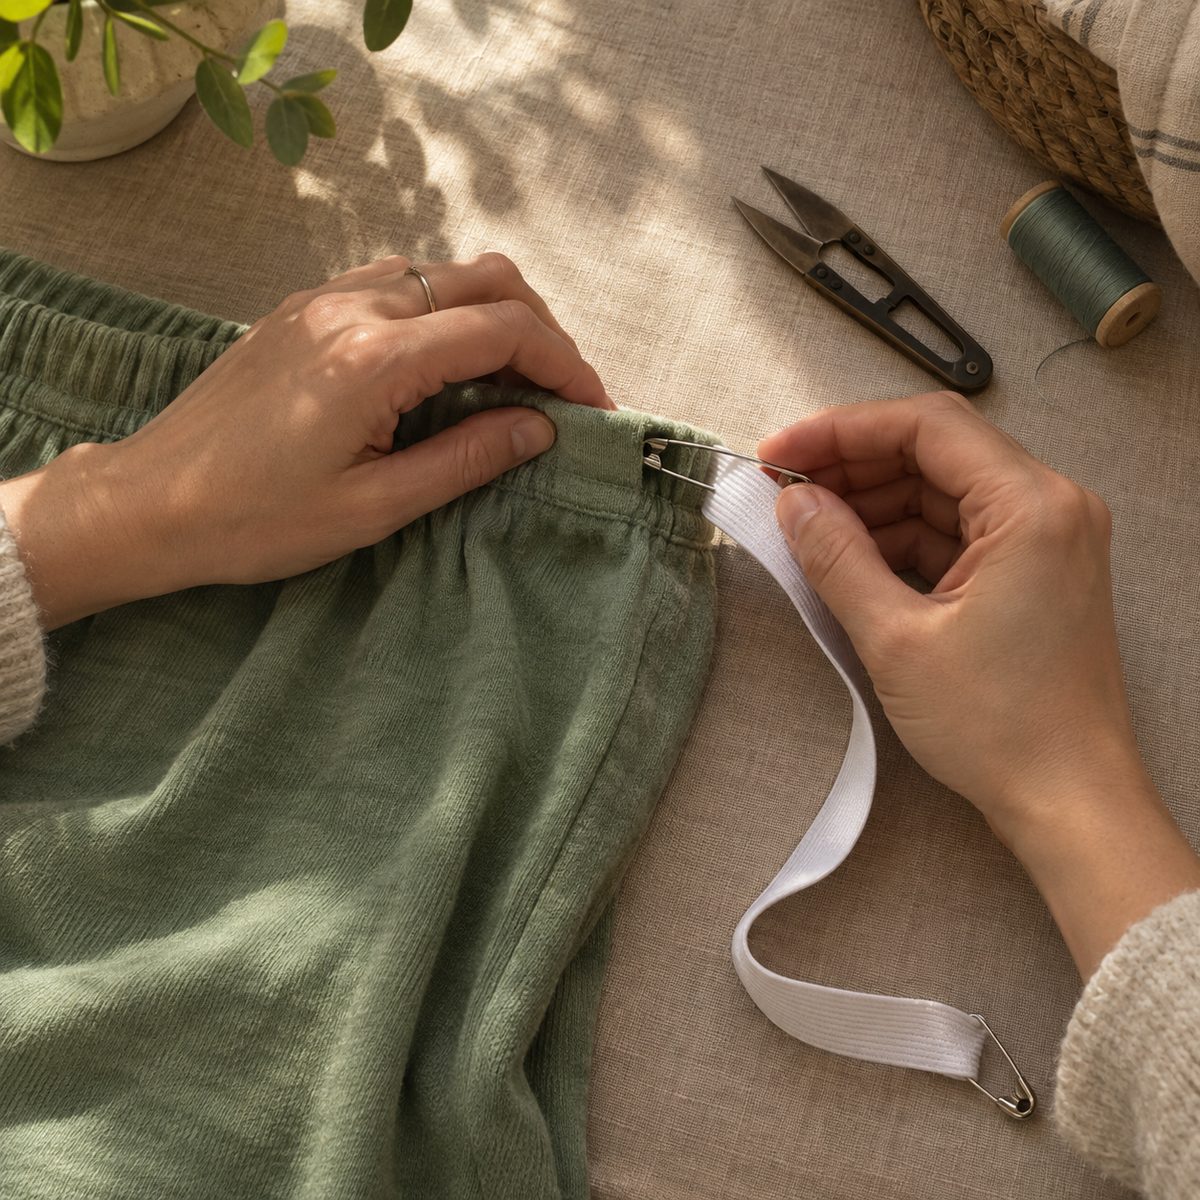
Feeding elastic through a waistband casing can go wrong fast when the far end slips inside and disappears. Two safety pins prevent it.
Fasten a large safety pin (about 1.5 inches) through one end of the elastic, close it, and use it as a handle to push through the casing. Pin the other end of the elastic to the fabric just outside the casing opening with a second safety pin so it can’t get pulled in. Scrunch the fabric along the pin, then pull the fabric back over the elastic, working a few inches at a time until the pin comes out the other side.
Before sewing the ends together, check that the elastic isn’t twisted by running your fingers around the casing. For more techniques, see how to sew elastic into fabric.
14. Label the Right Side With Painter’s Tape
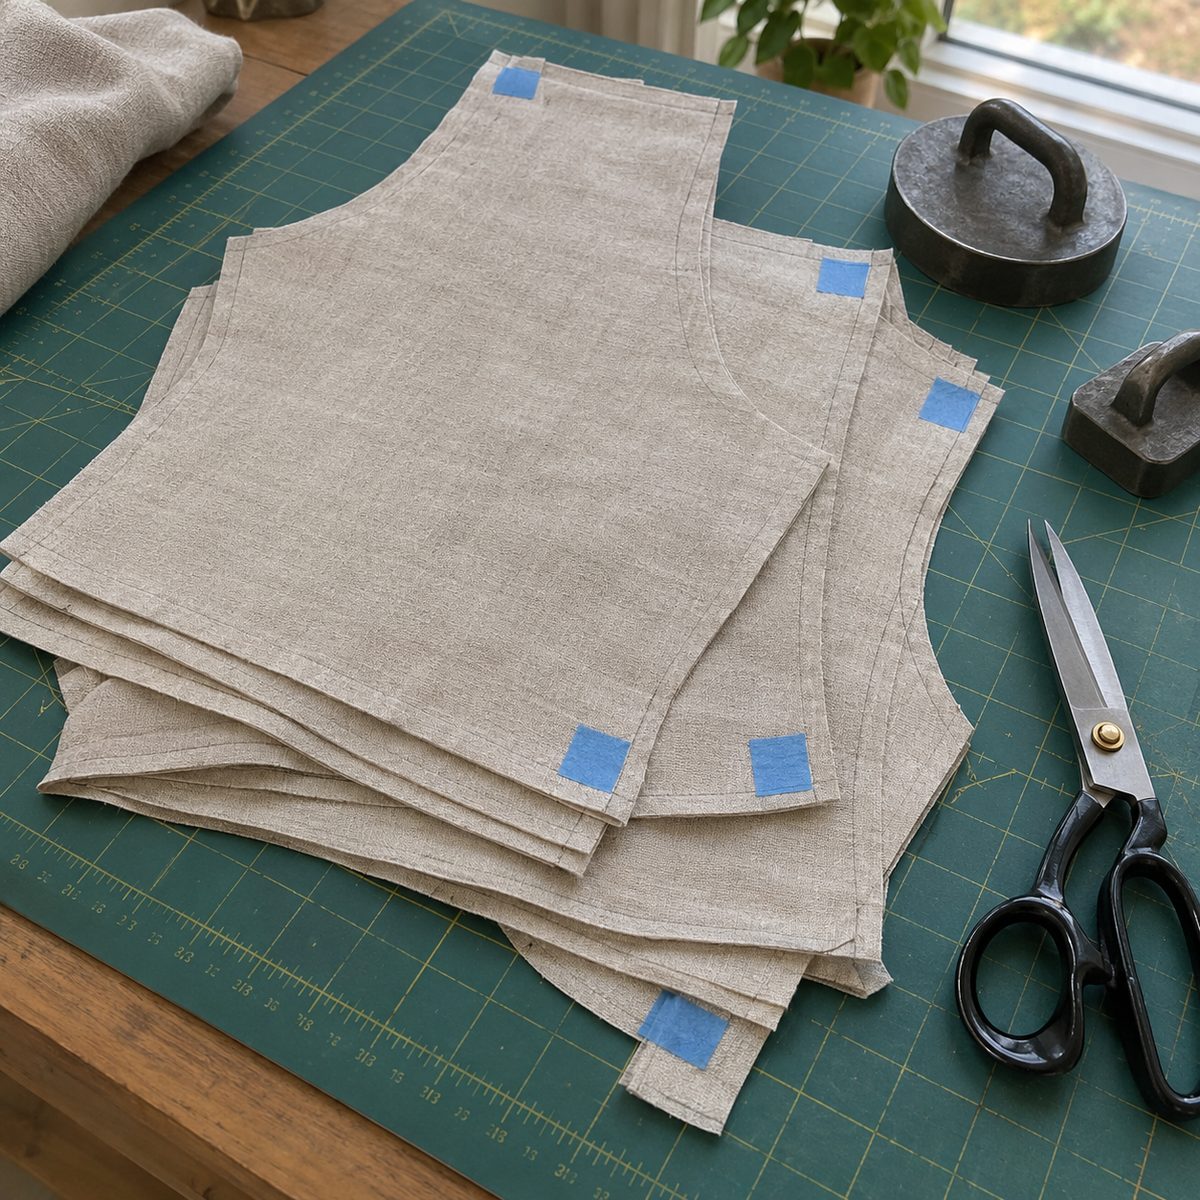
Solids, linens, and many knits look nearly identical on both sides, and sewing one piece wrong side out means unpicking. A small piece of painter’s tape on the wrong side of every cut piece removes the guesswork.
Right after cutting, stick a 1-inch piece of low-tack painter’s or masking tape on the wrong side of each piece. You can draw a simple arrow on it for grain direction or the top edge if you like. Peel it off right before that piece goes into a seam.
Painter’s tape is gentle enough not to leave residue on most fabrics, but test it on velvet or delicate silk first. Chalk X marks work well too if tape doesn’t stick to your fabric. This is especially useful when you cut a whole garment at once and sew over several days.
15. Level the Presser Foot Over Thick Seams
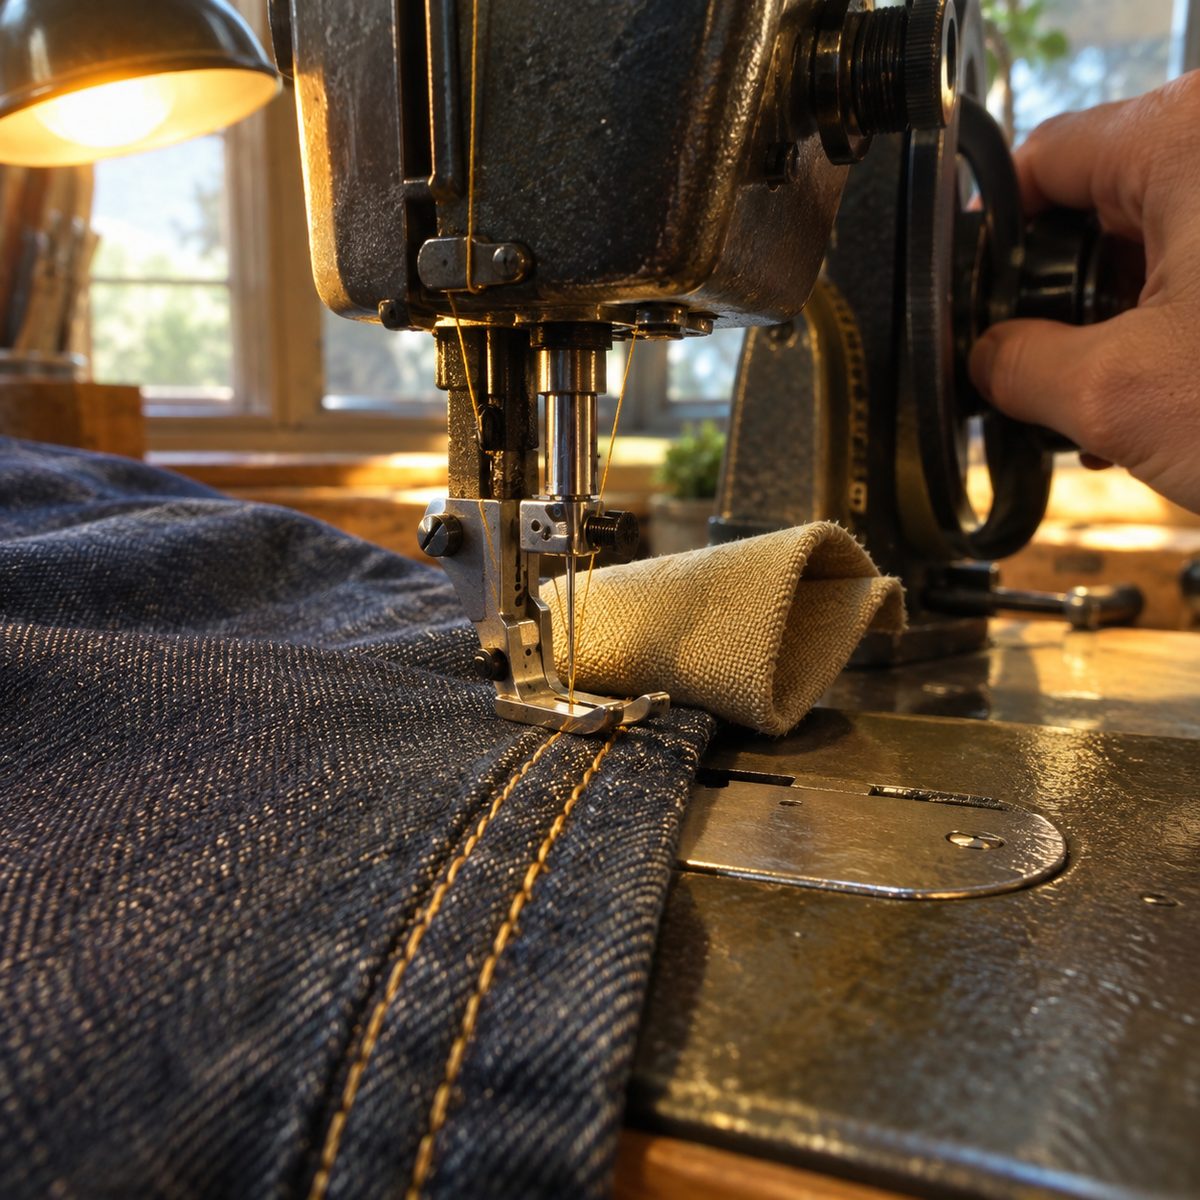
Sewing over a bulky seam, like a jeans hem or a bag strap, can make the presser foot tilt, stall, or break a needle. A small shim under the back of the foot keeps it level so it climbs over the lump smoothly.
Fold a scrap of heavy fabric or thin cardboard to the same height as the bulky seam. When the front of the foot starts to rise onto the thick part, stop with the needle down, lift the foot, and slip the shim under the back of it. Lower the foot and keep sewing slowly. Move the shim to the front when you come off the other side.
Turning the handwheel by hand for the first few stitches over the thickest spot helps too. A plastic tool called a hump jumper does the same job if you hem a lot of denim.
16. Gather Fabric Over Dental Floss
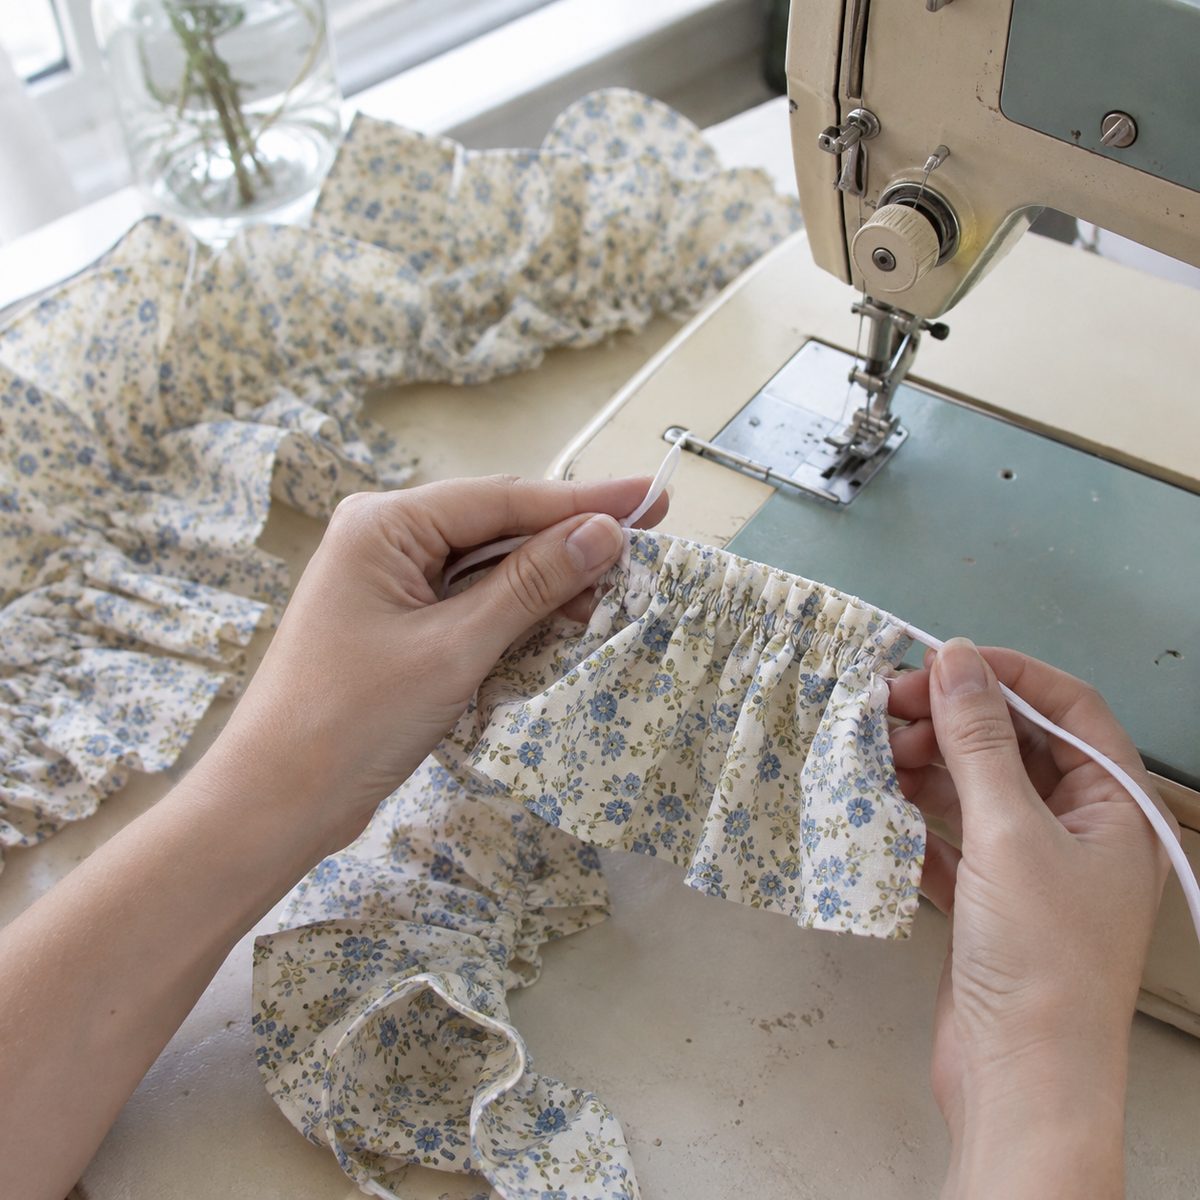
Gathering with two rows of long basting stitches works, but the threads snap if you pull too hard. Zigzagging over dental floss gives you a strong cord that slides freely and never breaks, even on long ruffles or heavier fabric.
Lay unwaxed, unflavored dental floss along the gathering line, about 3/8 inch from the edge. Set a wide zigzag, around 4.0 mm width and 3.0 mm length, and stitch over the floss without catching it. Leave a few inches of floss at each end.
Anchor one end by wrapping it around a pin, then pull the other end and slide the fabric along to gather. Once gathers are even and pinned to the matching piece, sew your seam and pull the floss out. Crochet cotton or thin string also works.
17. Clean Lint With a Makeup Brush
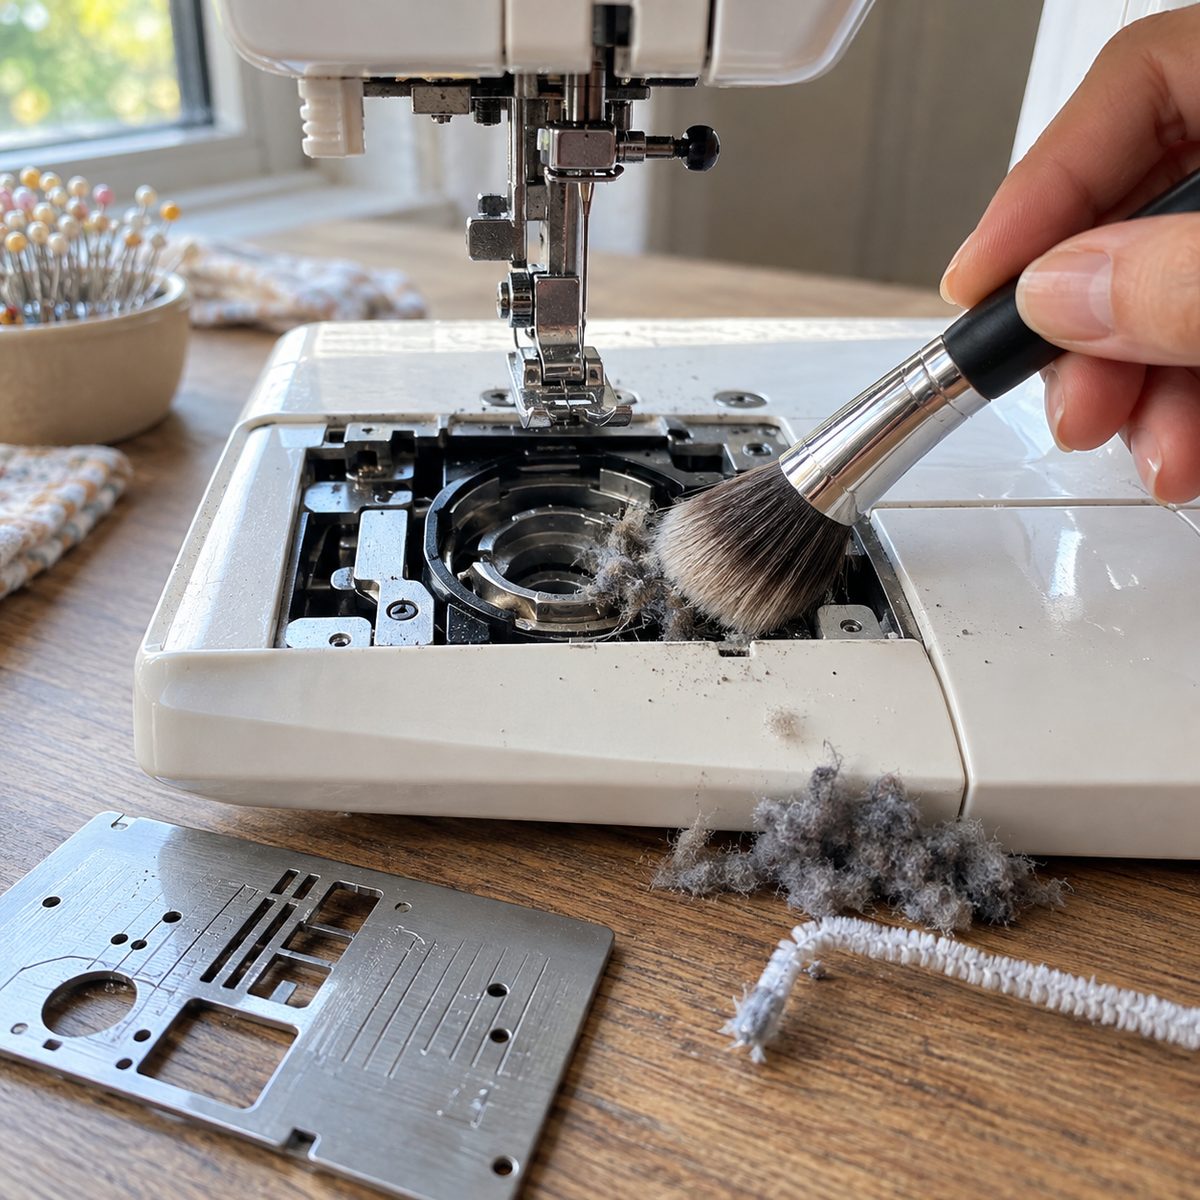
Lint packs into the bobbin area faster than most people realize, and a clogged bobbin case can cause skipped stitches, thread jams, and uneven tension. The little brush that came with your machine is fine, but a soft, clean makeup brush or small paintbrush reaches deeper and grabs more fuzz.
With the machine unplugged, remove the needle plate and the bobbin, then brush out the feed dogs and bobbin race. Sweep lint outward instead of pushing it further in. A pipe cleaner bent into a hook grabs stubborn clumps in corners.
Clean after every bobbin or two, and always after sewing fleece, flannel, or batting. Skip canned air: it can blow lint deeper into the machine. If your manual calls for oil, add one drop after cleaning.
18. Turn Crisp Corners With a Chopstick
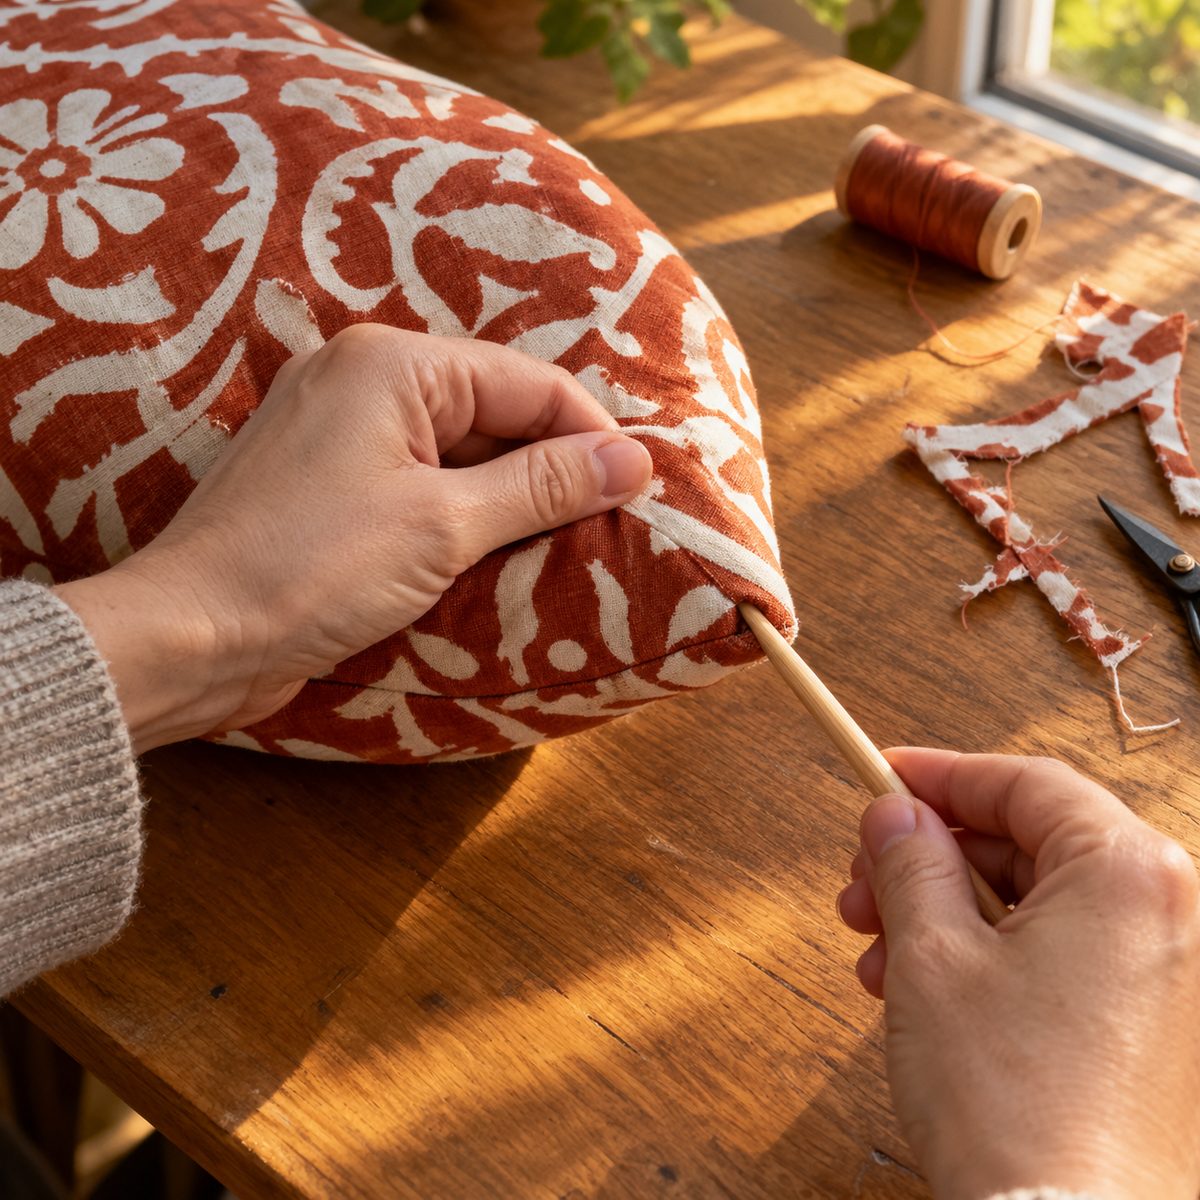
Blunt, rounded corners on pillows, bags, and collars are a giveaway that a project is homemade. A wooden chopstick pushes corners out sharply without poking through the fabric the way scissors tips do.
Before turning, trim the seam allowance across the corner diagonally, about 1/8 inch from the stitching, to remove bulk. Turn the piece right side out, slide the blunt end of the chopstick into the corner, and push gently until the point forms. If it still looks soft, use a pin from the outside to tease the last few threads into place.
Press the corner right away so it holds its shape. Sand the tip lightly if the chopstick has splinters. A knitting needle or a dedicated point turner works just as well.
Start With the Hacks That Fix Your Biggest Frustration
You don’t need to adopt all of these at once. Pick the one that fixes whatever annoys you most right now: maybe it’s the wobbly seams, maybe it’s the bird’s nests at the start of every line of stitching. Try it on your next project and let it become habit before adding another.
Most of these hacks cost less than a spool of thread, and together they save hours of unpicking, frustration, and wasted fabric. Keep a few of the supplies right next to your machine so the easy way is always within reach.