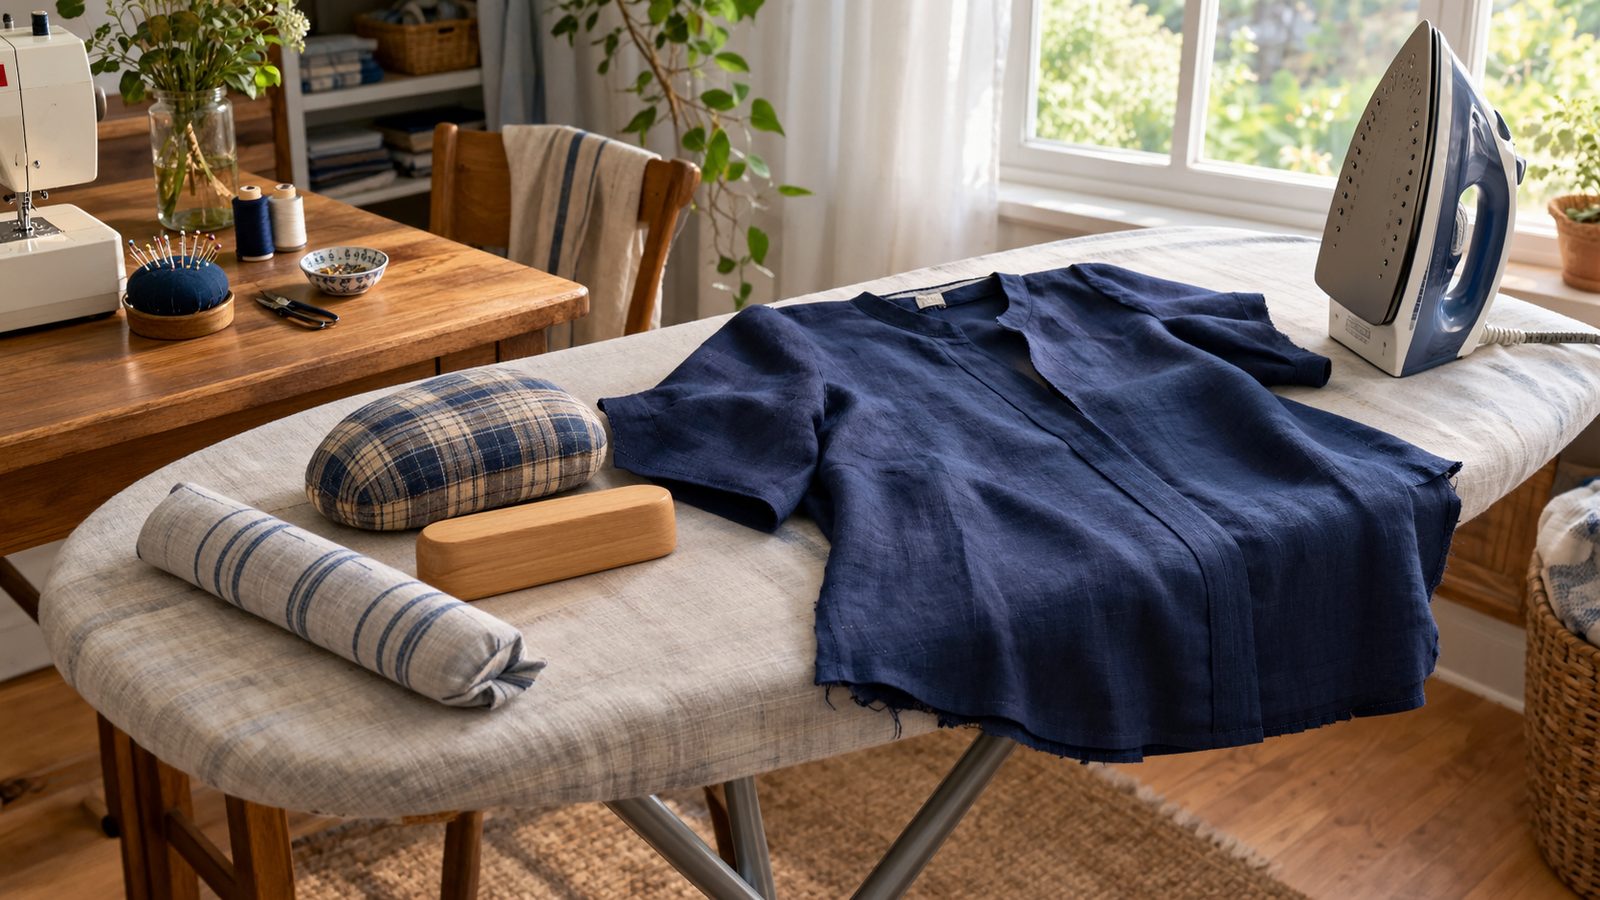
Ironing and pressing use the same iron, but they are two different motions with two different goals. Ironing slides the iron back and forth to smooth wrinkles out of finished clothes. Pressing lifts the iron and sets it straight down, holds it, and lifts it again, so the fabric gets shaped without being pushed around.
That small change in motion is one of the biggest reasons some handmade garments look homemade and others look like they came off a rack. Seams lie flat, points turn crisp, and curves keep their shape. Here is what pressing really does, how to do it in the right order, and how to avoid the marks that give it away.
Quick answer
- Ironing = gliding the iron across fabric to remove wrinkles.
- Pressing = lifting and lowering the iron in place to set seams and shape fabric.
- Press every seam as you sew, before it gets crossed by another seam.
- Match heat and steam to the fabric, and use a press cloth whenever you are unsure.
What’s the difference?
Think of ironing as a sweeping motion. You push the iron along the fabric, usually with some pressure, and the heat and movement relax the wrinkles. That works well on a finished shirt or a tablecloth, because those pieces are already cut, sewn and stable. The fabric can take a little dragging without harm.
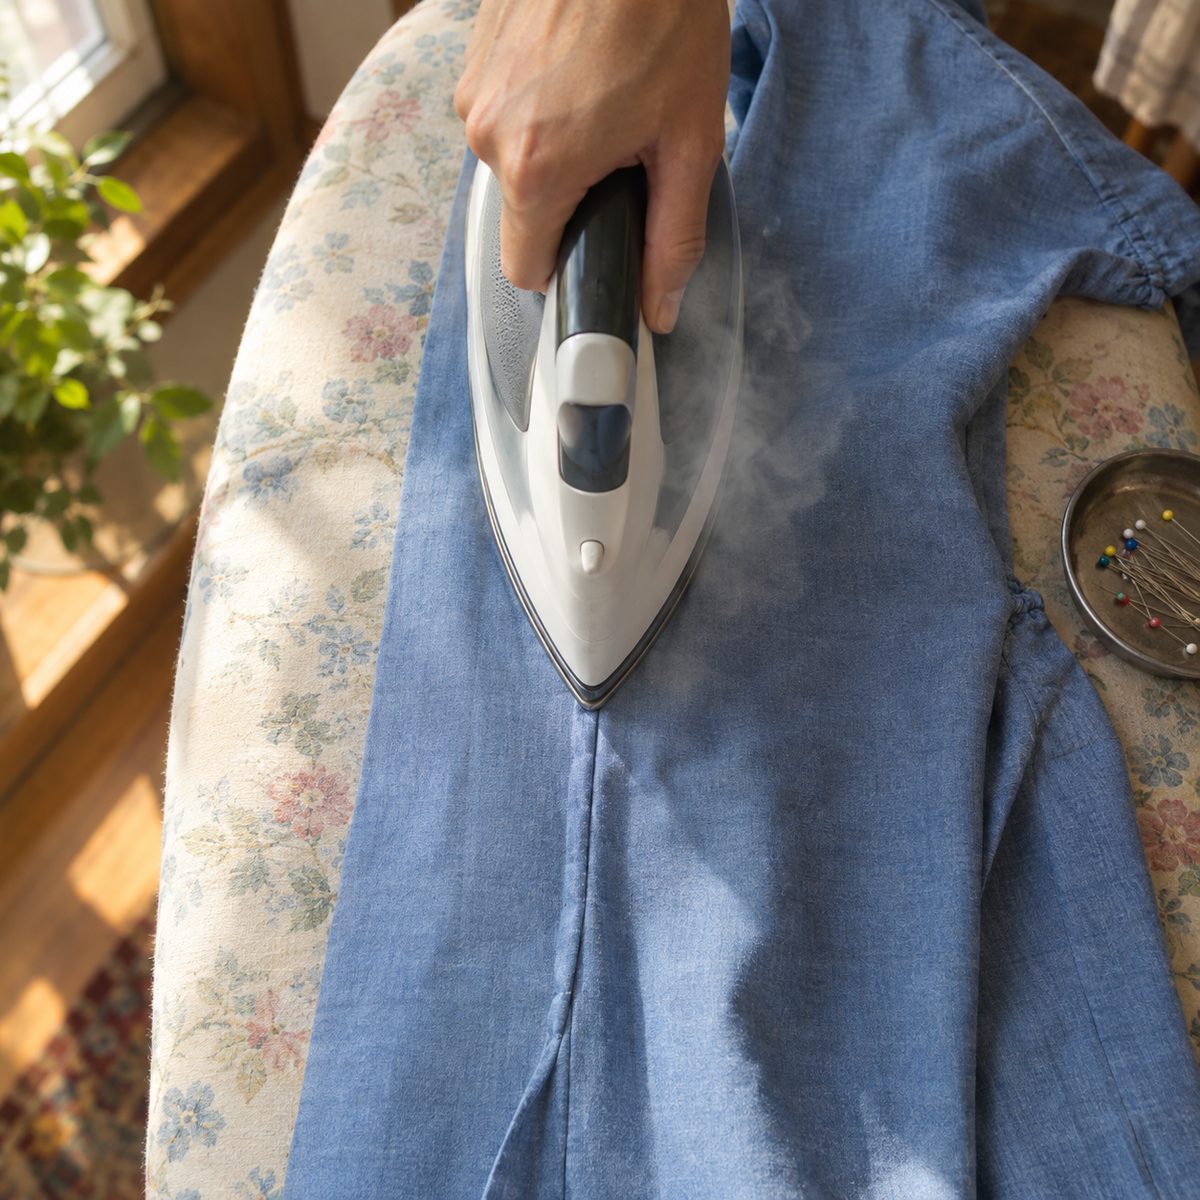
Pressing is an up-and-down motion. You set the iron down on one spot, let heat, steam and weight do their work for a few seconds, then lift it and move to the next spot. The iron never slides. The goal is not just to remove creases but to put shape into the fabric exactly where you want it: a seam allowance flattened open, a hem folded crisply, a dart smoothed toward the center.
The reason this matters so much in sewing is that fabric pieces in progress are unstable. Cut edges, especially anything cut on the bias or along a curve, will stretch if you drag an iron over them. A neckline can grow half an inch. A waistband can go wavy. Knits can ripple and never quite recover. Pressing avoids all of that because the fabric stays put while the heat does the work.
There is also a difference in timing. Ironing usually happens at the end, or after washing. Pressing happens constantly throughout a project, at the ironing board after nearly every seam. Many experienced sewists keep the iron heated and the board right next to the machine for exactly that reason.
Why pressing makes your sewing look professional
If you compare a store-bought garment with a homemade one and the homemade one looks a little off, the culprit is often pressing rather than stitching. Neat stitches sitting in a puffy, rounded seam still look amateur. Slightly wobbly stitches in a seam that has been pressed flat and sharp look far better than they have any right to.
Good pressing does several jobs at once. It melts the stitches into the fabric so the seam line disappears into a clean fold. It removes the tiny puckers that form when thread tension pulls on the cloth. It makes the next step easier, because flat seams are easier to match, pin and cross accurately. And it gives structure where a pattern wants structure, such as a rolled collar edge, a sharp pleat or a softly curved princess seam.
Pressing is also forgiving. A seam that looks bulky can often be rescued with steam and a little patience. A hem that wants to flip can be trained to lie down. If you are just starting out, the beginners sewing guide covers the basic tools, and I would put a decent iron near the top of that list, right after a reliable machine.
My own rule is simple: if I have sewn a seam, I press it before I sew across it. It feels slow at first. Once it becomes habit, it is the single change that improves finished projects the most.
Set the seam, then press it open or to one side
Pressing a seam is not one step but a short sequence. Each part has a purpose, and doing them in order gives you a flatter, crisper result than simply opening the seam and hitting it with steam.
- Set the seam as sewn. Before opening anything, lay the seam flat on the board exactly as it came off the machine, right sides together. Press straight down along the stitching line. This relaxes the thread and sinks the stitches into the fabric so any small puckers smooth out.
- Open the pieces. Lay the fabric right side down (for an open seam) and use your fingers to separate the two seam allowances.
- Finger press first. Run a fingertip or thumbnail along the seam to coax the allowances apart. This keeps them where you want them before the heat locks them in.
- Press the allowances. Lower the iron onto the seam, lift, move and lower again. Work with the tip of the iron along the seam line so you do not create new creases in the surrounding fabric.
- Turn it over and press from the right side. Use a press cloth here if your fabric can shine or mark. This final press sets the seam from the side people will see.
- Let it cool before moving it. Fabric holds a shape as it cools, not while it is hot. Give it a few seconds, or use a clapper (more on that below), before you pick the piece up.
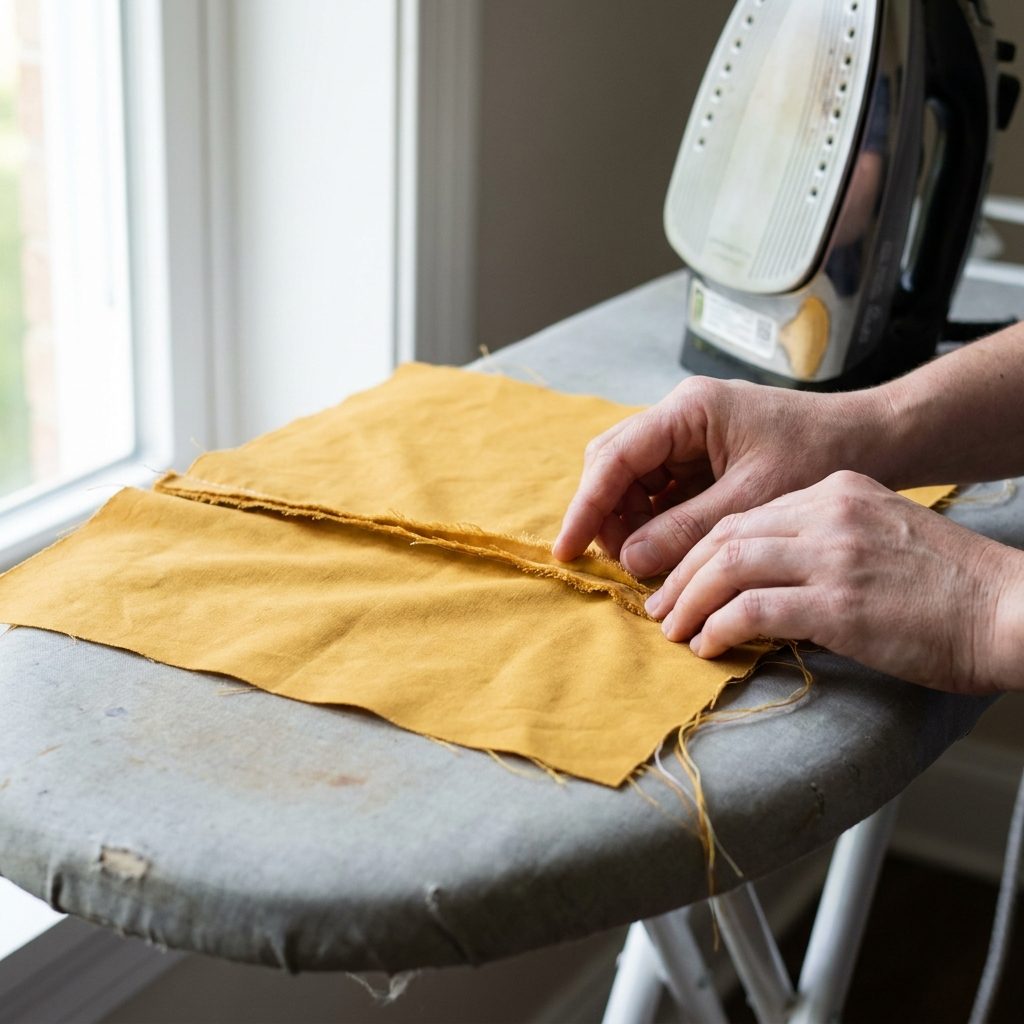
Whether a seam gets pressed open or to one side depends on the seam and the pattern. Pressing open spreads the bulk evenly and gives a flat, invisible result, which is the default for most garment seams in woven fabric. Pressing to one side is common in quilting, in seams that will be topstitched, and in seams finished together with a serger or zigzag. When allowances go to one side, most people press them toward the darker fabric so they do not shadow through.
A few seams have their own conventions. Darts are usually pressed toward the center front or center back if vertical, and downward if horizontal. Seams that will be enclosed, like the edge of a collar or facing, are pressed open first, then trimmed and graded, then turned and pressed again along the finished edge. That first open press is what lets the final edge roll crisply instead of looking lumpy. If you have basted anything first, pressing over basting is fine as long as you remove the basting before the final press, so the thread does not leave an imprint.
Heat, steam and press cloths by fabric type
The right setting depends on fiber content. Natural fibers like cotton and linen love heat and steam and can take a fairly hot iron. Wool responds beautifully to steam but prefers lower dry heat and almost always a press cloth. Silk and synthetics need gentle, lower temperatures, and some synthetics will melt or glaze long before you see any warning.
Steam does most of the shaping work. Moisture plus heat relaxes the fibers so they will take a new form, and cooling locks that form in. That is why a burst of steam followed by a clapper or just a pause produces such sharp results on wool. On fabrics that water-spot, such as some silks and rayons, test steam on a scrap first, or press dry with a slightly damp press cloth on top instead.
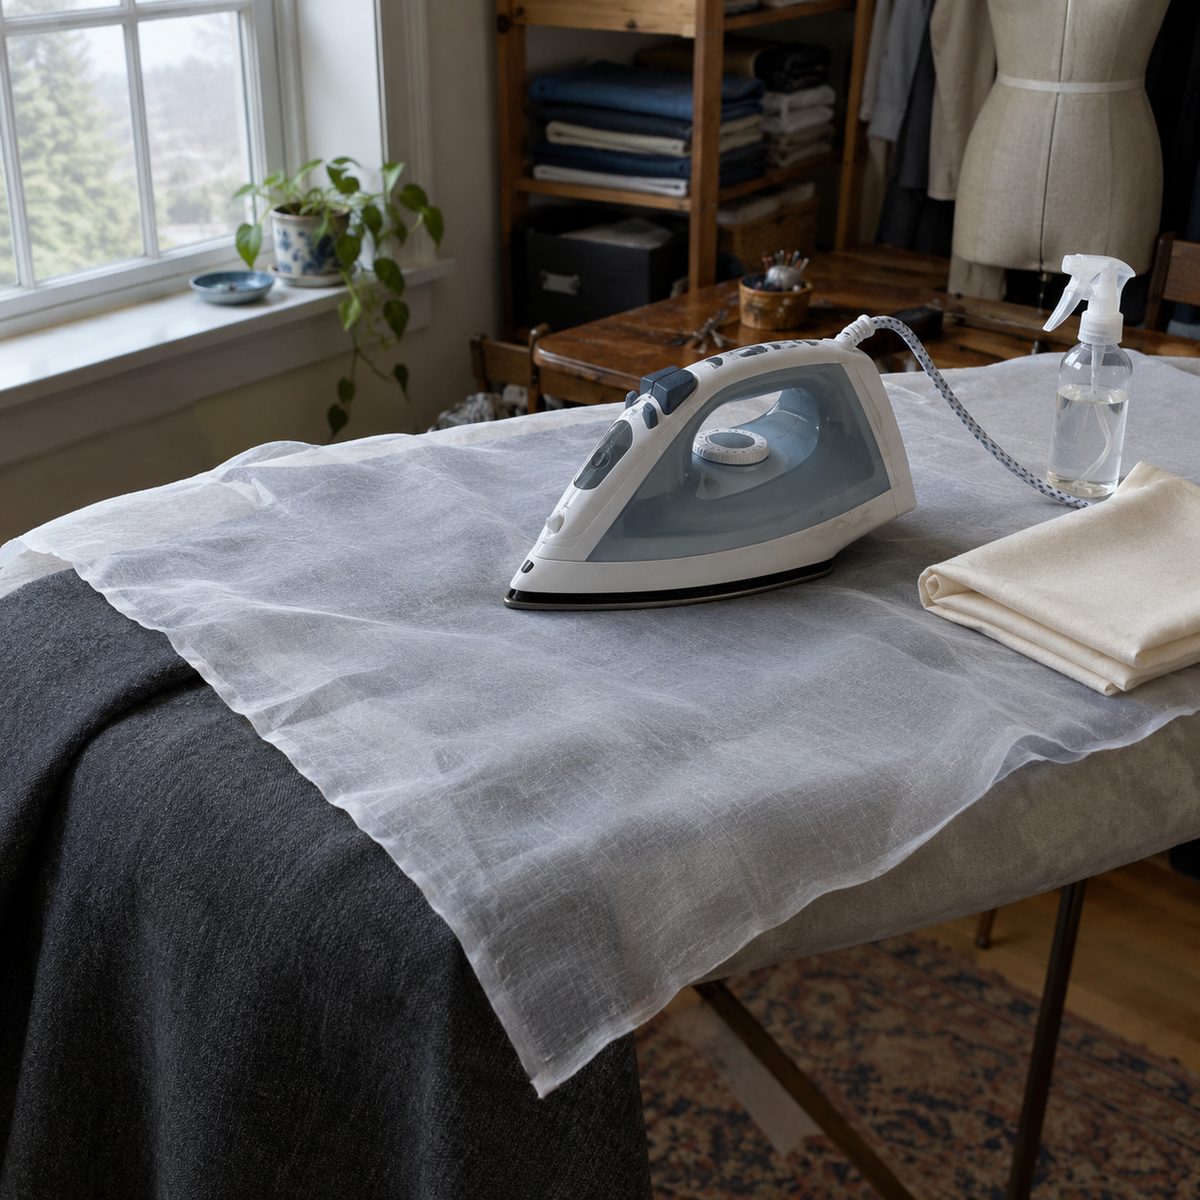
A press cloth is simply a layer of fabric between the iron and your project. Silk organza is a favorite because you can see through it and it tolerates high heat. Plain cotton muslin works well too, especially for wool, where a slightly damp muslin cloth delivers steam evenly. The cloth protects against shine, scorching and residue from fusible products, which matters a lot when you are working with interfacing.
| Fabric | Heat | Steam | Press cloth |
|---|---|---|---|
| Cotton | Medium-high to high | Yes, generously | Optional; use on dark colors |
| Linen | High | Yes, generously | Use on the right side to avoid shine |
| Wool | Medium | Yes, plenty | Always; damp muslin works well |
| Silk | Low | Light, test first | Always; silk organza is ideal |
| Polyester and nylon | Low | Light | Always; synthetics can glaze or melt |
| Rayon and viscose | Low to medium | Light, test first | Yes; press from the wrong side |
| Cotton knits | Medium | Yes, lightly | Optional; lift, never glide |
Blends follow the most delicate fiber in the mix. A poly-cotton shirting should be pressed at the synthetic setting, even though the cotton could take more. When a fabric is a mystery, start low, test on a scrap or inside a seam allowance, and raise the heat gradually. Pre-washing matters here too; fabric that has already been through the wash and dryer is less likely to shrink or pucker under steam, which is one more reason to wash fabric before sewing.
Tools that make pressing easier
A flat ironing board handles straight seams well, but garments are not flat. Curves, sleeves and small corners need something shaped to match them, and a handful of simple pressing tools fills that gap. None are expensive, and each solves a specific problem.
A tailor’s ham is a firm, stuffed oval cushion, usually covered in cotton on one side and wool on the other. You drape curved areas over it, such as bust darts, princess seams, hip curves and the cap of a sleeve, so the iron follows the curve instead of flattening it into an unwanted crease. The cotton side suits higher-heat fabrics, and the wool side holds steam well for wool and gentler work.
A seam roll is a long, sausage-shaped cushion. Slide it inside a sleeve or pant leg and press the seam open along its length. Because the roll is rounded, only the seam itself touches the iron. The edges of the seam allowances fall away to the sides, which prevents them from pressing ridges through to the right side of the fabric. This one tool eliminates one of the most common pressing marks.
A clapper is a smooth block of hardwood, often with a curved top for grip. After you steam a seam or edge, you press the clapper down on it and hold it for a few seconds. The wood absorbs heat and moisture, and the fabric cools under pressure, which sets a sharp, flat line without any extra heat. It is especially effective on wool, heavy cottons and the edges of collars and lapels.
A point presser is a narrow wooden stand with a pointed end and flat sides, often built into the base of a clapper. It lets you press seams open inside collar points, cuff corners and other tight spaces before turning them right side out. Pressing those seams open first is the secret to crisp points that do not look stubby.
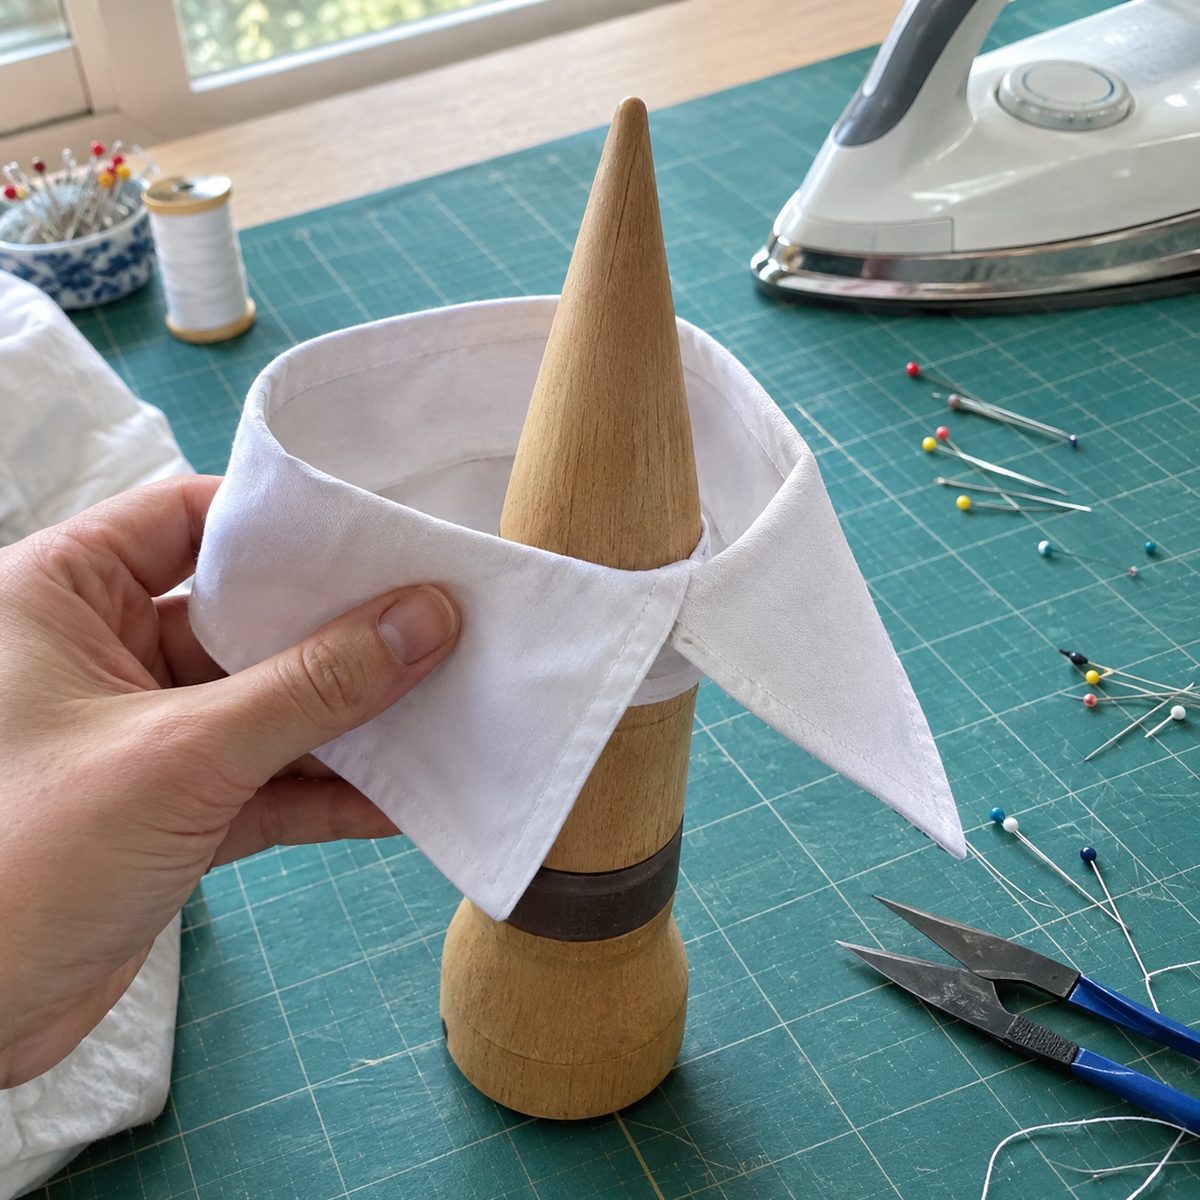
Beyond those four, a sleeve board (a mini ironing board) is handy for small pieces and children’s clothes, and a spray bottle helps with fabrics that need extra moisture. Some people also keep a stiff card template for pressing hems to a consistent depth.
Pressing mistakes that show
Most pressing problems come from too much heat, too much pressure, or pressing on the wrong side. The good news is that nearly all of them are avoidable once you know what to look for.
Shine is a glossy patch that appears where the iron has flattened and slightly polished the fibers. It is most common on dark wools, linens and synthetics, and it usually happens when you press on the right side without a press cloth. Prevention is simple: press from the wrong side whenever you can, and always use a cloth on the right side. Light shine on wool can sometimes be lifted by holding a steaming iron just above the surface and brushing the nap gently, but it is far easier to avoid than to fix.
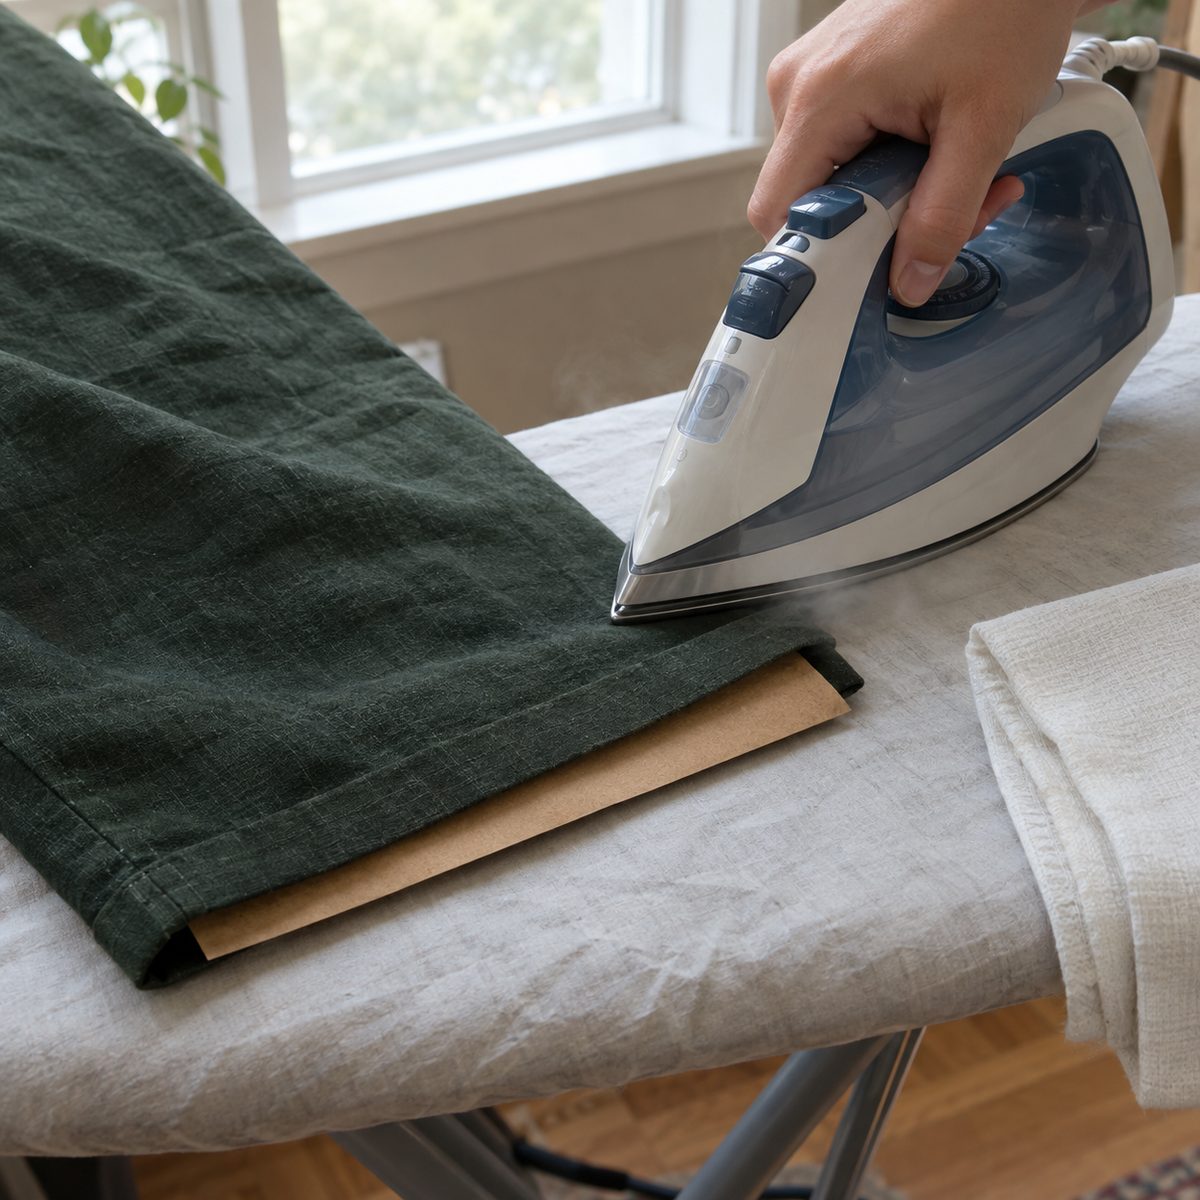
Imprints are the ghostly outlines of seam allowances, hems, pockets or pins pressed through to the right side. They happen when the layers underneath are thicker than the fabric around them and the iron presses them into the surface. A seam roll helps with long seams. For hems and pockets, slip a strip of paper or card between the allowance and the garment before pressing, so the edge has nothing to press against. Always pull pins before pressing, since they can leave dents and even melt on synthetic fabrics.
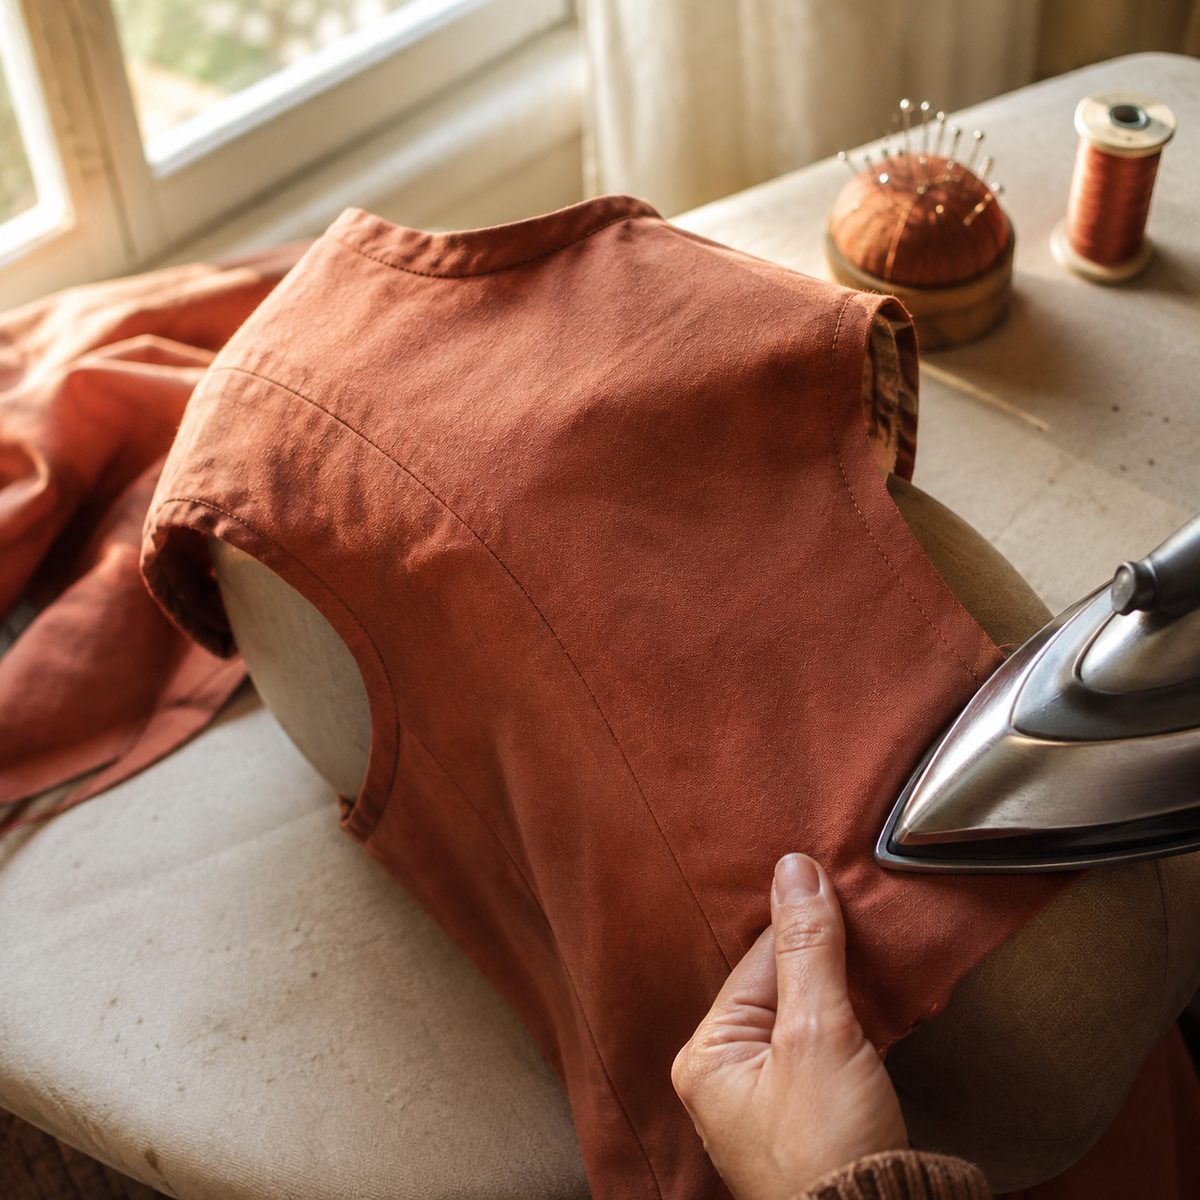
Stretched curves are the result of ironing instead of pressing. A neckline, armhole or bias-cut edge that has been pushed along by a sliding iron will grow and ripple, and no amount of later pressing will fully shrink it back. Handle curved edges by lifting and lowering the iron only, work over a tailor’s ham, and consider staystitching curved edges soon after cutting. For stretchy fabrics, the tips on stabilizing knit fabric will help keep edges from growing during pressing too.
Other small mistakes add up: pressing over a stain sets it permanently, pressing over chalk or some marking pens can bake the marks in, and pressing a seam before it has been trimmed can leave a bulky ridge that is hard to undo. Check the fabric before the iron touches it, and it will reward you.
Frequently asked questions
Can I use my regular household iron for pressing?
Yes. Any iron with adjustable heat and a steam setting will press well. What matters more is technique: lift and lower instead of sliding. A heavier iron can help because the weight does some of the work, and a clean soleplate matters, since residue can transfer to fabric. Empty the water tank when you finish so mineral deposits do not build up and spit onto your projects later.
Do I really need to press after every seam?
Pressing before you cross a seam with another seam is the key rule. You can batch your work, sewing several seams that do not intersect and pressing them all at once, which saves trips to the board. What you should avoid is sewing over an unpressed seam, because the bulk gets locked into place and the finished piece never lies quite flat.
Is finger pressing good enough?
Finger pressing is a useful first step and works fine for quick jobs like quilt blocks in progress or small crafts in stable cotton. It does not set a seam the way heat and steam do, though. For garments and anything that needs to hold its shape, finger press to position the allowances, then follow up with the iron.
Why does my fabric look shiny after pressing?
Shine happens when heat and pressure flatten the fibers on the right side of the fabric. It is most common on dark colors, wool, linen and synthetics. Lower the temperature, press from the wrong side where possible, and use a press cloth whenever the iron touches the right side. Silk organza and cotton muslin both make good, inexpensive press cloths.
Pressing is one of those skills that looks too simple to matter until you see the difference it makes. Keep the iron close to your machine, lift instead of glide, set every seam before you open it, and let the fabric cool before you move on. Those habits take a few extra minutes per project and give back a finish that looks deliberate, crisp and professional.