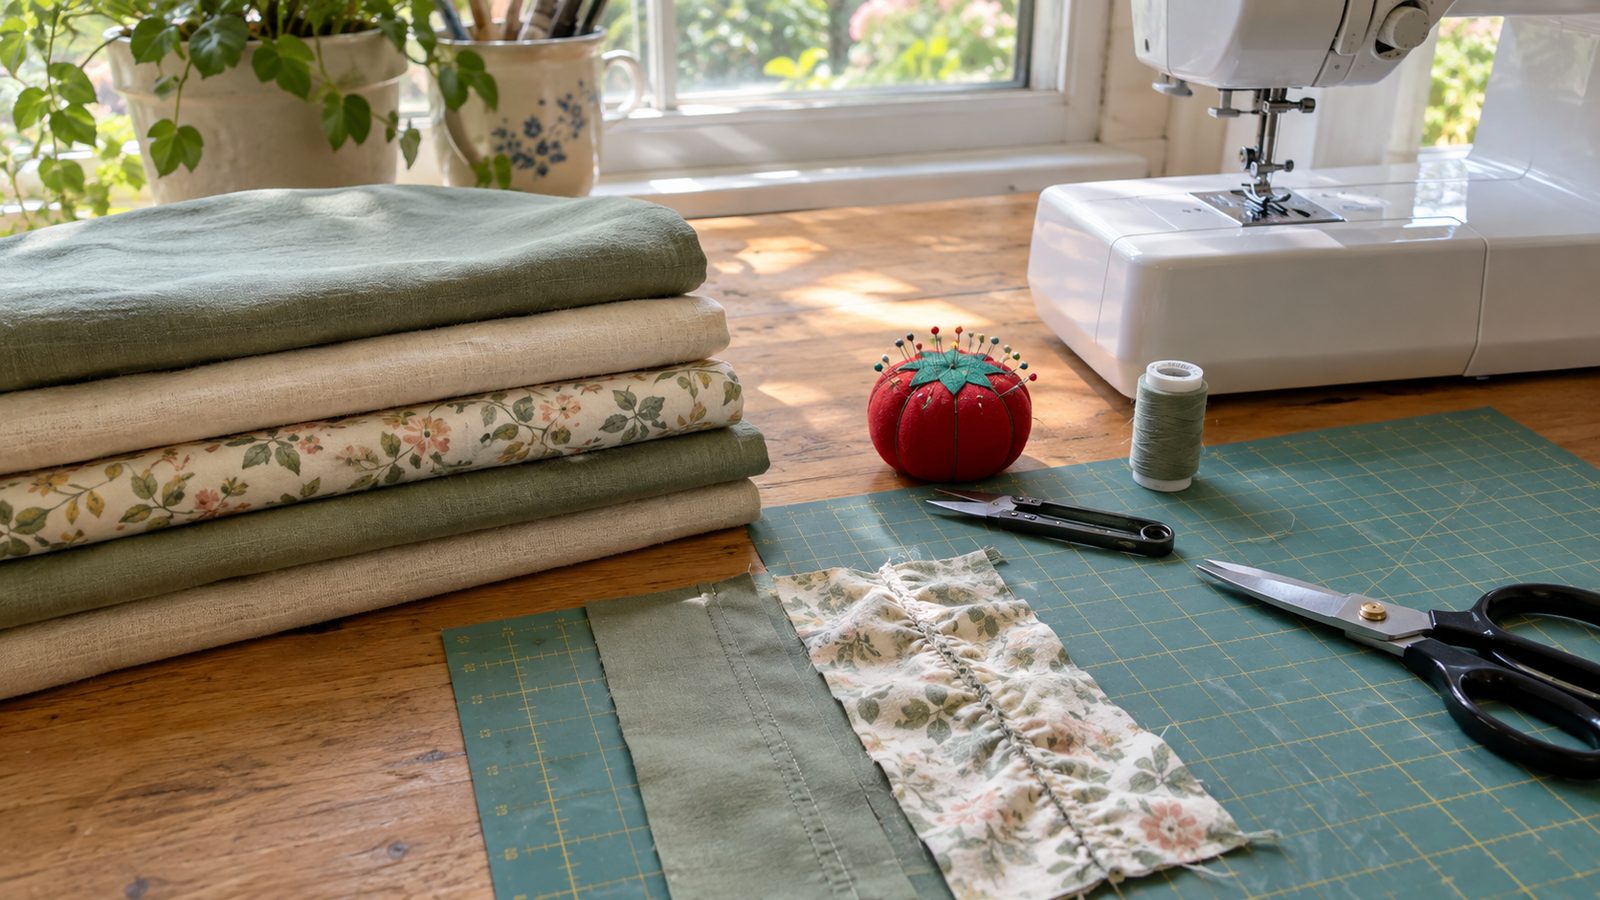
Fabric puckers when something in the seam is pulling tighter than the fabric wants to lie. Most of the time that “something” is the thread: upper tension set too high, a stitch too short for the fabric, or a thread too heavy for a fine weave. The rest of the time it is the fabric being pushed, pulled, or squeezed unevenly on its way under the presser foot.
The good news is that puckering is one of the most fixable problems in sewing. A few minutes with scrap fabric will usually tell you exactly which setting is off, and the fix is rarely more than a dial turn or a needle swap.
Quick answer
- Loosen the upper thread tension slightly and sew a test seam.
- Lengthen the stitch to about 2.5 to 3 mm on light and medium fabrics.
- Switch to a fresh, smaller, sharper needle and a finer thread for delicate fabrics.
- Reduce presser foot pressure if your machine allows it.
- Guide the fabric gently, keeping it lightly taut front and back without pulling.
- Use a stabilizer under zigzag and satin stitches.
First, figure out what kind of puckering you have
“Puckering” gets used for several different problems, and each one points to a different cause. Lay the seam flat and look closely at what it is doing.
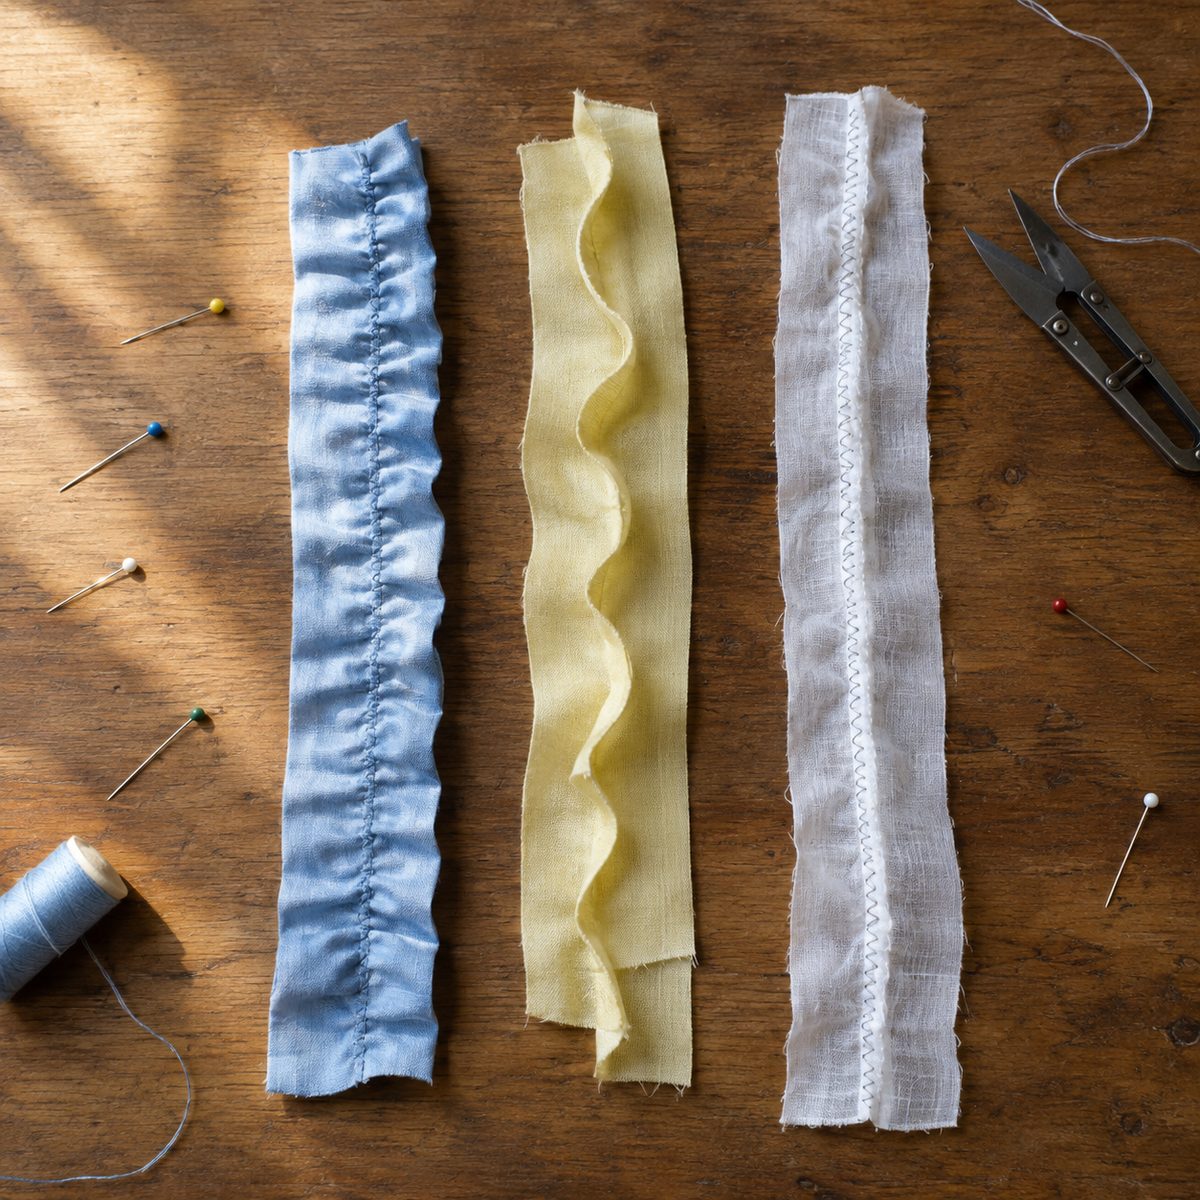
Even gathering along the whole seam. The seam looks as if it has been lightly gathered, with small ripples on both layers and the seam line shorter than the fabric beside it. This is the classic tension or stitch-length pucker. The thread is holding the fabric tighter than its natural length.
One layer puckered, the other smooth. If the top layer has ripples and the bottom is flat (or the reverse), and the ends of the seam no longer match, the layers fed at different rates. That points to presser foot pressure, feed dogs, or how you are handling the fabric.
Ripples on a tightly woven fabric even with good settings. Fabrics like poplin, taffeta, nylon, ripstop, and polyester microfiber sometimes pucker no matter how carefully you set tension. This is often called structural puckering: the weave is so dense that there is no room for the thread, so the needle and thread push the yarns aside and the fabric bunches.
A raised ridge under zigzag or satin stitches. When a wide or dense stitch draws the fabric up into a little tunnel, that is tunneling. It is common on lightweight fabric and knits when there is nothing supporting the stitch from underneath.
Puckers that appear only after washing. If the seam looked perfect when you sewed it and rippled after the first wash, the thread and fabric shrank at different rates, or an interfacing or lining shrank.
A test-seam routine to find the cause
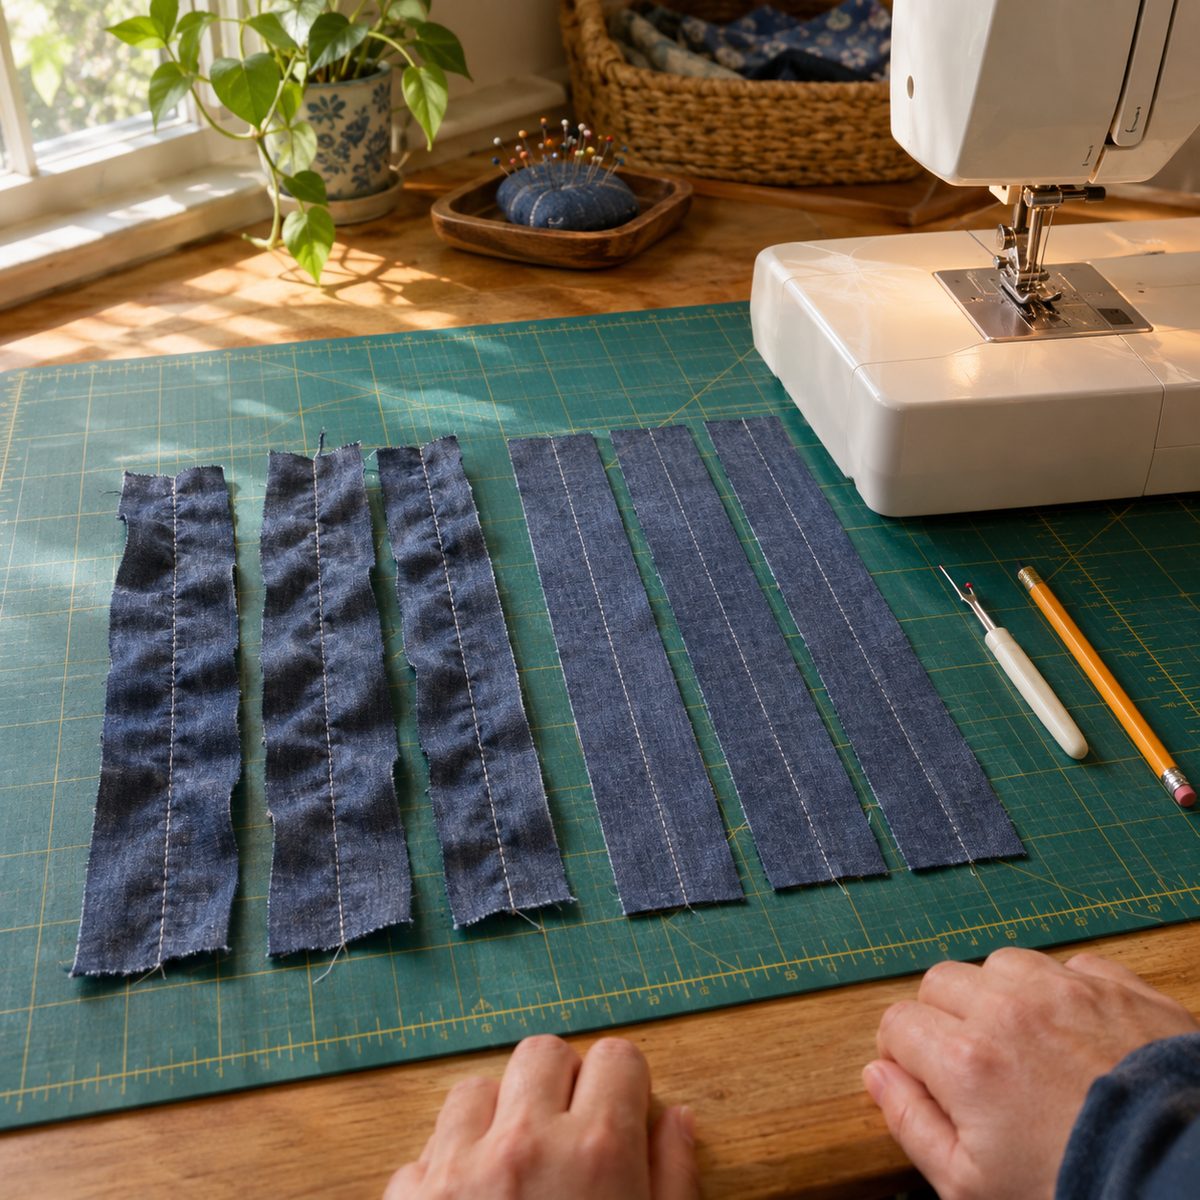
A methodical test seam, changing one thing at a time, finds the cause faster than guessing. Cut several scrap strips of your project fabric about 3 inches wide and 10 inches long, on the same grain as the seam you plan to sew.
- Rethread from scratch. Raise the presser foot, remove the upper thread completely, and rethread so the thread seats properly between the tension discs. Check that the bobbin is inserted correctly.
- Put in a new needle in a size and type suited to the fabric. A slightly dull or burred needle is a surprisingly common culprit.
- Sew a baseline seam through two layers at your usual settings, then press it flat.
- Lower the upper tension by one number and sew another seam. Compare the two after pressing.
- Lengthen the stitch by half a millimeter and sew again, keeping the tension that looked best.
- Reduce presser foot pressure (if your machine has an adjustment) and sew another seam.
- Try the handling change: hold the fabric lightly taut in front of and behind the needle as it sews, letting the feed dogs do the moving.
- Compare the strips side by side and keep the combination that gives you the flattest seam. Write it down for next time.
If none of these changes help, the issue is probably the thread, the fabric’s weave, or the need for a stabilizer, all of which are covered below.
Thread tension that is too tight
Upper thread tension is the first suspect for even gathering along a seam. When the top thread is pulled too hard, each stitch cinches the layers a little, and across a long seam those tiny cinches add up to visible ripples. Balanced tension means the upper and bobbin threads lock between the two layers of fabric, so neither thread is visible as a line of dots on the opposite side.
Look at both sides of your test seam. If you can see little loops of bobbin thread pulled up to the top, the upper tension is too tight for that fabric. Lightweight fabrics generally need a bit less tension than the setting that works well on quilting cotton, and some machines sew fine fabrics best a notch or two below their default. If you have never adjusted it before, the walkthrough in how to set tension on a sewing machine covers the basics.
What to change: lower the upper tension one number at a time, testing after each change, until the stitches lock in the middle and the seam lies flat. Leave the bobbin case alone unless upper adjustments do nothing, and if you do adjust it, make very small turns.
Stitch length that is too short
Every stitch puts a little thread into the fabric. When the stitches are very short, you pack a lot of thread into a small space, and on fine or tightly woven fabric that extra thread has nowhere to go except to push the yarns apart and shorten the seam. Short stitches also mean more needle holes close together, which weakens and distorts delicate fabrics.
If you have dialed the stitch down to 2.0 mm or lower, or you are sewing voile or lawn, stitch length may be the whole problem.
What to change: lengthen the stitch to 2.5 to 3 mm for light and medium wovens and test again. For topstitching or seams on crisp, dense fabric, a longer stitch of 3 to 3.5 mm often lies flatter still.
The wrong needle, or a worn one
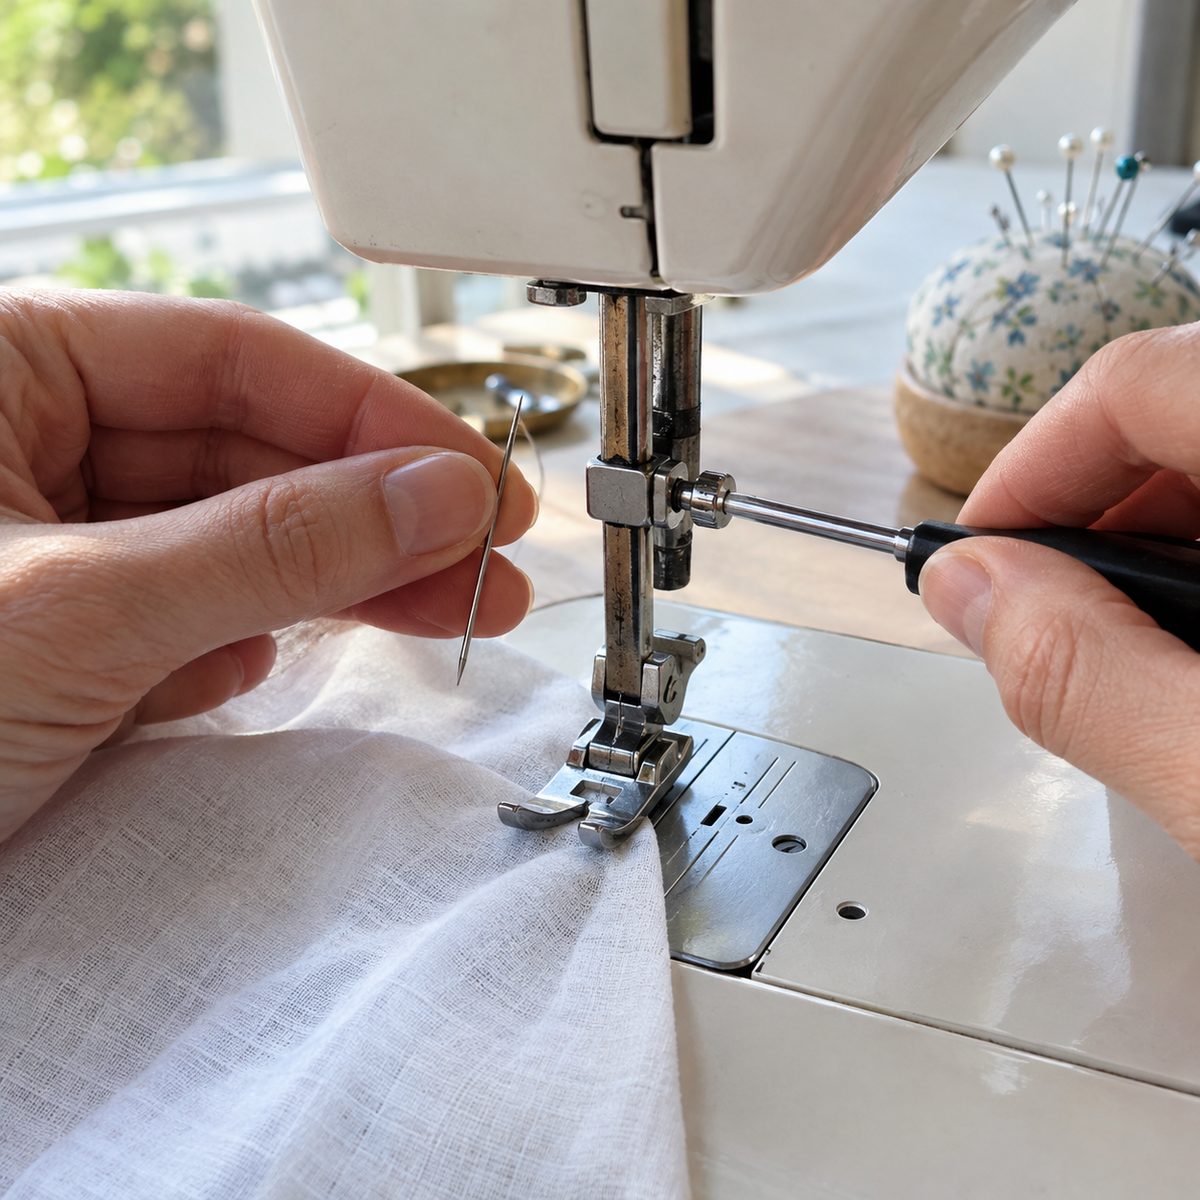
A needle that is too thick punches large holes and pushes the fabric yarns aside as it goes in, which is exactly the displacement that causes structural puckering. A dull or slightly bent needle drags on the fabric instead of piercing it cleanly, and can pull the fabric down into the throat plate at the start of a seam.
Fine wovens like silk, batiste, and polyester chiffon do best with a small, sharp needle such as a microtex in size 60/8 or 70/10. Medium cottons are usually happy with a universal 75/11 or 80/12. Knits need a ballpoint or stretch needle so the needle slides between the loops instead of snagging them. If you are unsure which size to reach for, this guide to needle sizes for cotton is a helpful starting point.
What to change: put in a new needle, go down a size if you are sewing lightweight fabric, and pick a sharp or microtex point for tightly woven material.
Thread that is too heavy or the wrong type
Thread takes up space inside the fabric. On a sturdy denim or canvas there is plenty of room, but on a fine, dense weave a standard all-purpose thread can be too thick for the yarns to accommodate, and the fabric bunches around it. The heavier the thread relative to the fabric, the more likely you will see ripples.
Thread fiber matters too, mainly for puckers that show up after washing. Cotton thread can shrink slightly when washed, and if the fabric shrinks less (or has already been preshrunk), the seam draws up. Quality polyester thread is stable and slightly stretchy, which makes it a good all-rounder, but a thick or poor-quality polyester can still overwhelm a delicate fabric.
What to change: use a finer thread (a 50 or 60 weight is a common choice) on lightweight fabrics, use the same thread in the needle and bobbin, and prewash your fabric so that fabric and thread start on equal footing.
Presser foot pressure
The presser foot holds the fabric against the feed dogs so they can grip and move it. When the pressure is too high for the fabric, the feed dogs move the bottom layer while the foot drags on the top one. The layers creep at different rates, the top layer bunches, and you end up with one puckered side and ends that no longer match.
Many machines have a pressure dial or menu setting. Lightweight and slippery fabrics generally feed better with lighter pressure.
What to change: reduce the presser foot pressure in small steps and sew a test seam after each. If your machine has no adjustment, or you are sewing several layers or a slippery fabric, a walking foot (even-feed foot) moves the top layer along with the bottom and solves many layer-shift puckers.
How the fabric is fed and handled
Your hands can cause puckering just as easily as your settings. Pulling the fabric from behind stretches it as it is sewn, so the seam relaxes into ripples afterward. Holding it back in front does the opposite, crowding it under the foot. A heavy piece hanging off the table drags the seam too.
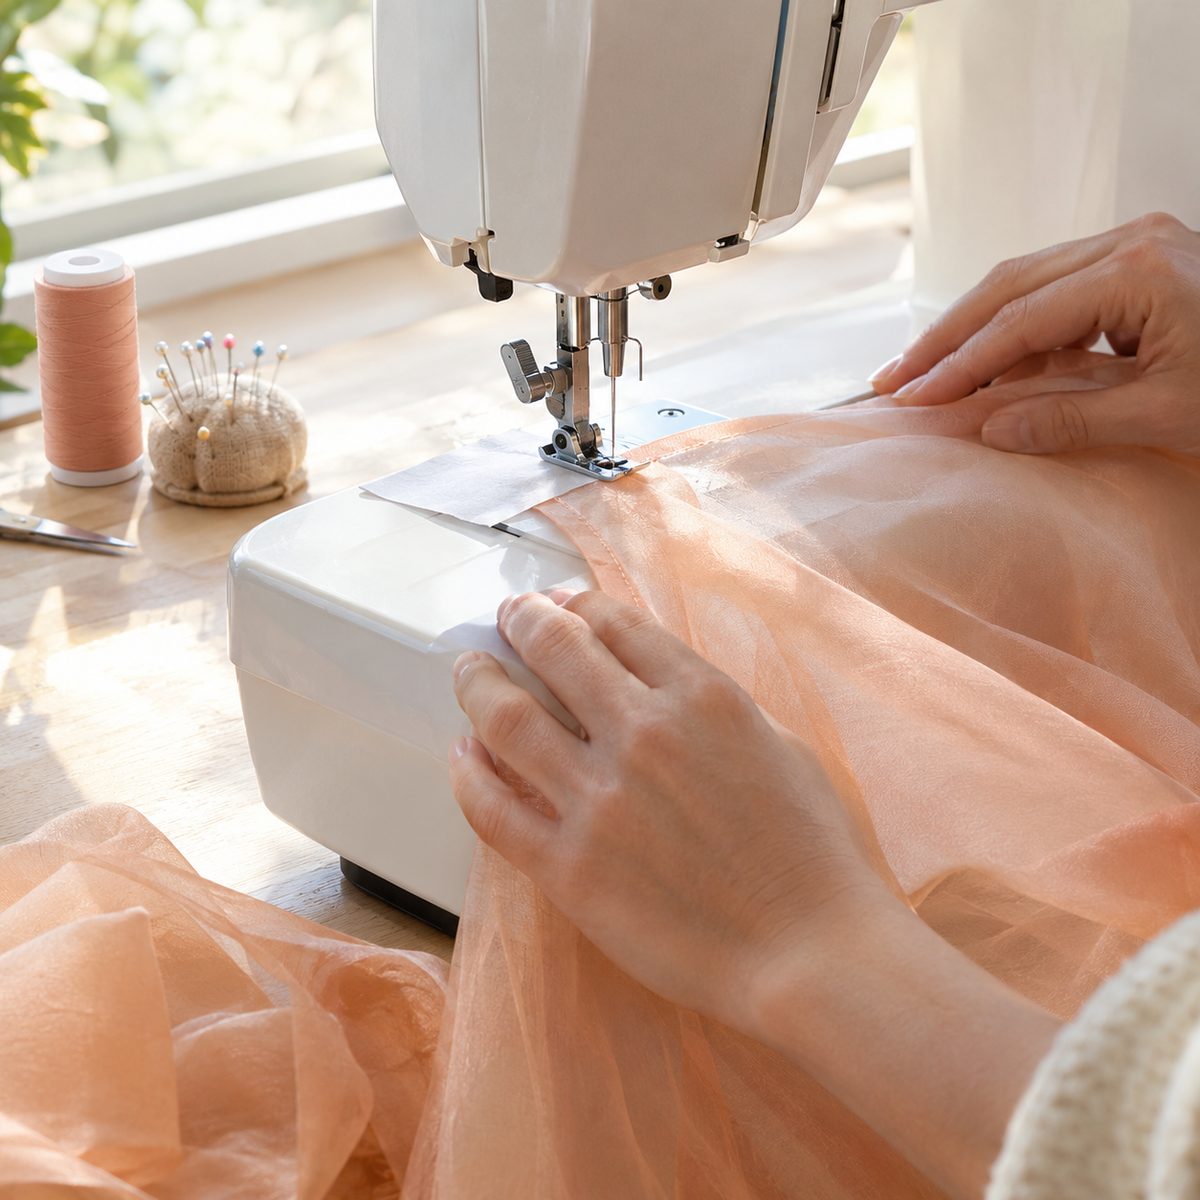
Fine fabrics add another trap: the needle can push the fabric down into the wide opening of a zigzag throat plate, especially at the start of a seam. The first stitches bunch into a knot and the rest of the seam starts off puckered.
A technique often called taut sewing helps a lot with lightweight fabric. Hold the fabric lightly in front of and behind the presser foot, keeping it straight and slightly taut, but let the feed dogs set the pace. You are steadying it, not pulling it.
What to change: support the weight of the project on the table, start seams with the needle down in the fabric and the thread tails held, and sew at a moderate, steady speed. For sheer fabrics, a straight-stitch throat plate or a small strip of tissue paper under the start of the seam keeps the fabric from being swallowed.
The fabric itself and its grain
Some fabrics are simply more prone to puckering. Dense, crisp weaves such as poplin, taffeta, organza, ripstop, and polyester microfiber have little give, so any added thread shows. Knits can stretch into wavy seams, which look like puckering but are the opposite problem.
Grain plays a part too. Seams that run straight along the lengthwise grain are the most stable and the most likely to pucker from structural jamming, because the yarns are tightly aligned. Seams cut slightly off grain or on the bias have a bit more give. If two pieces cut on different grains are sewn together, one edge may stretch while the other does not, and the seam will ripple.
What to change: cut pieces on the grain the pattern calls for, handle bias edges gently, and on very tight weaves, use the finest needle and thread you can along with a slightly longer stitch. On knits, a stretch stitch or narrow zigzag and less presser foot pressure prevent the wavy seams that get mistaken for puckers; the tips in how to stabilize knit fabric for sewing are useful here.
Interfacing and stabilizers
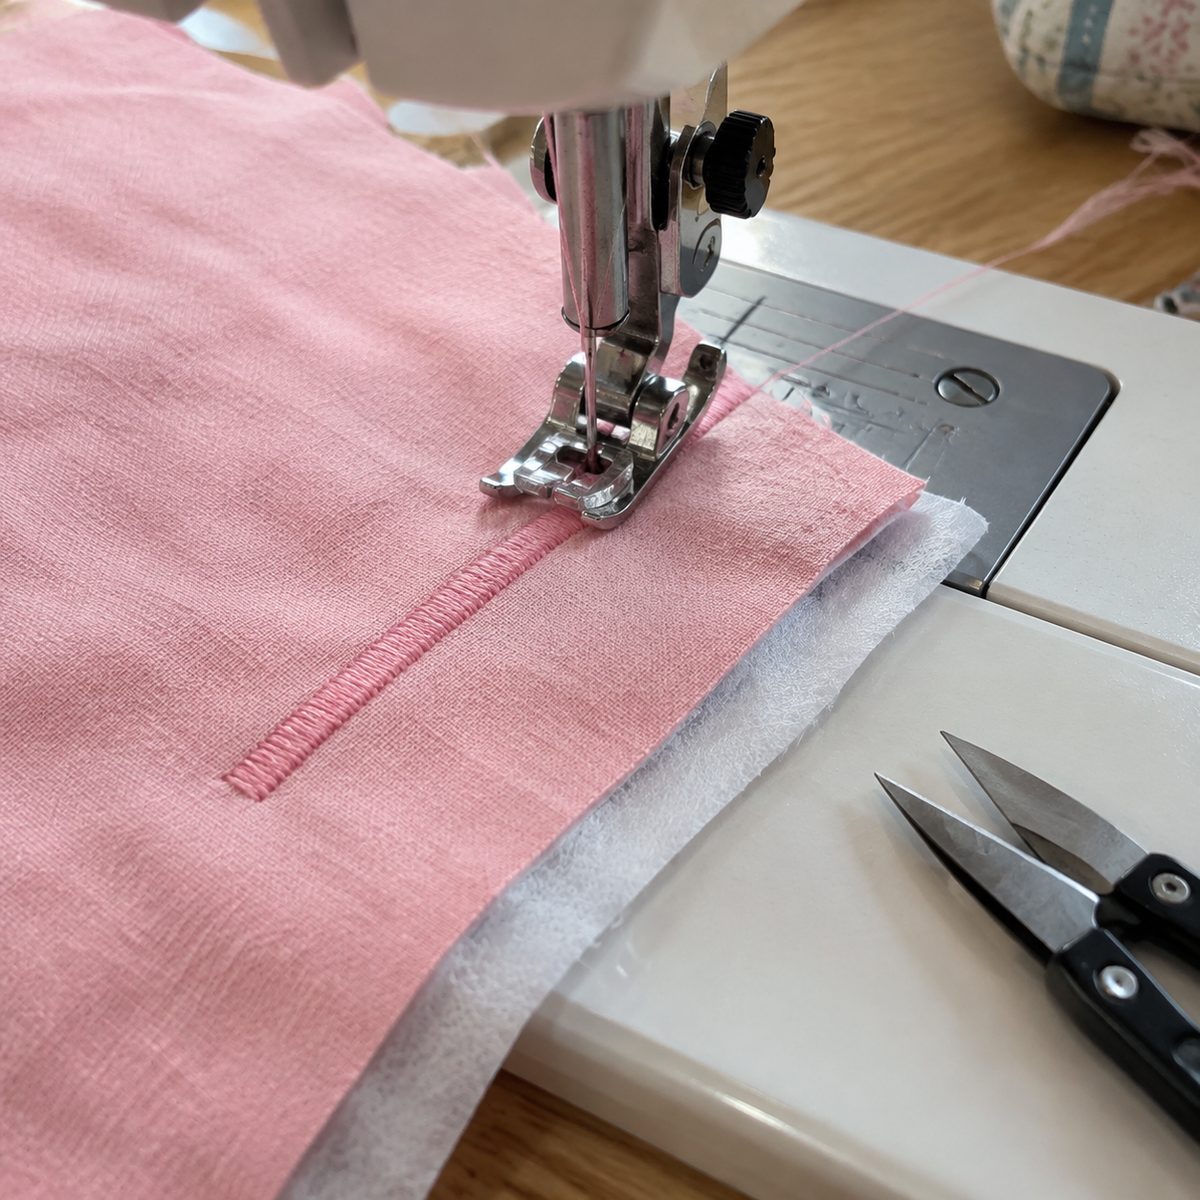
Puckering on zigzag, satin stitch, buttonholes, appliqué, and decorative stitching is almost always a support problem. Dense stitches pull the fabric inward from both sides, and without something underneath to resist that pull, the fabric draws up into a tunnel. Loosening the upper tension slightly helps, but a stabilizer is usually the real fix.
Tear-away stabilizer works well under decorative stitching on wovens, water-soluble stabilizer disappears completely on fabrics that will be washed, and a lightweight fusible interfacing can support areas that need permanent body, such as buttonhole plackets. If you are new to these, what interfacing is and how it is used explains the main types.
Interfacing can also cause puckers of its own. A fusible that is too heavy for the fabric, applied with too much heat, or not preshrunk can bubble or shrink and pull the fabric around it into ripples.
What to change: place a stabilizer under any wide or dense stitch on lightweight fabric, choose an interfacing that is the same weight or lighter than your fabric, and follow the fusing time and temperature for that product with a press cloth. Preshrinking fusible interfacing with steam before applying it helps prevent later puckers.
How to fix a seam that already puckered
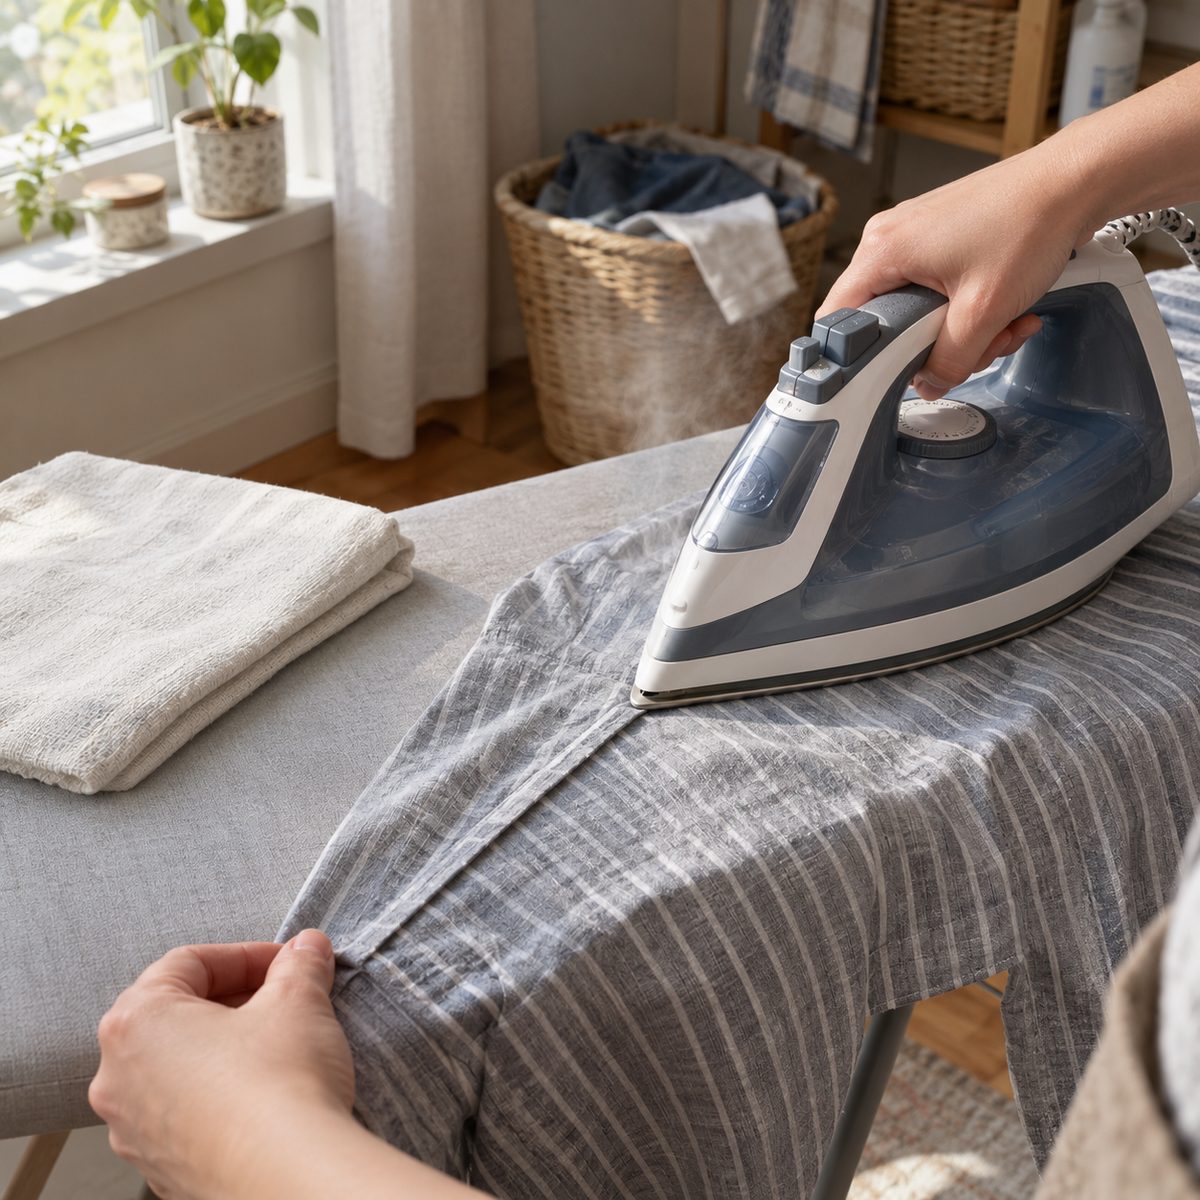
Before you reach for the seam ripper, try pressing. A good press relaxes many mild puckers, especially ones caused by slightly tight tension.
- Set the stitches. Press the seam flat exactly as it was sewn, before opening it. Use an up-and-down pressing motion rather than sliding the iron, with steam if the fabric allows it.
- Stretch gently while pressing. Hold the ends of the seam and ease it lightly lengthwise as you steam, so the thread settles into the fabric instead of gathering it. Do not pull hard enough to break stitches.
- Press the seam open or to one side, using a press cloth on delicate fabrics and a seam roll if you want to avoid ridges showing through.
- Check the result. If the ripples are gone or barely visible, you are done.
If pressing does not help, the stitches really are too tight for the fabric. Unpick the seam carefully, press out the old needle holes, adjust your settings using the test-seam routine above, and sew it again. Tunneled decorative stitching usually needs to be removed and redone over a stabilizer.
For puckers that appeared after washing, try steaming and gently stretching the seam first. If the thread or interfacing has shrunk significantly, resewing the seam with a stable thread is the lasting fix.
Frequently asked questions
Is puckering caused by the bobbin tension or the top tension?
Usually the top tension. The upper tension dial is designed to be the everyday adjustment, and most puckering comes from it being set too tight for the fabric. The bobbin tension is set at the factory and rarely needs changing. Only adjust the bobbin case if careful changes to the upper tension, a fresh needle, and rethreading have not solved the problem, and make very small turns when you do.
Why does my fabric pucker only on one side of the seam?
When only one layer puckers, the two layers are feeding at different speeds. The feed dogs grip the bottom layer while the presser foot drags on the top, so one creeps ahead of the other. Try lowering the presser foot pressure, pinning more closely, or using a walking foot, which moves both layers together. Avoid pushing or pulling the top layer with your hands as you sew.
Why does my zigzag stitch make the fabric bunch up?
A wide or dense zigzag pulls the fabric inward from both sides, and lightweight fabric has nothing to resist that pull, so it forms a ridge called tunneling. Put a tear-away or water-soluble stabilizer under the fabric, loosen the upper tension slightly, and try a slightly longer stitch length.
Can a new sewing machine still pucker fabric?
Yes. A brand-new machine is set up for medium-weight woven fabric, so its default tension, stitch length, and presser foot pressure can easily pucker a sheer or very dense fabric. Puckering on a new machine is almost always about matching settings, needle, and thread to the fabric, not a defect. Run a few test seams on scraps of each new fabric before you start a project.
Puckering feels frustrating in the middle of a project, but it is really just the seam telling you something is a little out of balance. Start with tension, stitch length, and a fresh needle, test on scraps before committing, and give every seam a proper press. Once you find the settings that suit a fabric, jot them down, and that fabric will sew smoothly every time.