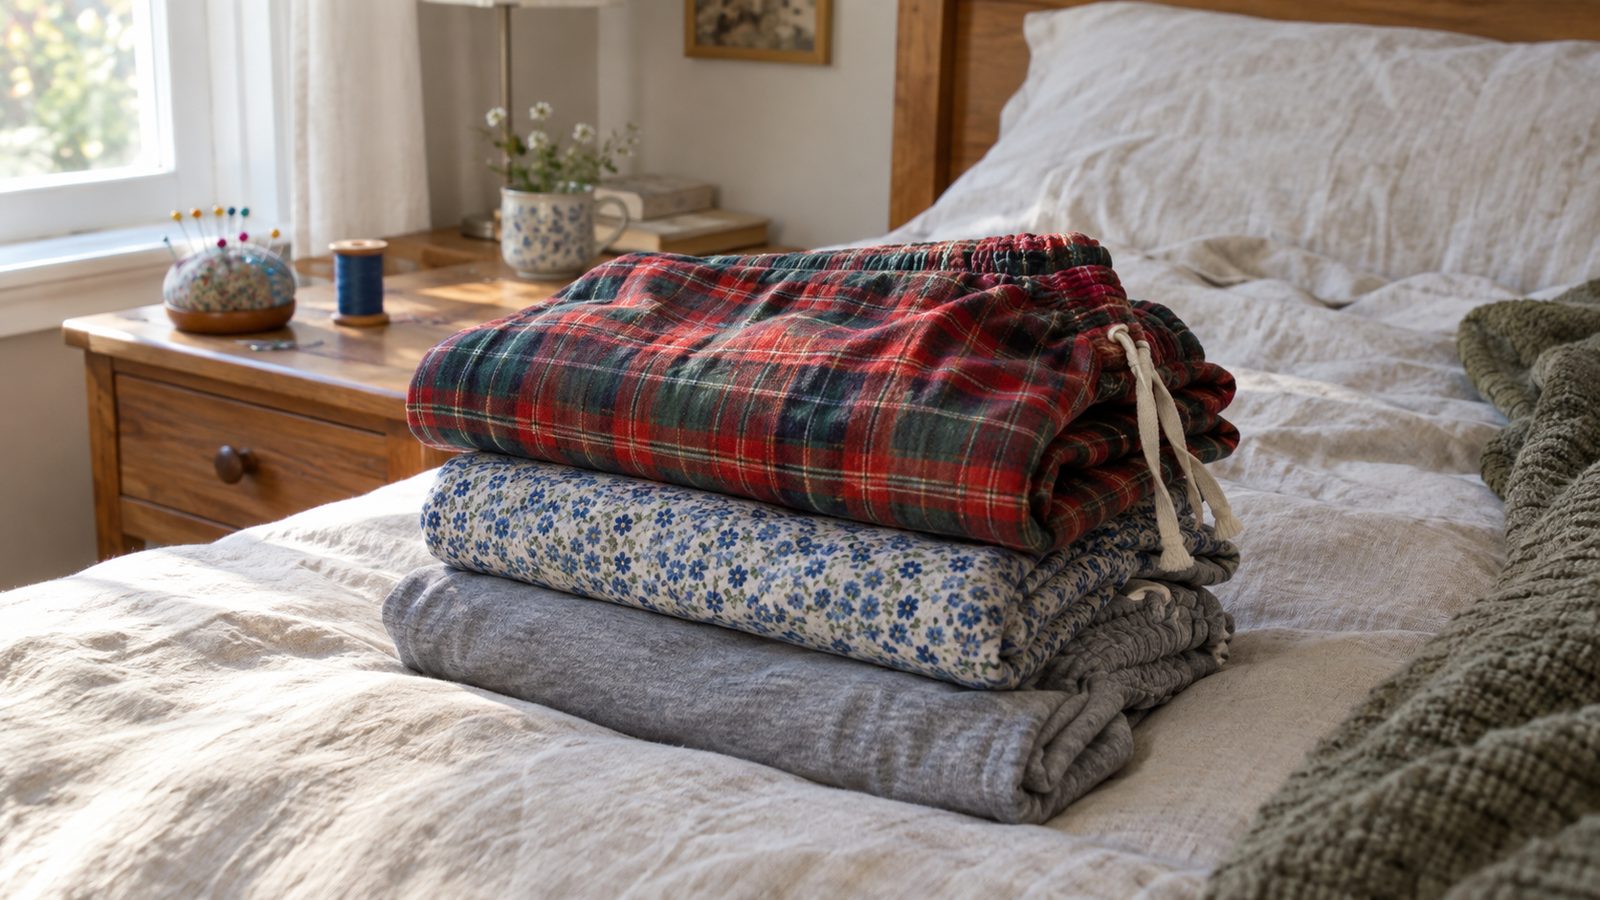
You can sew a pair of comfortable elastic-waist pajama pants without buying a pattern. Grab a pair of loose pants that already fit you well, trace them, add seam and casing allowances, and you have a pattern shaped to your own body.
The whole project is four seams, a casing, and a hem. Most people finish in an afternoon, and once your pattern is made, the next pair goes even faster. Below you’ll find how to trace the pattern, which fabrics work best, how much to buy, and the sewing order that keeps the crotch seam from turning into a puzzle.
What you’ll need
- A pair of loose, non-stretchy pants that fit well (pajama pants, drawstring lounge pants, or wide-leg trousers)
- 2 to 3 yards of 44/45-inch fabric, or about 2 yards of 58/60-inch fabric
- 1-inch-wide knit or woven elastic, roughly your waist measurement in length
- Pattern paper, wrapping paper, or taped-together newsprint
- Pencil or marker, clear ruler, and a flexible tape measure
- Fabric scissors or rotary cutter, pins or clips
- Sewing machine, matching thread, and a safety pin or bodkin
- Optional: serger, cord or ribbon for a drawstring, buttonhole foot
Choosing fabric for pajama pants
Pajama pants are forgiving, so the fabric decision comes down to how warm you want them to be and how easy you want the sewing to be.
- Cotton flannel is the classic choice for cold nights. It’s soft, easy to handle, and hides small wobbles in your stitching. It also shrinks a lot, often 5 to 10 percent, so pre-washing is not optional.
- Cotton lawn or voile is light and breezy for summer. It’s a little slippery to cut, so use plenty of pins and a sharp needle.
- Quilting cotton comes in endless prints and sews like a dream, though it’s crisper and less drapey than flannel or lawn. It softens with every wash.
- Knit jersey makes the stretchiest, coziest pants, but it behaves differently at the machine. You’ll want a ballpoint needle, a narrow zigzag or stretch stitch, and possibly a little stabilizing at the waist and hems.
If this is your first pair, I’d pick flannel or quilting cotton. Both stay put while you cut and sew, and neither needs special stitches.
Pre-wash before you cut
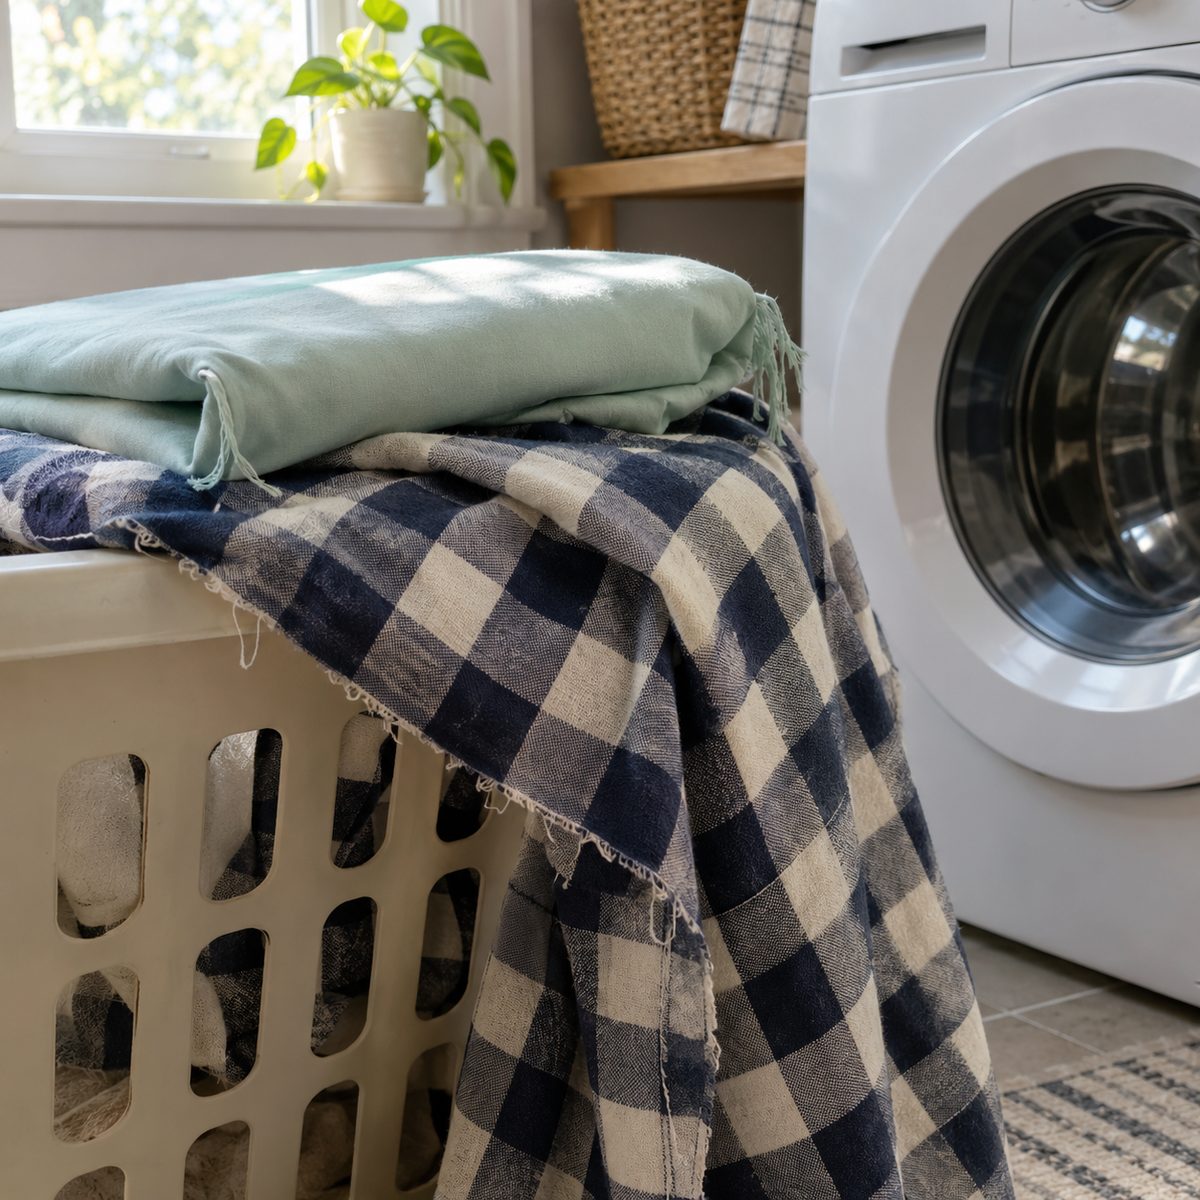
Wash and dry your fabric the same way you’ll wash the finished pants. Flannel in particular can shrink enough to take a whole size off your finished pajamas if you skip this step. Our guide to washing fabric before sewing covers the details, including how to keep cut edges from fraying into a tangle in the machine.
How much fabric to buy
For 44/45-inch-wide fabric, the usual estimate is two lengths of your pants plus about 10 inches for allowances. For most adults that works out to roughly 2.5 to 3 yards. With 58/60-inch fabric you can often fit both legs side by side, so about 1.75 to 2 yards is enough for sizes with hips under about 44 inches. Directional prints and plaids you want to match need an extra quarter to half yard. Measure your traced pattern pieces before you shop if you want to be precise.
Making the pattern from pants you own
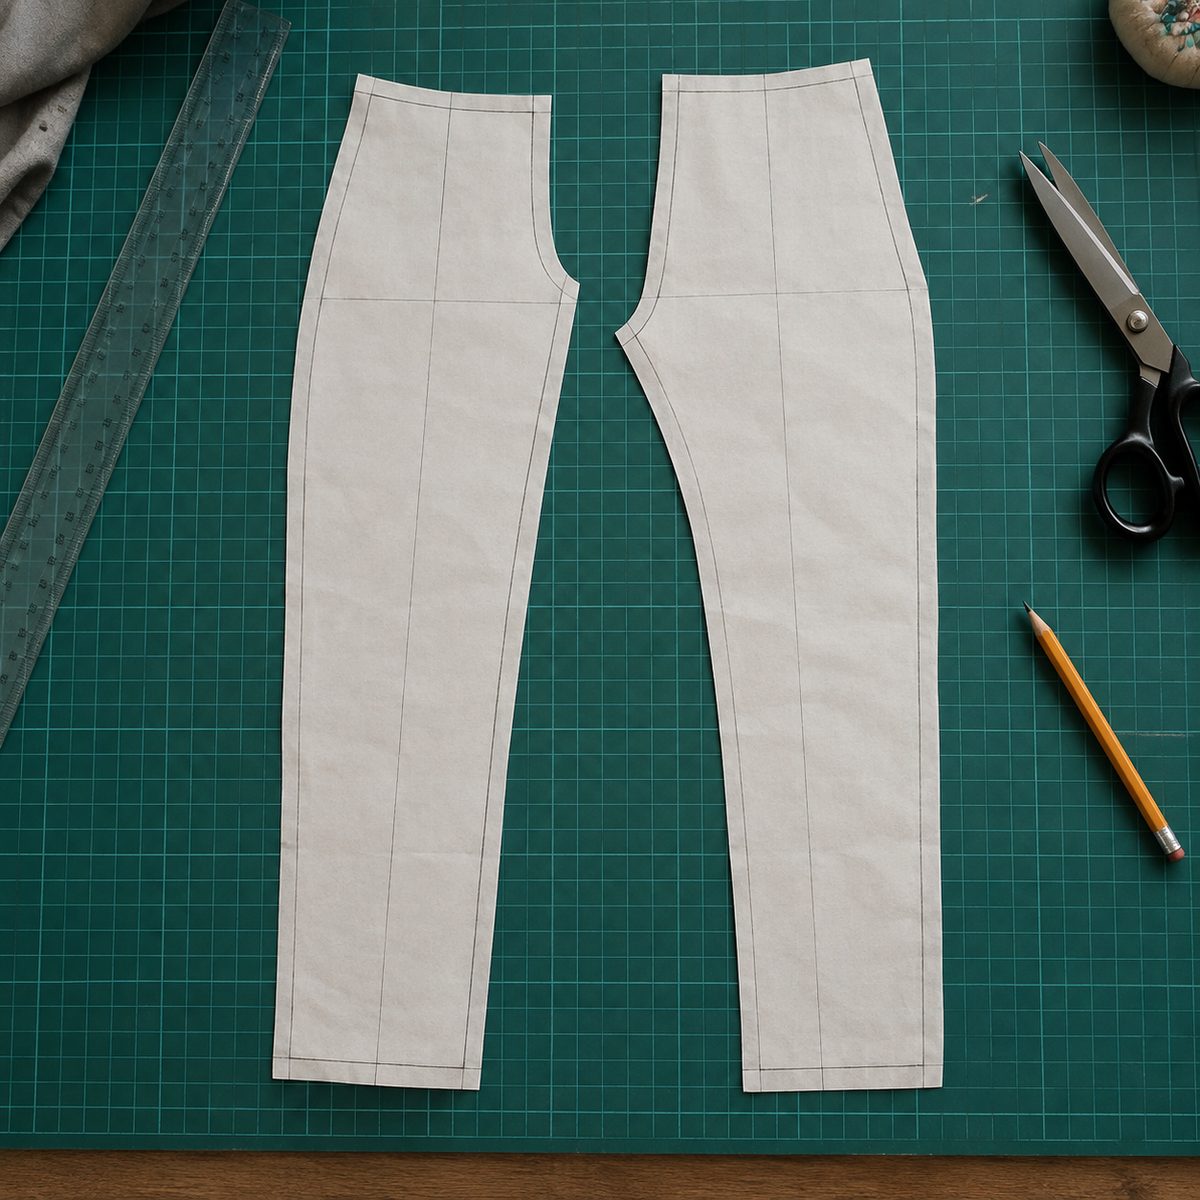
The trick to tracing pants is that the front and back are different shapes. The back crotch curve is deeper and longer than the front so there’s room to sit and bend. If you trace only one half and cut four identical pieces, the pants will pull at the back and sag at the front. So you’ll trace two pattern pieces: one front, one back.
If you’ve never drafted anything before, our overview of how to make sewing patterns is a helpful companion to this section.
Trace the front
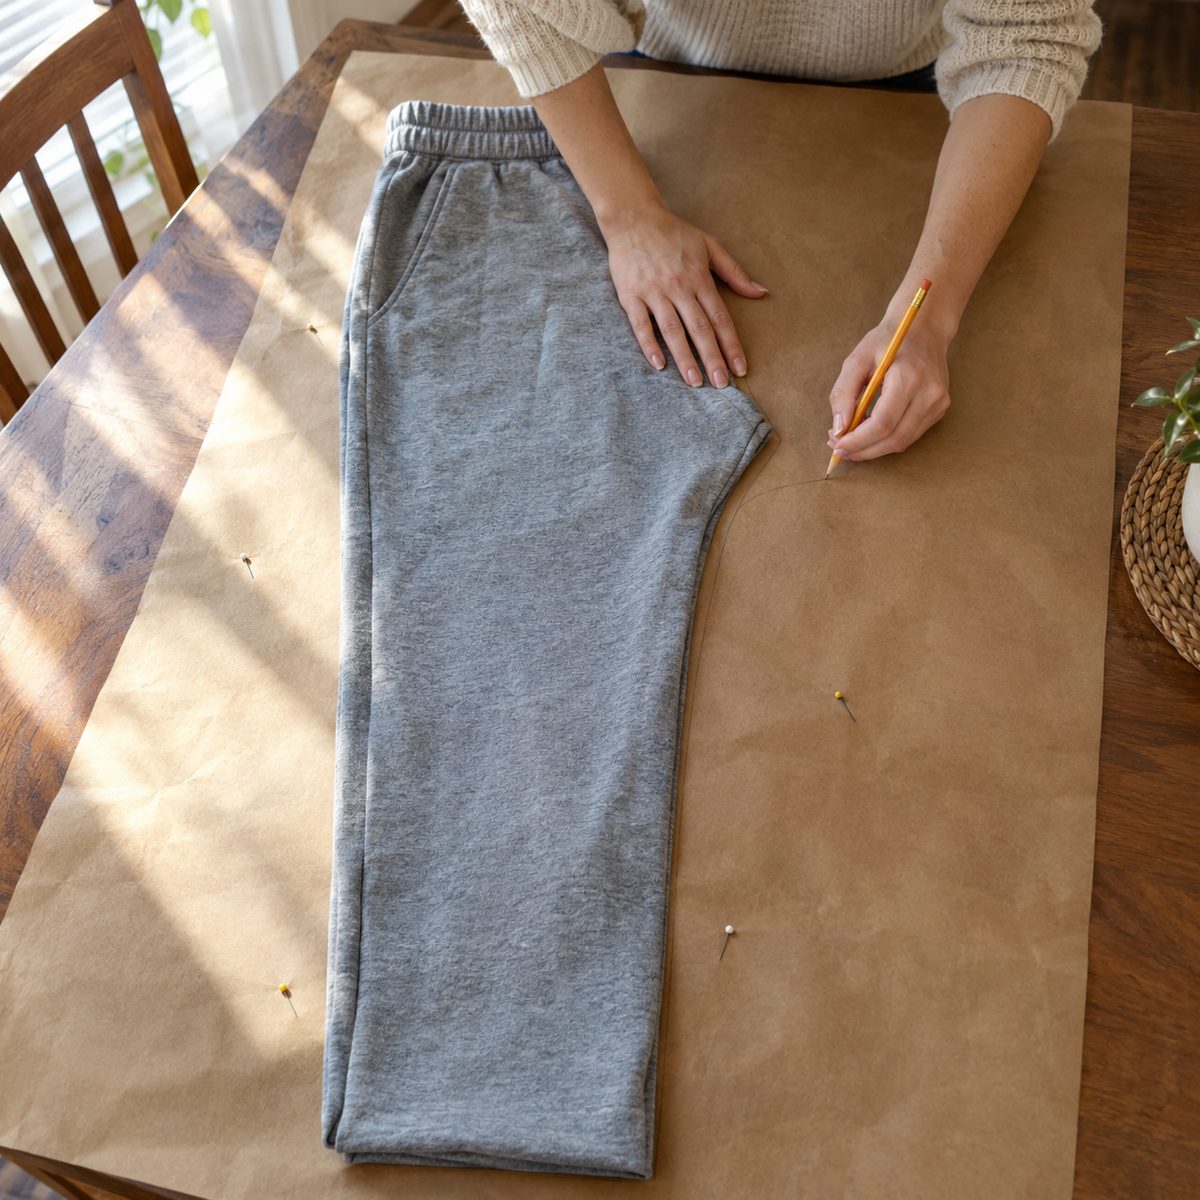
- Turn the pants right side out and fold them in half lengthwise so one leg lies directly on top of the other, with the front crotch curve facing out. Smooth everything flat.
- Lay the folded pants on your paper. Pull the waistband flat so the elastic isn’t gathering the top edge; pin it stretched to the paper if needed.
- Trace along the outer (side) seam, across the hem, up the inseam, and around the front crotch curve to the waist. Push the crotch curve fully out with your fingers so you trace the real seam line, not a folded-over edge.
- Draw the waist line straight across the top.
Trace the back
- Flip the folded pants over so the back crotch curve faces out.
- Trace the same way on a fresh piece of paper. You’ll notice the crotch curve extends farther out and dips a bit lower than the front.
- Many sewists also raise the back waist by about 1 inch at the center back, tapering to nothing at the side seam. It gives a little more coverage when you sit. That’s optional, but nice.
Add the allowances
What you traced is the finished shape along the seam lines. Now add room for sewing:
- Seam allowance: add 5/8 inch along the side seam, inseam, and crotch curve. Some people prefer 1/2 inch; just be consistent and note it on the pattern.
- Waistband casing: add about 1.5 to 2 inches above the waist line for 1-inch elastic. The general rule is elastic width plus 1/2 to 1 inch, so wider elastic needs a taller allowance.
- Hem: add 1.5 to 2 inches at the bottom of each leg for a double-fold hem. Add a bit extra if you’re tall or like to adjust length after trying them on.
Label each piece “front” or “back,” mark the grainline parallel to the leg’s center crease, and write “cut 2” on both. True up any wobbly lines with a ruler or French curve, then cut the paper pattern out.
Want a side-seam-free version?
If you’d rather skip the outer side seam, tape the front and back pattern pieces together along the side seam lines (without seam allowances there) to make one piece per leg. It works well for straight-leg pajama pants and means one less seam to sew and finish. You’ll need a wider stretch of fabric per leg, though, so check that it fits your fabric width.
Cutting the fabric
- Fold your pre-washed fabric in half lengthwise, right sides together, with the selvages lined up.
- Place the front and back pattern pieces with their grainlines parallel to the selvage. If your print has a direction, make sure all pieces point the same way.
- Pin or weight the pattern and cut. Cutting through the double layer gives you a left and right of each piece automatically: two fronts and two backs.
- Mark the back pieces with a pin or a small chalk X on the wrong side. Front and back look alike once they’re off the paper, and mixing them up is the most common pajama pants mistake.
Sewing the legs
Each leg is sewn into a tube first, and then the two tubes are joined at the crotch. This order keeps everything flat and simple for as long as possible.
Sew the side seams and inseams
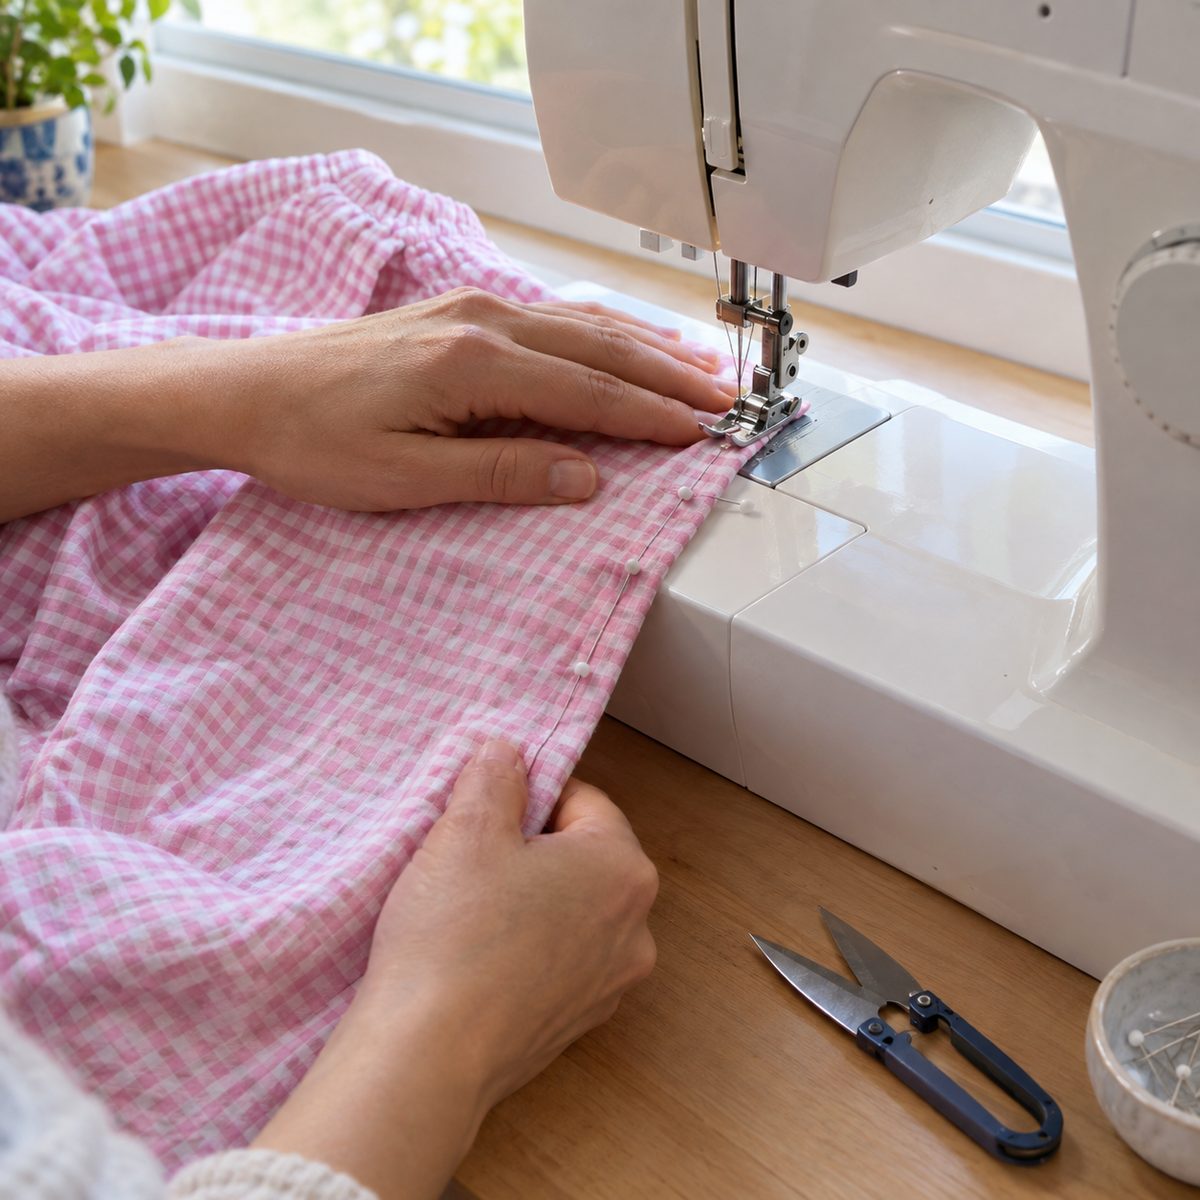
- Place one front and one back right sides together, matching the outer side edges. Pin and sew the side seam.
- Keeping the same pieces together, match the inseam edges from the hem up to the crotch point. Pin and sew.
- Repeat with the other front and back. You now have two separate leg tubes, both wrong side out.
- Finish the seam allowances (see below) and press the seams to one side or open.
Finishing the seams
Pajama pants go through the wash constantly, so finish every raw edge. Your options:
- Zigzag: sew a medium zigzag along the raw edge of each seam allowance, or sew both allowances together and trim close to the zigzag.
- Serger: the fastest and most durable finish. If you’re thinking about getting one, see our serger reviews.
- French seams: a lovely option for lightweight lawn, since they enclose raw edges completely. They’re bulky on flannel.
Sewing the crotch seam
This is the step that confuses most first-timers, but there’s a neat trick that makes it easy.
- Turn one leg right side out. Leave the other wrong side out.
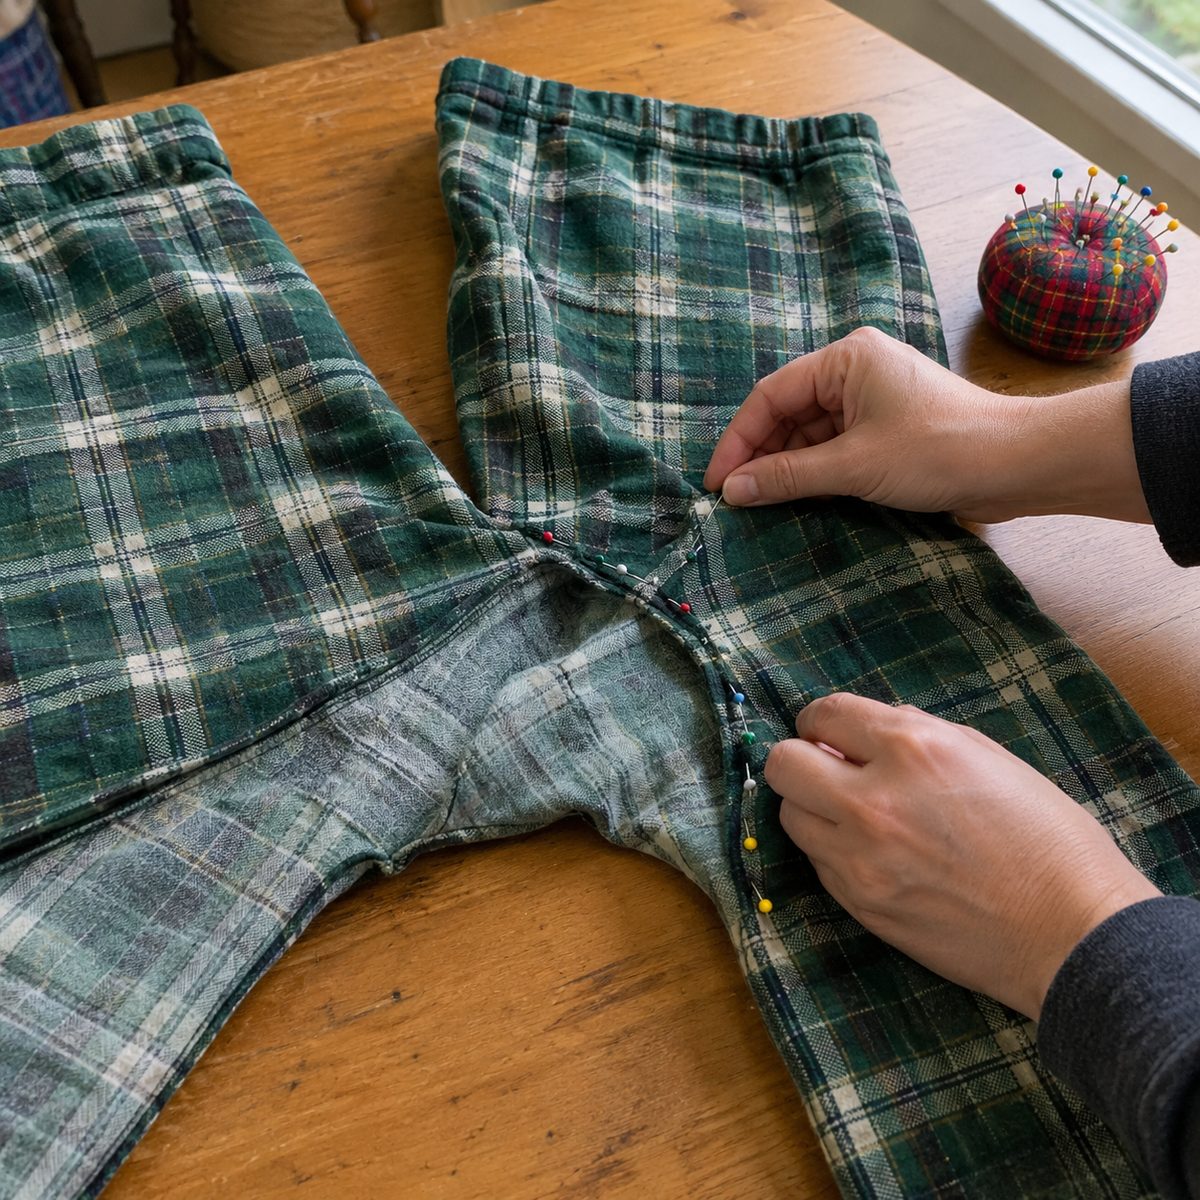
- Slide the right-side-out leg inside the wrong-side-out leg. Now the two legs are right sides together, and the crotch curves line up along the top.
- Match the inseams at the crotch point first and pin them together, with the seam allowances pressed in opposite directions so they nest. Then match front center to front center and back center to back center at the waist edge, and pin all along the curve.
- Sew the entire U-shaped crotch seam in one pass, from the front waist down through the crotch point and up to the back waist.
- For strength, sew a second row of stitching just inside the seam allowance through the lower curve, since this area takes the most strain.
- Clip or trim the seam allowance in the curve slightly so it lies flat, then finish the edges.
- Pull the inner leg out. You now have a pair of pants.
Making the elastic waistband casing
Try the pants on at this point, before the casing is sewn. It’s much easier to adjust the rise or take in a side seam now than later.
Fold and stitch the casing
- With the pants wrong side out, fold the top edge down 1/4 to 1/2 inch toward the wrong side and press.
- Fold down again by the width of your elastic plus about 1/4 inch, so for 1-inch elastic, fold about 1 1/4 inches. Press and pin all the way around.
- Stitch close to the lower folded edge, starting at the center back. Leave a gap of about 2 inches so you can insert the elastic.
- If you want a crisp top edge, topstitch 1/8 inch below the top fold too, all the way around.
Measure and insert the elastic
A good starting point is your waist measurement minus 2 to 4 inches. Firmer elastic can go closer to your waist measurement; softer or wider elastic can be cut a bit shorter. The real test is comfort: wrap the elastic around your waist, stretch it snugly, and then make sure it can stretch enough to pass over your hips easily. Adjust until it feels secure without digging in.
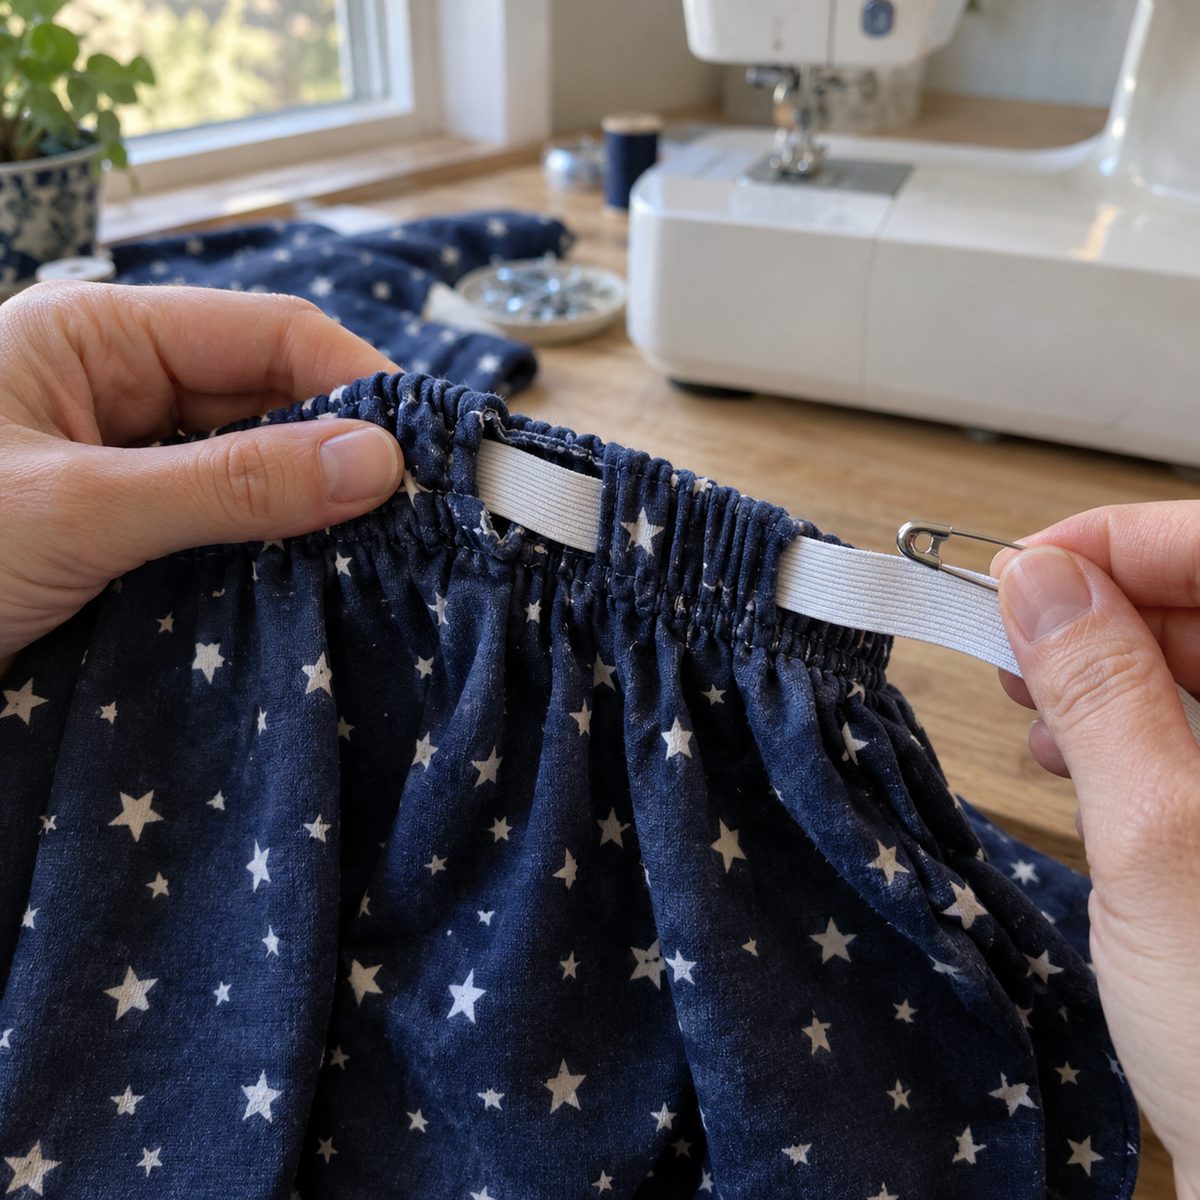
- Attach a safety pin or bodkin to one end of the elastic and feed it through the casing gap. Pin the other end to the pants so it doesn’t disappear inside.
- Work the elastic all the way around, keeping it flat and untwisted.
- Overlap the two ends by about 1 inch and sew them together securely with a box or zigzag stitch.
- Let the joined elastic slip into the casing, distribute the gathers evenly, and stitch the gap closed, stretching the fabric flat as you go.
For more on handling elastic, including other insertion methods, see how to sew elastic into fabric.
Optional: add a drawstring
A drawstring lets you fine-tune the fit and looks classic on flannel pajamas. Before folding the casing, sew two small vertical buttonholes about 1/2 inch apart at center front, positioned in the middle of where the casing will sit on the outside. Back them with a small scrap of interfacing so they don’t stretch out. After inserting the elastic, thread a cord or ribbon through one buttonhole, around the casing on top of the elastic, and out the other. Some sewists cut the elastic in two and sew the drawstring to each end, so only the back half is elastic. Either way works.
Hemming the legs
- Try the pants on and decide on the length. Pajama pants usually look best just brushing the top of the foot.
- Turn the raw edge under 1/2 inch and press, then turn under again by the remaining hem allowance and press.
- Pin and stitch close to the inner fold all the way around each leg. Sewing on the inside of the tube, with the free arm of your machine if you have one, makes this easier.
- Give the whole pair a final press, paying attention to the waistband and hems.
Fit fixes and troubleshooting
Traced patterns are usually close on the first try, but here’s how to handle the common snags.
- Pants pull down in the back when you sit: the back rise is too short. On your pattern, add height at the center back waist, tapering to nothing at the side seam, or scoop the back crotch curve slightly lower.
- Fabric bunches at the front crotch: the front rise is too long. Lower the front waist line a little or shallow out the front crotch curve.
- The seat feels tight: add width at the back crotch extension, about 1/2 inch, and blend into the inseam.
- Waistband flips or rolls: stitch vertically through the casing and elastic at each side seam and at center back to anchor it. Firmer elastic also helps.
- The legs twist around your body: the grainline was off when cutting, or the front and back were mixed up. Double-check that grainlines run parallel to the selvage next time.
- Stitches skipping on flannel or knit: switch to a fresh needle in the right type and size. A universal needle often struggles with knits, so use a ballpoint or stretch needle there.
Write any change you make directly on your paper pattern so the next pair starts from the improved version.
Frequently asked questions
Can I trace a pair of jeans or fitted pants instead?
You can, but the results won’t be as comfortable. Jeans and fitted trousers have a closer fit and are designed for a zip fly, so tracing them gives slim pajama pants that may be tough to pull on over your hips. If fitted pants are all you have, add 1 to 2 inches of width at the side seams and check the waist can pass over your hips.
Do I need a serger to make pajama pants?
No. A regular sewing machine does everything here. A zigzag stitch along the raw edges keeps seams from fraying through many washes, and French seams work nicely on lightweight fabric. A serger is faster and gives a tidier inside, but plenty of sewists make years of pajamas without one.
How much should I cut the elastic for a child’s pair?
The same method works: start with the child’s waist measurement minus about 1 to 2 inches, since kids have less difference between waist and hips. Test by stretching it over their hips before sewing the ends together. For growing kids, leave a short tail of elastic overlapping so you can let it out later.
Can I make shorts from the same pattern?
Yes. Mark your desired inseam length on both the front and back pattern pieces, measuring from the crotch point down, then add your hem allowance below that line. Cut and sew exactly the same way. Flannel shorts are a bit warm, so cotton lawn or a light knit is a better choice for sleep shorts.
Once you’ve made one pair, you’ll have a custom pattern ready for every season: flannel for winter, lawn for summer, and fun prints for gifts. Keep your paper pieces flat in an envelope, note your elastic length on them, and your next pair will be a quick evening project.