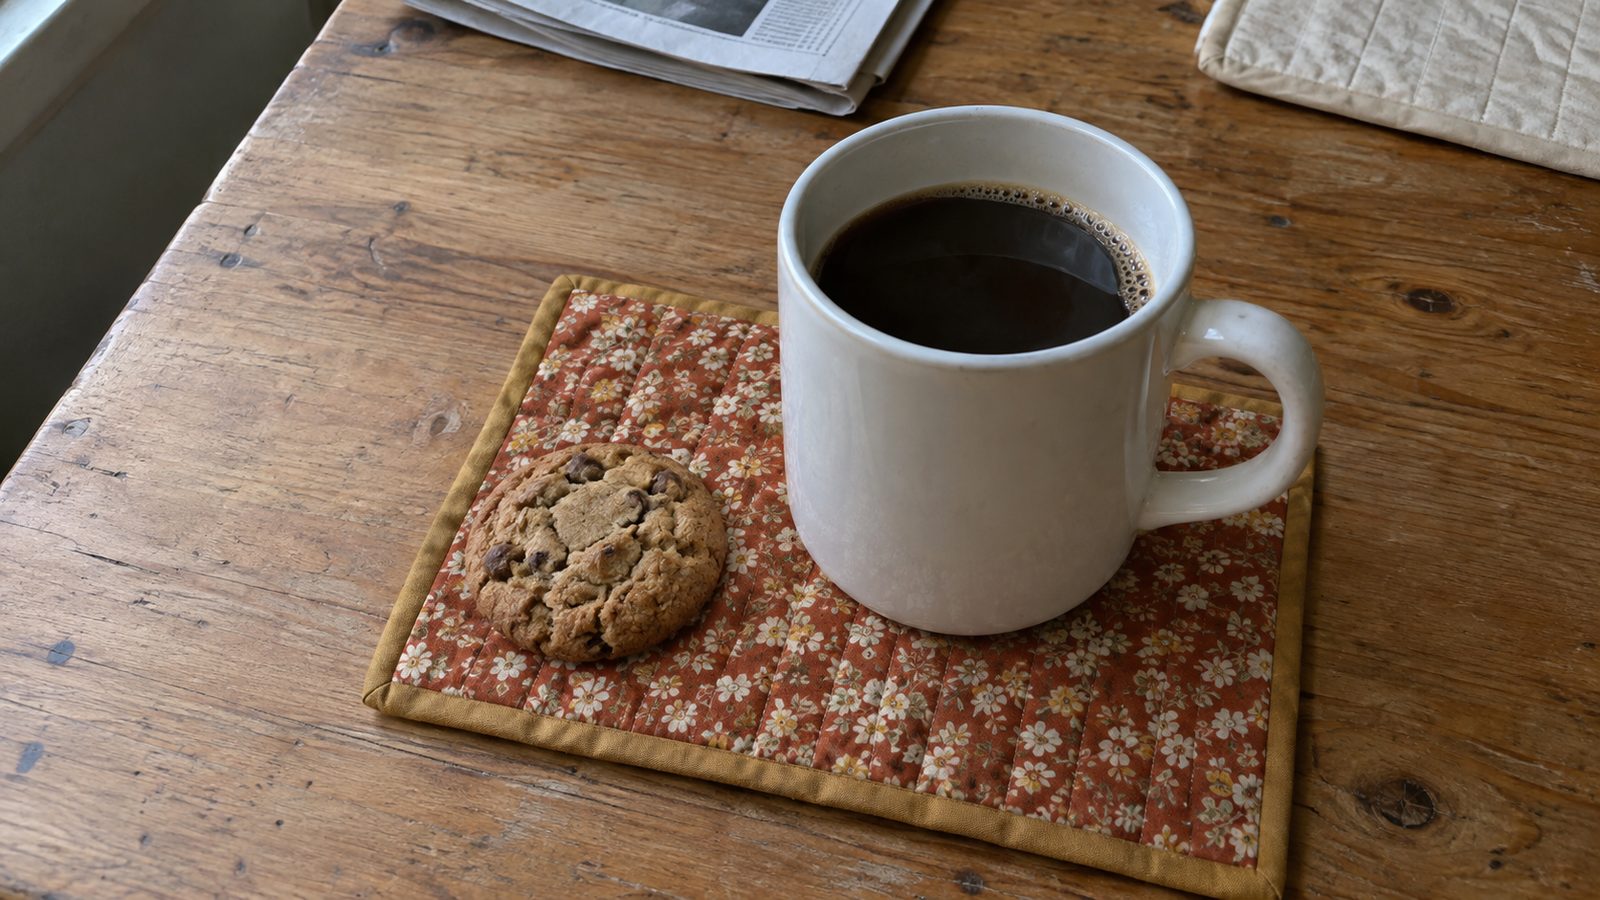
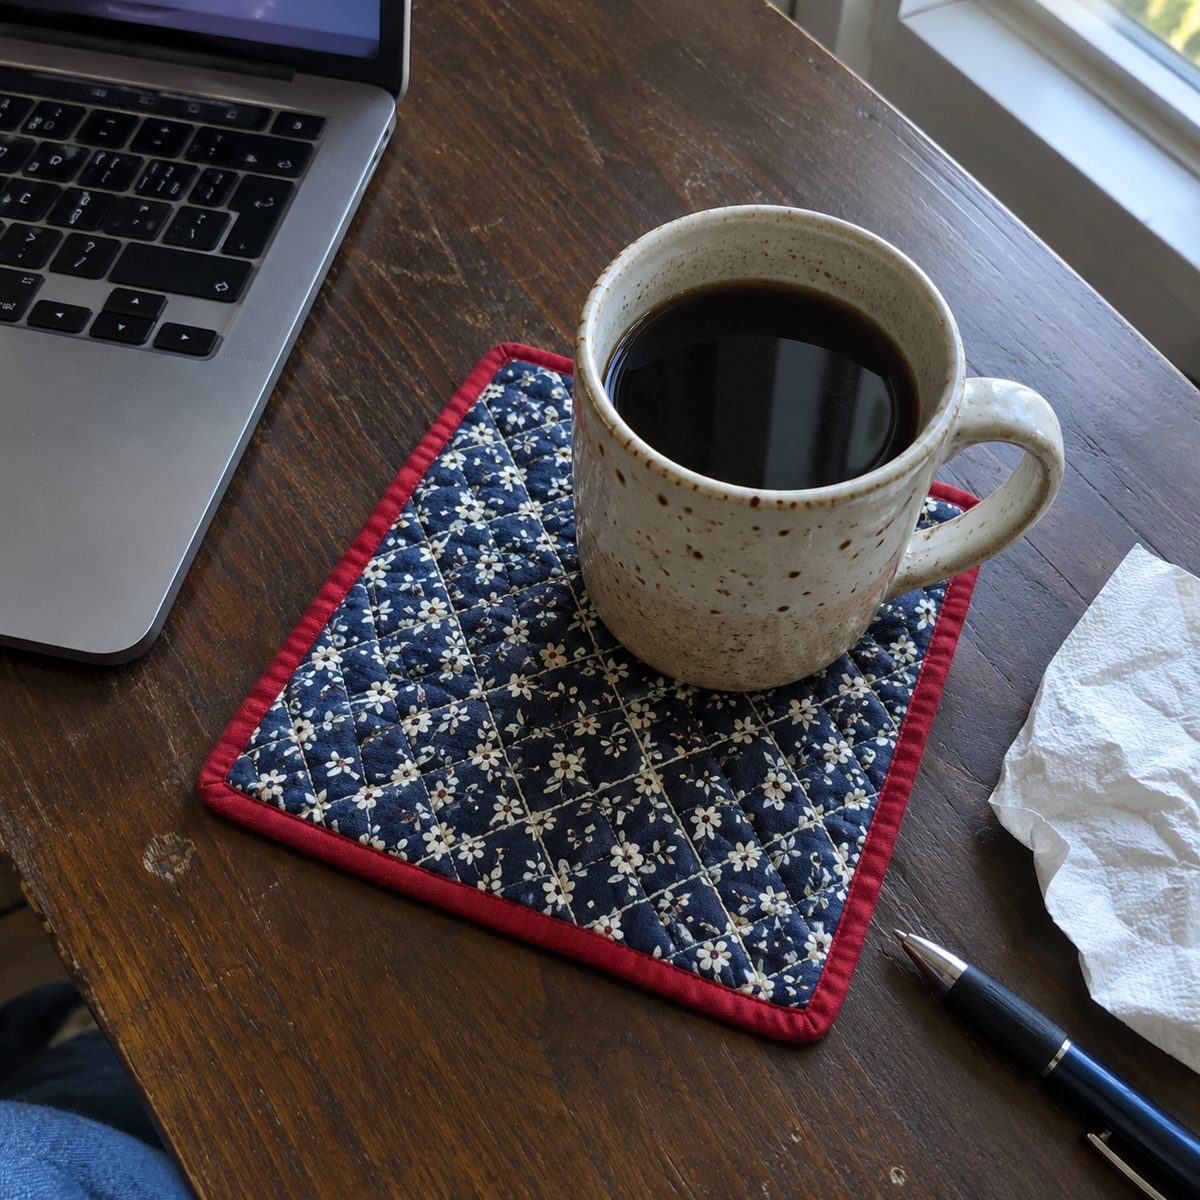
A mug rug is a mini quilt, about 6 by 9 inches, with room for a coffee mug and a cookie. It has the same three layers as a bed quilt, top, batting and backing, held together with a few lines of straight quilting. One takes 30 to 45 minutes, and a first-timer can manage it.
I make mine from the scrap bin. Two 7 by 10 inch rectangles and a strip of leftover batting is all it takes, and a stack of them is my standard stocking stuffer.
The one thing that makes a mug rug come out well is keeping it flat. Thin cotton batting, a longer stitch and basting before you quilt matter more than the fabric.
What you’ll need
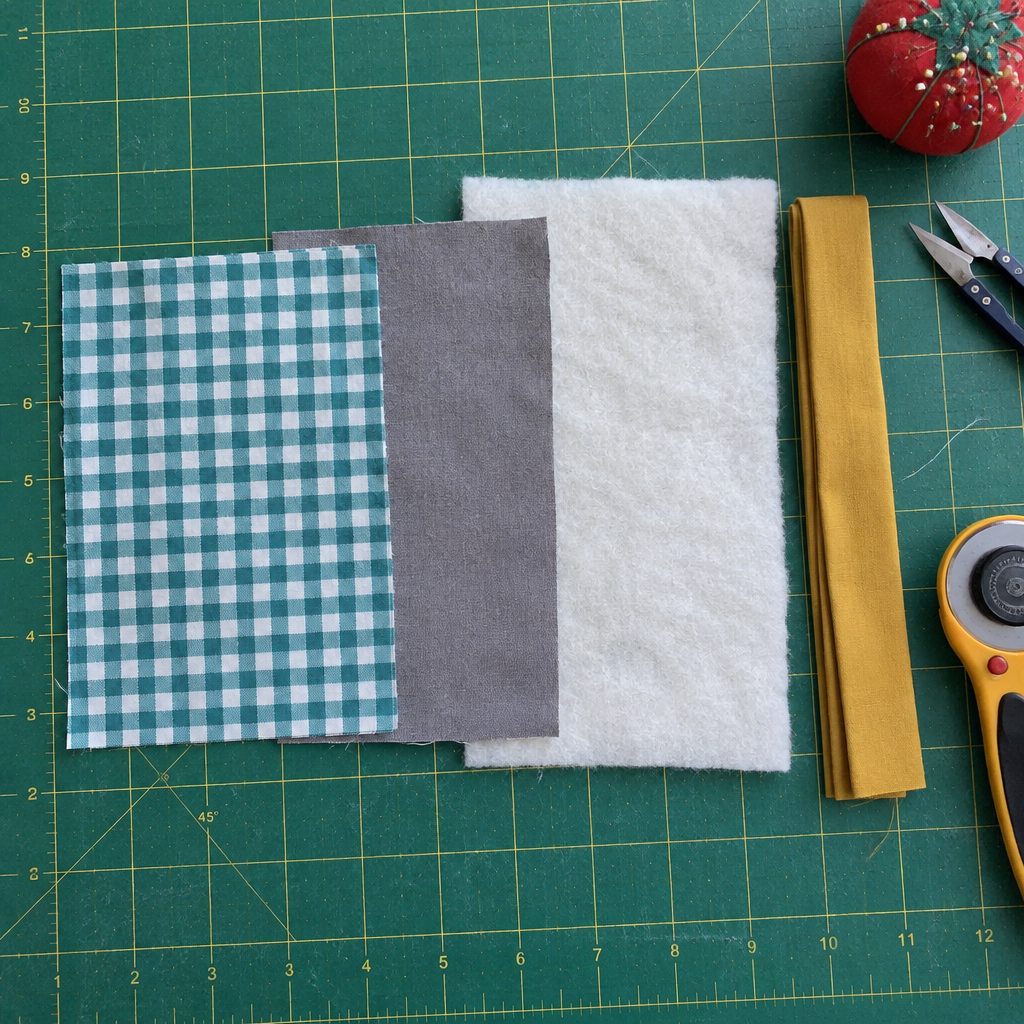
- Top: one 7 x 10 inch rectangle of quilting cotton, one print or pieced scraps
- Backing: one 7 x 10 inch rectangle of quilting cotton (8 x 11 if you plan to bind it)
- Batting: one 8 x 11 inch piece of low-loft cotton or 80/20 cotton-poly batting
- Binding, bound finish only: one 2 1/4 x 40 inch strip of quilting cotton
- All-purpose polyester or 50 wt cotton thread, matching or contrasting
- Universal or sharp 80/12 machine needle
- Basting spray or a dozen curved safety pins, plus a hera marker or 1-inch painter’s tape
- For the appliqué versions: a 5 x 8 inch piece of lightweight fusible web, the sewable kind, and scraps of orange, brown, green and red cotton
| Piece | Cut size | Qty |
|---|---|---|
| Top | 7 x 10 inches | 1 |
| Backing (turn-and-topstitch finish) | 7 x 10 inches | 1 |
| Backing (bound finish) | 8 x 11 inches | 1 |
| Batting | 8 x 11 inches | 1 |
| Binding strip (bound finish only) | 2 1/4 x 40 inches | 1 |
The turned version finishes at 6 x 9 inches after a 1/2-inch seam. The bound version is trimmed to 6 1/2 x 9 1/2 and stays that size, since binding wraps the edge.
Fabric and prep
Quilting cotton is right for all three layers. It presses crisp, soaks up a drip instead of letting it run, and washes well. Linen makes a nice top too. Skip felt for the backing, which pills and shrinks in the washer, and fleece, which is too thick and makes the edges roll.
For batting, use low-loft cotton or an 80/20 cotton-poly blend. High-loft polyester is wrong here. It is bouncy, it will not press flat, and a full mug tips on it. This rundown of batting types sorts out the labels. Trimmings from a bigger quilt are ideal, which is why mug rugs top my scrap project list.
Prewash anything red, navy or black, since those bleed and a mug rug gets washed a lot. Press both rectangles, starch the top lightly and press again so it stays square under the needle. A mug covers about a 3 1/2 inch circle, so put any motif or appliqué on the left third and leave the right side plain.
Layer the sandwich and baste it
- Press the top and backing. If you are making the pumpkin or Christmas version, fuse and stitch the appliqué on the top now, while it is one flat layer. Sizes are in the variations section.
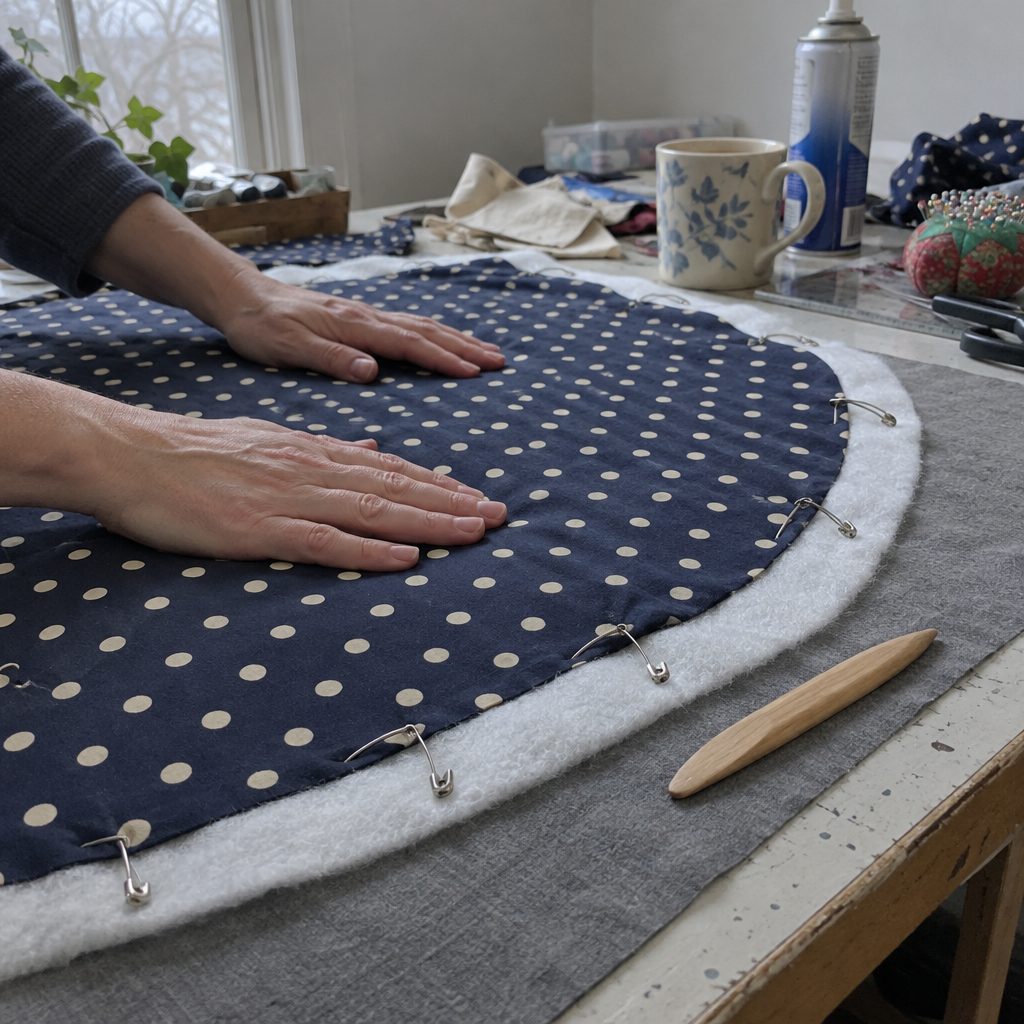
- Lay the batting flat. For the bound finish, put the backing down first, right side down, then the batting, then the top right side up and centered, with about 1/2 inch of batting and backing showing all around. For the turn finish, layer just batting and top; the backing goes on later.
- Baste. With spray, mist the batting lightly, lay the top on and smooth it from the center out with the flat of your hand. With pins, use 6 to 8 curved safety pins about 3 inches apart, away from where the lines will run. Done right, there is not a ripple, and you can lift it by one corner without the layers sliding.
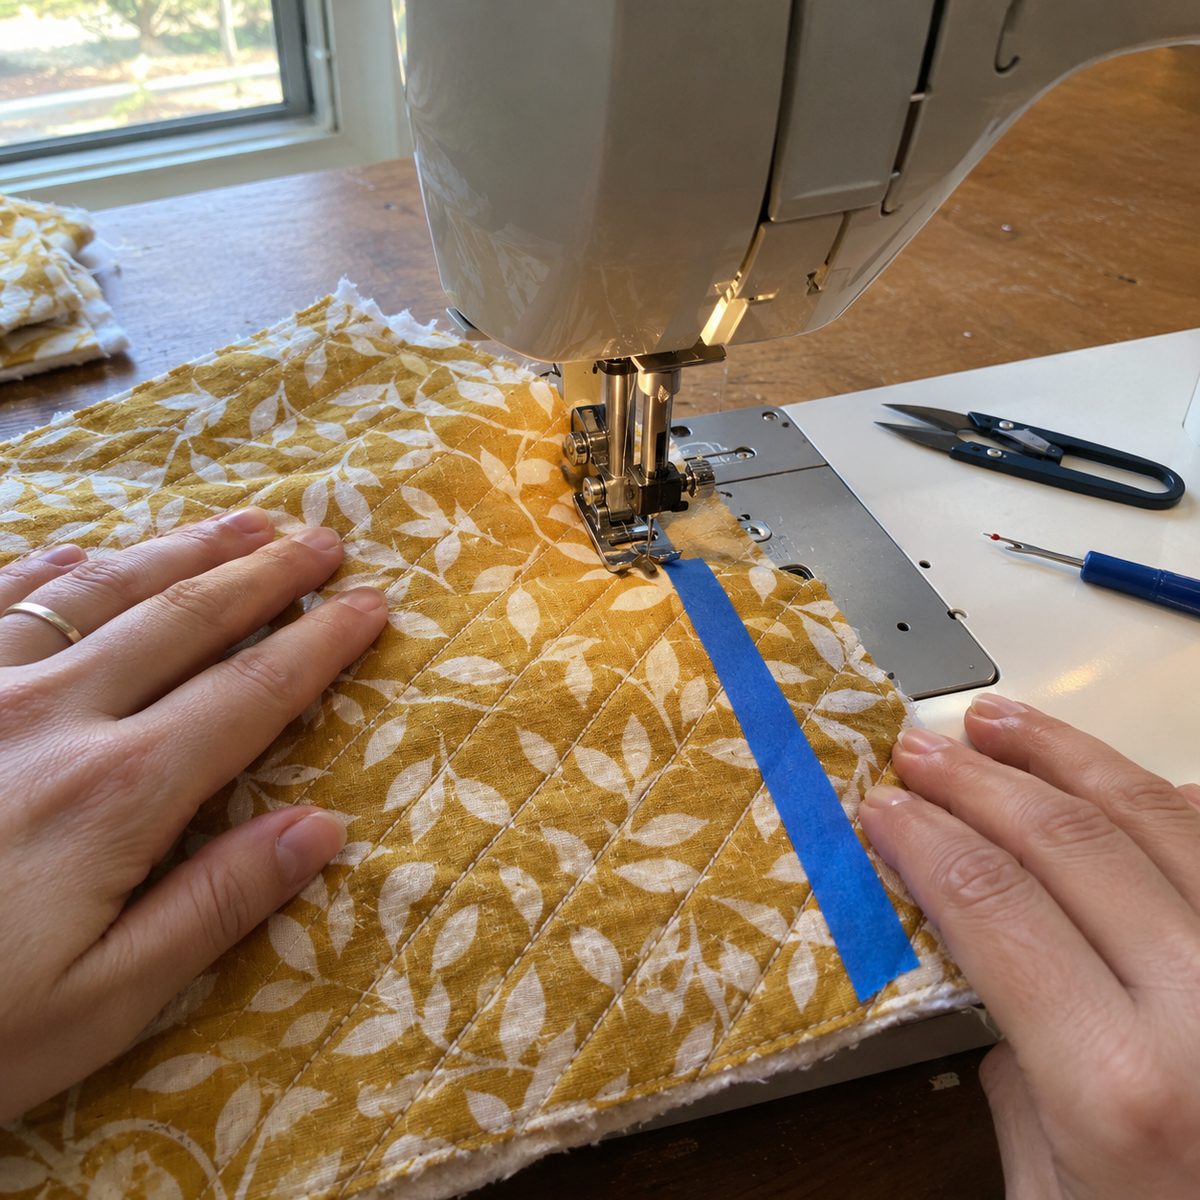
- Mark the first line. A corner-to-corner diagonal creased with a hera marker is simplest, and it leaves nothing to wash out. Or run painter’s tape corner to corner and sew along its edge.
Quilt the straight lines
- Set the stitch length to 3.0 mm. Matching thread hides the lines, a contrast shows them off. Fit a walking foot if you own one; otherwise use the regular foot and drop the presser foot pressure a notch if your machine allows. At this size quilting on a regular machine works fine.
- Sew the marked center diagonal first, edge to edge, no backstitching. The ends get trimmed or buried later. Keep both hands flat on either side of the foot and let the feed dogs do the moving. Pulling stretches the top out of square.
- Sew the next line 3/4 to 1 inch away, using the edge of the presser foot or a quilting guide bar as the spacer. Sew every line in the same direction, from the same edge. Alternating directions on a loose sandwich is what gives you a skewed, wavy rug.
- Work from the center out to one side, then back to the center and out to the other, 8 to 10 lines on a 7 x 10 piece. For a diamond grid, add a second set at a right angle, 1 inch apart.
- Check it. Lines evenly spaced, no pleats, and the piece lies flat when you set it down. Press from the back with steam.
Finish one: turn and topstitch
The beginner finish: no binding, no hand sewing, about ten minutes.
- Trim the quilted top and batting to exactly 7 x 10 inches, squaring every corner.
- Lay the 7 x 10 backing on top, right sides together, and pin. Sew all four sides with a 1/2-inch seam and a 2.5 mm stitch, leaving a 3-inch opening in the middle of one long side. Backstitch at both ends of the opening.
- Trim the batting in the seam allowance to about 1/8 inch from the stitching, then clip each corner diagonally 1/8 inch from the stitch. People skip this, and it is why turned mug rugs get blunt, lumpy corners.
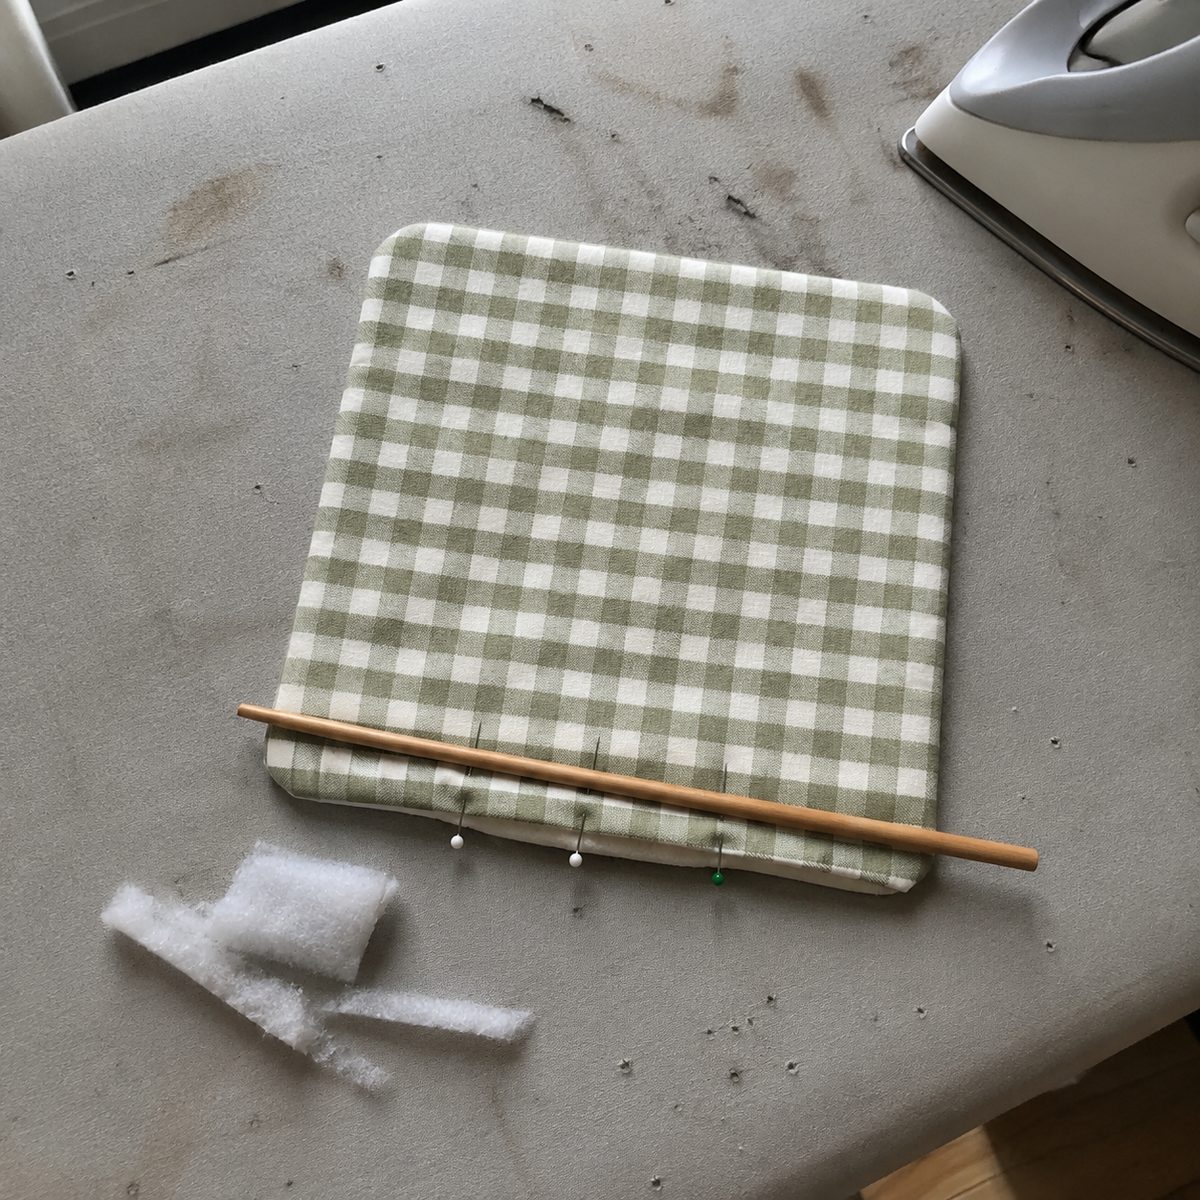
- Turn right side out through the opening. Push the corners out with a chopstick or point turner, never scissors. Press, folding the opening’s raw edges in level with the seam, and pin it shut.
- Topstitch 1/4 inch from the edge all the way around at 3.0 mm, starting and stopping on the opening side. That closes the opening and flattens the edge. To anchor the backing, restitch one or two center quilting lines through all three layers. It should lie flat with sharp corners at 6 x 9 inches.
Finish two: a narrow binding
Binding takes about fifteen minutes longer and looks like a real quilt. One 40-inch strip cut across the fabric width is enough. If you are piecing it from short scraps, this post on joining binding strips covers the diagonal join.
- Trim the quilted sandwich to 6 1/2 x 9 1/2 inches, squaring the corners. Fold the 2 1/4 x 40 inch strip in half lengthwise, wrong sides together, and press.
- Start in the middle of one long side, on the front, raw edges of the binding against the raw edge of the rug. Leave a 5-inch tail free and sew a 1/4-inch seam at 2.5 mm.
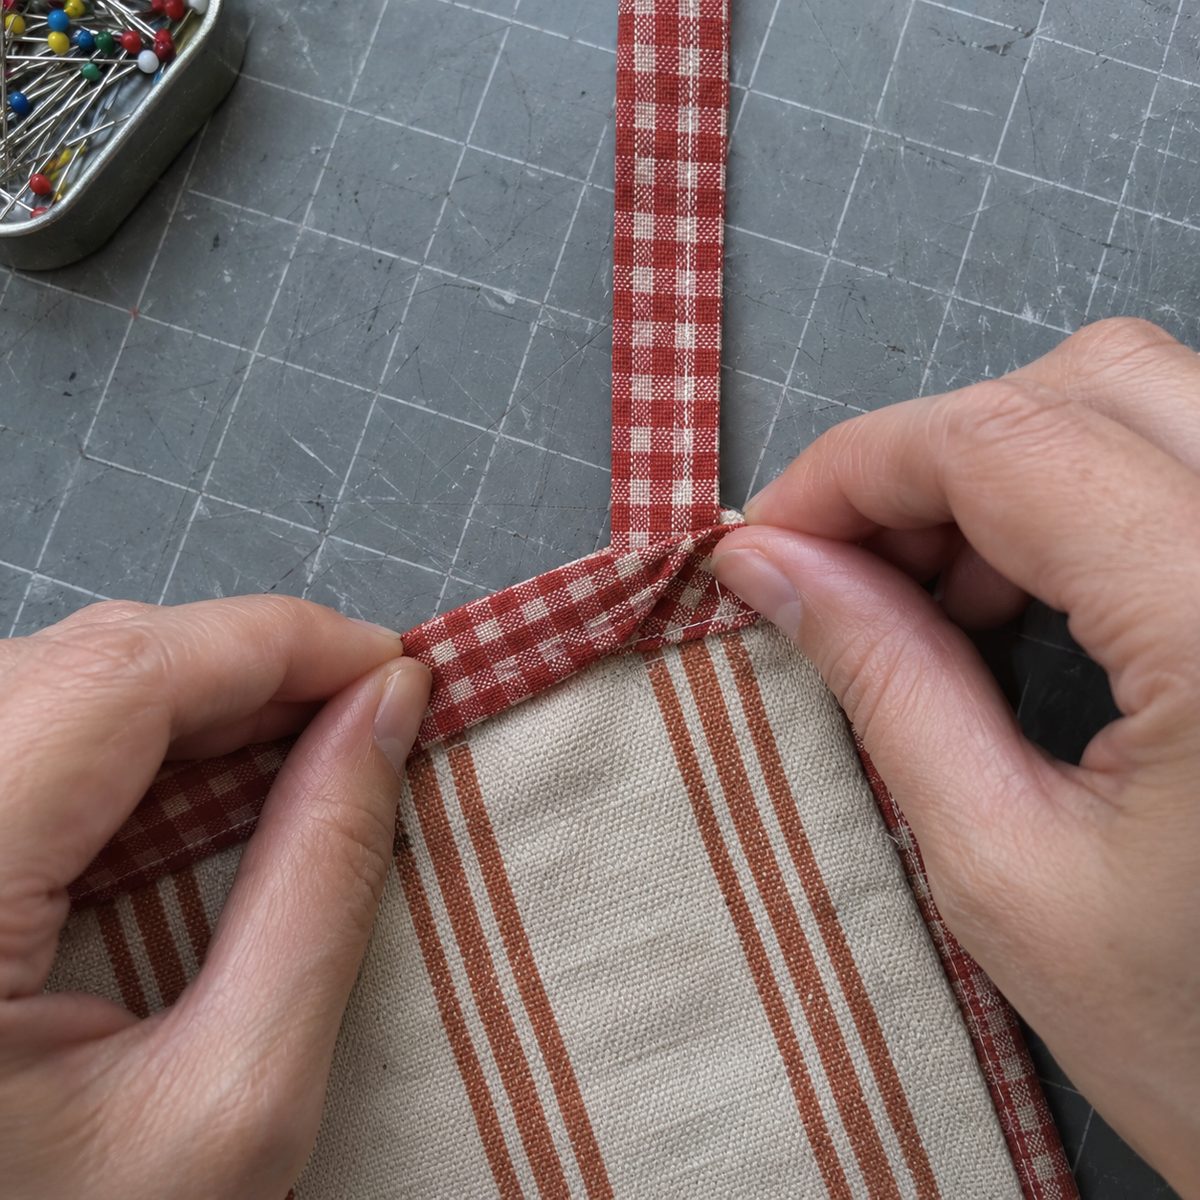
- Mitered corners: stop exactly 1/4 inch before the corner and backstitch. Fold the strip straight up at 45 degrees, finger-press, then fold it straight back down along the next edge with the new fold flush with the edge you just sewed. Start stitching right at that fold. Done right, a small triangle tucks under at each corner with no pleat on the stitching line.
- Stop 5 inches from where you started. Overlap the tails, trim so the overlap is exactly 2 1/4 inches, join with a diagonal seam, trim it to 1/4 inch, refold, and finish the gap.
- Fold the binding to the back so the folded edge just covers your stitching. Hand sew with a ladder stitch, or glue-baste and machine stitch on the front just inside the binding for a rug that gets washed weekly. The corners fold into clean miters on both sides. Press.
Fixes for the things that go wrong
It will not lie flat
Nine times out of ten this is high-loft polyester batting, and pressing will not fix it. Otherwise you pulled the fabric while quilting, or sewed the lines in alternating directions on an unbasted sandwich. Steam press from the back and re-square it. Next time, low-loft cotton, spray baste, and let the feed dogs do the work.
The corners are blunt or lumpy on the turned version
Batting was left in the seam allowance. Even 1/2 inch of cotton batting folded into a corner makes a wad. Trim it to 1/8 inch, clip the corner, and push it out with something blunt. If the corner is already finished, unpick 2 inches, trim, and resew.
Puckers on the back
The backing shifted, either from light basting or from pushing the top forward with your hands. Unpick the puckered line, re-pin that area, lengthen the stitch to 3.0 mm, and sew it again with your hands flat and still. A walking foot stops this for good.
The binding corners gap or bunch
You stopped too far from the corner or sewed past it. It has to be a 1/4 inch stop, so mark a pencil dot there first. If the binding feels loose on such a thin sandwich, cut the next strip 2 inches wide instead of 2 1/4.
The appliqué frays or the zigzag tunnels
Use lightweight fusible web made for sewing, not the heavy no-sew kind, which gums up the needle. Let each shape cool before moving it. Set the zigzag to 2.0 wide and 1.0 long, with the outer swing of the needle landing just off the appliqué edge. If it still puckers, slip a scrap of tear-away stabilizer behind it.
Variations
The method scales. Cut the top 9 x 13 inches for a snack mat, or 5 x 5 for an oversized coaster.
Pumpkin mug rug for fall
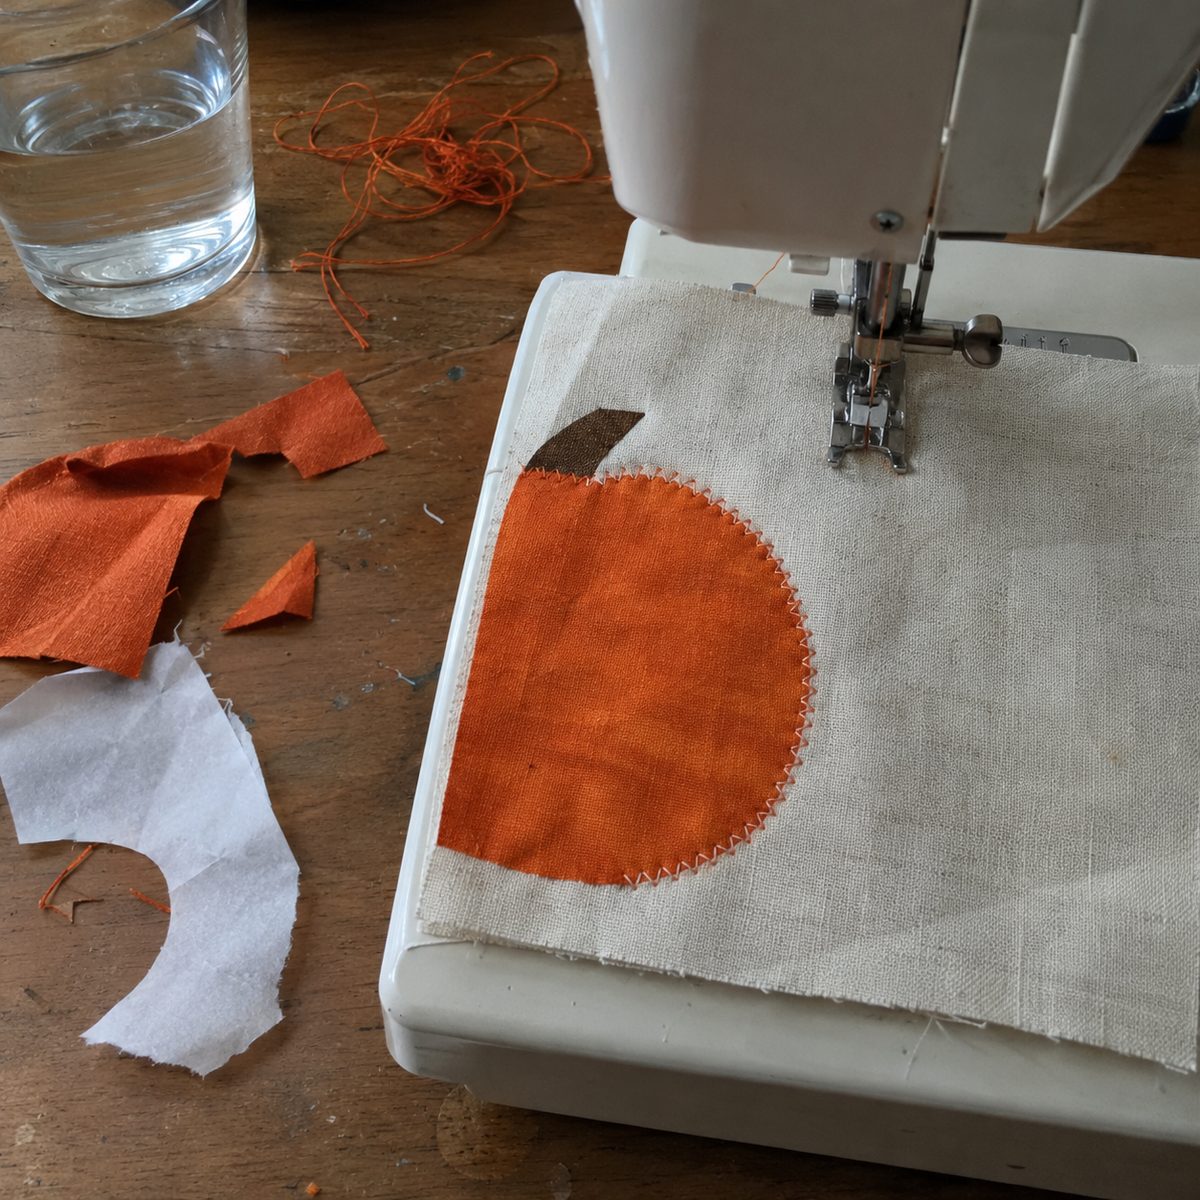
This is the version everyone asks for from October on. Trace the shapes in the table below onto the paper side of fusible web, rough cut, fuse to the wrong side of your orange and brown scraps for 10 seconds, then cut on the line. Peel the paper, set the pumpkin on the left third of the top with the stem overlapping the body by 1/4 inch, and press for 10 to 15 seconds. Zigzag or blanket stitch every edge in matching thread, then straight stitch two gentle curves from stem to base for ribs. Layer, baste and quilt as normal. The lines can run straight through the pumpkin or stop at its edge and restart on the other side. More autumn ideas are on the fall sewing list.
Christmas tree or holly mug rug
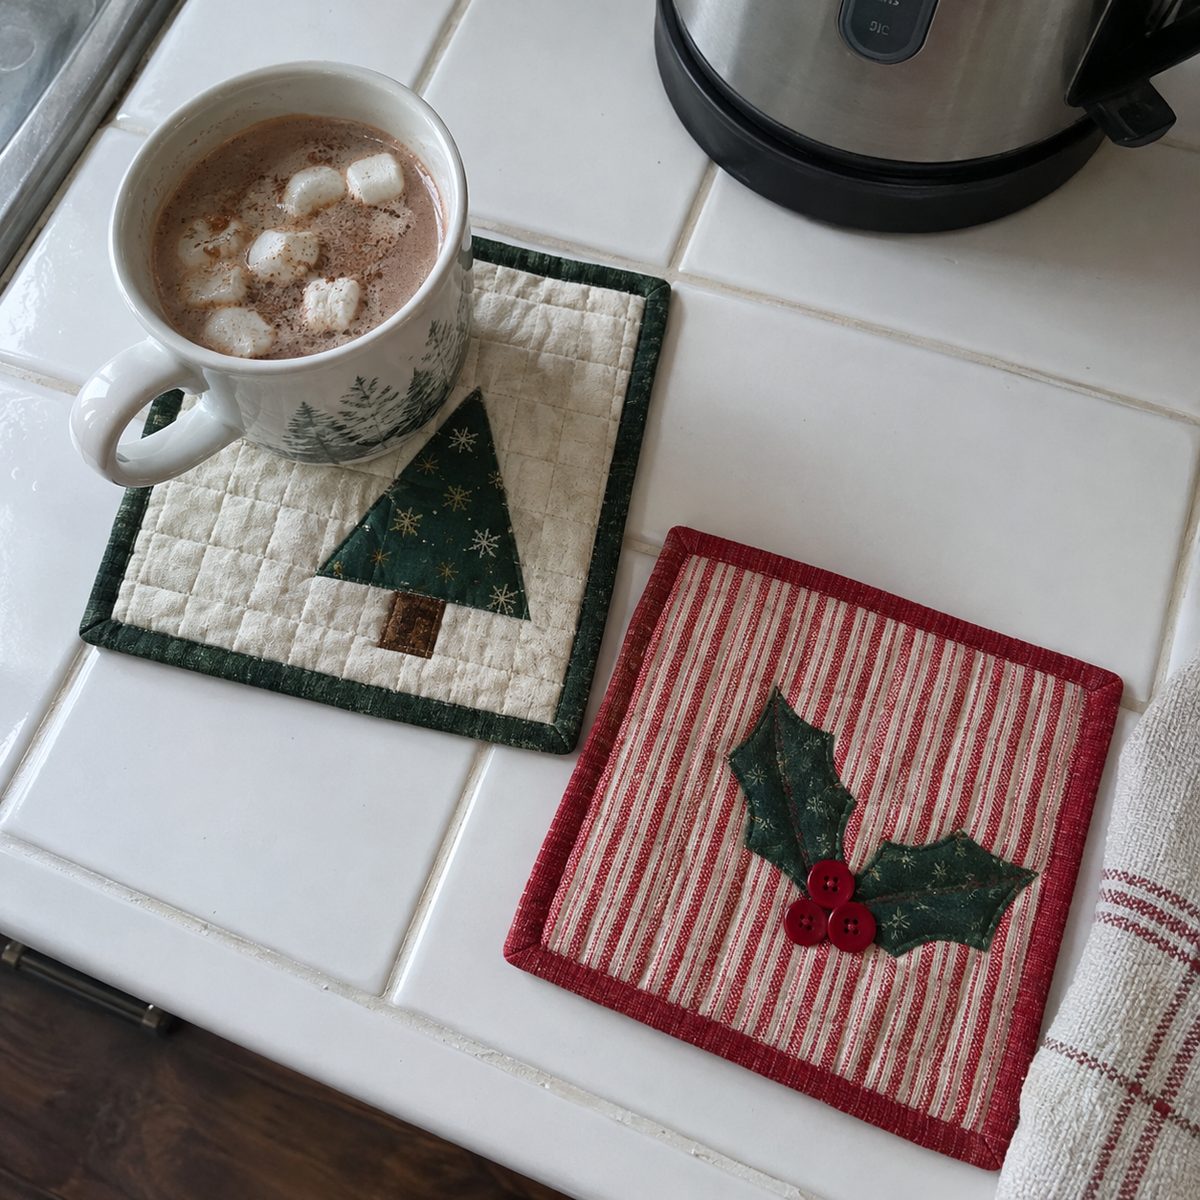
For the tree, cut a green triangle and a brown trunk, tuck 1/4 inch of the trunk under the tree, and fuse. Quilt a 1-inch grid for a wrapped-present look. For holly, cut two leaves and three berries. Circles under 3/4 inch are tedious to zigzag, so straight stitch 1/8 inch inside each berry and let it fuzz, or use three red buttons sewn on after finishing, well away from where the mug sits.
| Appliqué shape | Size | Fabric |
|---|---|---|
| Pumpkin body, single | 3 1/2 wide x 3 tall, squat oval | Orange |
| Pumpkin trio bodies | 3, 2 1/2 and 2 inches wide, overlapping | Three oranges, or orange and cream |
| Pumpkin stem | 1/2 x 1 inch | Brown |
| Christmas tree | 3-inch base x 4 tall triangle | Green |
| Tree trunk | 3/4 x 3/4 inch | Brown |
| Holly leaves | 2 x 1 inch, three points per side | Green |
| Holly berries | 5/8-inch circles | Red |
Batch making for gifts
Cut six at once. One 18 x 22 inch fat quarter gives four 8 x 11 backings, and a crib-size batting yields 25 pieces. Chain piece the quilting, then do all the turning or binding in one sitting. Pair each rug with a mug and a bag of coffee and the gift is done.
Frequently asked questions
What size should a mug rug be?
Anywhere from 6 x 8 to 7 x 10 inches finished. It needs room for a mug and a snack side by side, so narrower than 6 inches feels like a coaster, and past about 8 x 12 it becomes a placemat. I settled on 6 x 9 because it comes from a 7 x 10 cut, an easy scrap size.
Do I need a walking foot?
Not for a piece this small. A regular foot, a 3.0 mm stitch and a well-basted sandwich will quilt straight lines on a 7 x 10 rectangle without shifting. A walking foot earns its keep on a tight crosshatch, a batch of ten rugs, or a machine that struggles with thick seams. Do not buy one for this.
Can you wash a mug rug?
Yes, and you will need to, because coffee rings happen. Wash cold and tumble low or air dry. Cotton batting shrinks a tiny bit the first time and gives the rug that crinkled quilt texture, which is why I do not prewash batting.
What batting is best for a mug rug?
Low-loft needle-punched cotton or an 80/20 cotton-poly blend, ideally trimmings from a larger quilt. One layer is plenty, and heat-reflective batting is not needed for a mug. Avoid high-loft polyester, which never presses flat and leaves the finished rug rocking under a full cup.
Once you have made one, you will see why these pile up. They use scraps you could not throw away, they take under an hour, and whoever you hand one to uses it the same day. Make the plain one first, then try the pumpkin.