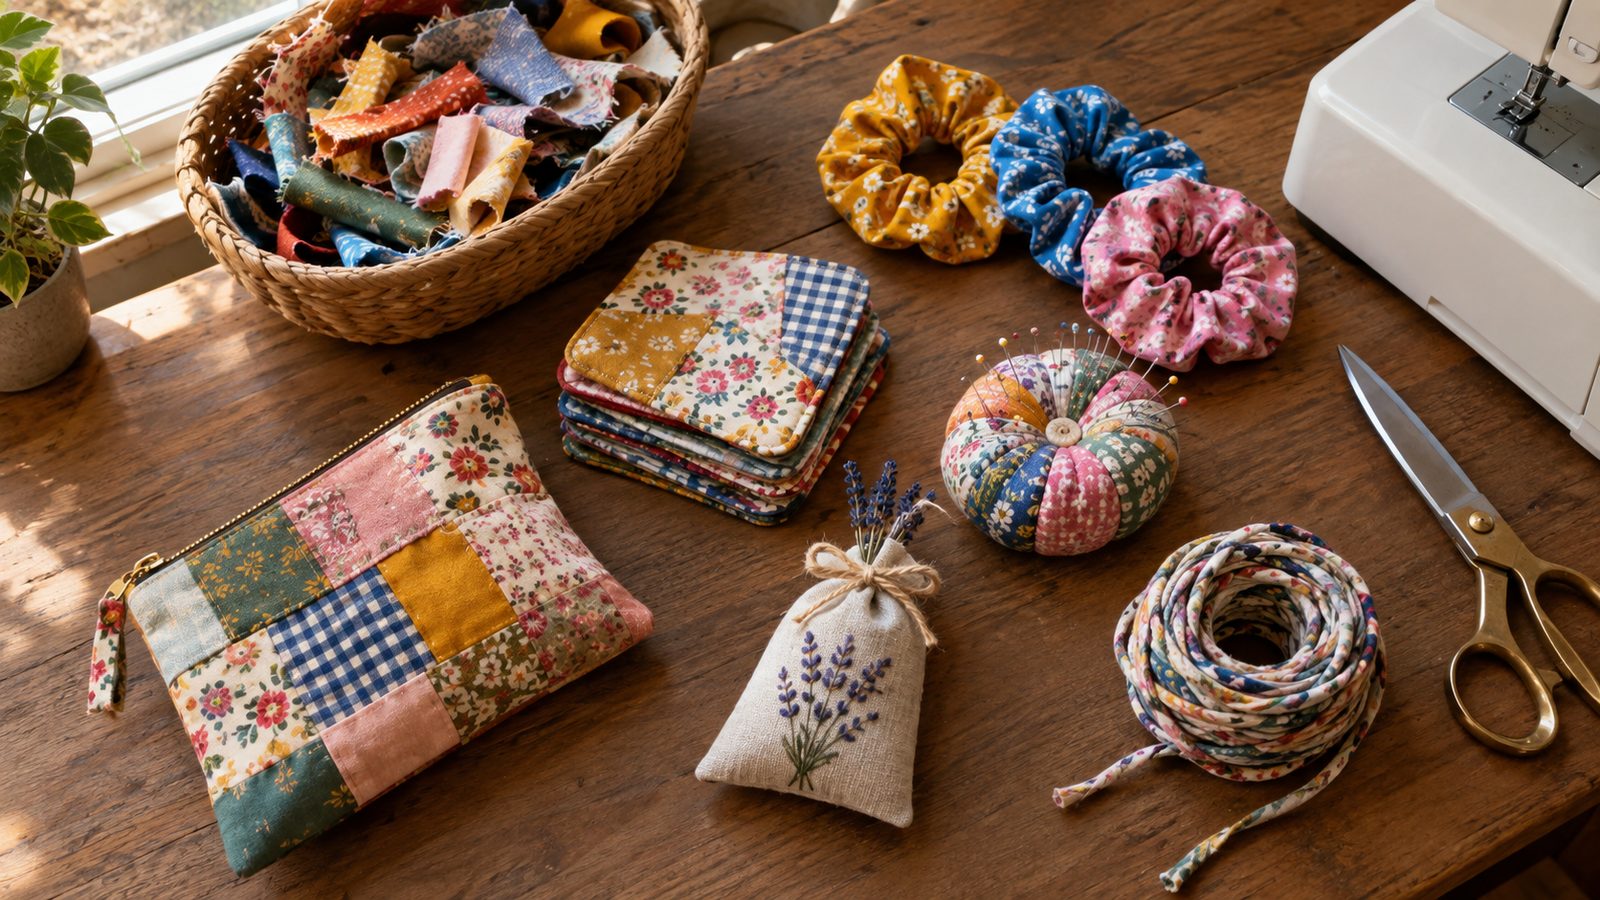
That bin of leftover fabric isn’t clutter. It’s free material for dozens of small, useful projects. The trick is matching each project to the size of scraps you actually have.
Every idea below lists the minimum scrap size you need, so you can grab a handful from the pile and start sewing right away. Some use pieces smaller than a playing card, others need a fat quarter, and a few use up the tiny bits you’d normally throw out.
1. Fabric Scrap Coasters
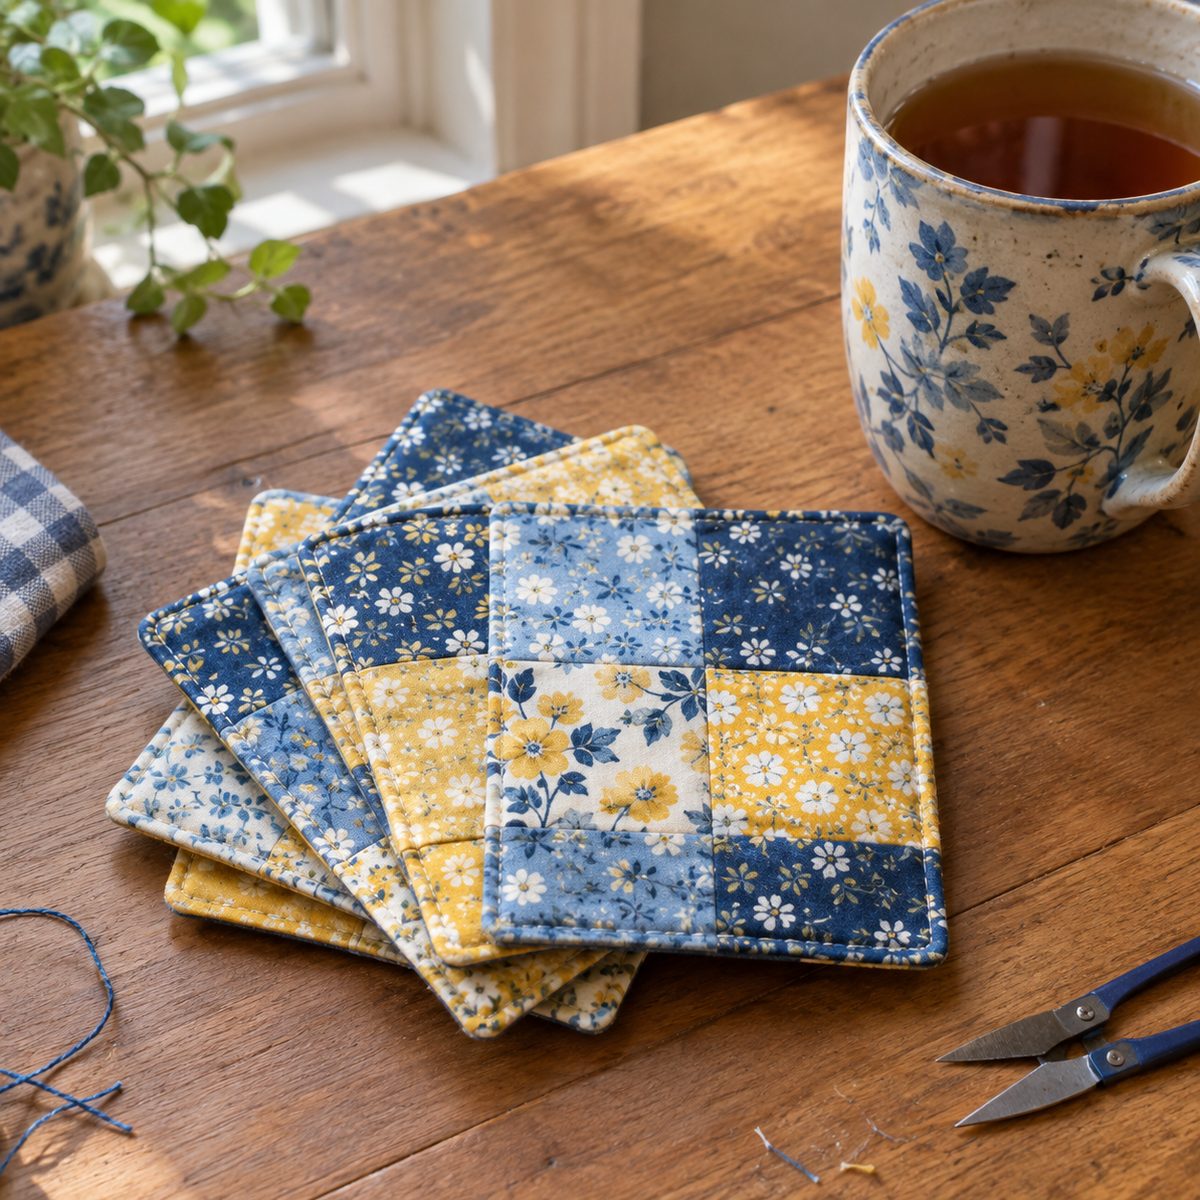
Minimum scrap size: 5 x 5 inches. Coasters are the classic first scrap project because they’re quick, forgiving, and always useful. Each one takes about 15 minutes.
Cut two 5-inch squares of quilting cotton plus one 5-inch square of cotton batting or scrap flannel for absorbency. Stack the fabrics right sides together with the batting on the bottom, then sew around the edges with a 1/4-inch seam, leaving a 2-inch gap. Clip the corners, turn right side out, and push the corners out with a chopstick.
Press flat, then topstitch 1/8 inch from the edge to close the gap. Add a couple of diagonal quilting lines through the center for extra body. A set of four tied with twine makes an easy hostess gift.
2. Lined Zipper Pouch
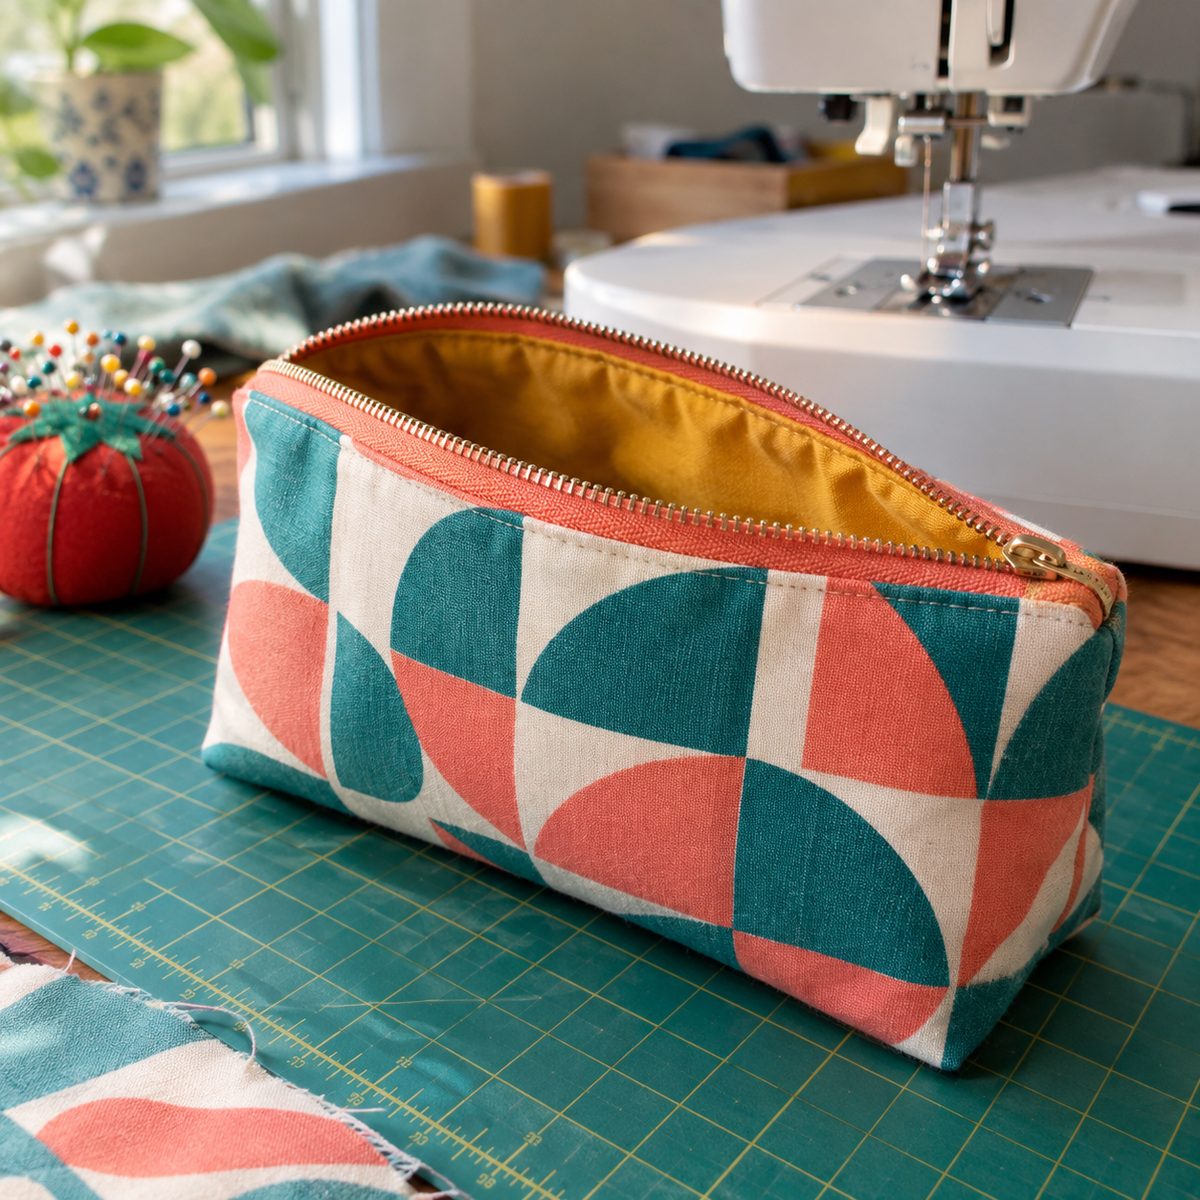
Minimum scrap size: two 9 x 7-inch pieces for the outside and two for the lining. A fat quarter covers the whole thing, or mix four different scraps for a more playful look.
Zipper pouches hold makeup, pens, charging cables, or sewing notions, and you’ll want more than one once you’ve made the first. Use a 9-inch zipper and a zipper foot.
- Sandwich the zipper between one outer piece and one lining piece, right sides facing the zipper, and stitch.
- Repeat on the other side of the zipper, then press and topstitch.
- Open the zipper halfway, pin outer to outer and lining to lining, and sew all around, leaving a 3-inch gap in the lining.
Turn through the gap, stitch it closed, and push the lining inside. If your cotton feels floppy, fuse lightweight interfacing to the outer pieces first.
3. Fabric Bookmarks
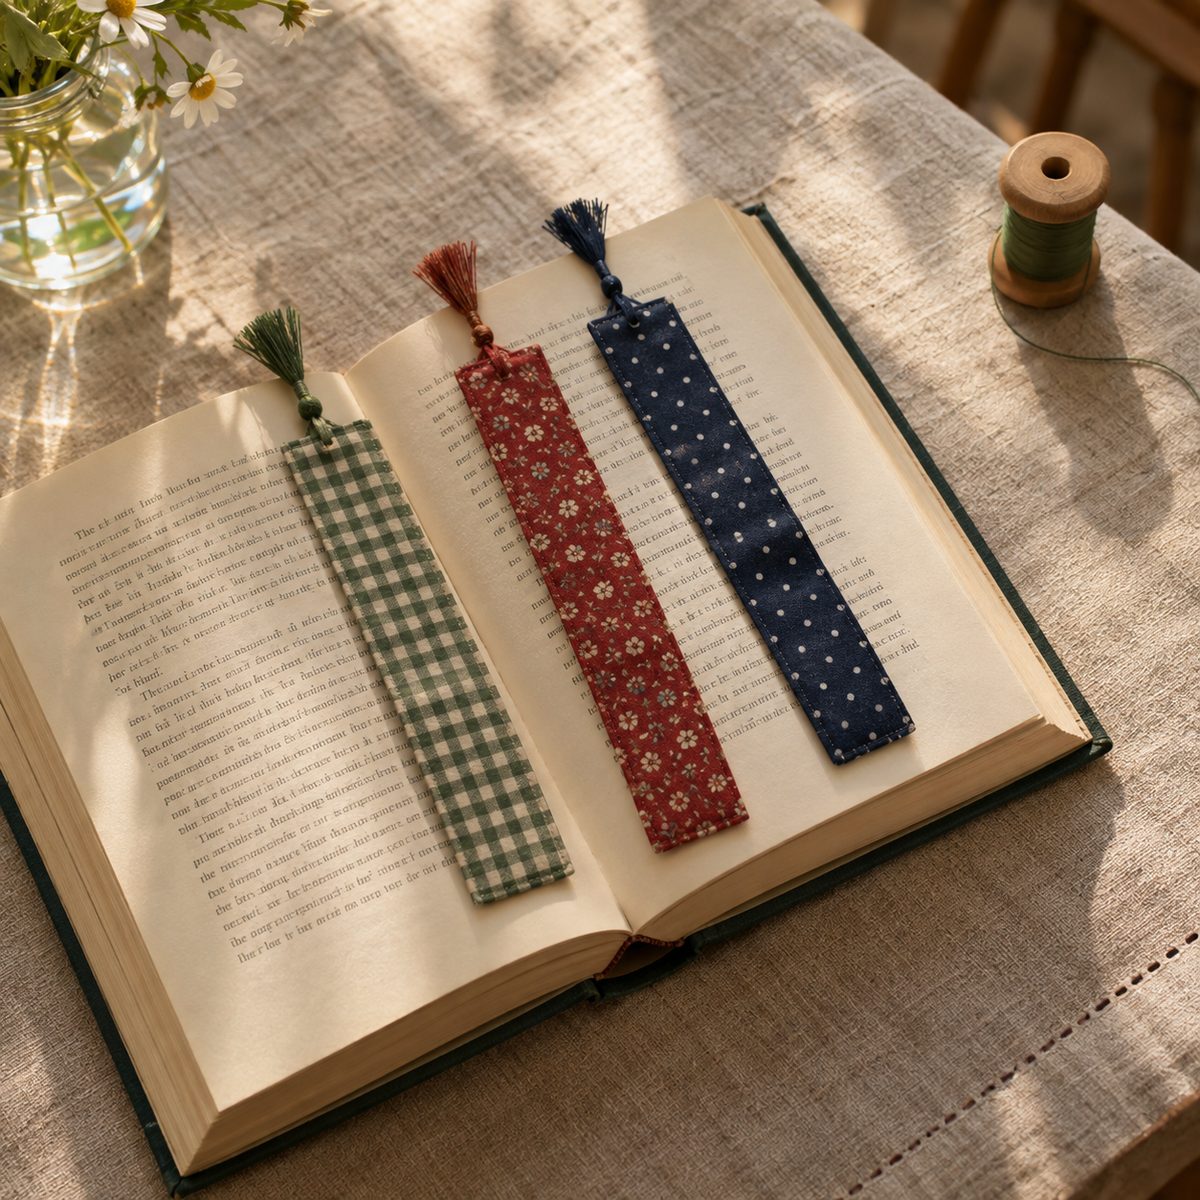
Minimum scrap size: 2 x 4 inches (pieced) or 2.5 x 7 inches (single strip). Bookmarks are perfect for those narrow leftovers you trimmed off a larger project.
Cut two 2.5 x 7-inch strips and one strip of fusible fleece or stiff interfacing the same size. If you only have short bits, sew two 2 x 4-inch scraps end to end first and press the seam open. Fuse the stabilizer to the back of one strip.
Place the strips right sides together, sew around with a 1/4-inch seam, and leave the bottom short end open. Trim corners, turn, press, then fold the raw edges in and topstitch all the way around. Tuck a loop of ribbon or a small tassel into the top seam before sewing for a finished look.
These take about 10 minutes each and make sweet add-ons for book-loving friends.
4. Scrunchies
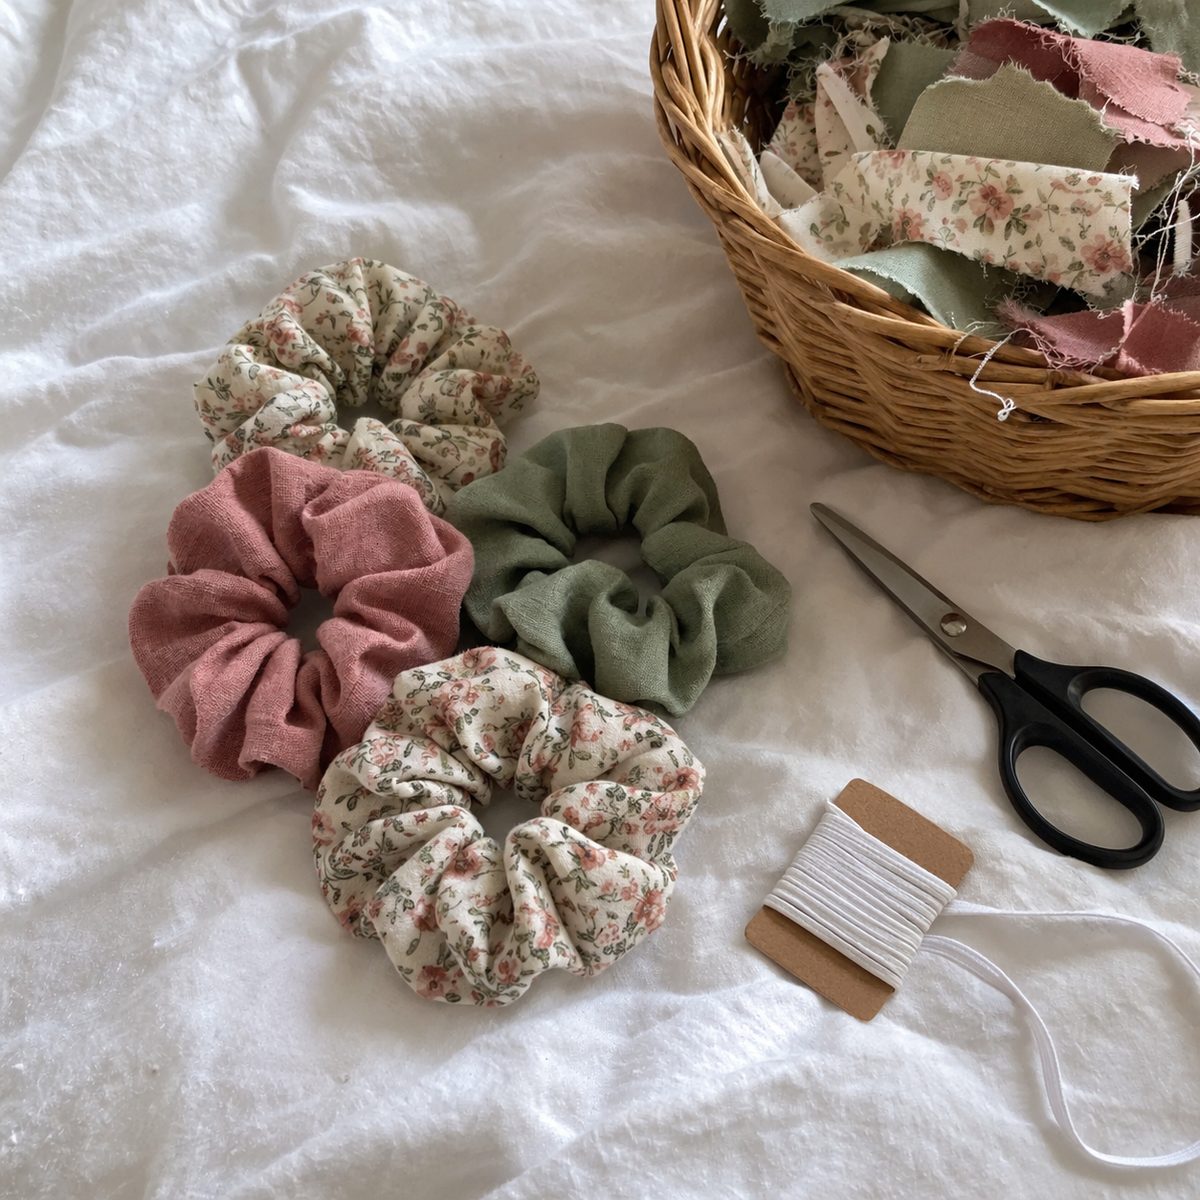
Minimum scrap size: 4 x 20 inches (or two 4 x 10-inch pieces sewn together). Scrunchies are the ultimate 15-minute scrap project, and they work in cotton, rayon, silky prints, or even stretchy knit leftovers.
Fold the strip in half lengthwise, right sides together, and sew the long edge into a tube. Turn it right side out. Thread an 8-inch piece of 1/4-inch elastic through with a safety pin, overlap the elastic ends by 1/2 inch, and zigzag them together.
To close the scrunchie, tuck one raw end of the tube inside the other, fold under the edge, and topstitch or slip-stitch by hand. The seam disappears into the gathers.
For a fuller scrunchie, go up to 5 x 22 inches. A wider strip means more ruffle and less visible elastic.
5. Classic Square Pincushion
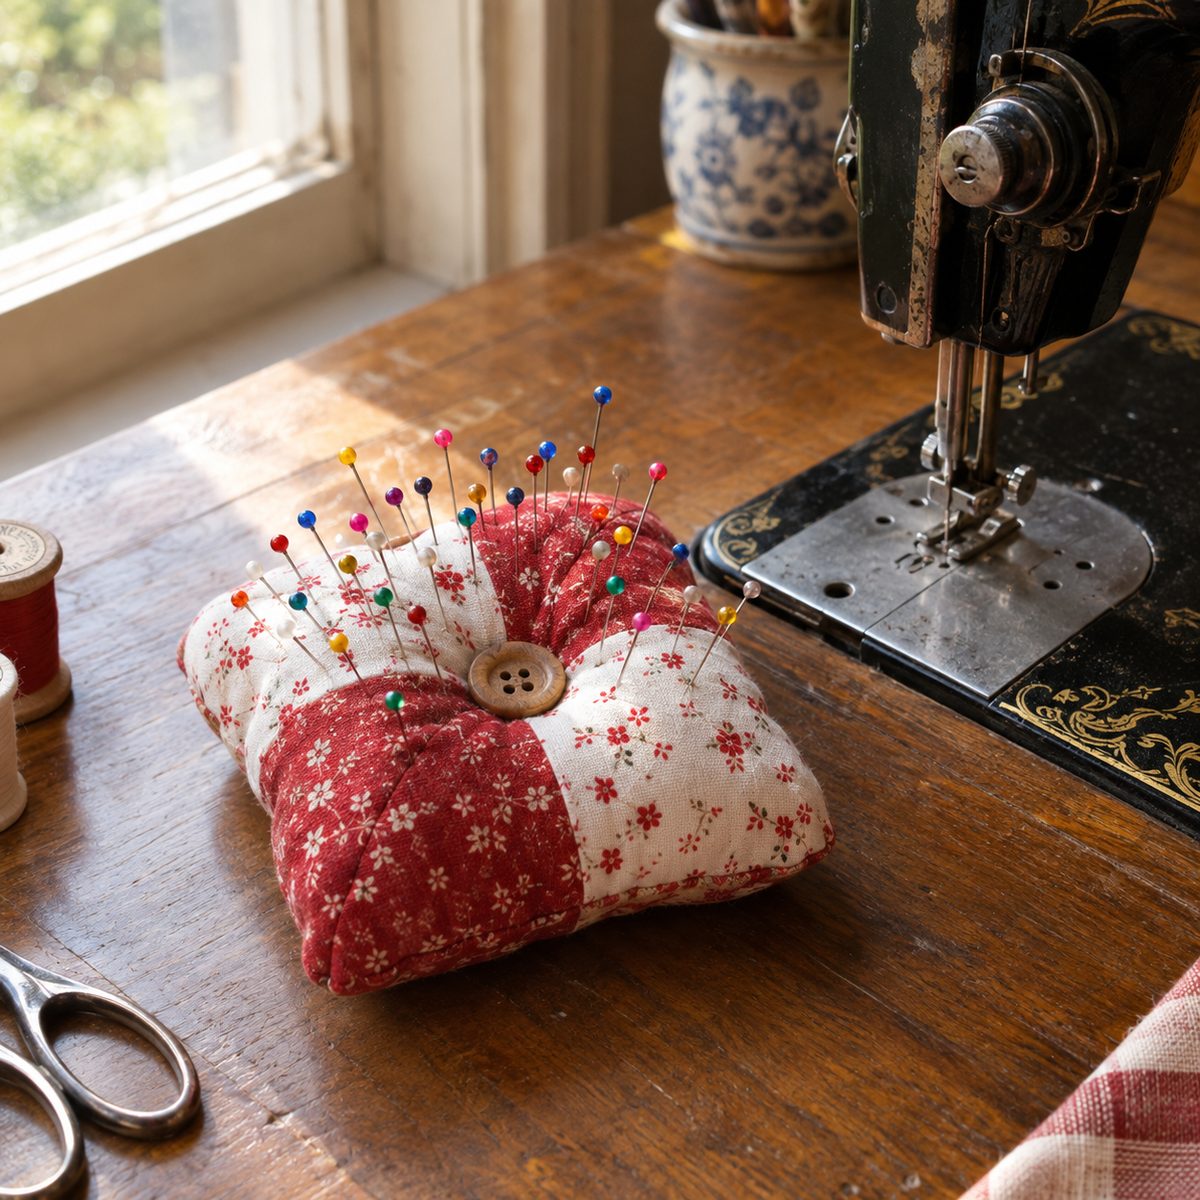
Minimum scrap size: two 5 x 5-inch squares. Every sewist can use another pincushion by the machine, by the ironing board, and in the travel kit.
Place the squares right sides together and stitch around with a 1/4-inch seam, leaving a 2-inch gap. Turn right side out and stuff very firmly. Firm stuffing holds pins better, and crushed walnut shells or clean sand in a small inner bag add weight so it won’t slide around.
Hand-stitch the opening closed with a ladder stitch. For a tufted look, sew a button through the center, pulling the thread tight through both sides to create a dimple.
Want to use even smaller bits? Piece four 3-inch squares into a mini four-patch for the top. It takes about 20 minutes and looks charming on any sewing table.
6. Fabric Twine
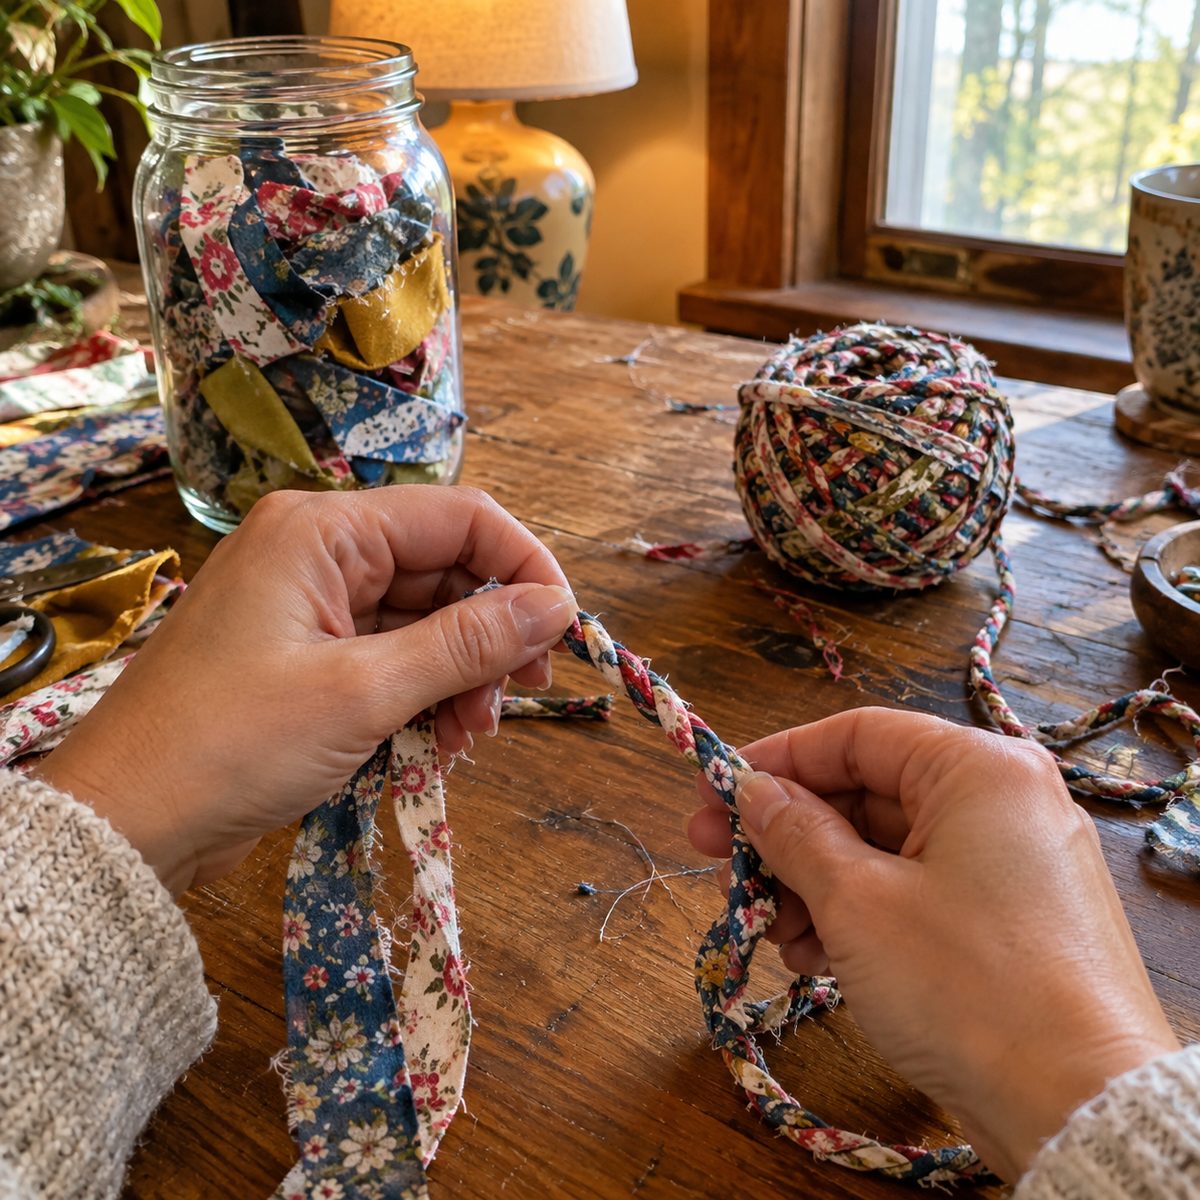
Minimum scrap size: strips 1 inch wide, any length. Fabric twine turns skinny trimmings into something you’ll actually use for gift wrapping, tying herb bundles, or hanging small ornaments.
Cut or tear your scraps into 1-inch strips. Knot two strips together at one end and hold the knot. Twist the right strip clockwise away from you, then cross it over the left strip counterclockwise. Keep repeating: twist, cross, twist, cross. The opposing twists lock the twine in place.
When a strip runs short, overlap a new strip by about an inch and keep twisting right over it. Staggering where the strips end keeps the twine an even thickness.
No machine required, and it’s a great TV-time project. Wind the finished twine onto a cardboard spool or around an empty thread cone for storage.
7. Patchwork Potholder
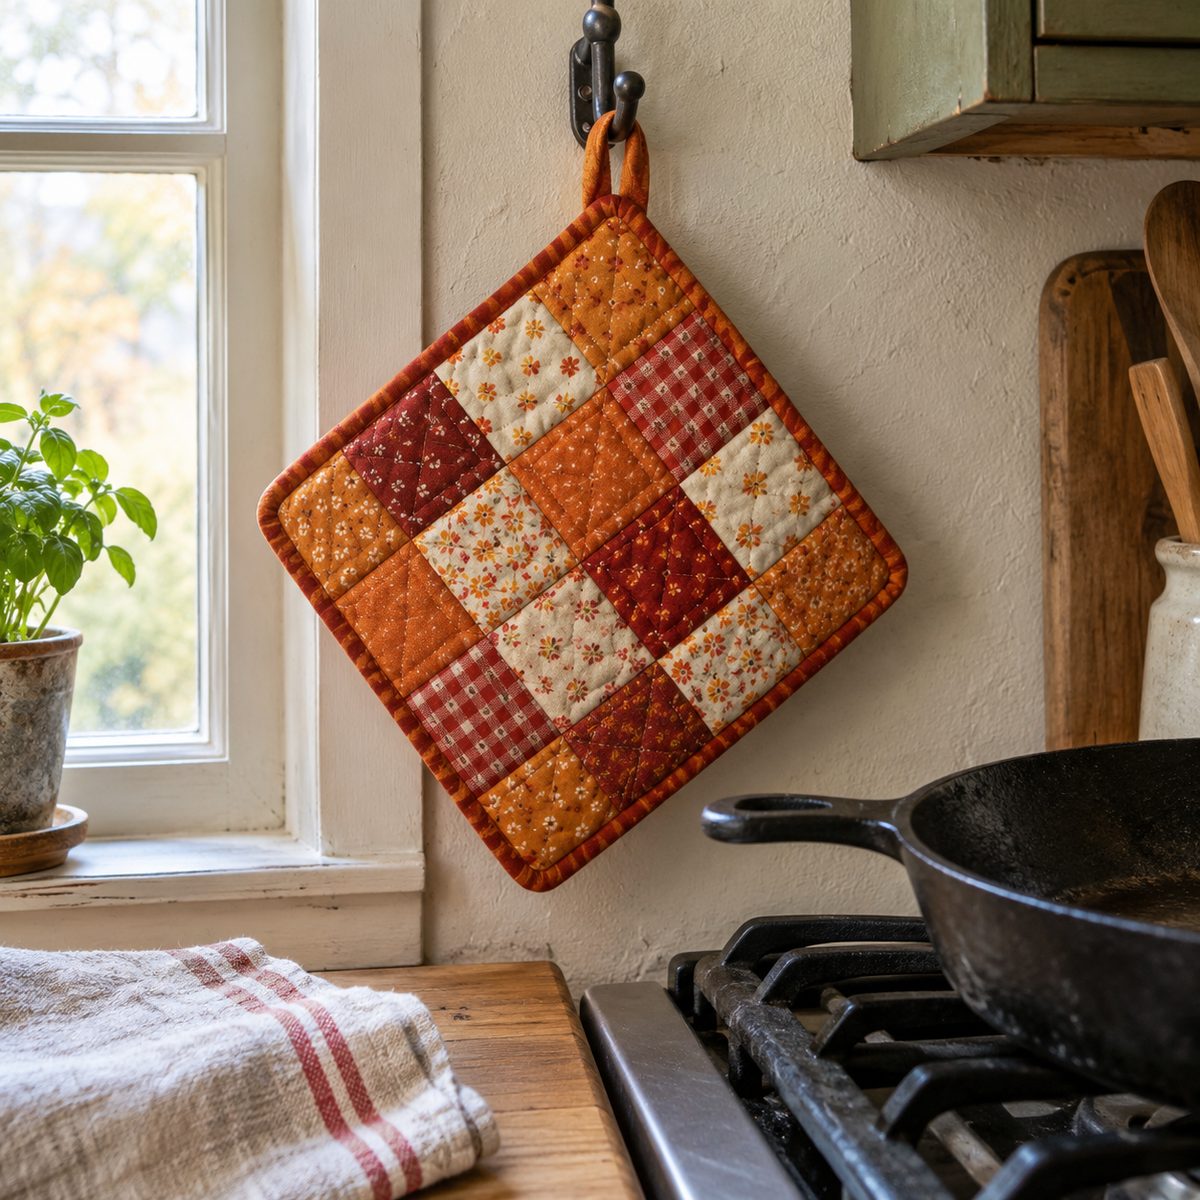
Minimum scrap size: 2.5 x 2.5-inch squares (you’ll need 16). A potholder turns small squares into something sturdy and practical.
Sew the squares into a four-by-four grid with 1/4-inch seams for an 8.5-inch block. For the back, cut an 8.5-inch square from any scrap.
Heat protection matters here. Use two layers of 100% cotton batting, or one layer of cotton batting plus one layer of heat-resistant insulated batting (shiny side facing the hand). Skip polyester batting, since it can melt near a hot pan. If you’re not sure which type to buy, this guide on what batting is in sewing explains the options.
Layer, quilt with straight lines, and bind the edges with a 2.5-inch strip, adding a hanging loop in one corner.
8. Fabric-Covered Buttons
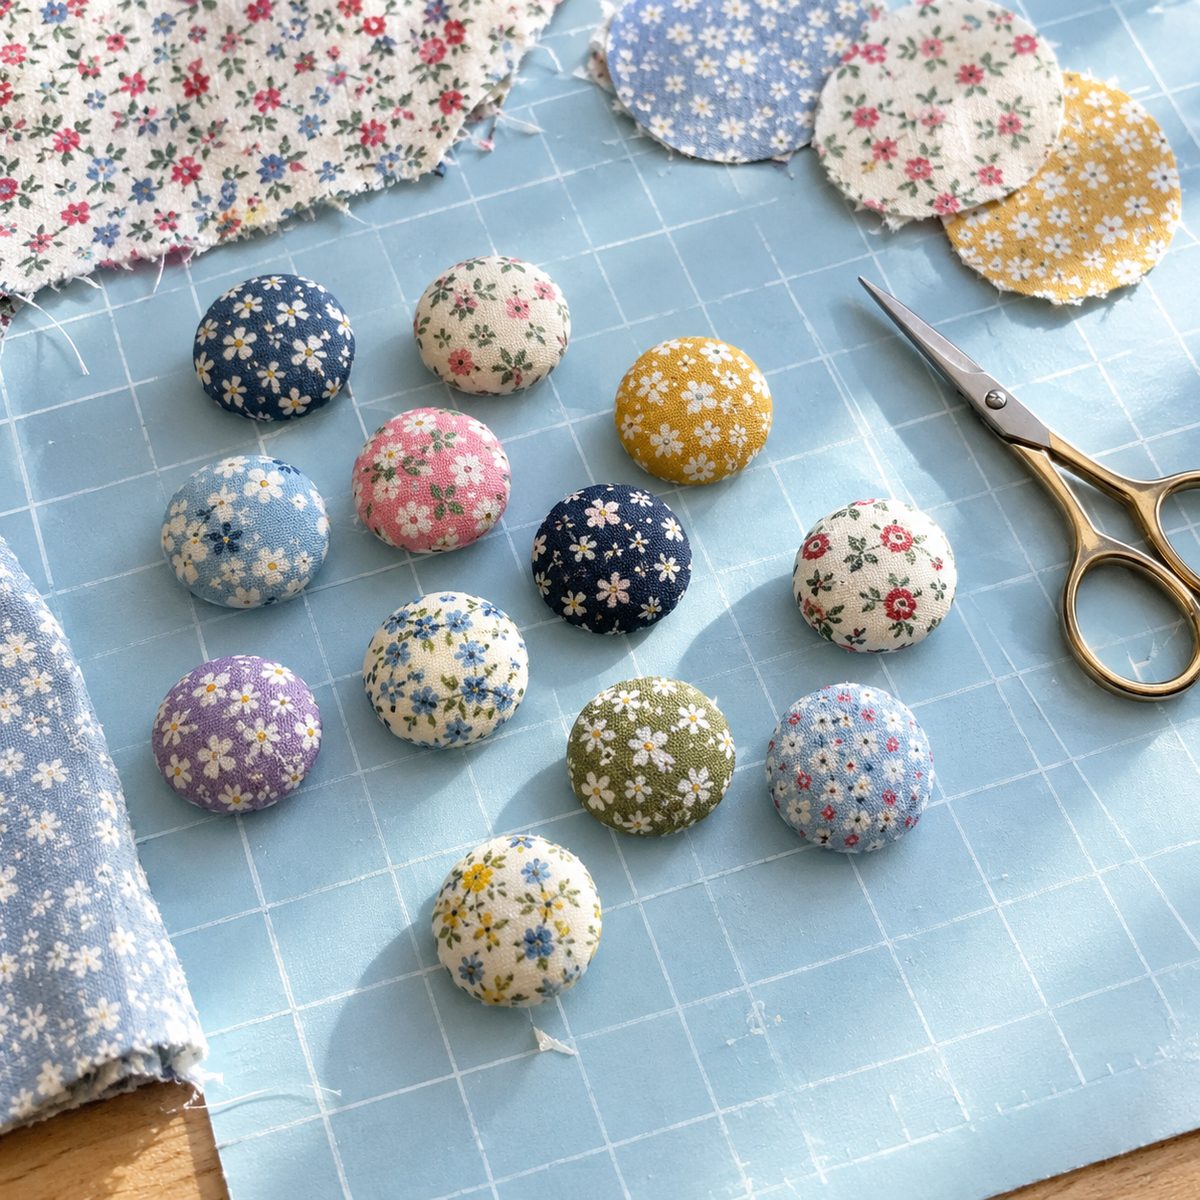
Minimum scrap size: 2 x 2 inches per button. This project uses the tiniest scraps of your favorite prints, the ones too small for almost anything else.
The easiest method uses a cover-button kit, available in most craft stores in sizes from 1/2 inch to 1 1/2 inches. Cut a circle of fabric using the template on the kit, place it right side down in the rubber mold, press the button top in, tuck the edges over the teeth, then snap on the back with the pusher tool. Each button takes about two minutes.
Thin, tightly woven cotton works best. Thick fabric won’t tuck in neatly, and very thin fabric can show the metal through, so fuse lightweight interfacing to the back if needed.
Use them on cardigans, pillow covers, hair ties, or as magnets for the fridge.
9. Mug Rug
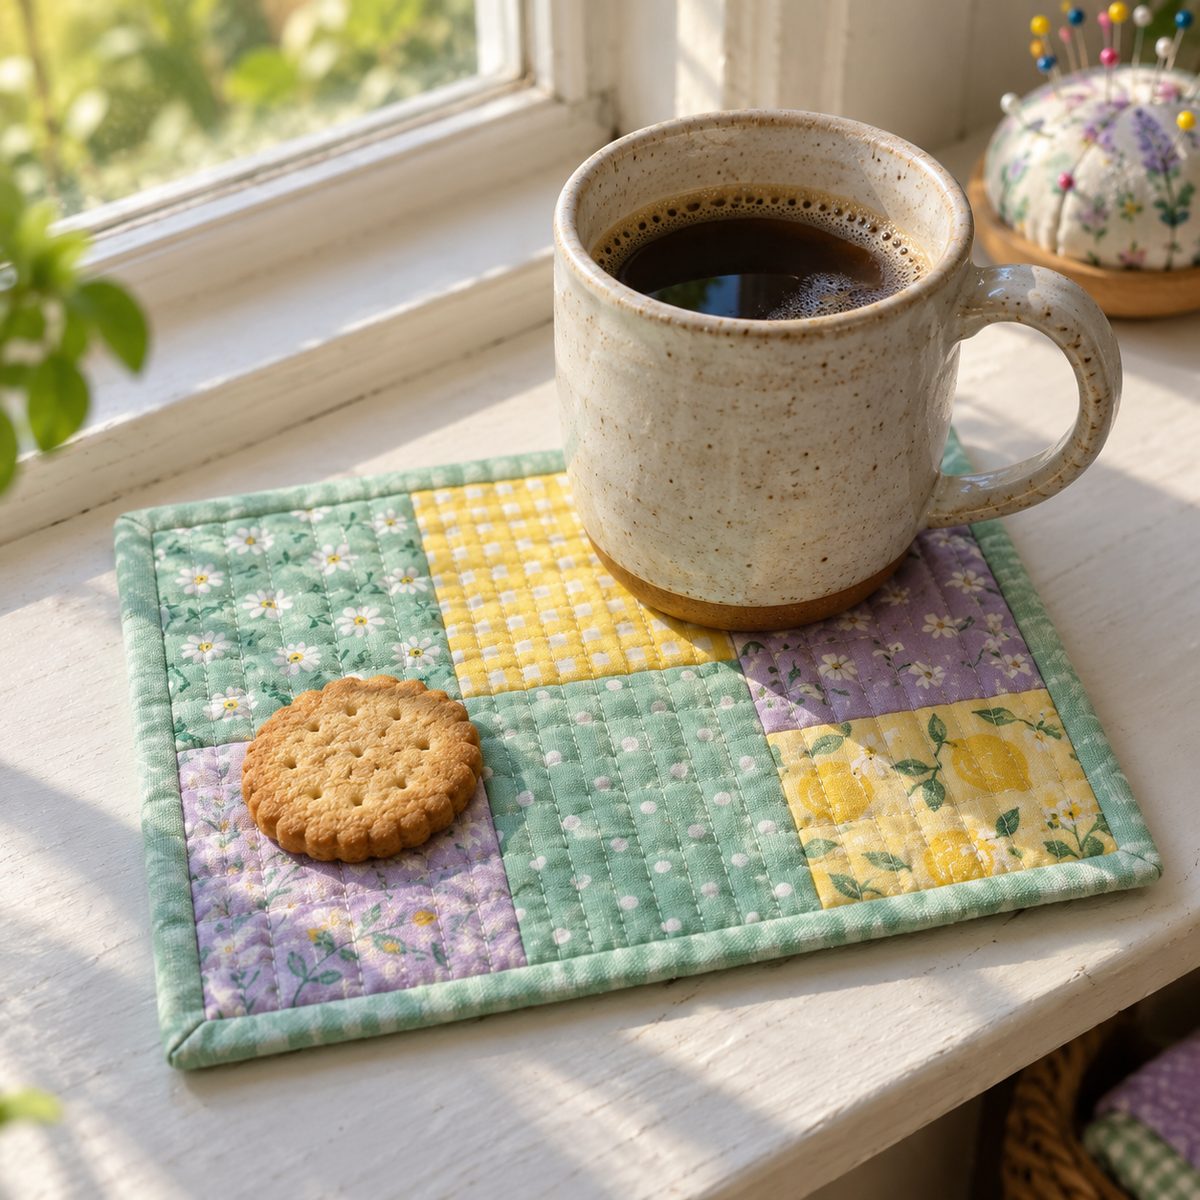
Minimum scrap size: 2.5 x 2.5 inches. A mug rug is an oversized coaster with room for a mug and a cookie, usually about 6 x 9 inches finished, and it’s a fun way to try quilting on a small scale.
Piece six 2.5-inch squares in a two-by-three grid, or sew random strips together until the top measures about 6.5 x 9.5 inches. Cut a backing and a scrap of batting the same size.
Layer backing (face down), batting, and top (face up), then quilt with straight lines about 1/2 inch apart. A walking foot helps, but a regular foot works fine on something this small.
Trim square and bind with a 2.25-inch strip. It’s a perfect practice piece for binding corners.
10. Reusable Makeup Remover Pads
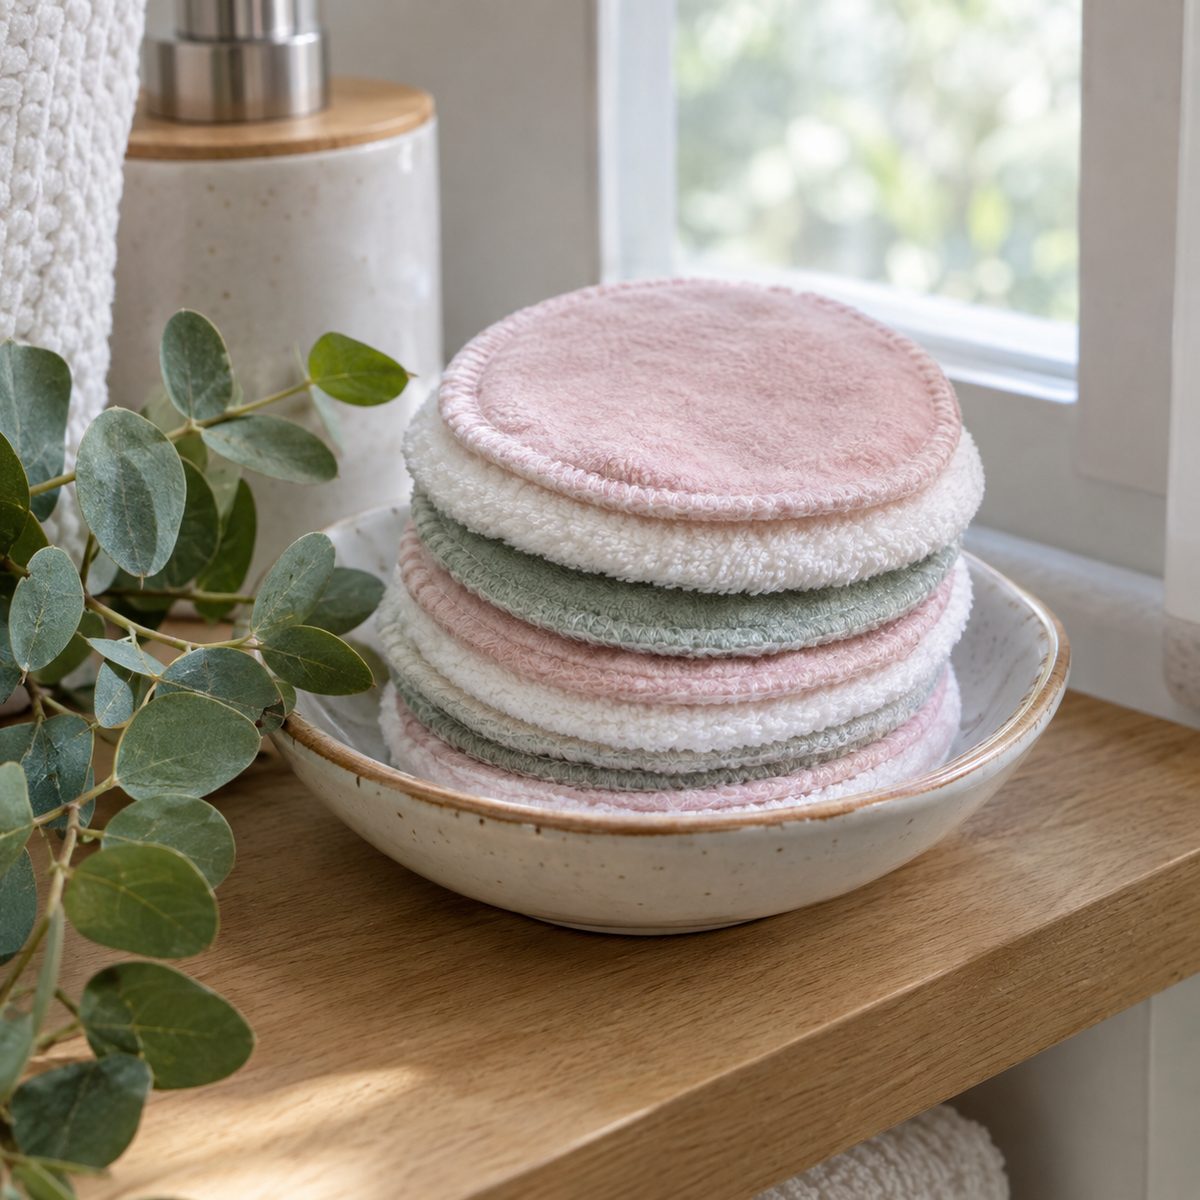
Minimum scrap size: 4 x 4 inches. Soft leftovers from pajama pants, baby blankets, or old flannel shirts become washable face rounds that replace disposable cotton pads.
Cut two 4-inch squares or circles per pad. Pair a soft flannel or cotton knit on one side with terry cloth or a second layer of flannel on the other for scrubbing. Place right sides together, sew around with a 1/4-inch seam leaving a 1.5-inch gap, turn, press, and topstitch around the edge to close.
A faster option: stack the two layers wrong sides together and finish the edges with a tight zigzag or serger. No turning needed.
Make a set of ten, sew a small drawstring bag to wash them in, and you’ve got a thoughtful zero-waste gift. Stick to cotton or bamboo fabrics against the face.
11. Drawstring Gift Bags
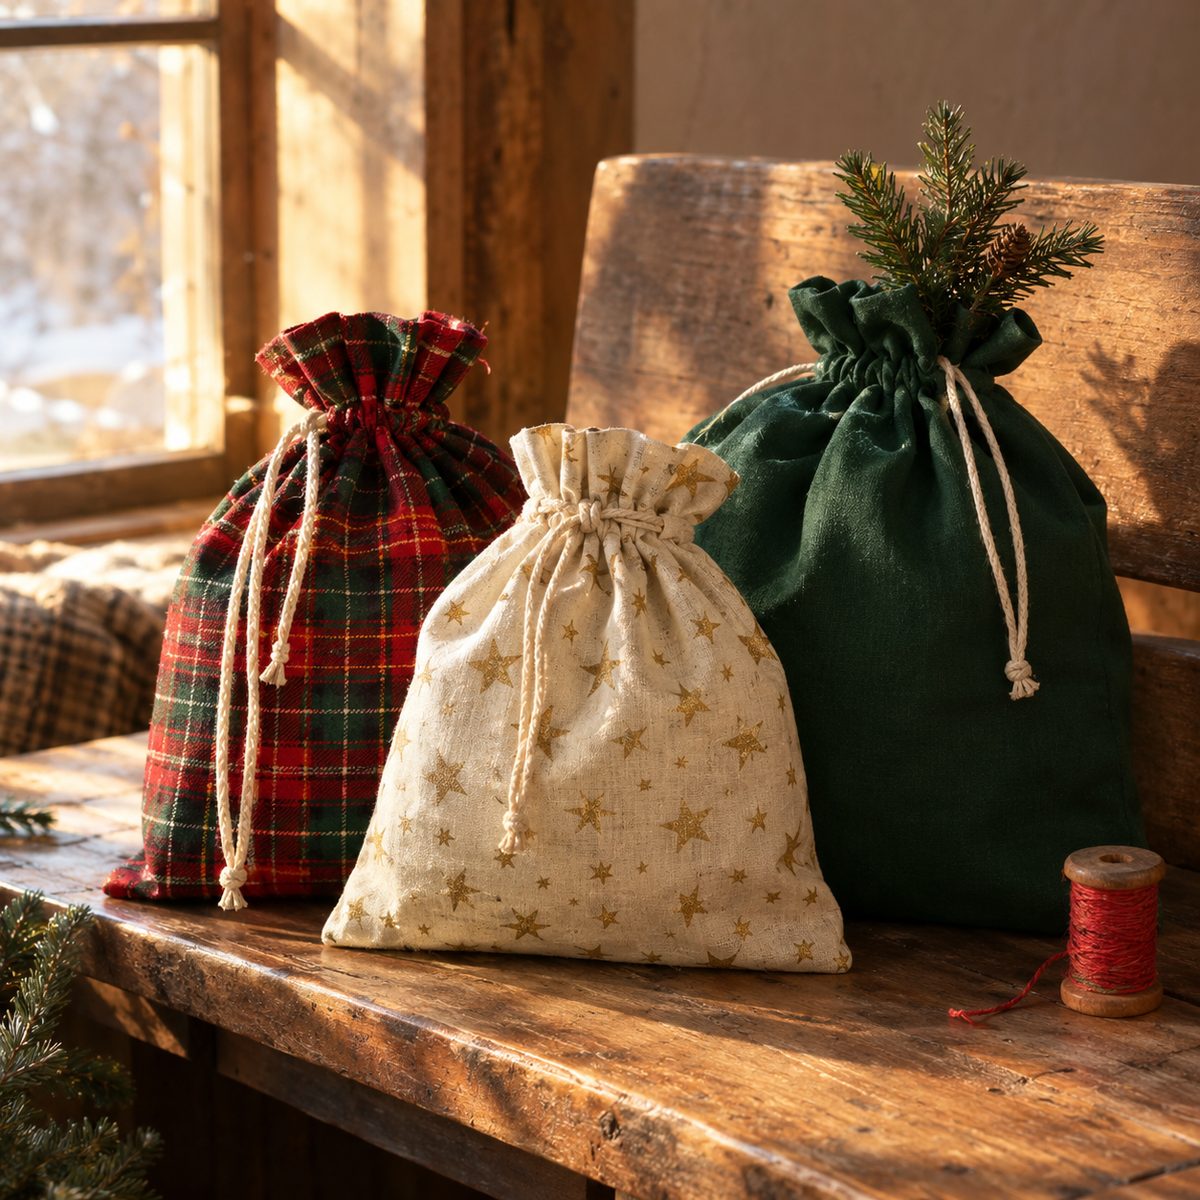
Minimum scrap size: 9 x 22 inches (a fat quarter makes one generous bag). Fabric gift bags replace wrapping paper, get reused for years, and take about 25 minutes to sew.
- Fold the fabric in half so it measures 9 x 11 inches, right sides together.
- Sew both sides, stopping 2 inches from the top on each side.
- Press the unsewn edges open and stitch them down to form clean openings.
- Fold the top edge down 1/4 inch, then 1 inch, and stitch to make the casing.
Thread a ribbon or cord through the casing with a safety pin and knot the ends. To give the bag a flat bottom, box the corners: pinch each bottom corner into a triangle and sew across 1 inch from the tip.
Smaller scraps work too. Cut 6 x 14-inch pieces for jewelry or gift-card bags.
12. Scrappy Binding Strips
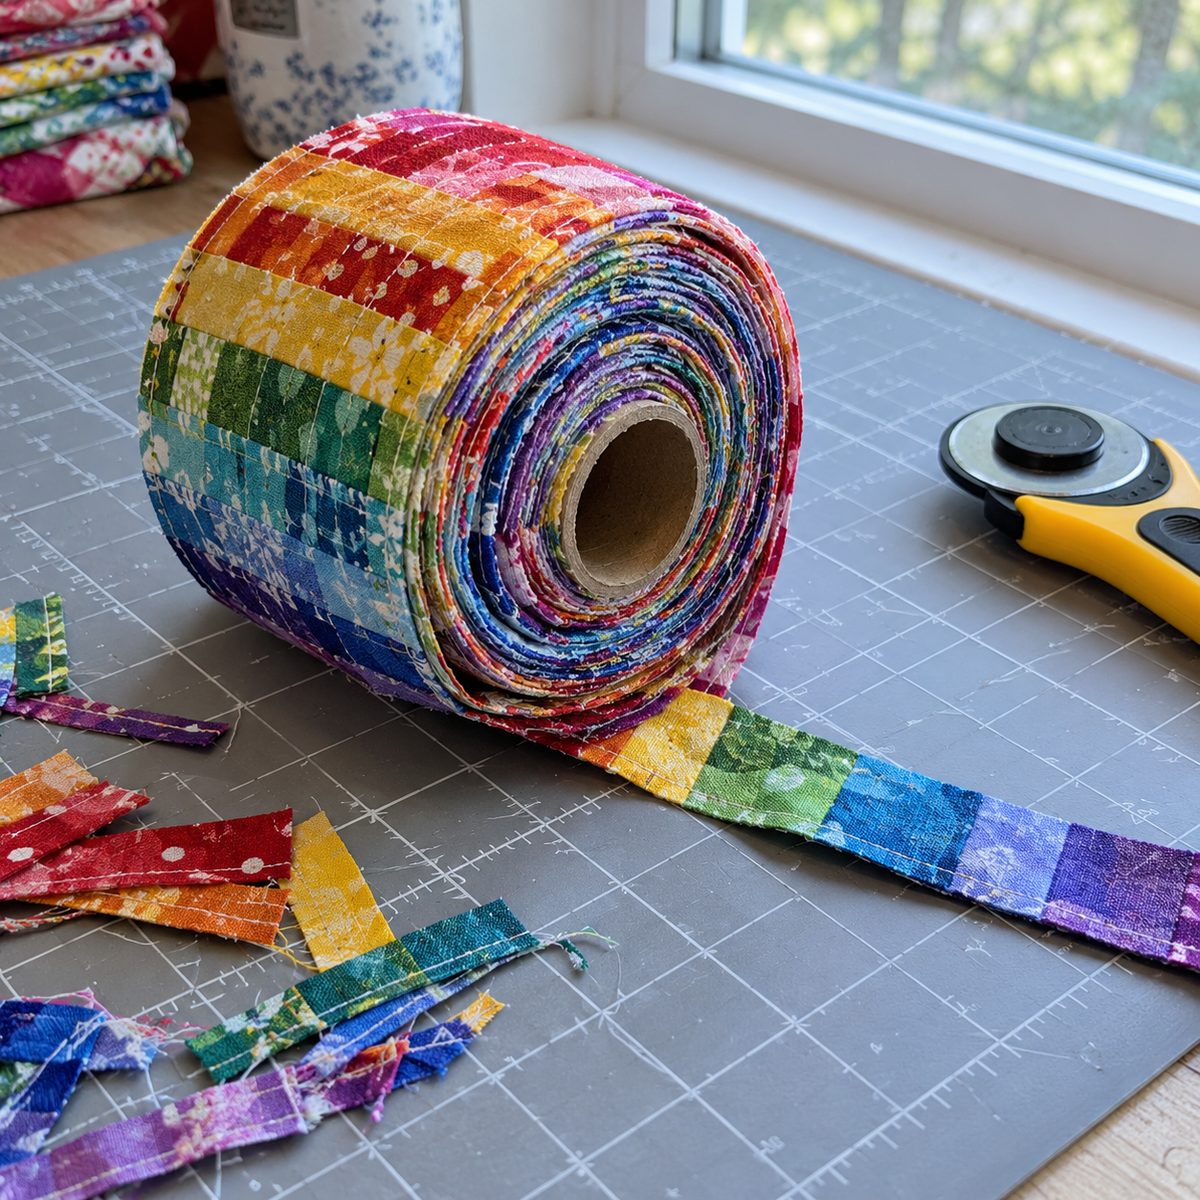
Minimum scrap size: 2.5 x 6 inches. Leftover strips can become multicolor binding that frames a quilt, placemat, or mug rug in a cheerful rainbow.
Cut your scraps into 2.5-inch-wide strips of any length, ideally at least 6 inches so there aren’t too many seams. Join them end to end with diagonal seams, which spread the bulk and look neater than straight joins. The method is the same one in this guide to sewing binding strips together.
Trim seams to 1/4 inch, press them open, then press the long strip in half lengthwise, wrong sides together. Wind it onto an empty toilet paper tube or a piece of cardboard so it’s ready for the next project.
My tip: sew binding whenever strips pile up. Having a ready-made roll on hand saves a lot of time at the end of a quilt.
13. Rice Heat Pack
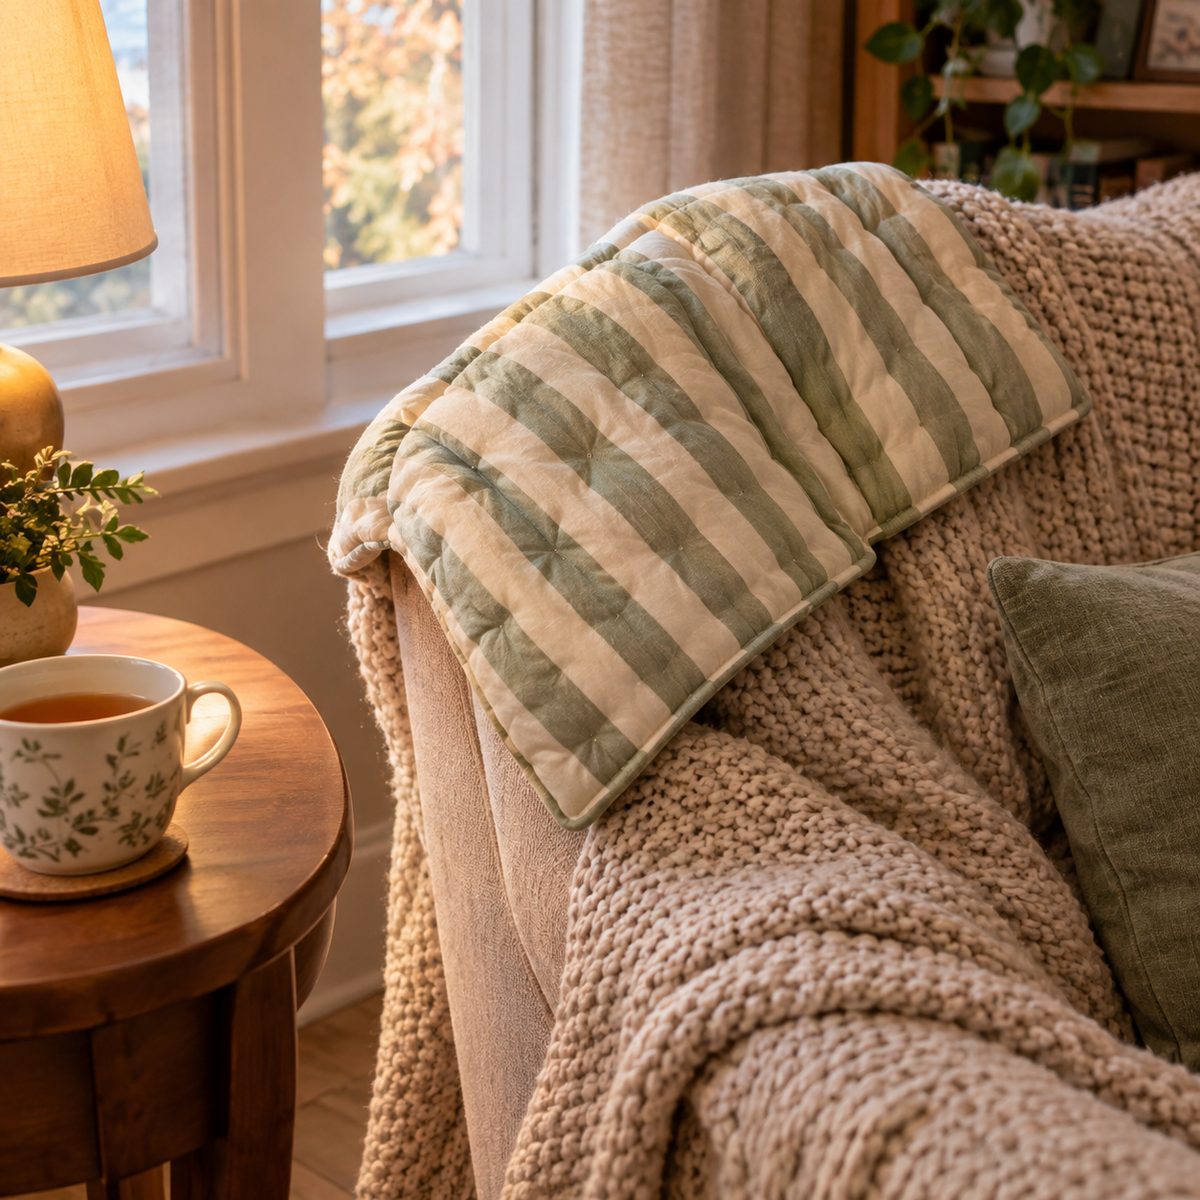
Minimum scrap size: two 6 x 10-inch pieces. A rice-filled heat pack soothes stiff necks and cold hands, and it’s a very beginner-friendly project.
Use 100% cotton fabric and 100% cotton thread only. Synthetics can scorch or melt in the microwave. Sew the two pieces right sides together around three sides, turn, and press.
Stitch vertical channels about 2 inches apart, starting at the closed bottom and stopping 1 inch from the open top. Fill each channel about two-thirds full with uncooked rice (roughly 2 to 3 cups total). The channels keep the rice from sliding to one end. Fold in the top edges and topstitch closed twice for strength.
Heat in 30-second bursts, no more than 2 minutes, and keep a mug of water in the microwave while heating.
14. Fabric Bunting
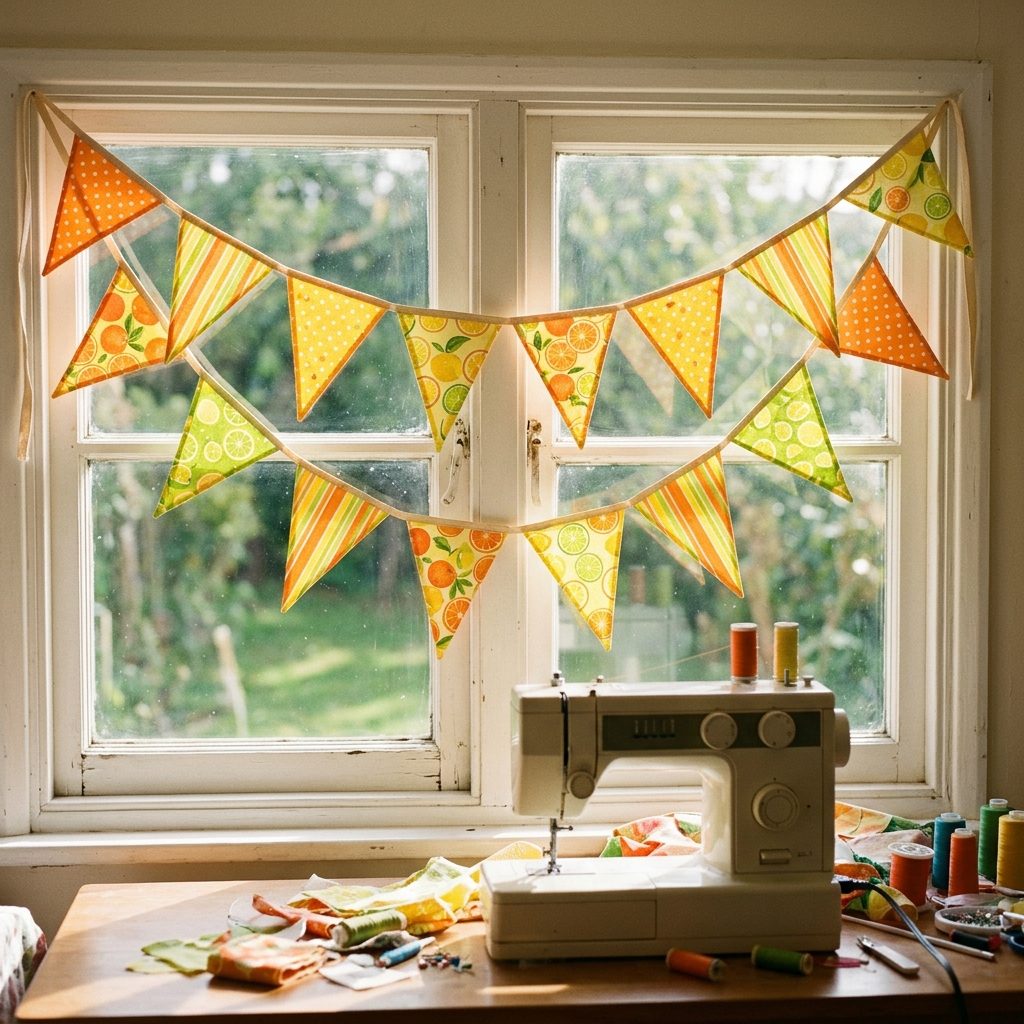
Minimum scrap size: 6 x 8 inches per flag. Bunting adds instant charm to a nursery, porch, birthday party, or sewing room, and it swallows a surprising amount of scraps.
Cut a cardboard triangle template 6 inches wide at the top and 8 inches tall. Cut two fabric triangles per flag. Sew them right sides together along the two long sides, leaving the top open. Clip the point, turn, and press, using a pin to gently pull the tip out sharp.
For a string of about 10 feet, make 12 to 14 flags. Sandwich the open tops inside double-fold bias tape, spacing flags about 1 inch apart and leaving 12 inches of tape free at each end for tying. Stitch along the tape to close it.
Short on time? Cut single-layer flags with pinking shears. They won’t fray much and skip the turning step.
15. Lavender Sachets
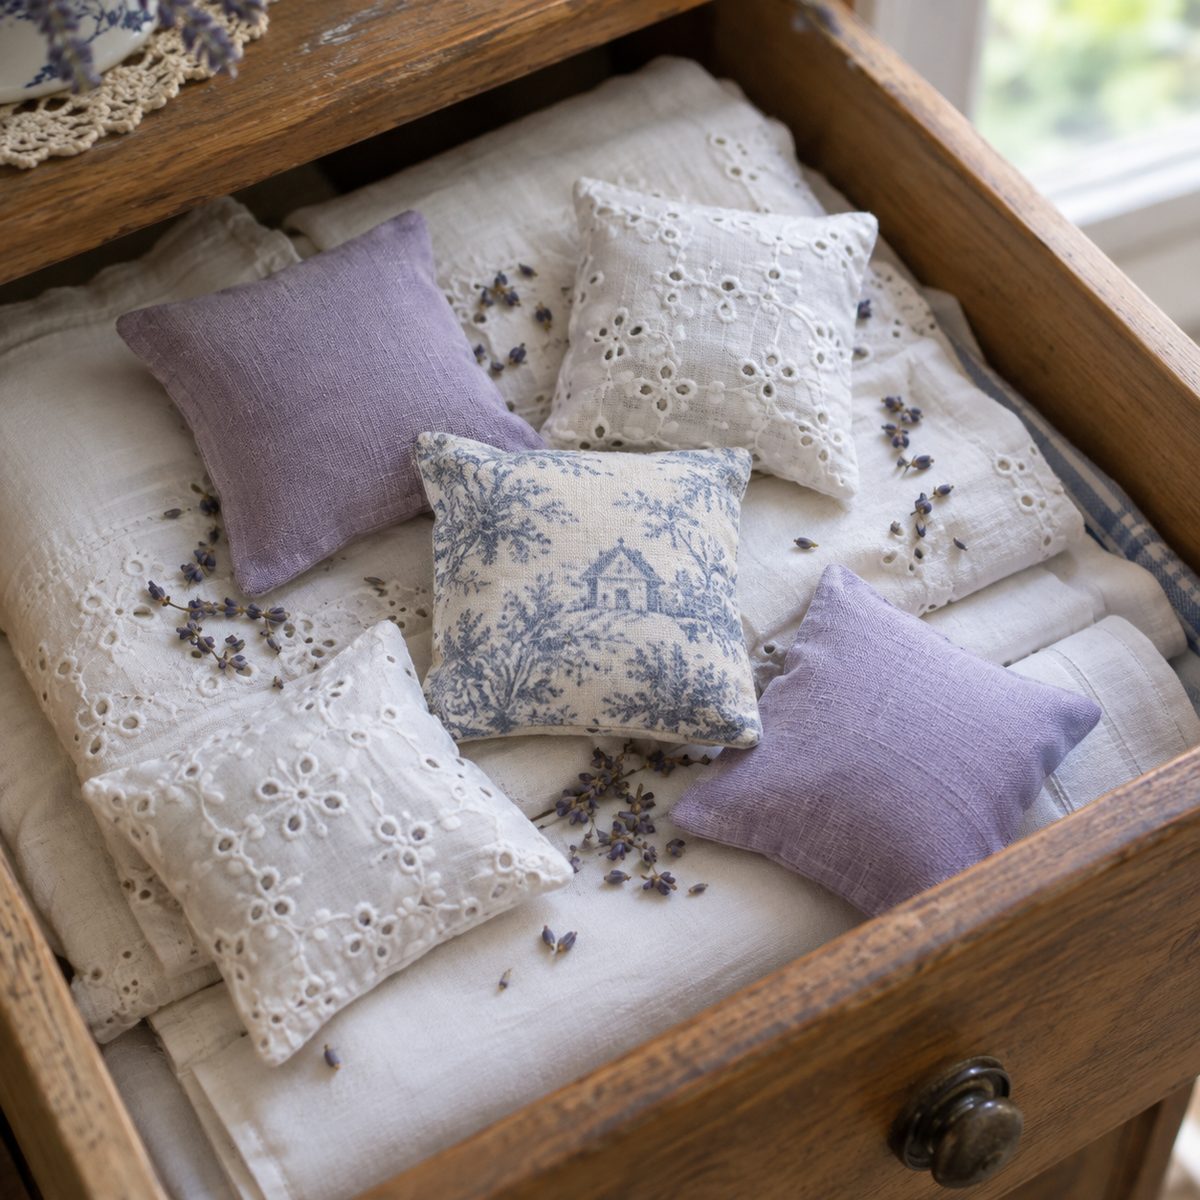
Minimum scrap size: two 4 x 4-inch squares. Tiny sachets freshen drawers, closets, and linen cupboards, and they make lovely stocking stuffers.
Place two squares right sides together and sew around with a 1/4-inch seam, leaving a 1.5-inch opening. Turn, press, and fill with about 1/4 cup of dried lavender buds using a paper funnel. Hand-stitch the opening closed.
Tightly woven cotton or linen keeps buds from poking through. If you want to use a sheer or loosely woven scrap, sew a muslin inner pouch first and slip it inside.
Other fillings work well too: cedar shavings help deter moths, and dried rose petals or rice mixed with a few drops of essential oil give a subtler scent. Add a ribbon loop to the top seam and they’ll hang on a hanger. Each takes about 10 minutes.
16. Patchwork Tote Bag
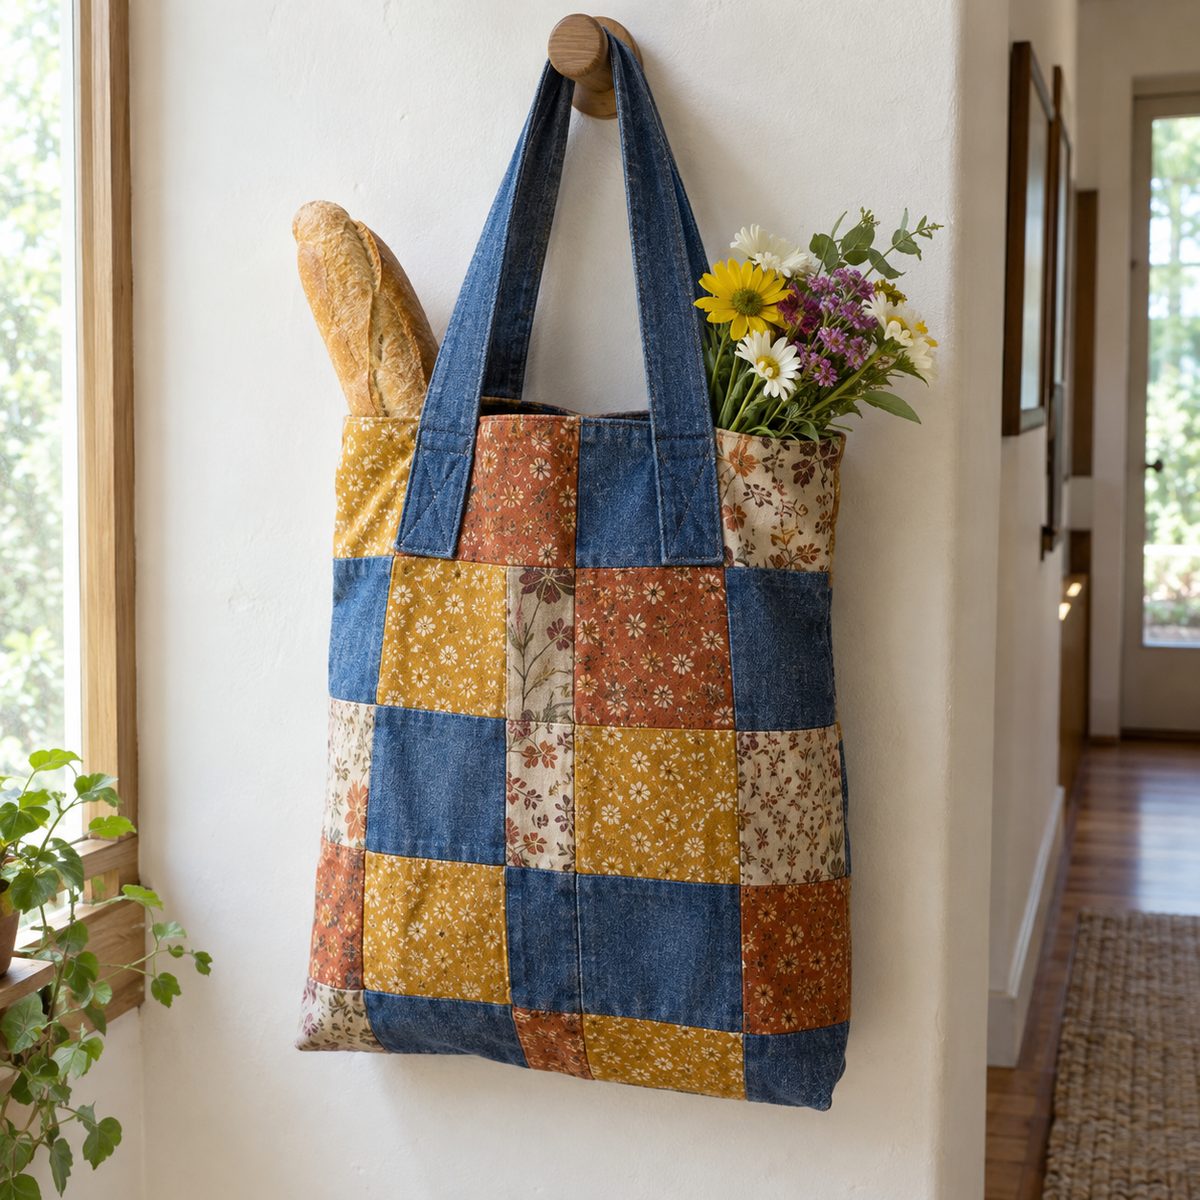
Minimum scrap size: 5 x 5-inch squares (about 32 for a medium tote) or four fat quarters. A patchwork tote is the biggest project on this list and a great way to use up a large batch of scraps at once.
Piece the squares into two panels, each about 15 x 17 inches. Cut matching lining panels from a solid cotton or an old sheet. Fuse medium-weight interfacing or fusible fleece to the outer panels. This guide on making fabric stiff for a bag covers the options.
Sew each bag body right sides together on three sides and box the bottom corners 2 inches in. Make two straps from 4 x 24-inch strips folded into quarters and topstitched. Pin straps to the outer bag, drop it inside the lining, sew around the top, turn through a gap, and topstitch the rim. Allow two to three hours.
17. Fabric Hair Bows
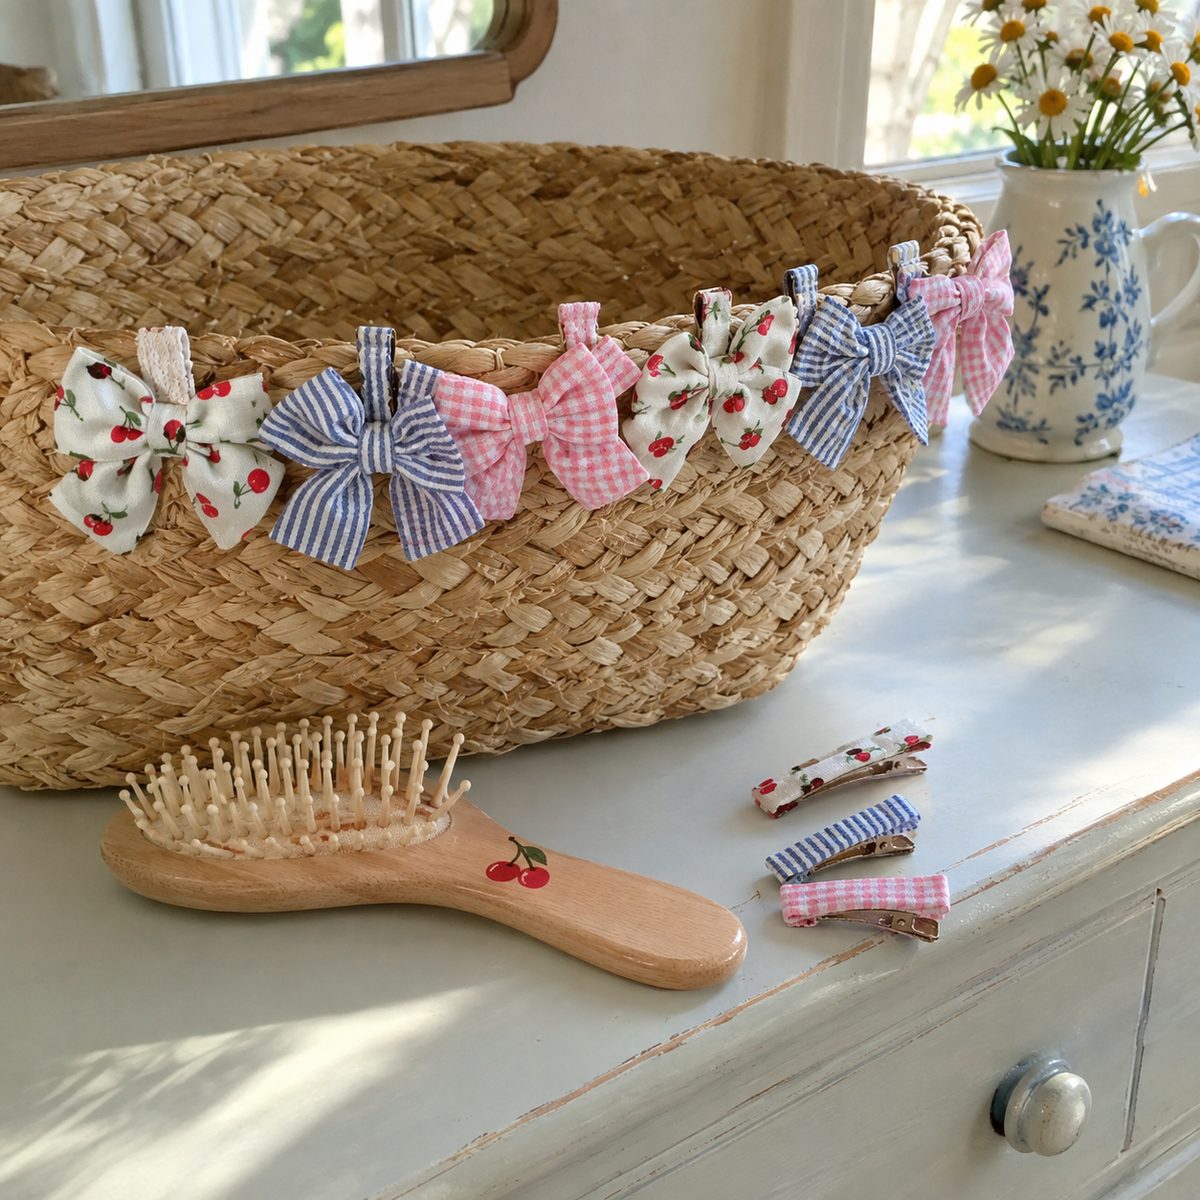
Minimum scrap size: 4 x 6 inches for the bow, plus 1.5 x 3 inches for the center band. Little bows use pretty prints that are too precious to toss, and they clip onto hair, backpacks, or gift packages.
Fold the 4 x 6-inch piece in half, right sides together, to make a 3 x 4-inch rectangle. Sew around the open edges, leaving a 1-inch gap. Turn, press, and hand-stitch the gap closed.
Pinch the rectangle in the middle to form the bow shape and wrap it tightly with thread a few times. For the center band, fold the small strip in thirds lengthwise, wrap it around the middle, and stitch the ends together at the back.
Stitch or hot-glue the bow to an alligator clip, barrette, or elastic headband. Each one takes about 15 minutes.
18. Crumb Quilt Blocks
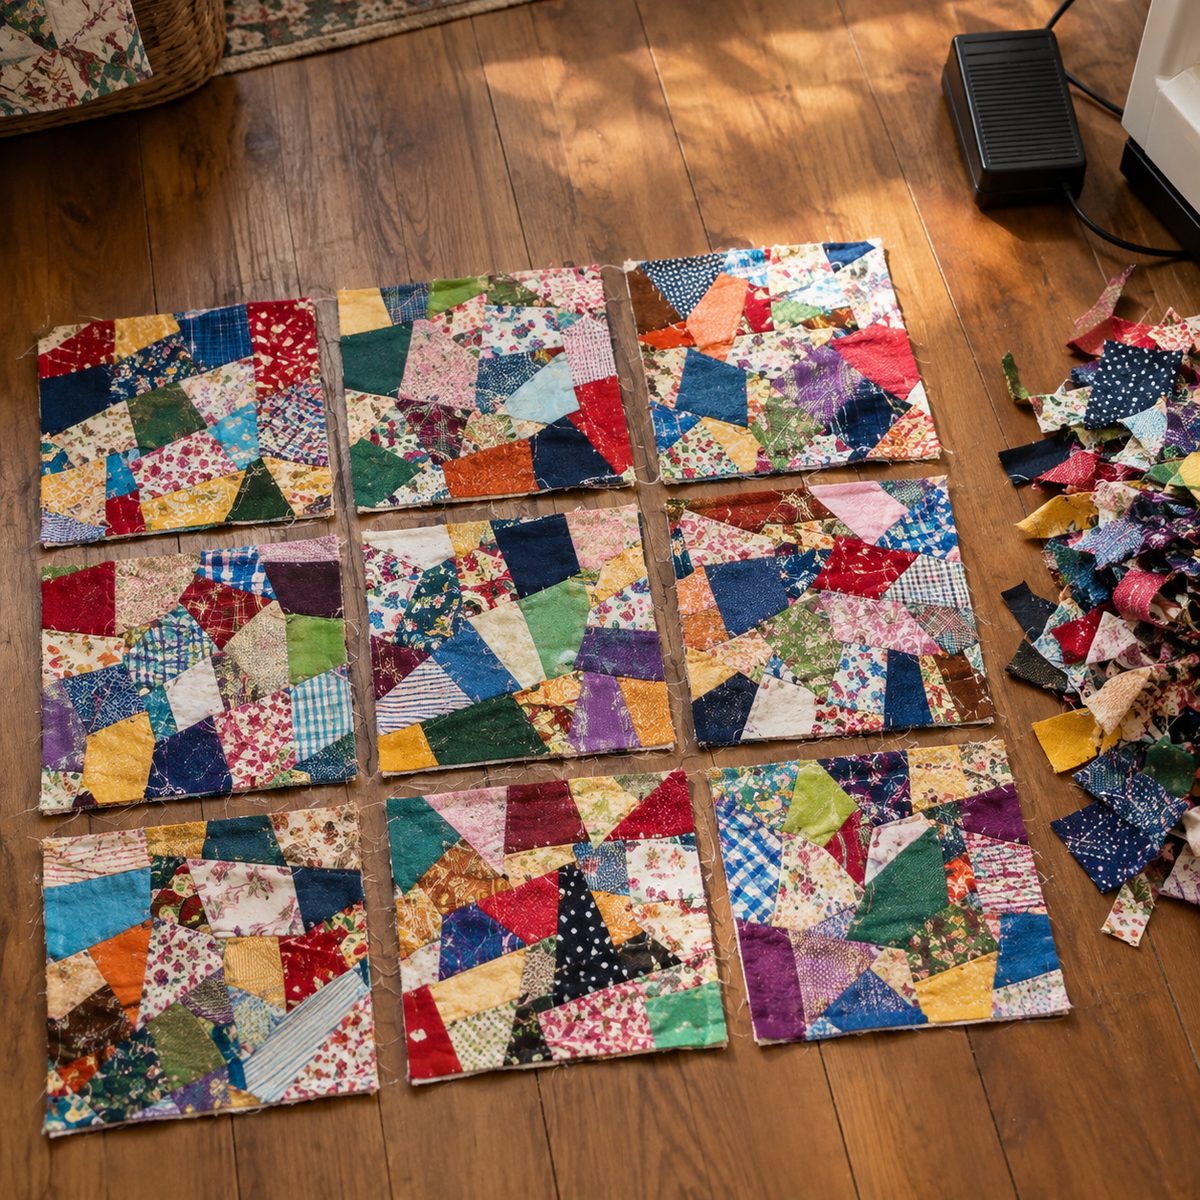
Minimum scrap size: 1.5 x 1.5 inches. Crumb quilting uses the smallest odd-shaped bits in your bin, the ones most people throw away, to build wildly colorful blocks.
Start with two tiny crumbs and sew them together along any straight edge. Press, trim the new edge straight with scissors or a rotary cutter, and add another crumb. Keep adding pieces in any direction until the patch measures slightly larger than your target block, such as 6.5 inches. Trim it square.
There’s no pattern and no wrong answer. Chain-sewing many small pairs at once speeds things up. Use a short stitch length (about 2.0) so seams don’t pull apart when you trim.
Collect blocks over months, then set them together with a solid sashing for a quilt, or use a single block for a pillow front or tote pocket.
19. Pet Bed Stuffed With Scraps
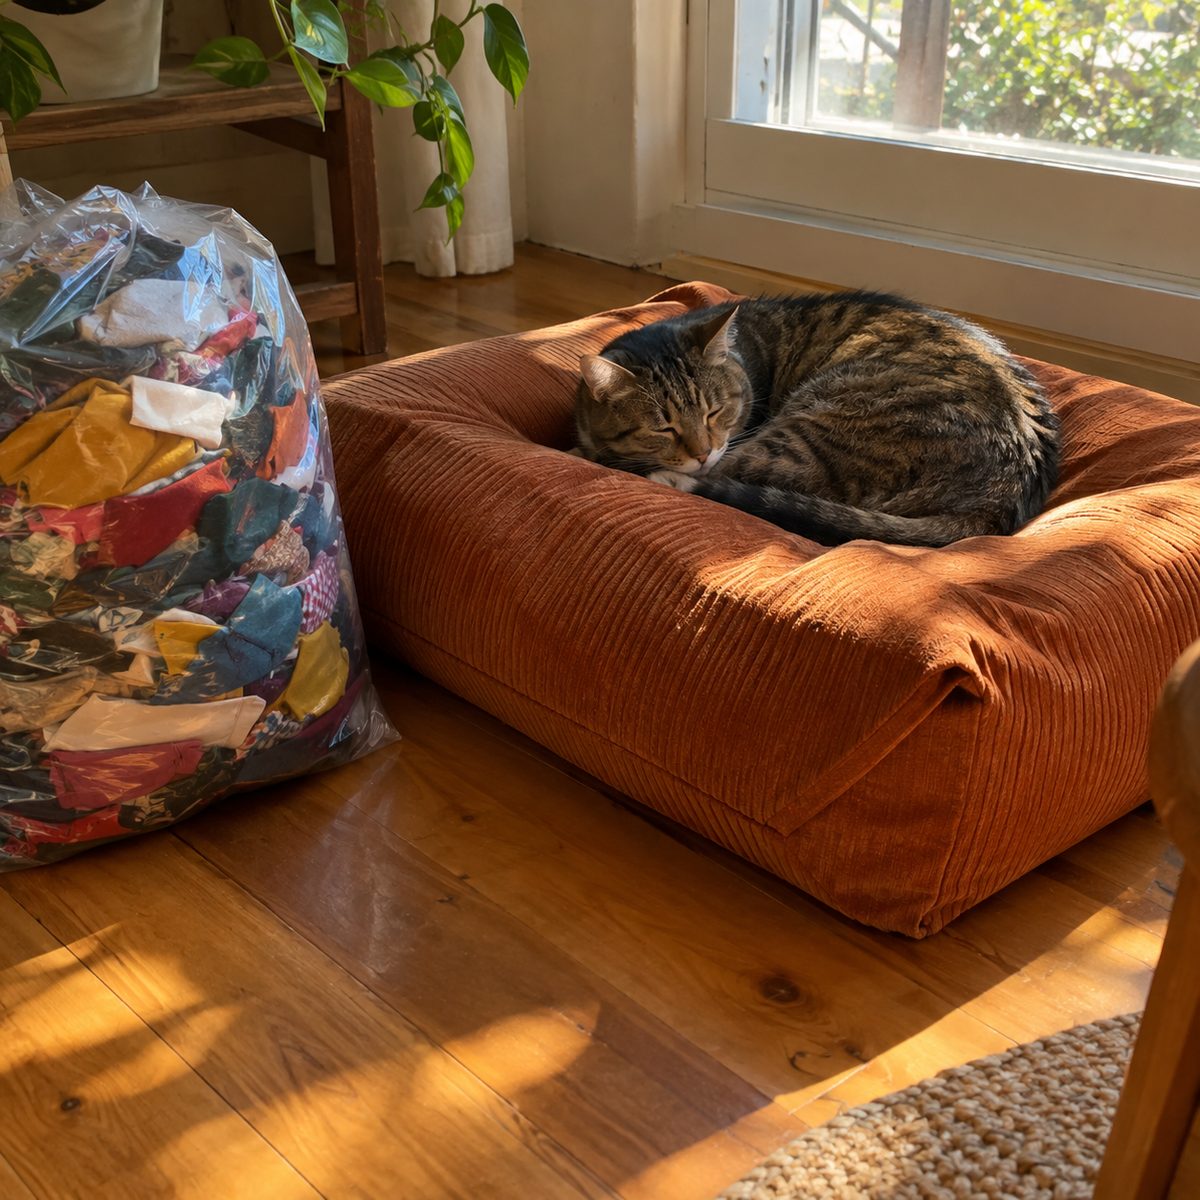
Minimum scrap size: any size, even thread snips. This is the true no-waste idea. Every clipped corner, selvage strip, and trimmed edge can become stuffing for a cozy pet bed.
Keep a bag by your sewing table and drop every tiny trimming in it. When it’s full, sew a simple inner pillow from an old sheet or muslin, about 20 x 28 inches for a cat or small dog. Stuff it firmly with scraps, mixing in a little polyester fiberfill if the scraps feel lumpy, then stitch it closed.
For the outer cover, make an envelope-style case from sturdy fabric like canvas, denim, or corduroy so it slips off for washing. Cut the length about 12 inches longer than the pillow and overlap the ends at the back.
Skip scratchy scraps and check for stray pins before stuffing.
20. Rag Rug From Fabric Strips
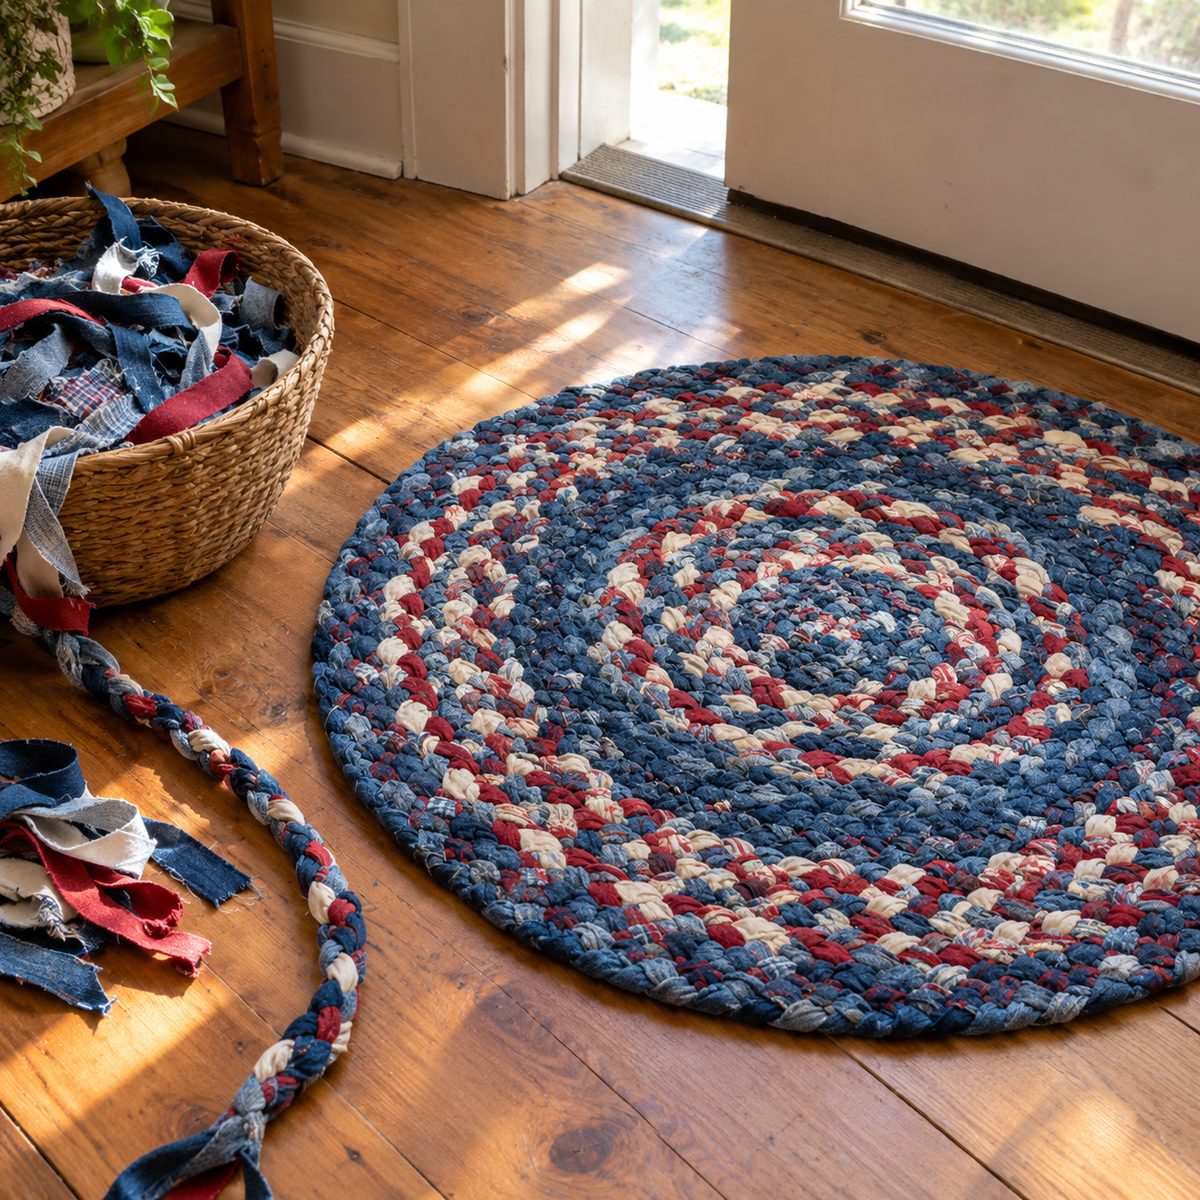
Minimum scrap size: strips 1.5 inches wide and at least 12 inches long. A braided rag rug is the second no-waste idea here, and it can absorb pounds of cotton, flannel, and old sheets.
Cut or tear the fabric into 1.5- to 2-inch strips. Join strips end to end by overlapping them at a right angle and sewing diagonally, or use the no-sew slit method: cut a small slit near each end and loop one strip through the next.
Braid three long strips, keeping the tension even and folding raw edges inward as you go. Coil the braid into an oval or circle on a flat surface. Lace the coils together from underneath with strong thread and a large needle, or zigzag them together on the machine.
A 24-inch round rug takes roughly 3 to 4 yards of fabric in total. Choose washable fabrics.
Start With the Smallest Pile
The easiest way to tame a scrap bin is to sort it by size: strips, small squares, fat quarters, and crumbs. Then pick one project per pile. Coasters, sachets, and bookmarks make short work of small squares, while the tote and gift bags use up bigger pieces. Keep a bag by the machine for trimmings so the pet bed or rag rug catches everything else. If you’re newer to sewing, the beginner’s sewing guide covers the basics these projects build on.