There are several different ways to make fabric stiff, including for that bag you just had to try to make! How you choose to stiffen your fabric depends on what materials you have on hand. Of course, you can always purchase the fabric stiffeners from the store, but if that isn’t your cup of tea, there are many different options!
Here are just a few different ones that can be used:
- Glue
- Starch or Cornstarch
- Gelatin
- Sugar
Table of Contents
Glue
Mix equal parts of liquid adhesive or wallpaper paste with liquid in a bowl for glue and water. Stir until both are thoroughly mixed together, keeping an eye out for the mixture’s viscosity. Once mixed together, immerse the material into the mixture and let it soak up the adhesive for a little while.
After it has been in the mixture for a little while, run the material through your fingers to remove any of the excess adhesives. Make sure you don’t twist or wring out the fabric; the adhesive has started working, and you don’t want to distort the shape!
When you are done, lay it out to dry! The entire drying process can take anywhere from a couple of hours to an entire day, depending on the weather. Between you and me, that sounds like a great excuse to have to live somewhere tropical or warm… like on a beach!
Starch Or Cornstarch
Moving onto cornstarch or just plain starch, it’s pretty similar to the adhesive and water method. Mix 1 tablespoon of starch or cornstarch into 2 cups of liquid, ideally in a large bowl. Stir gently to avoid creating lumps!
Once it’s all mixed up, add your mixture into a spray bottle. Before getting spray happy, ensure you have safeguarded your workspace so that you won’t get the mixture on everything! Also, make sure you have your fabric in the position that you want it to be in before applying the stiffener!
Side note, don’t oversaturate your cloth since this mixture is highly effective!
Gelatin
Next, we have gelatin! The pro of gelatin is that it works best with smooth, slippery fabrics, but the con is that it will only hold the stiffness for a short period of time.
For the concoction, you are going to need 1 teaspoon of gelatin in 2 cups of water. Mix thoroughly, and then let it rest for a little bit. Next, you will add 4 cups of hot fluid to the solution. Your stiffener is ready for use!
The application process is completely up to you! You can either soak the fabric in the mixture or use a spray bottle!
Sugar
Out of all of these ways so far, this might just be the simplest way to do it! This also happens to be the preferred way to keep fabric stiffened permanently.
Mix equal parts of sugar and water. If possible, use powdered sugar instead of granulated sugar for better results! Once it’s thoroughly mixed, warm up your solution until you notice bubbles starting to form.
After it starts to bubble, lower the heat setting and let it simmer before soaking your fabric directly in the solution. Again, when you take it out, don’t squeeze the cloth! You will notice the stiffness as that liquid evaporates out of the material, leaving it stiff as a board!
Does Interfacing Make Fabric Stiff?
To answer simply, yes! Interfacing will make the fabric stiff. Interfacing fabric is a knitted, woven, or non-grain type of fabric that is used to reinforce fabric from the side not visible to the public. There are many different types of interfacing, so pay close attention to what type you’re picking out!
Non-woven fusible interfacing tends to be the best for purses and bags. It feels a lot like paper and is easy to work with! It also works great with leather if you were hoping to make a leather bag!
How To Make Fabric Stiff Permanently
This one is pretty simple; you can use interfacing, the sugar mixture, the starch mixture, or the glue mixture! The only one that does not work permanently is the gelatin mixture.
Add Structure To A Bag
Now that we got how to stiffen fabric out of the way, we can finally focus on how exactly this is going to help add the structure you want to your bag. The most important part of making your bag have structure is at the bottom. Here are step by step instructions:
- Take the side seam and lay it open so it is centered with the fabric on both sides of it. If you have a center seam, line up the side and bottom seams, so they are lying on top of each other. If you don’t have a center seam, line the side seam up with the bottom’s center crease.
- Once you open up the side seam and lay it on top of the center of the bottom seam, you will create a triangle with a point. Depending on your desired width, measure half of that down from the point along the side seam and mark it. Using a ruler, use the mark you just made to create a perpendicular line to the side seam, which will serve as the line you sew on.
- Next, sew the line you just created! You will end up with a triangle. Use an iron to create a crisp, sharp triangle.
- Take your triangle and fold it up. Use the line you just stitched as the folding line and match the tip up with the side seam. Pin this in place.
- Lastly, you are going to sew up the sides of the triangle to get it to stay in place!
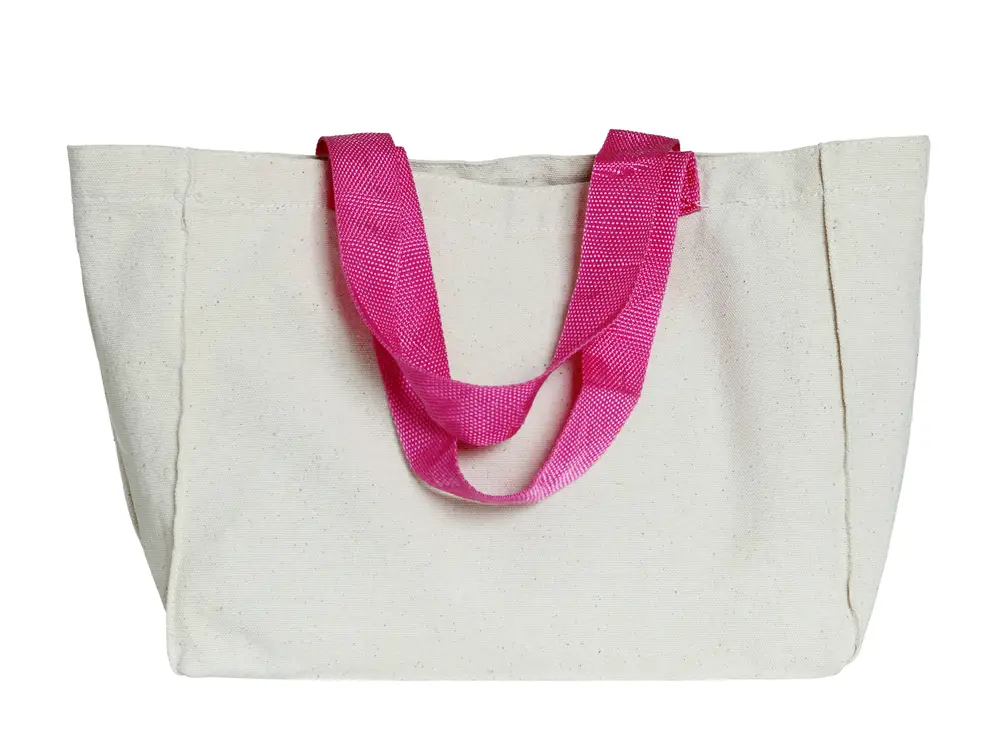
When creating your bag, it is best to use a heavy fabric such as a canvas to help prevent it from sagging! Lastly, I should point out this is not the project to use the cheap thread you may have scored. Sewing with a thick thread to help add strength to your tote!