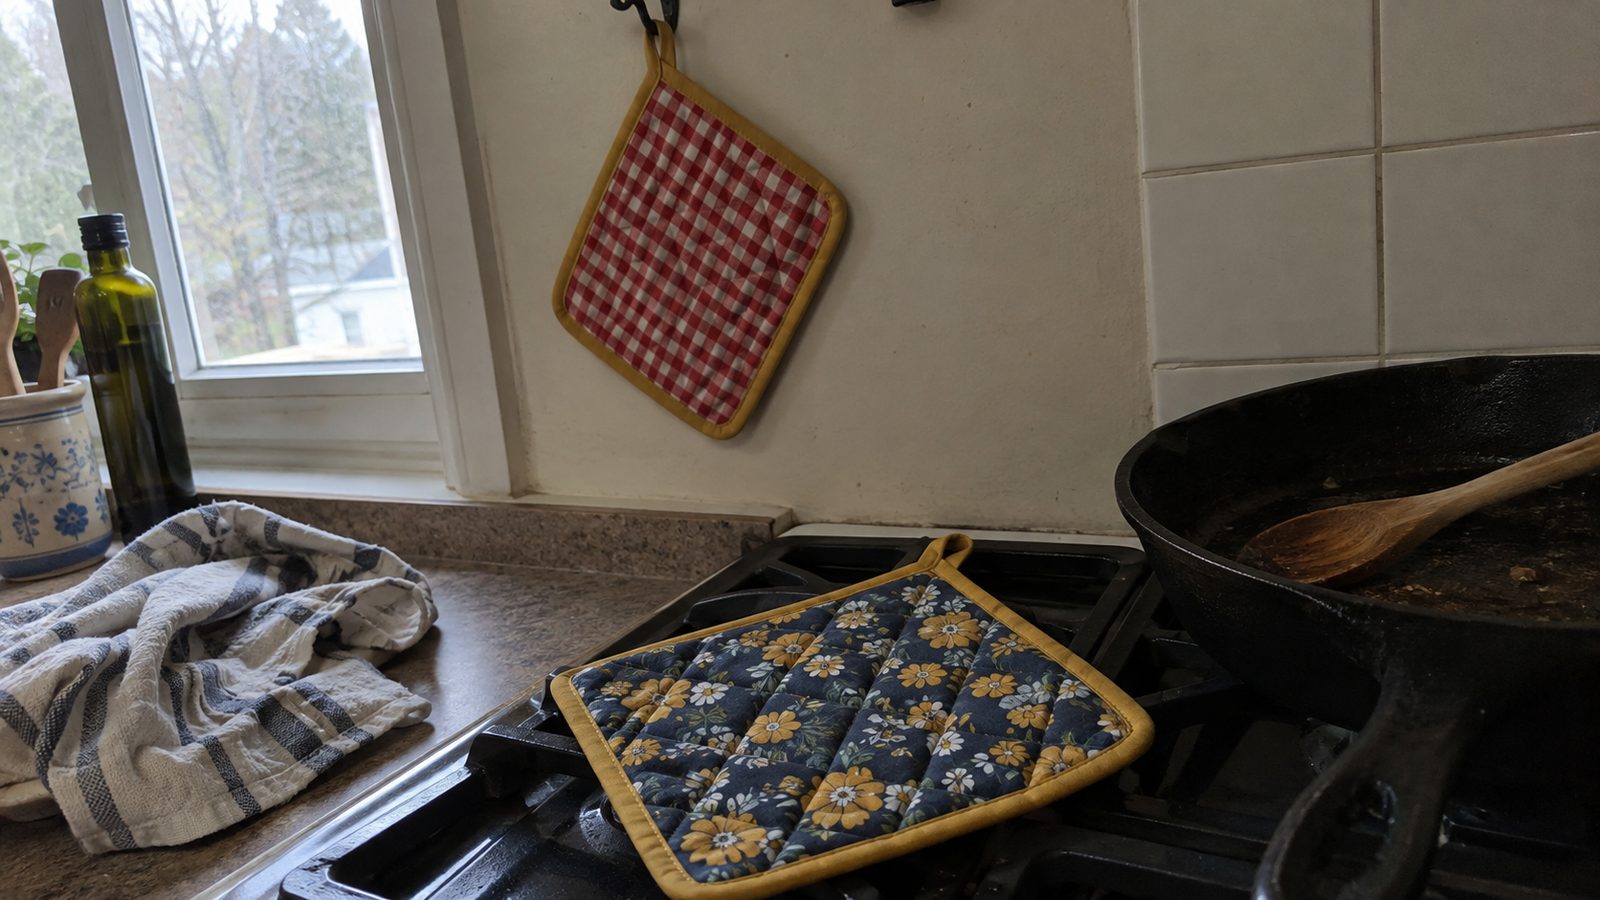
A quilted pot holder is an 8-inch square of cotton, two layers of batting, and a strip of binding around the edge. One pair takes me about 45 minutes once the fabric is pressed, hanging loop included.
This is a beginner-plus project. The sewing is all straight lines. The binding is the only skill in it, and if you have never bound anything, a pot holder is the right place to learn because the edges are short and nobody looks hard at a pot holder.
The thing that makes them come out well is the batting stack. Insul-Bright on its own is thin and slippery, so you pair it with cotton batting. Get that right, use cotton everything, and the rest is just sewing squares.
What you’ll need
- Quilting cotton for the tops: two 10-inch squares (a fat quarter makes two tops and two backs)
- Quilting cotton for the backs: two 10-inch squares, a plain or small print
- Insul-Bright heat-resistant batting: two 10-inch squares (one 18 by 45 inch package makes 8 pot holders)
- 100% cotton batting, such as Warm and Natural: two 10-inch squares
- Binding fabric: one 2.25 by 42 inch strip per pot holder, cut across the width of the fabric
- 100% cotton thread, 50 weight, in a color that blends with the top
- Universal or quilting needle, size 80/12 or 90/14
- Walking foot if you have one, curved safety pins or basting spray, rotary cutter, ruler and mat
Cut chart for one pair
Everything starts oversized. Quilting shrinks the sandwich a little and pulls it out of square, so you cut at 10 inches, quilt, then trim to a clean 8 inches.
| Piece | Cut size | Qty |
|---|---|---|
| Top (quilting cotton) | 10 x 10 inches | 2 |
| Back (quilting cotton) | 10 x 10 inches | 2 |
| Insul-Bright | 10 x 10 inches | 2 |
| Cotton batting | 10 x 10 inches | 2 |
| Binding strip (double fold) | 2.25 x 42 inches | 2 |
| Loop (turned version only) | 2 x 6 inches | 2 |
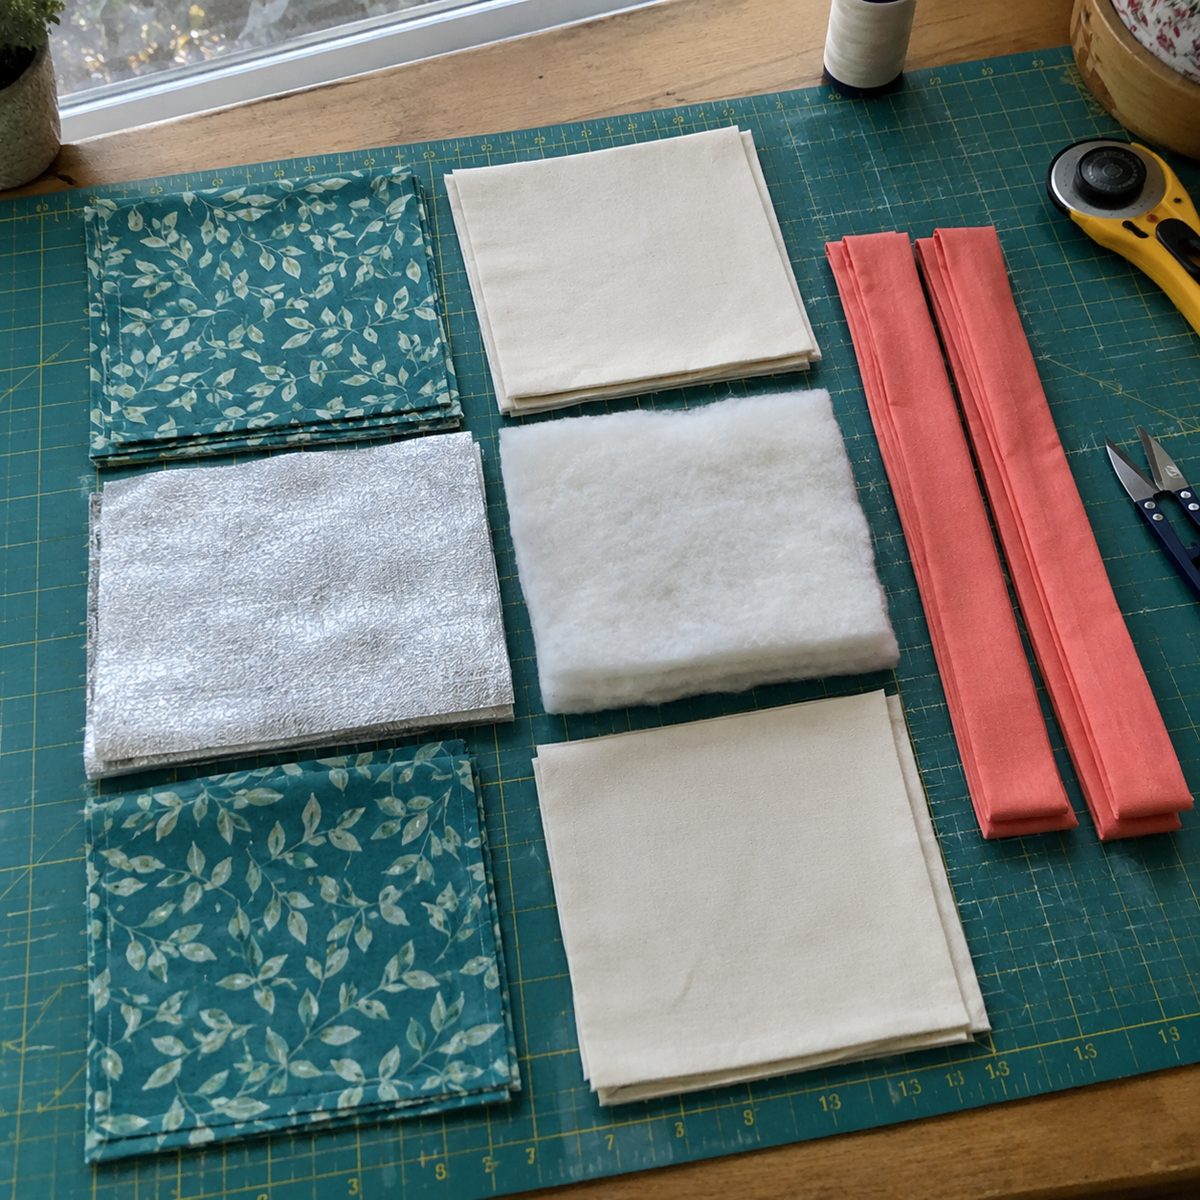
Fabric, batting and prep
Use 100% cotton for the top, the back, the batting and the thread. No polyester anywhere in a pot holder. Poly blends and polyester thread can melt or scorch against a hot pan, and polyester batting shrinks into a hard lump the first time a pot bottom sits on it. Quilting cotton, flannel and cotton duck are all fine for the outside.
Insul-Bright is a needle-punched fiber with a layer of metalized film inside that reflects heat back toward the pan. It is the one exception to the no-polyester rule because it is made for this and sits sealed inside the cotton layers. On its own it is too thin to protect your hand, which is why you add cotton batting next to it. If you are new to the different battings, this rundown of batting types explains what the labels mean.
Prewash and dry the cottons on hot, then press them flat. Pot holders get washed often and you want the shrinking done before you sew. Do not wash the batting or the Insul-Bright. A light spray of starch on the top square makes it easier to mark.
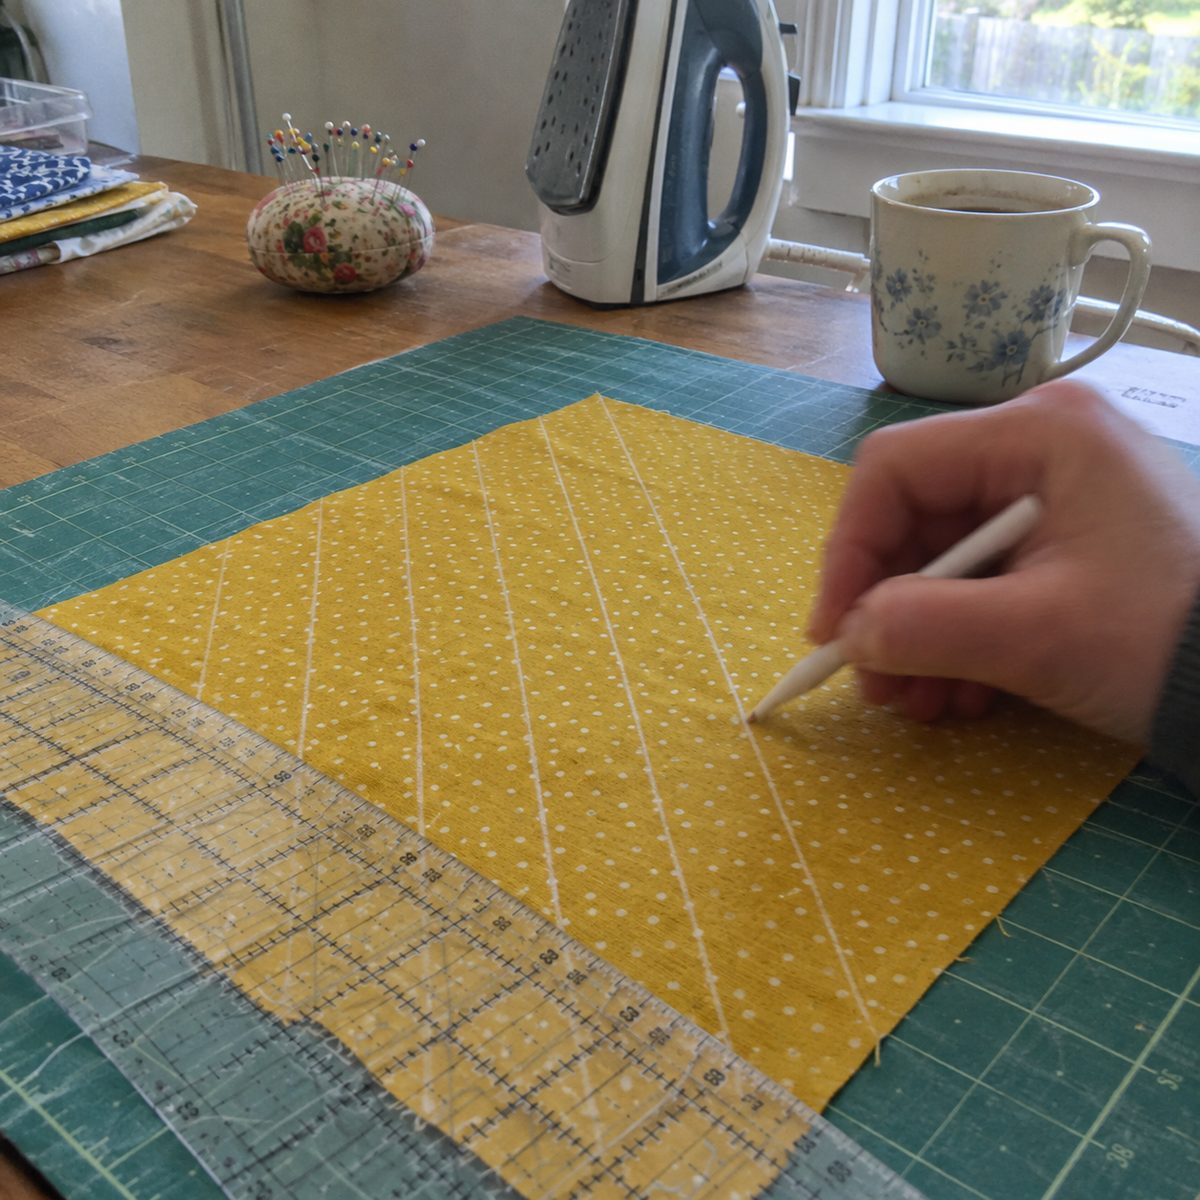
Mark your quilting lines now while the top is flat. Draw one line corner to corner with a hera marker or chalk pencil, then lines 1 inch apart on each side of it. You only need to mark one direction. Skip water-erasable markers here; the heat from pressing can set them.
Phase 1: Build the sandwich
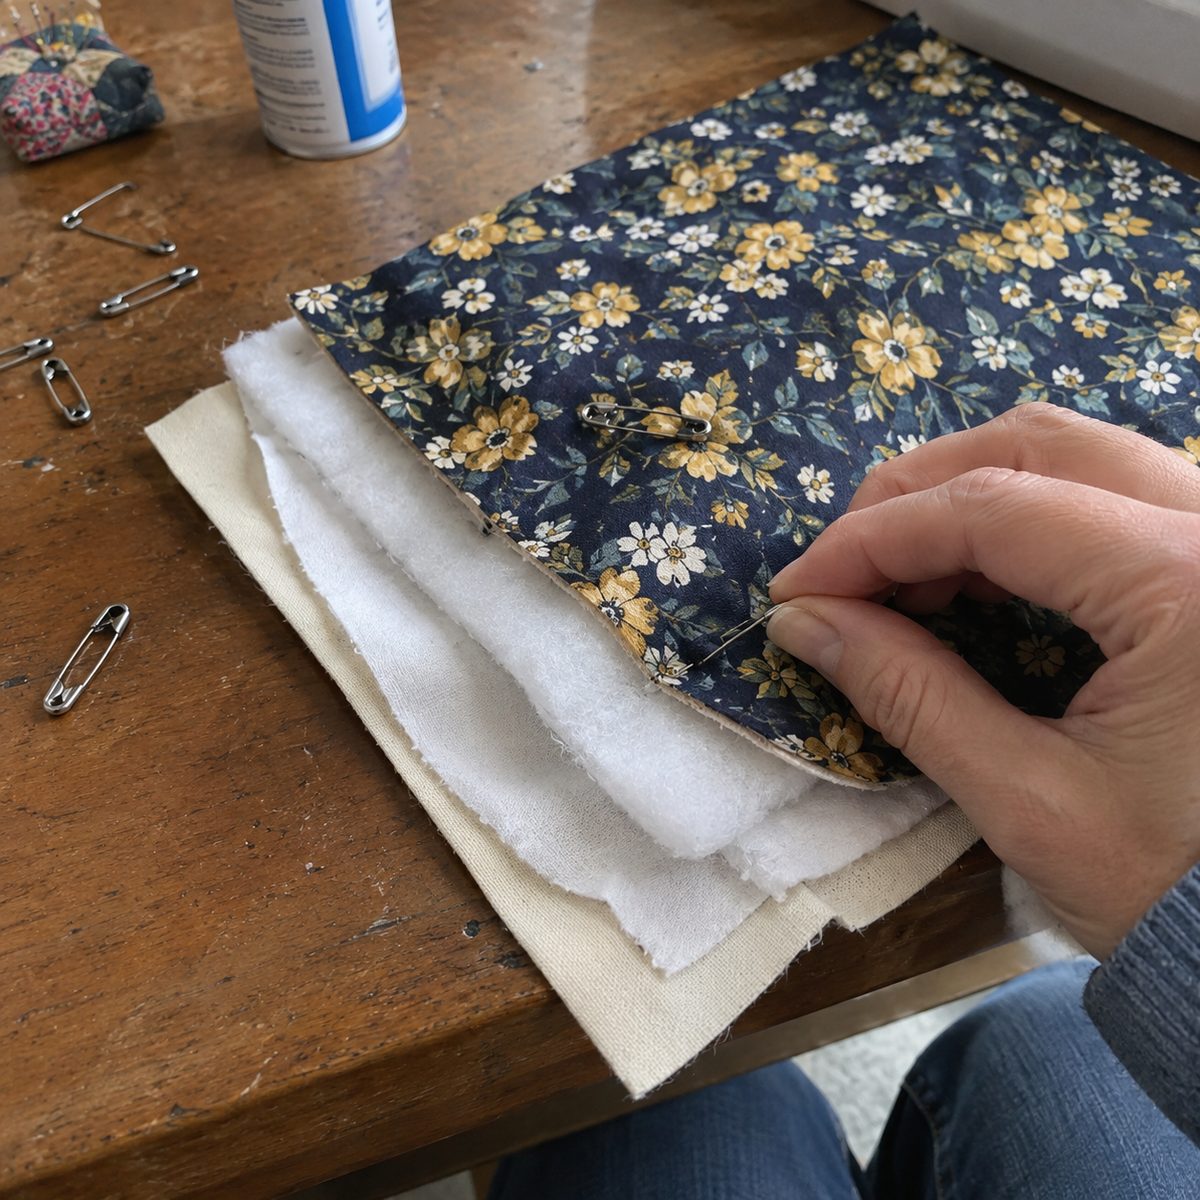
The stack order matters, so lay it out on the table in this exact sequence.
- Lay the back square right side down on the table and smooth it flat.
- Place the Insul-Bright on top. The manufacturer says either side can face the heat, but I always put the shiny side down, toward the back, because the back is the side that touches the pan.
- Place the cotton batting on top of the Insul-Bright. The two battings now sit directly on each other, with the cotton on the hand side, which is what makes the holder feel padded rather than papery.
- Lay the marked top square right side up on the batting. Line up the edges as best you can. They will not be exact and that is fine, you are trimming later.
- Pin with curved safety pins every 3 inches, or use basting spray between each layer. When it is right, the stack is flat with no bubbles and you can hold it up by one corner without the layers sliding.
Phase 2: Quilt it and square it up
A standard machine and a walking foot do a fine job on something this small, and a regular presser foot works if you go slow. If you have never quilted on a home machine, this post covers the setup.
- Thread the machine with cotton thread top and bobbin, put in a fresh 90/14 needle, and set the stitch length to 3.0. Shorter stitches tend to pucker through four layers.
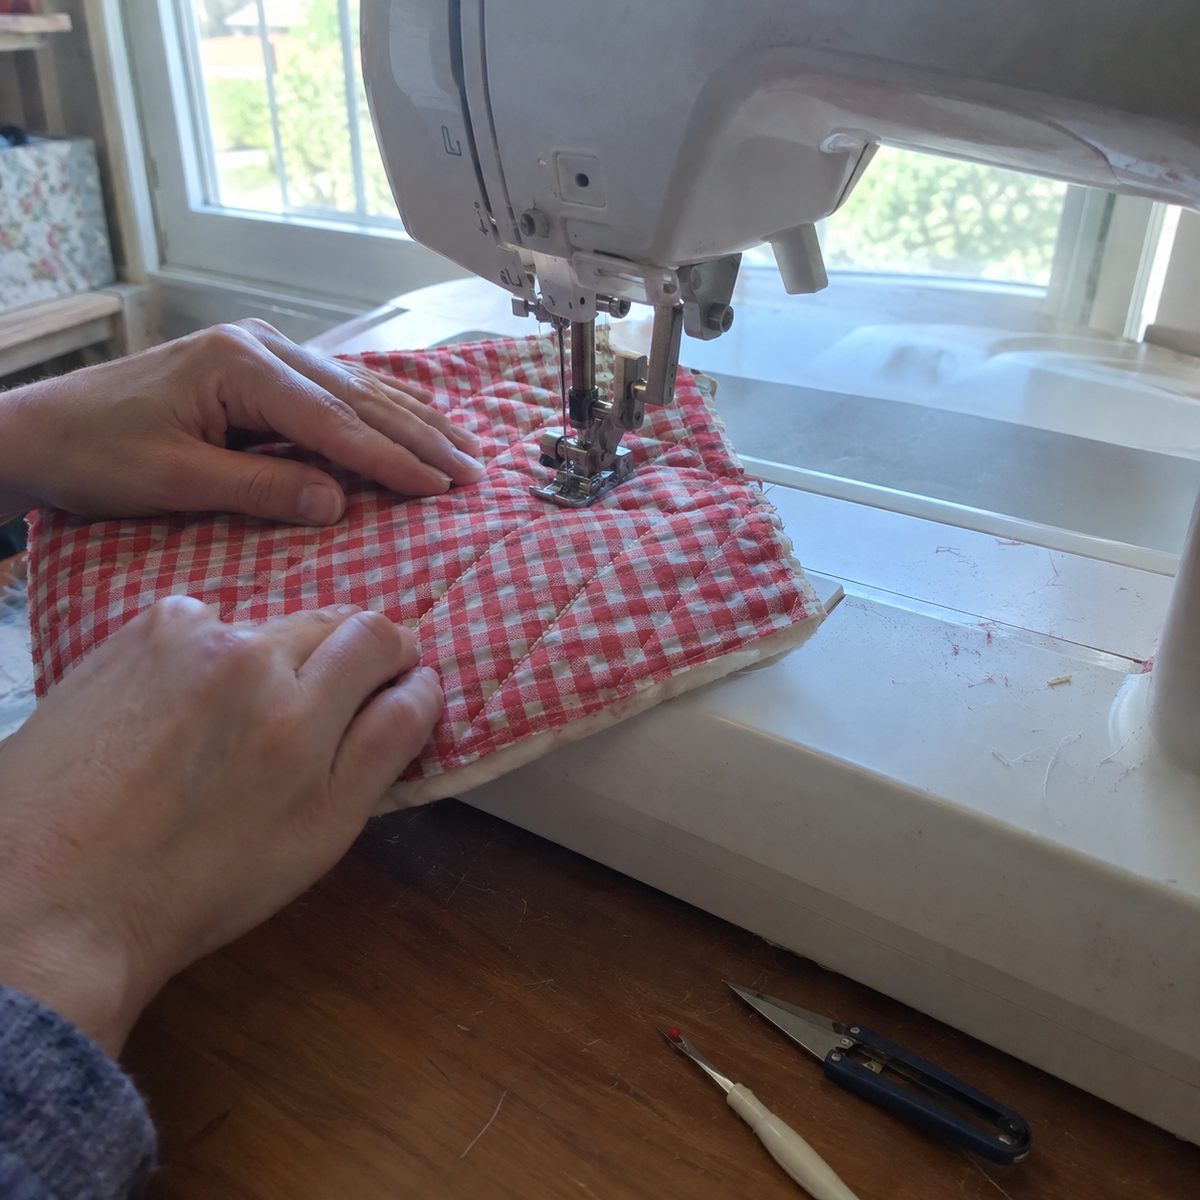
- Quilt the center diagonal line first, corner to corner. Do not backstitch at the ends. The stitches run off into the part you will trim away.
- Sew the rest of the marked lines, working out from the center to one edge, then flip the piece and work out to the other edge. Each line should sit 1 inch from the last and the layers should feed without the top creeping ahead of the back.
- Turn the square a quarter turn and quilt the second direction using the edge of the walking foot or a guide bar set 1 inch off the last line. You end up with a 1-inch diamond grid. For straight-line quilting instead, run lines parallel to one side at 1-inch spacing and skip the second pass.
- Press the quilted square flat from the top, then trim to 8 x 8 inches, keeping the grid centered and the corners a true 90 degrees. Done right, every line runs straight off the edge and the square sits flat with no ripple.
Phase 3: Make the binding and sew it to the front
One 2.25 by 42 inch strip covers one pot holder: 32 inches around the edge, a couple of inches for the overlap, and a long tail that becomes the loop. If you want to piece the binding from scraps, join them with a diagonal seam first, the way this binding strip post shows, and press the seams open so they do not make a lump.
- Fold the strip in half lengthwise, wrong sides together, and press. You now have 1.125-inch-wide double fold binding with two raw edges on one side and a fold on the other.
- Start on the front about 2 inches past one corner, raw edges of the binding against the raw edge of the square. Leave a 1-inch tail behind your starting point and sew a 1/4-inch seam with a regular presser foot, stitch length 2.5.
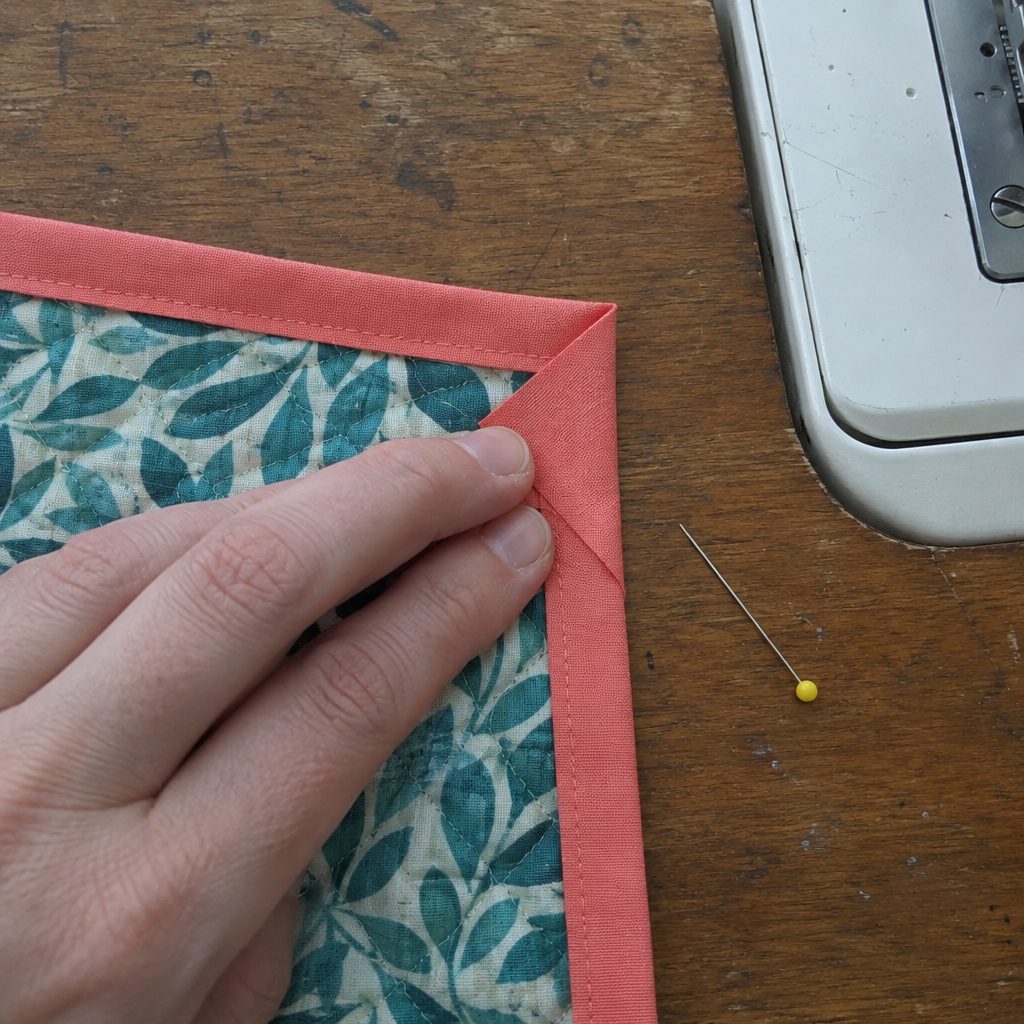
- Stop 1/4 inch before the first corner and backstitch. Fold the binding straight up at a 45-degree angle, then fold it back down along the next edge so the fold sits even with the edge you just finished. Start sewing again from the very top of that edge. That is a mitered corner. A little triangle of fabric stands up at each one; leave it alone.
- Repeat at the other three corners. When you come back around, lay the binding straight over the 1-inch starting tail, stitch past it by 1 inch, then keep sewing straight off the edge for another 7 inches and cut the strip there. That loose 7-inch piece is your loop.
- Check the corners now. Each should have a neat diagonal fold on the front. If one looks lopsided, unpick the 2 inches around it and redo the fold.
Phase 4: Turn the binding and make the loop
- Press the binding away from the front. Flip the pot holder over and roll the folded edge of the binding to the back so it just covers the stitching line. The binding should look the same width front and back, about 3/8 inch.
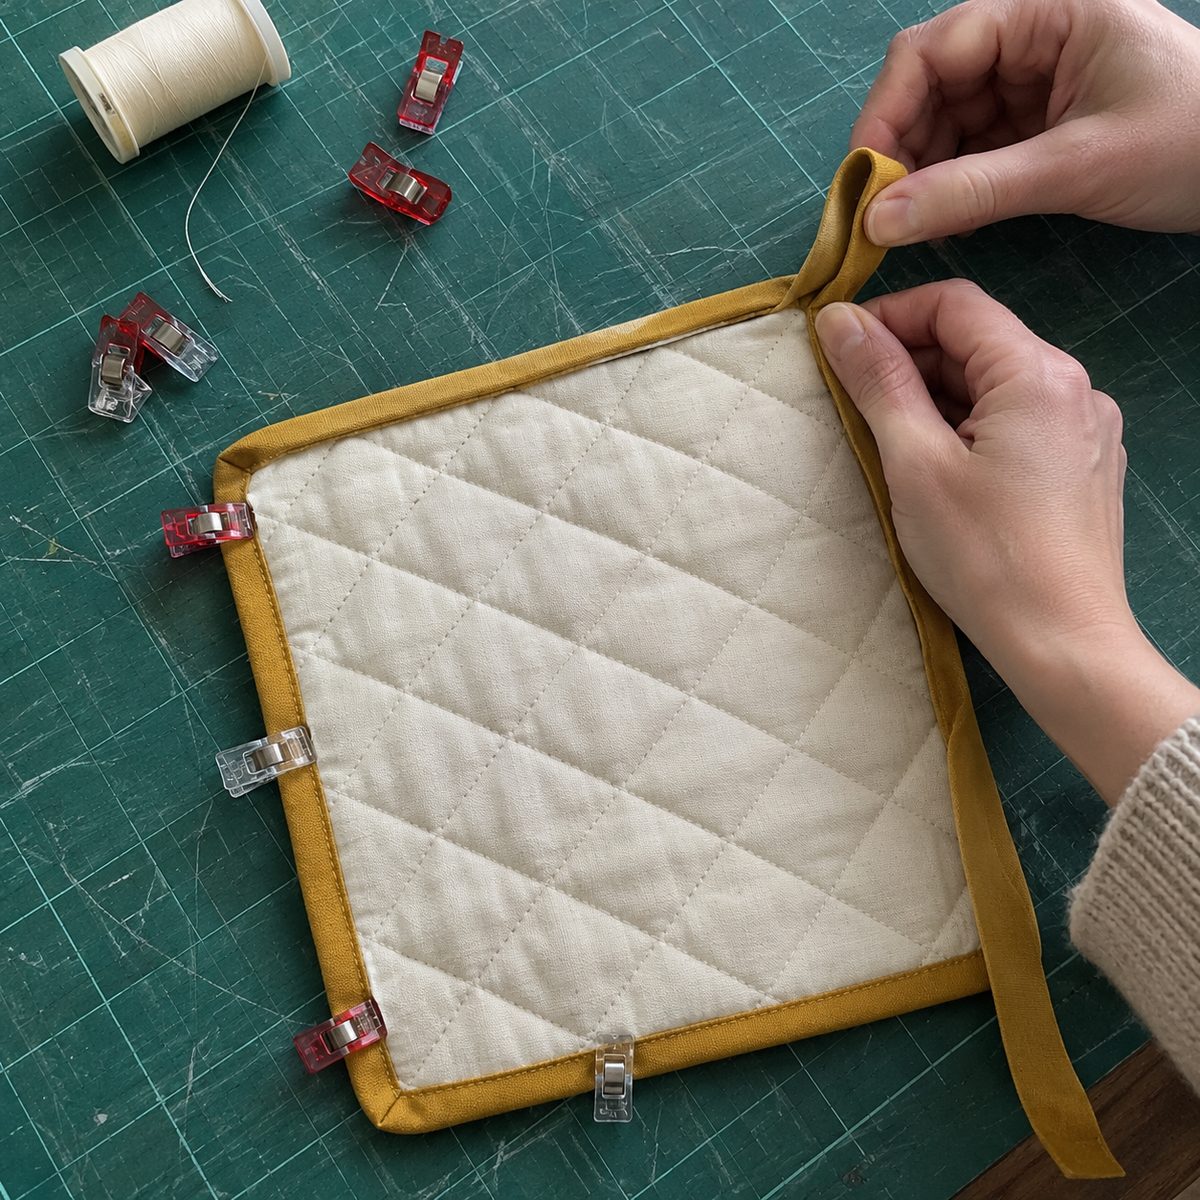
- At each corner, fold one side down first, then the next, so the excess folds itself into a diagonal miter on the back. Clip each side. A wonder clip every 2 inches holds better than pins through this many layers.
- Stitch the binding down. The quick way is to machine stitch from the front, right in the ditch where the binding meets the top, catching the folded edge on the back. For a cleaner look, hand stitch the back with a ladder stitch.
- Now the loop. Take the 7-inch tail still attached at the starting point, tuck its two raw edges inside the fold so it becomes a flat strap about 1/2 inch wide, press, and topstitch down the middle.
- Fold the strap back on itself into a loop about 2.5 inches long, tuck the raw end under the binding on the back where the tail emerges, and sew a small square of stitches through everything to lock it. Backstitch twice. The loop should hang off the side of the holder, not the corner, and take a good tug without shifting.
Fixes for the things that go wrong
The quilting lines bow in the middle
The top layer is creeping ahead of the back, which happens with a regular presser foot on a long line. Use a walking foot, lengthen the stitch to 3.0, and quilt the center line first so the layers are anchored before you work outward. Pinning every 3 inches instead of every 5 also helps.
The binding corners are rounded instead of pointed
You sewed too far before stopping, or the fold-up was not a true 45 degrees. Stop exactly 1/4 inch from the edge, and when you fold the strip up, its raw edge should line up with the raw edge of the next side before you fold it back down. A ruler against the fold shows right away when it is off.
The binding is wider on the back than the front
Your seam allowance drifted past 1/4 inch, so there is less binding left to wrap. Next time, mark the 1/4-inch line on your throat plate with tape. On this one, trim the raw edge of the sandwich down by 1/8 inch under the binding before turning, which evens it out.
The pot holder is too thin to hold a hot pan
You used Insul-Bright alone. It will not protect your hand by itself. Add a layer of cotton batting on the hand side. For extra insurance, use two layers of cotton batting plus the Insul-Bright and widen the binding seam to 3/8 inch to get around the thickness.
Variations
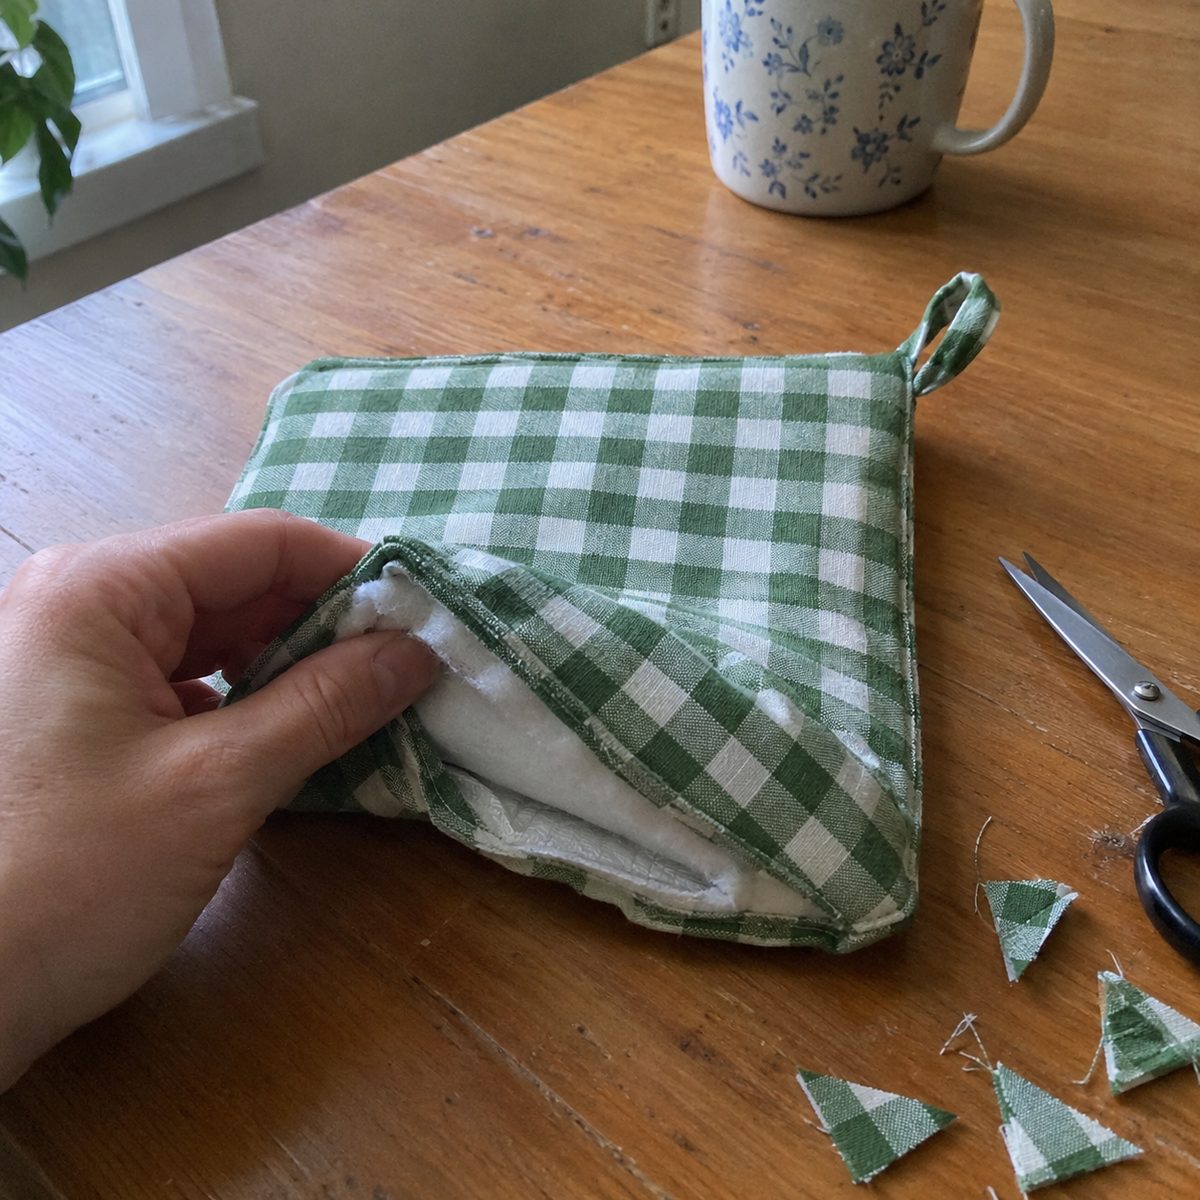
Turn-and-topstitch finish, no binding. For beginners who are not ready for binding, stack it differently: back right side up, top right side down, then the cotton batting, then the Insul-Bright on the very top. Fold a 2 by 6 inch strip into a loop and tuck it between the two cotton layers at one corner, ends sticking into the seam allowance. Sew around with a 3/8-inch seam, leaving a 3-inch gap in one side. Clip the corners, turn it through the gap, press, and topstitch 1/4 inch from the edge to close the gap. Then quilt as usual. The edge is a little bulkier, but it works, and plenty of people never move past this version.
Patchwork top for scraps. Piece nine 3.5-inch squares into a 9-patch and press the seams open. It finishes at 9.5 inches, which leaves plenty to trim to 8. Four 5-inch charm squares make a 9.5-inch four-patch the same way. Keep the quilting at 1-inch spacing right over the seams and the patchwork will not shift.
Sizes. Cut at 9 inches and trim to 7 for a smaller hand, or cut at 11 and trim to 9 for a pad that doubles as a trivet. A 9 by 13 inch sandwich trimmed to 7 by 11 suits a casserole dish.
Making a stack for gifts. Pot holders were one of the most-clicked items on our handmade gifts list, because they are cheap to make and everyone uses them. When I am making six or eight pairs, I cut all the squares at once, quilt them assembly-line without cutting threads between pieces, and piece one long binding strip the night before. A pair tied with a strip of the binding fabric is the whole gift, and they fit with the other kitchen projects if you want to add a matching tea towel.
Frequently asked questions
Do I have to use Insul-Bright?
No. Three layers of 100% cotton batting, or two layers of cotton batting plus cotton flannel, make a safe pot holder. Insul-Bright gives you the same protection in a thinner, more flexible holder, which is why I use it. Never substitute polyester batting or fleece. They can melt and burn your hand.
Can I use polyester thread if it is all I have?
I would not. Polyester thread can scorch or melt where it touches a very hot pan bottom, and when it goes it takes the quilting and binding with it. Cotton thread is cheap, and a single 220-yard spool of 50 weight does several pairs. Pick it up with the batting and you will not think about it again.
How do I wash quilted pot holders?
Machine wash warm with your kitchen towels and tumble dry on medium. Because you prewashed the cotton, they will not shrink much more, and Insul-Bright is washable and does not break down. If one gets a dark scorch mark, retire it. A new pair takes 45 minutes.
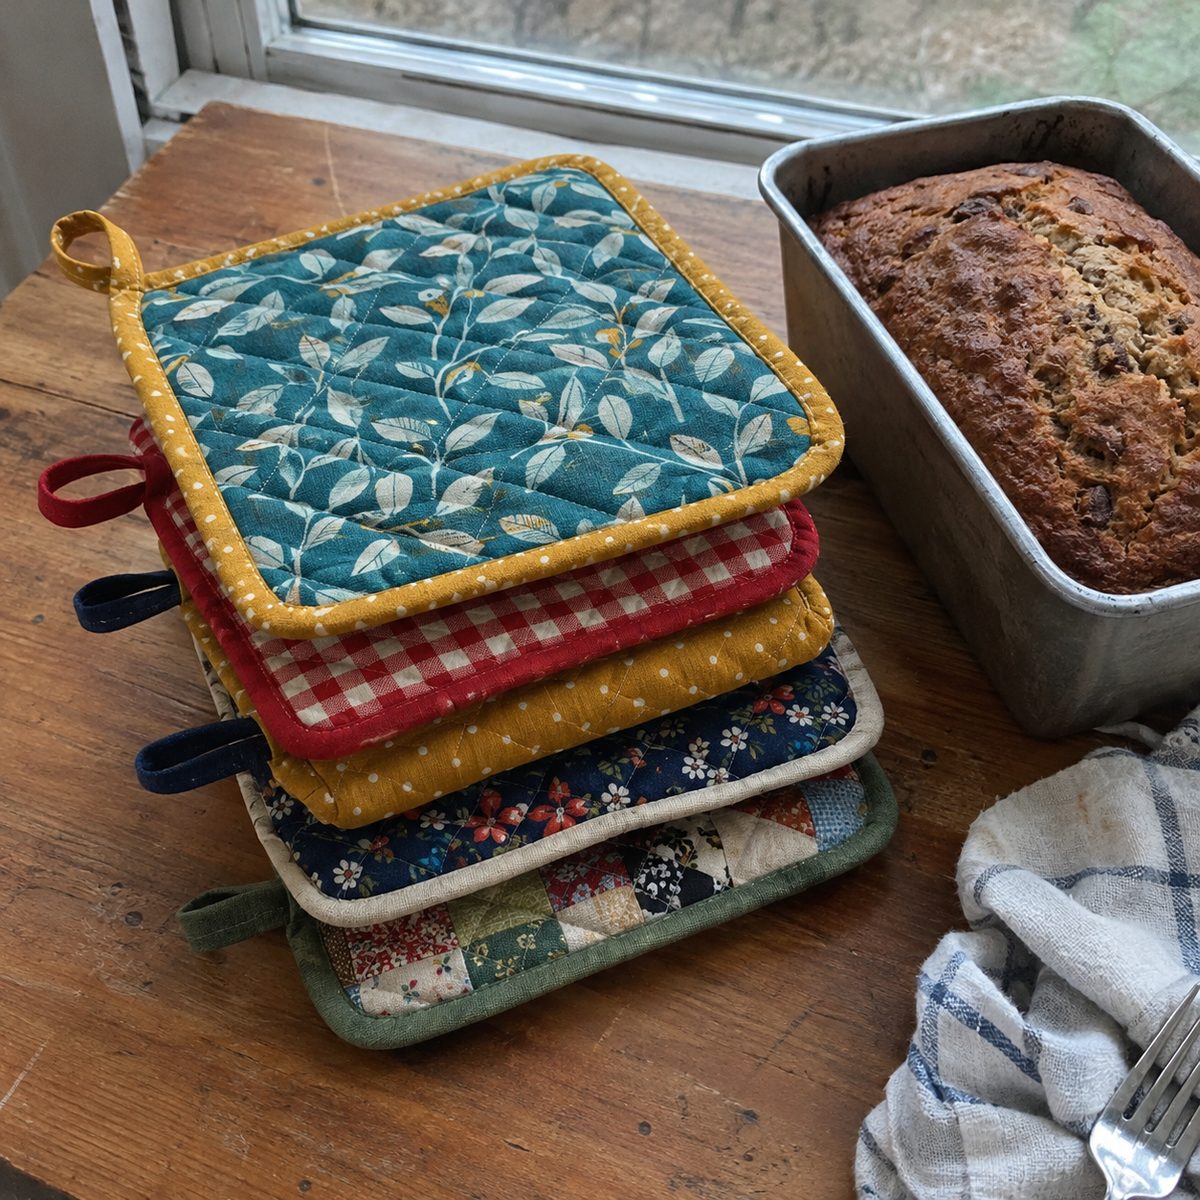
Make two, give one pair away, and you will have the binding down by the third set. After that the only question is which scraps to use up next.