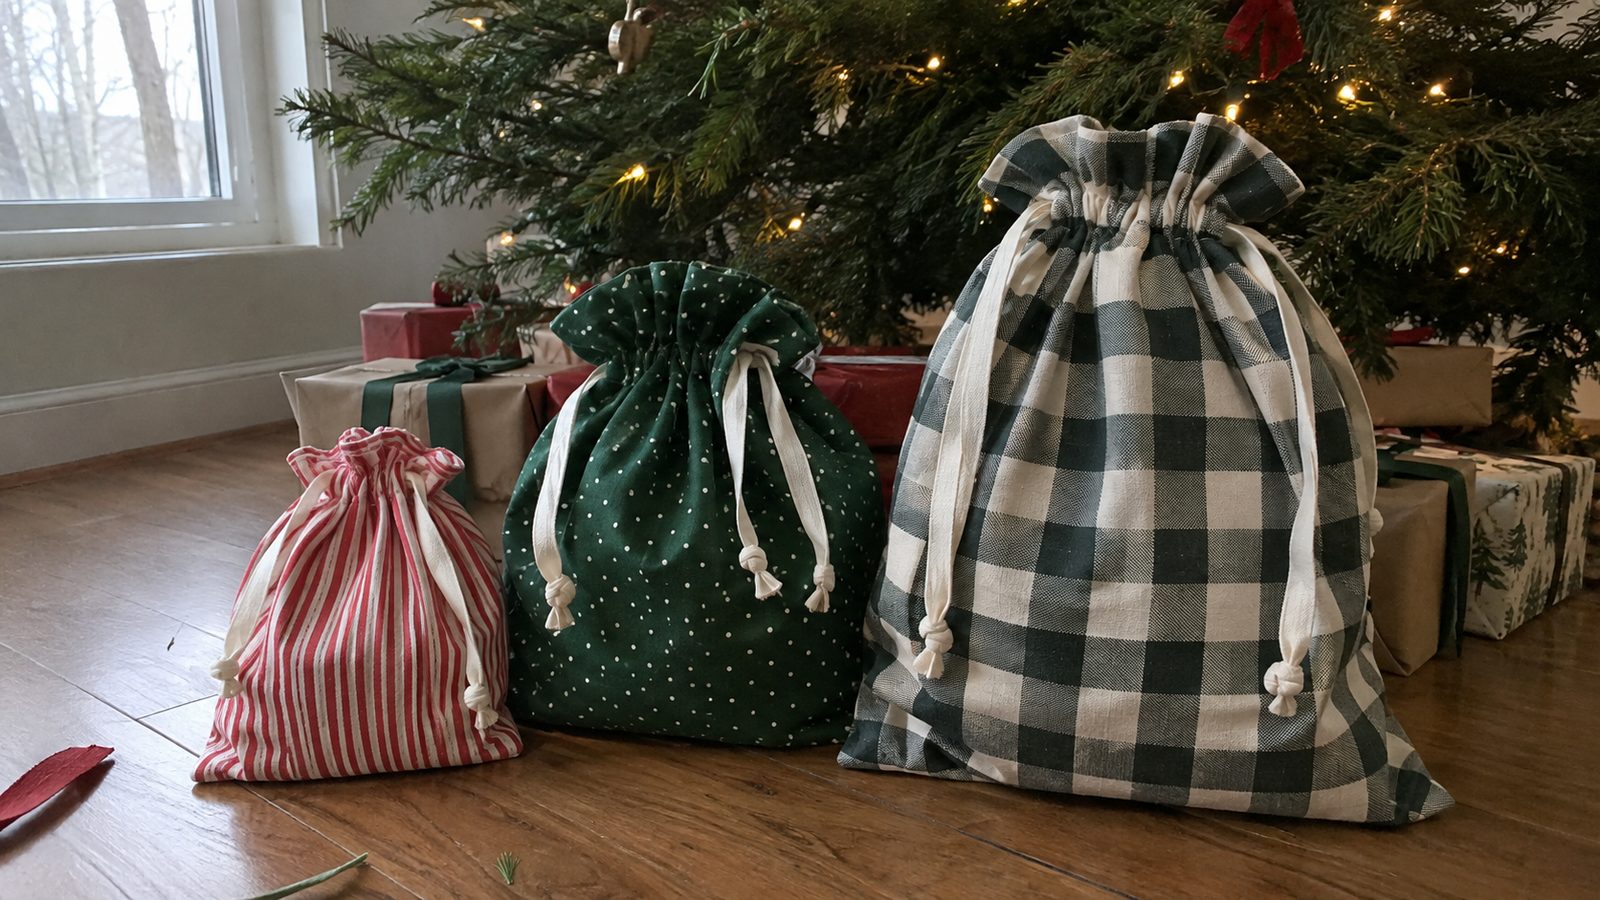
A fabric gift bag is one rectangle of cotton folded in half, seamed up both sides, with a channel across the top and two ribbons through it. Pull the ribbons and the top gathers shut. The bag comes back out next year instead of going in the trash.
One bag takes me 15 to 20 minutes. It is a true beginner project: straight seams, no zipper, no lining unless you want one.
The casing decides how the bag comes out. Make the channel wide enough for two cords and stop the side seams exactly where that channel sits. Do that and the bag cinches closed in one pull. Get it narrow or crooked and it gapes.
What you’ll need
- Quilting cotton: a fat quarter makes two small bags, 1/2 yard makes two medium, 1 yard of 44-inch fabric makes three large
- Ribbon or twine: 1/4-inch grosgrain or baker’s twine for small and medium (1 1/2 yards per medium bag), 5/8-inch grosgrain for large (2 yards each)
- All-purpose polyester thread that blends with the print
- Universal 80/12 needle (70/10 for lawn or voile)
- Rotary cutter, mat and ruler, or sharp shears and a tape measure
- Bodkin or a large safety pin
- A dozen pins or wonder clips, plus chalk
- Fray check for ribbon ends (optional)
Cut chart for three sizes
Every bag is one rectangle. Width is the finished width plus 1 1/4 inches for a 5/8-inch French seam each side. Length is twice the finished height plus 2 1/2 inches, a 1 1/4-inch casing allowance per side for 1/4-inch ribbon or twine. For 5/8-inch ribbon the allowance is 1 3/4 inches per side, so add 1 inch to the length. The large bag below is cut that way, because narrow twine on a 12-inch bag looks skimpy.
| Piece | Cut size | Qty |
|---|---|---|
| Small bag body (5 x 7 inches finished, treats and party favors) | 6 1/4 x 16 1/2 inches | 1 |
| Medium bag body (8 x 11 inches finished, books and candles) | 9 1/4 x 24 1/2 inches | 1 |
| Large bag body (12 x 16 inches finished, sweaters and throws) | 13 1/4 x 35 1/2 inches (cut for 5/8-inch ribbon) | 1 |
| Drawstring, small | 20 inches of 1/4-inch ribbon or twine | 2 |
| Drawstring, medium | 26 inches of 1/4-inch ribbon or twine | 2 |
| Drawstring, large | 34 inches of 5/8-inch ribbon | 2 |
Each cord is twice the finished width plus 10 inches. For a custom size, add 2 inches to the gift’s width and 3 inches to its height so there is fabric above it to gather.
Fabric and prep
Quilting cotton is the right fabric here. It presses crisp, holds a casing fold without pins, and a 44-inch bolt cuts into full bags with no waste. Christmas prints are the obvious pick, but solids and small two-color prints come back out for birthdays in June.
Skip heavy canvas on the small and medium sizes. The casing turns into a stiff tube and the bag never cinches tight. Flannel works for the large size but sheds, so clean the machine afterward.
Prewash if the bag will ever be laundered, which includes produce bags. Cotton shrinks 2 to 3 percent and the casing twists if that happens after sewing. For a one-time Christmas wrap I skip the wash. Either way, press before cutting. Directional prints run upside down on the back of a folded bag; if that bothers you, cut two pieces at half the chart length plus 5/8 inch and French seam the bottom first. The casing fold needs an up-and-down press, not a slide, so read pressing versus ironing if you are new to the difference.
Cut and mark
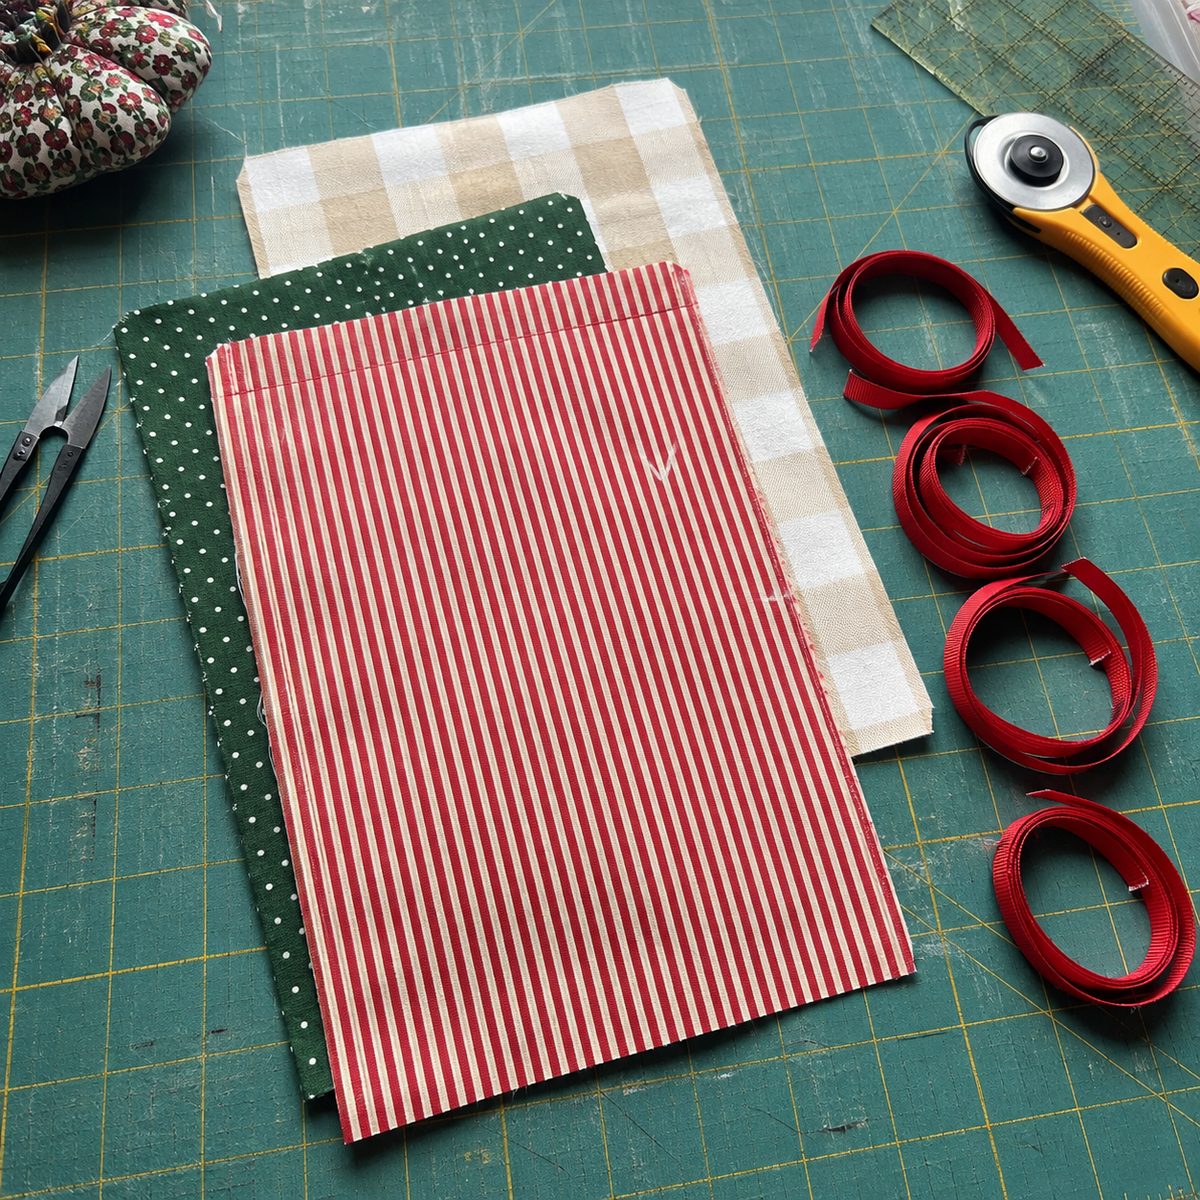
- Press the fabric and square off the cut end. Cut the rectangle to the chart size with the long side along the grain. For a batch, fold the yardage into four layers and cut four at once. Each piece is a long skinny rectangle, about twice as long as wide.
- Fold the rectangle in half crosswise, wrong sides together, so the short ends meet. Press the fold hard. That fold is the bottom of the bag and never gets sewn.
- Measure 2 inches down from the top raw edge on both side edges and mark both layers with a chalk tick or a crosswise pin. Every side seam stops here. For 5/8-inch ribbon, mark at 3 inches.
- Cut two drawstrings to the chart length. Snip the ends on an angle and dab fray check on ribbon.
Sew the side seams
I use French seams because the inside shows every time the bag is opened. A serger works too.
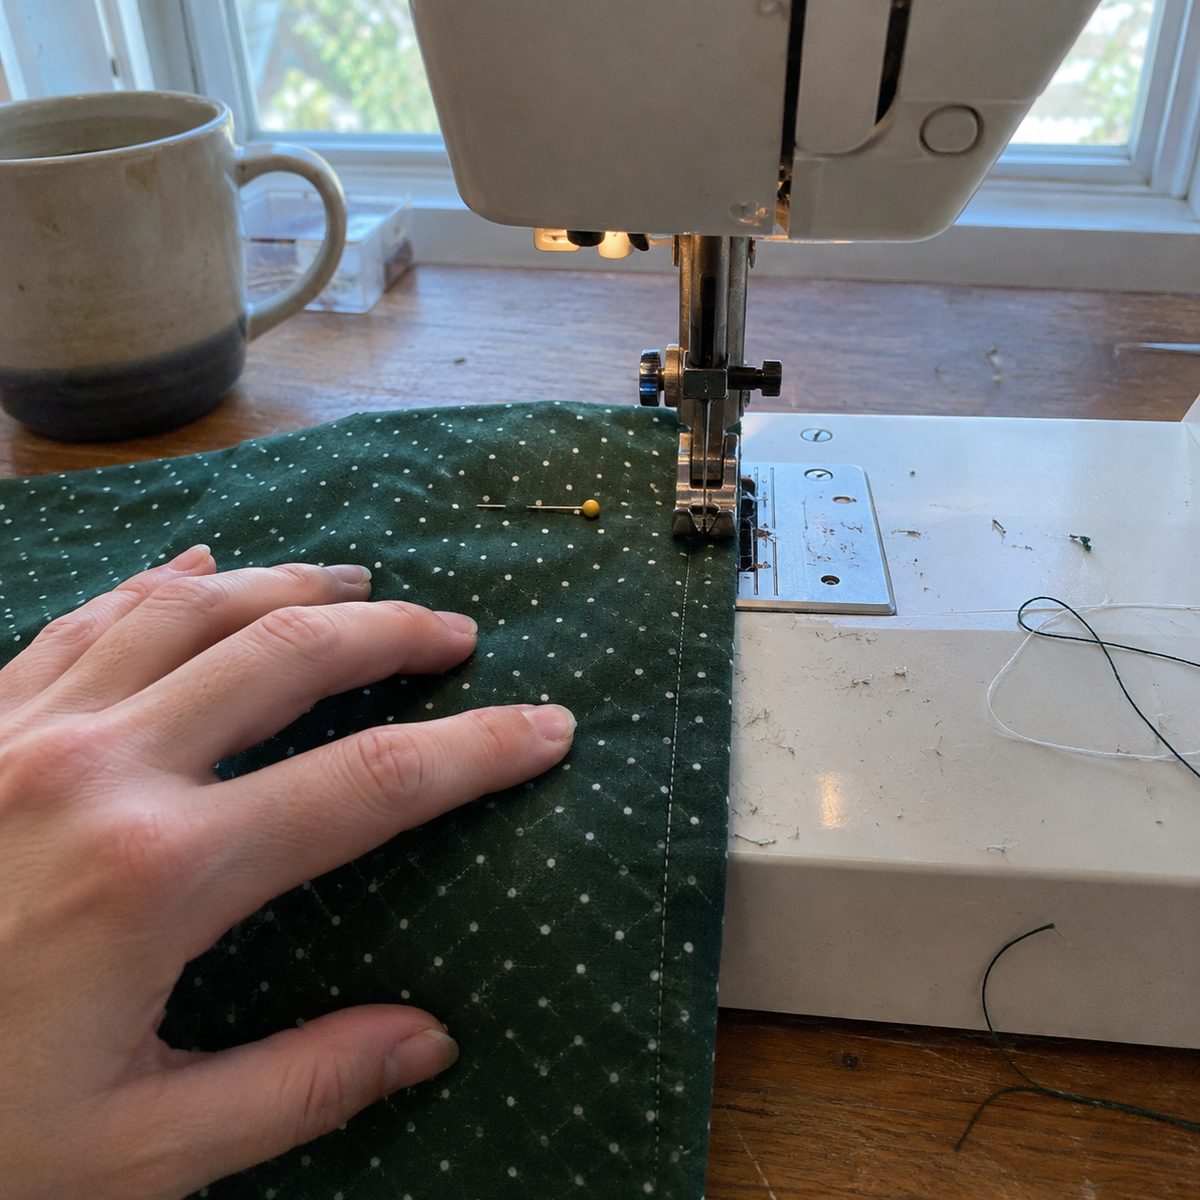
- Set the stitch length to 2.5. With the bag wrong sides together (print facing out, which feels backward and is correct), stitch each side 1/4 inch from the raw edge, from the bottom fold up to the chalk mark. Backstitch three stitches. The print is outside and two skinny seams show.
- Trim both seam allowances to a scant 1/8 inch. Take long cuts so the edge stays even and do not nick the stitching.
- Turn the bag so the right sides are together. Work each seam out to the edge with your thumbnail and press it flat with the first stitching line exactly on the fold.
- Stitch each side again 3/8 inch from the pressed fold, bottom to the mark, backstitch. From inside, the seam should feel like a smooth ridge with no fuzz.
- Press both seams toward the back of the bag. Above each one sit 2 inches of loose raw edge on both layers: the drawstring opening.
Finish the openings and fold the casing
- Take one loose 2-inch edge above a seam. Fold it to the wrong side 1/4 inch, then again 3/8 inch so the fold lines up with the French seam below. Press and stitch it down close to the inner fold, top edge to just past the seam stop. Do all four edges. Each takes 20 seconds.
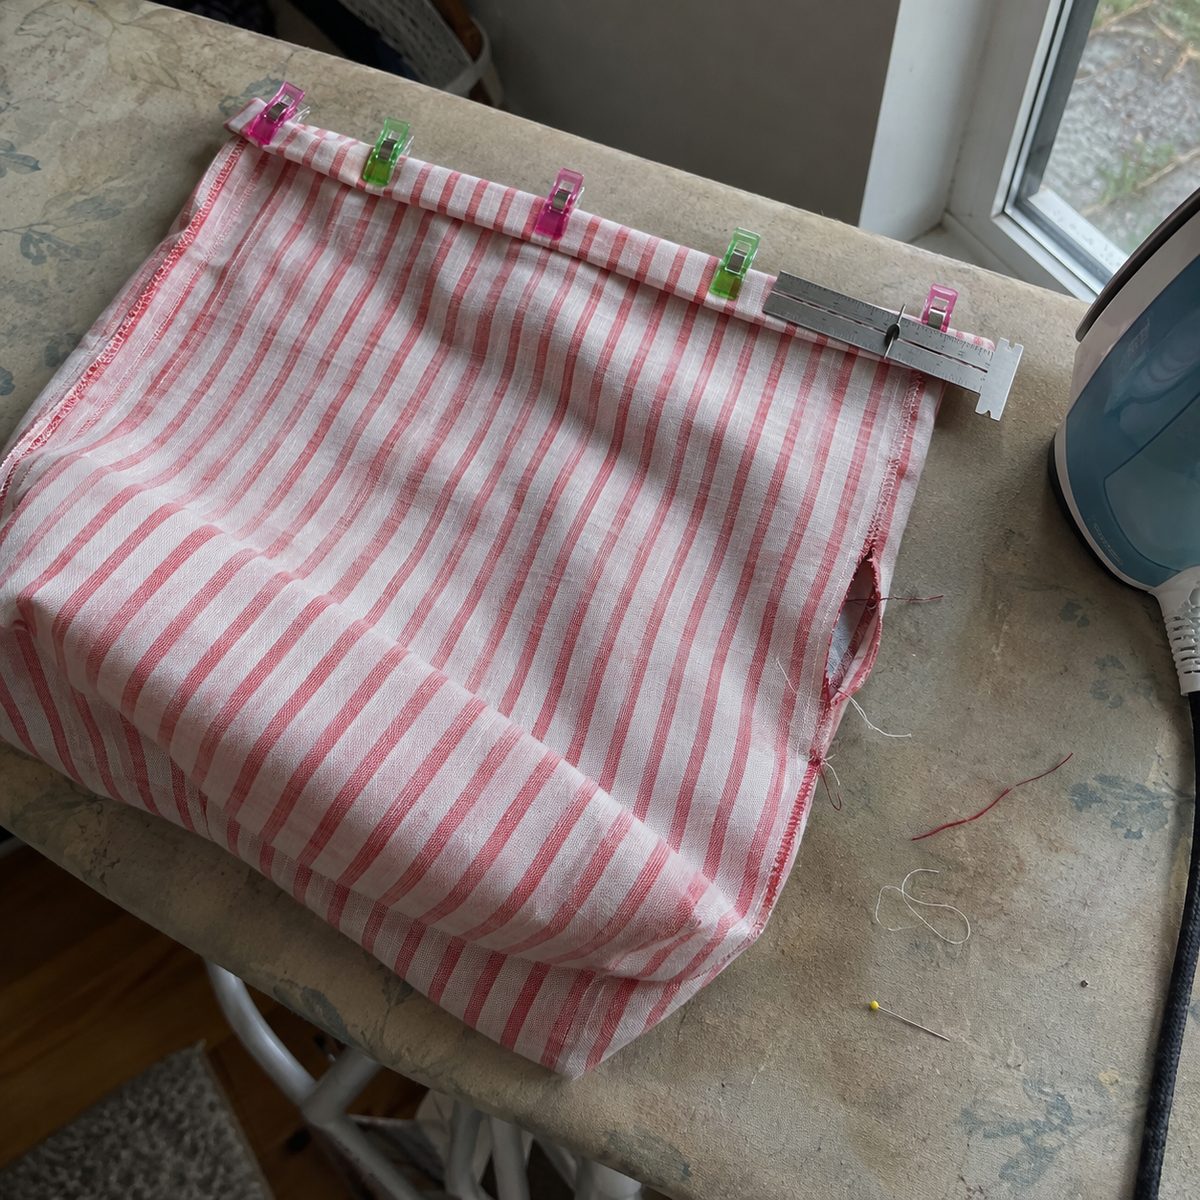
- Fold the top raw edge 1/2 inch to the wrong side all the way around and press, with the bag opened into a tube so you do not crease the sides.
- Fold again 3/4 inch (1 1/4 inches for 5/8-inch ribbon) and press hard. Check the depth with a seam gauge at four points. The bottom edge of the fold should land where the side seam ends.
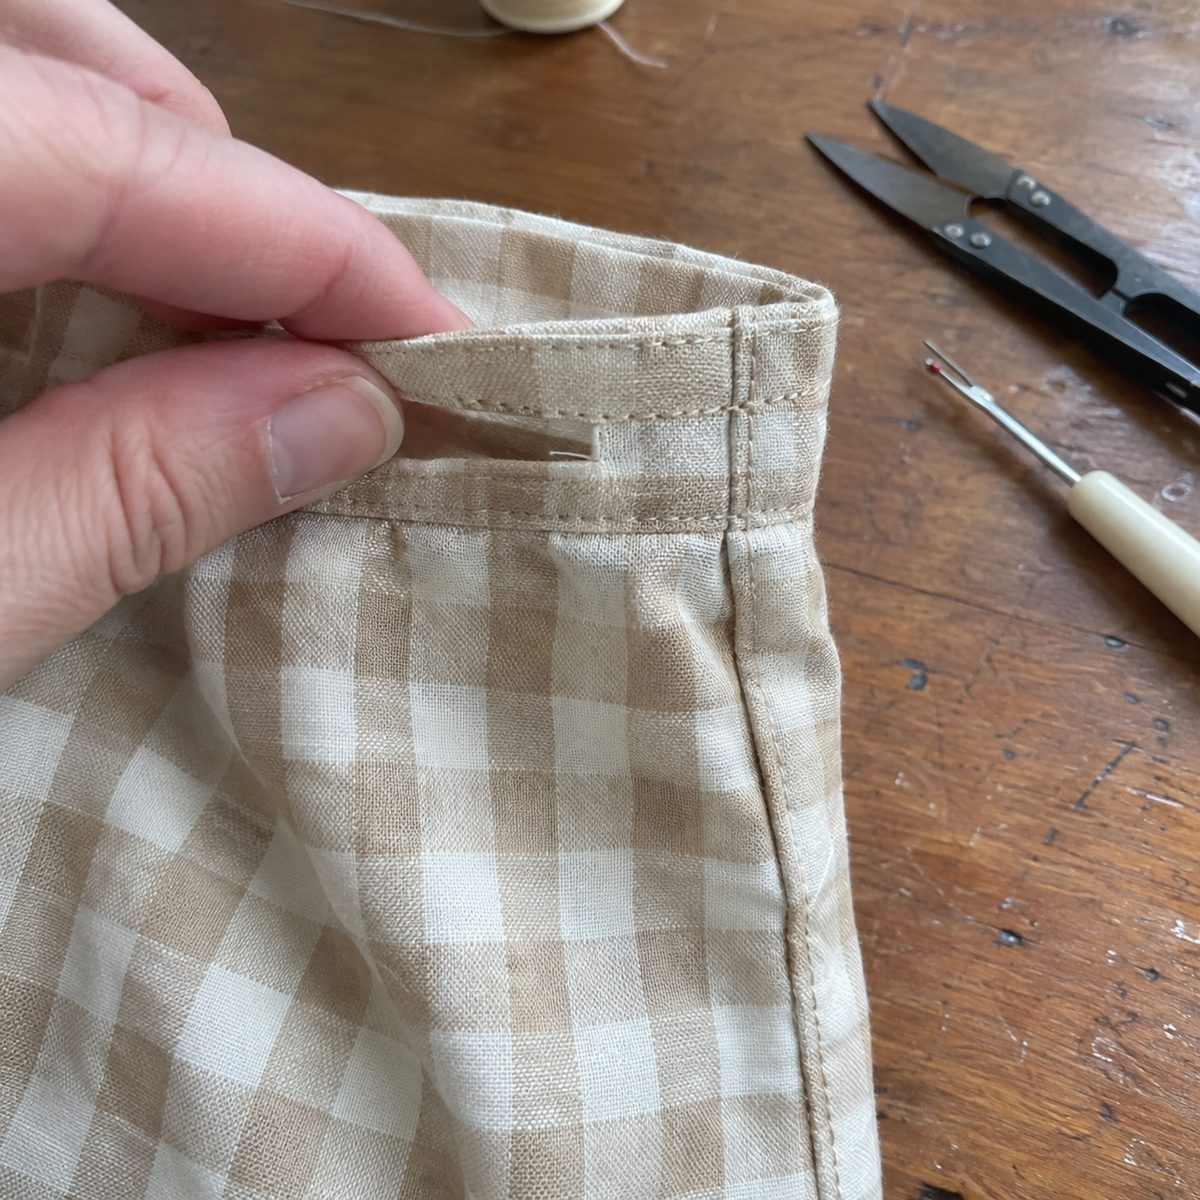
- Pin or clip every 3 inches. At each side seam you should see a neat slot in the band, 3/4 inch tall, hemmed on both sides. If the slot is shorter than the band, the seam ran past the mark; unpick a little.
Stitch the casing
- Lengthen the stitch to 3.0 and take the extension table off so the free arm is exposed. Medium and large bags slide right over it. The small bag is too narrow, so sew it flattened with the far side pulled away from the needle, turning every few inches.
- Start at one slot and stitch around the lower edge of the casing, 1/8 inch above the inner fold. It shows on the outside, so keep it steady and let the feed dogs do the pulling.
- When you reach a slot, stitch straight across it. That locks the little hems down. Overlap the start by 1/2 inch and backstitch.
- On medium and large bags, add a second line 1/8 inch below the top fold for a crisp edge. Skip it on the small bag, where it narrows the channel. Press and turn right side out. You should have a flat band with a clean slot at each side seam.
Thread the double-pull drawstrings
Two cords, each going all the way around and exiting where it went in, so the bag closes from both sides in one motion.
- Pin a large safety pin through the end of the first cord about 1/2 inch in. For ribbon, fold the end over the bar of the pin so it cannot rip through. Push the pin into the left slot and work it along the front channel by scrunching fabric onto the pin and sliding it off the back.
- When the pin reaches the right slot, do not pull it out. Push past and keep going around the back until it comes out the left slot again. Both ends of the first cord now hang on the left. Tie them with an overhand knot 1 inch from the ends.
- Start the second cord at the right slot, make the same lap, exit at the right slot, and knot it. Each side now has one knotted loop.
- Hold a knot in each hand and pull them apart. The top should gather shut in one draw with the gathers spread evenly. If one side bunches, slide the fabric along the cords and give the top a quick steam.
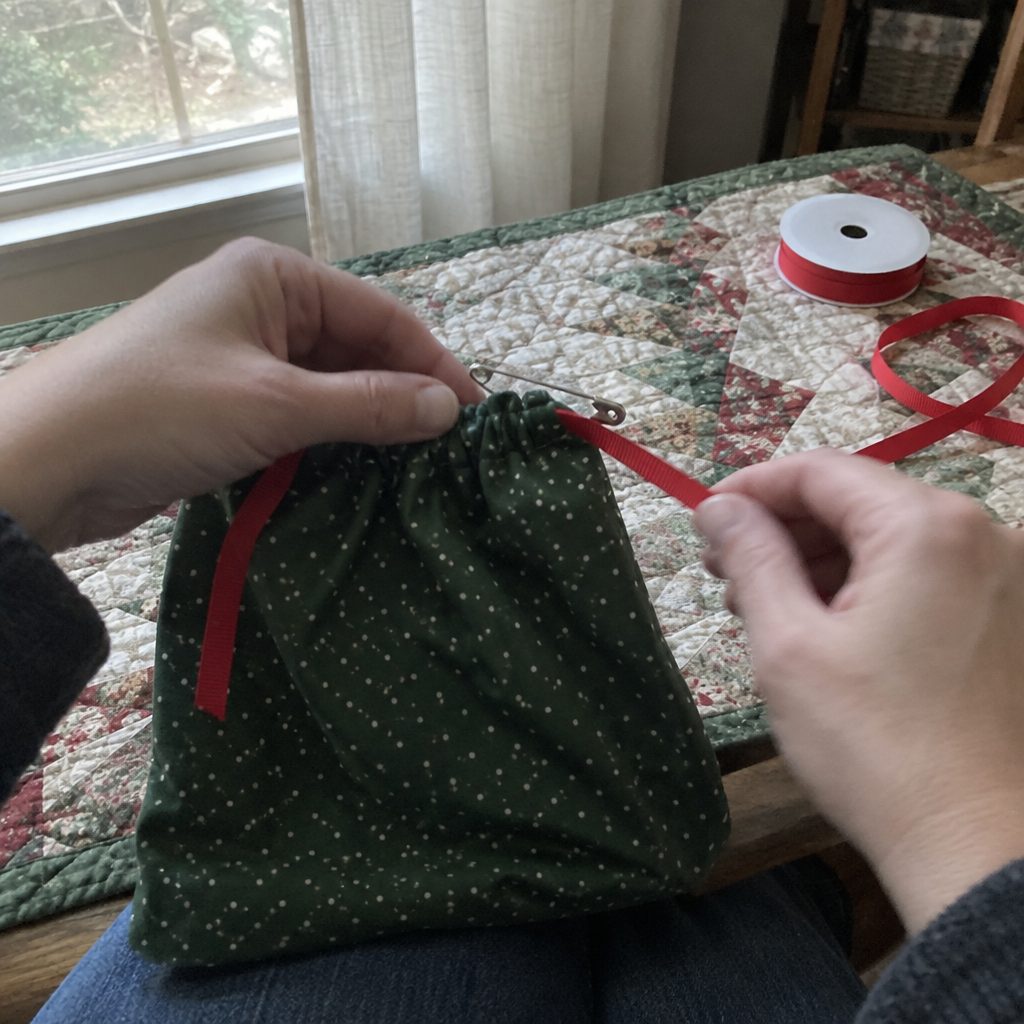
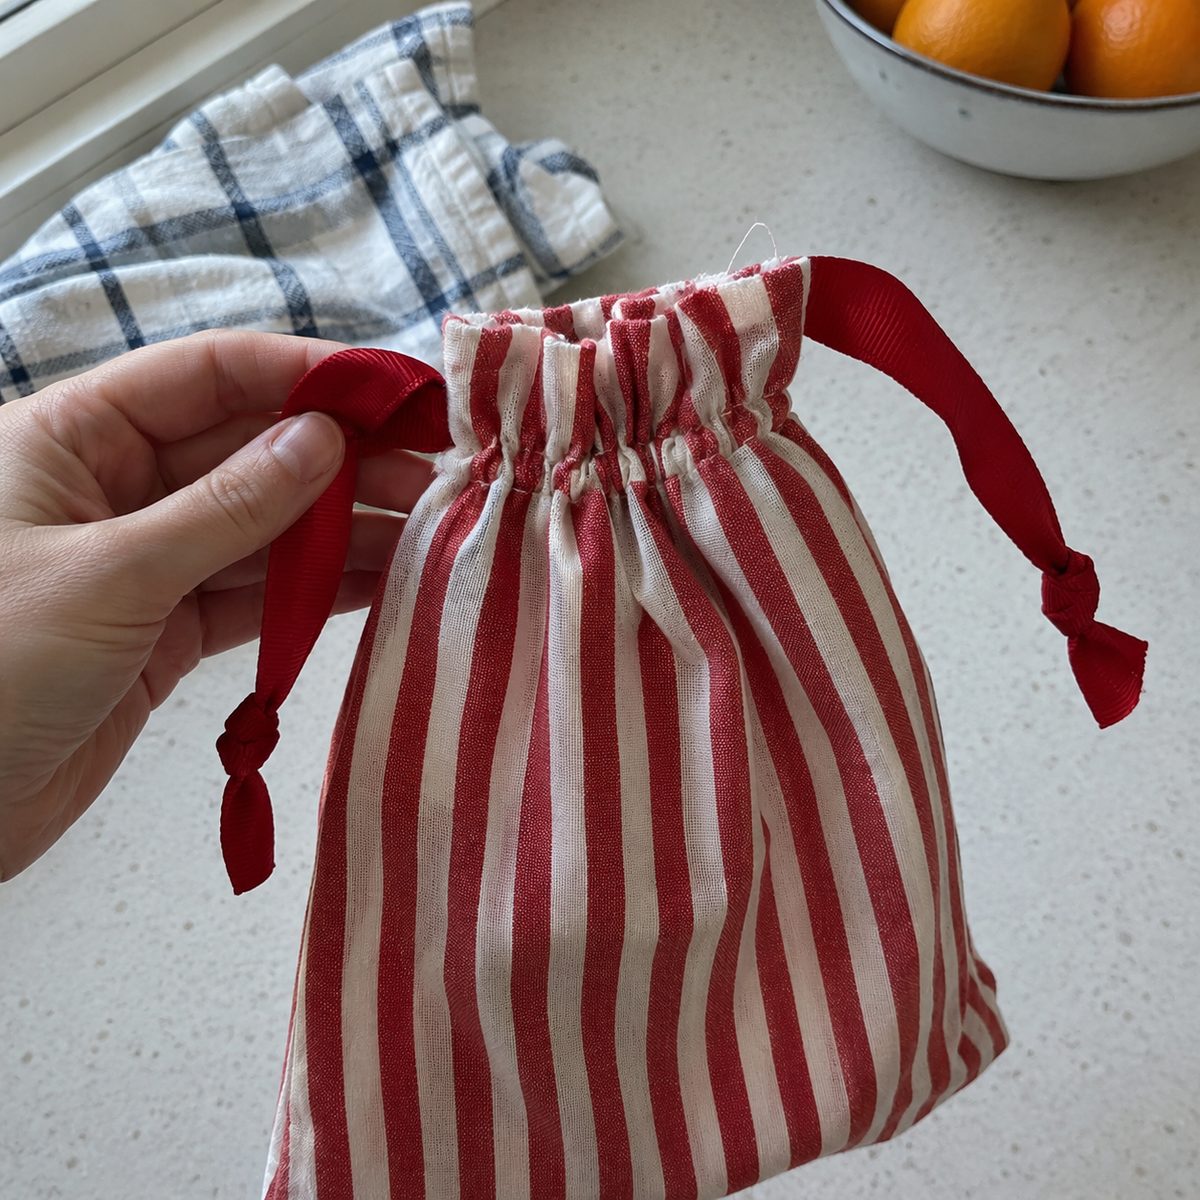
Drop the gift in and pull. The knots are what people grab, so make them tidy.
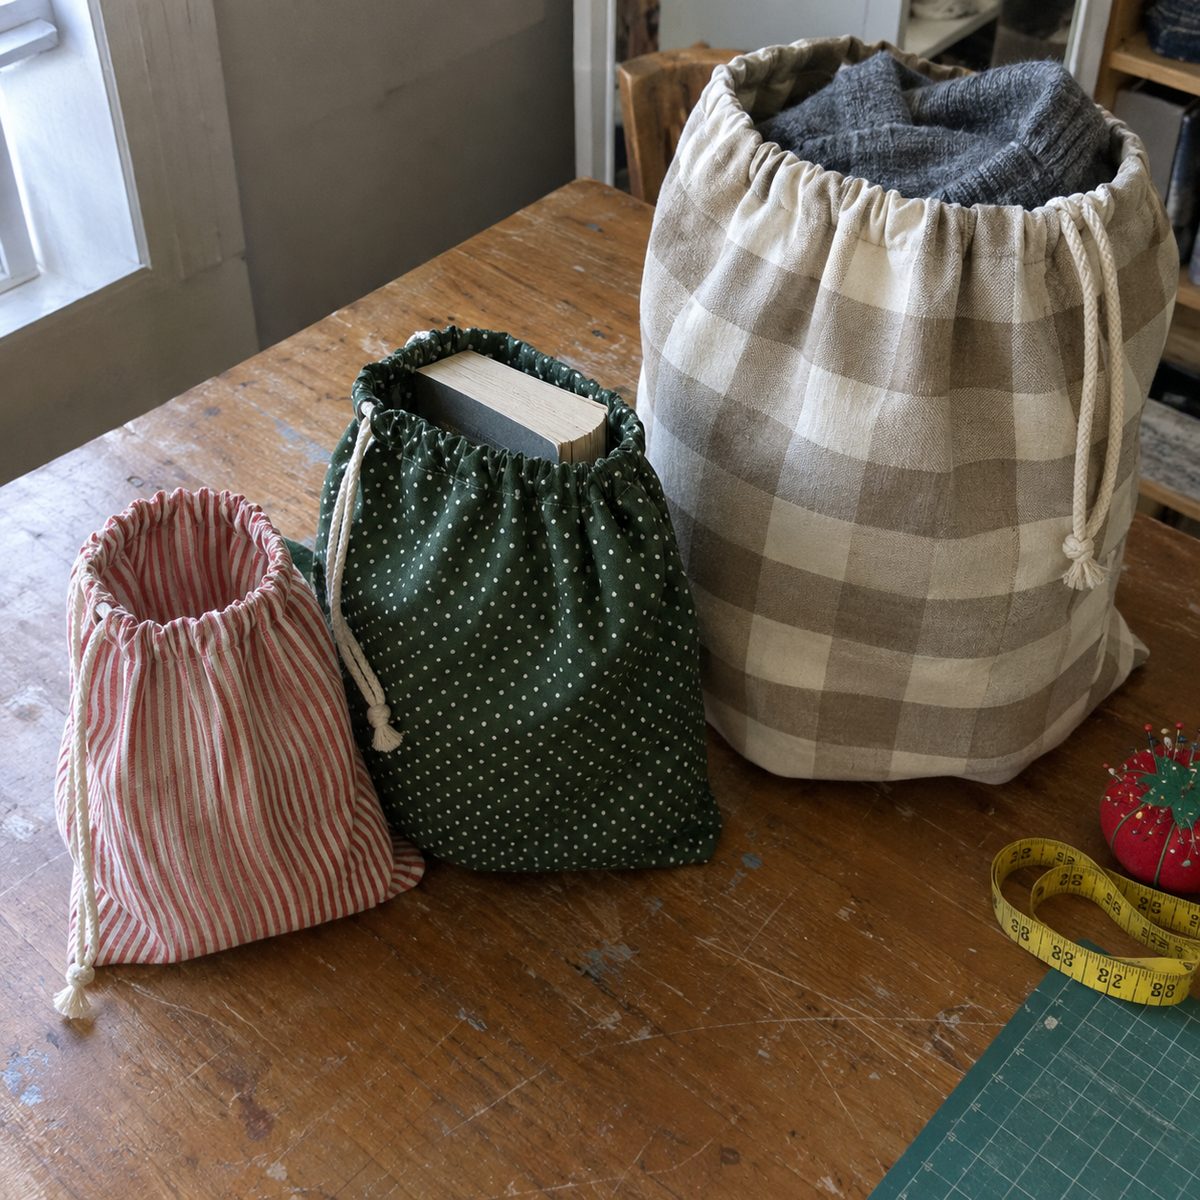
Three sizes from one cut chart, all the same five phases. After one medium, the small is a warm-up and the large is just more pressing.
Fixes for the things that go wrong
The bag will not cinch closed
The channel is too narrow for two cords. Two 1/4-inch ribbons need a 3/4-inch channel, and 5/8-inch ribbon needs 1 1/4 inches. If the lower stitching line crept up or the fold was short, the ribbons bind. Unpick that line and restitch it 1/8 inch lower. Wired ribbon and velvet do not slide either; use grosgrain or twine.
The slot is not lined up with the channel
The seam stopped higher or lower than 2 inches, so the slot got buried in the fold or landed below the stitching. Check before you stitch the casing: the bottom of the folded band should meet the top of the seam exactly. On a finished bag, unpick the seam 1/2 inch from the top, re-hem that bit, and restitch the casing across it.
The slot edges are fraying
You skipped hemming the four loose edges, or hemmed only the front layer. Stop it with fray check and a few hand whipstitches, then run the casing line across the slot again. It is the least fun step and the one that separates a bag that lasts five Christmases from one that lasts one.
The top edge is wavy
The fabric got stretched while stitching the casing, from pulling it over the free arm or from an uneven fold. Steam press the band and let it cool flat under your hand. Next time clip every 3 inches and let the machine feed.
Variations
For a lined bag, cut the outer and the lining the chart width but 1 inch shorter, because the fold-over casing becomes a 1/2-inch seam at the top. Sew each into a bag with plain 1/2-inch side seams, leaving 3/4-inch slots 1 1/4 inches down from the top in the outer only, and a 3-inch turning gap in one lining seam. Nest them right sides together, stitch around the top at 1/2 inch, turn, close the gap, and press. Stitch two lines around the top, 1 inch and 1 3/4 inches down, so the slots fall between them. Lined bags take 30 minutes and are the ones I make for people who sew.
The small size is the party favor bag: orange and black for Halloween treat bags, pastels for a shower, a solid with twine for a wedding table. Twenty from 1 1/2 yards is one evening. The medium in unbleached muslin with cotton twine is a produce bag. For a wine bottle, cut 7 1/4 x 32 1/2 inches for a 6 x 15 inch finished bag. These count as gifts in their own right, which is why they sit on our handmade gifts to sew list and the small ones landed on the Halloween projects roundup.
Batch sewing ten is where this project pays off. Cut all ten first, four layers at a time, and mark the seam stops on the whole stack. Then chain piece: sew the first pass on one side of bag one, feed bag two in behind it without cutting the thread, and keep going until all twenty seams hang in one chain. Snip apart, trim everything in one sitting, press all ten, and run the second pass the same way. Ten medium bags take me about 2 hours this way against 3 hours one at a time.
Frequently asked questions
How much fabric do I need for ten bags?
From 44-inch quilting cotton, a yard gives four medium bags or three large ones, and 3/4 yard gives ten small bags. So ten medium bags is 2 1/2 yards, ten large is 3 1/2 yards, and a mix of sizes fits in 3 yards. Buy ribbon by the spool: ten medium bags use 15 yards of 1/4-inch ribbon.
Can I skip French seams and use a serger or pinked edges?
Yes. For a serger, sew the sides on the regular machine with a 5/8-inch seam stopping at the 2-inch mark, then serge the allowances together from the bottom fold to the stop and chain off. Pinked edges or a zigzag also hold up fine. French seams just look better when the bag is open.
Can the bags be washed?
If you prewashed the fabric, yes, warm wash and low dry. Pull the ribbons out before washing, or knot them to the bag so they cannot slide inside the channel. Twine survives the wash better than satin ribbon, which is why produce bags get twine. Press the casing afterward.
Make one medium bag first, start to finish, and time it. Then cut ten and set aside an evening with the Christmas sewing list open for what goes in them. When you want a bag with a flat bottom and handles next, the easy bags roundup is where this one lives.