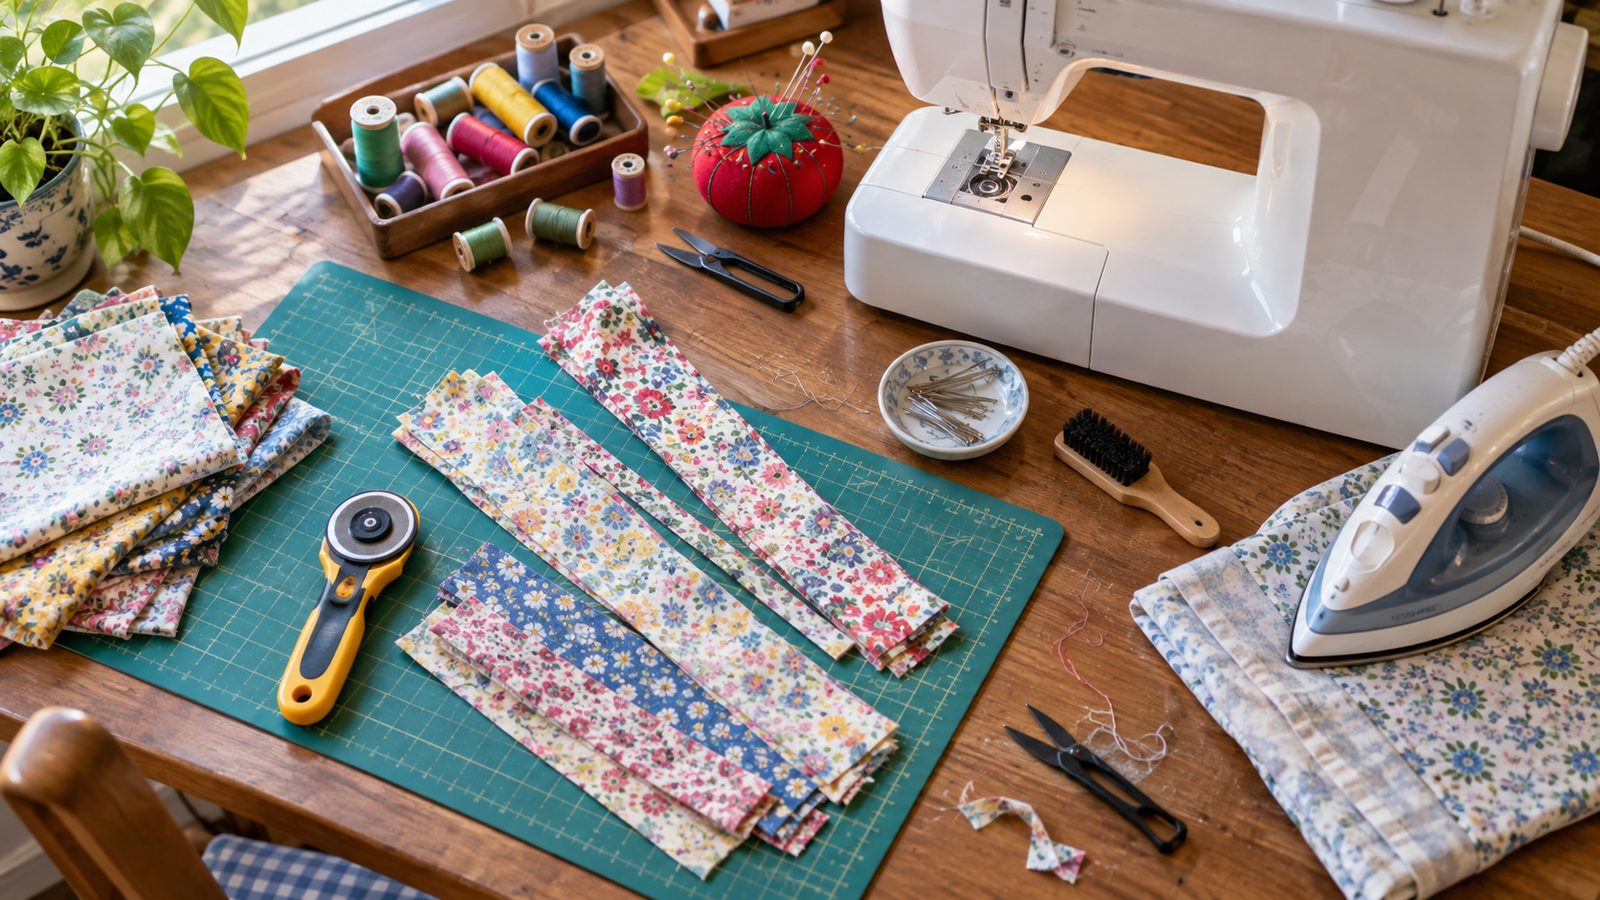
Most sewing frustration doesn’t come from a lack of talent. It comes from a handful of small habits that quietly wreck seams, warp fabric, and make a sewing machine seem like it has a mind of its own.
The good news is that almost every one of these is easy to fix once you know what’s happening. Below are the mistakes I see most often, what each one does to your project, and the simple change that stops it for good.
1. Skipping the Pre-Wash
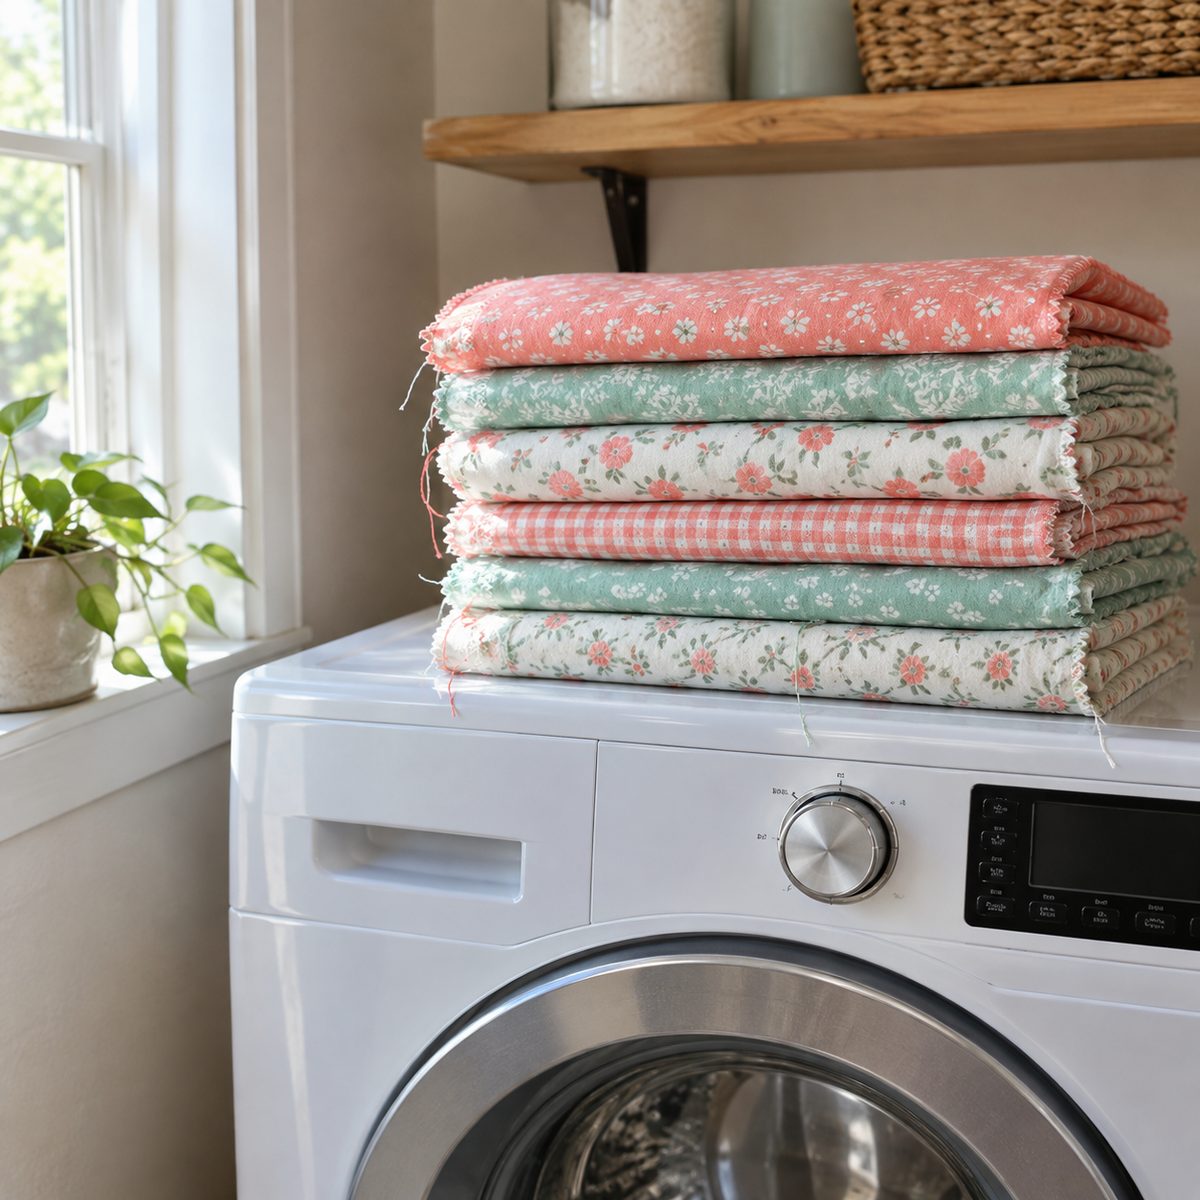
The mistake: cutting straight into new fabric because it looks crisp and ready to go.
What it causes: cotton, linen, and rayon can shrink 3% to 10% the first time they’re washed. That finished shirt suddenly fits like a crop top, quilt blocks pucker, and dark reds and navies bleed onto the light fabrics next to them.
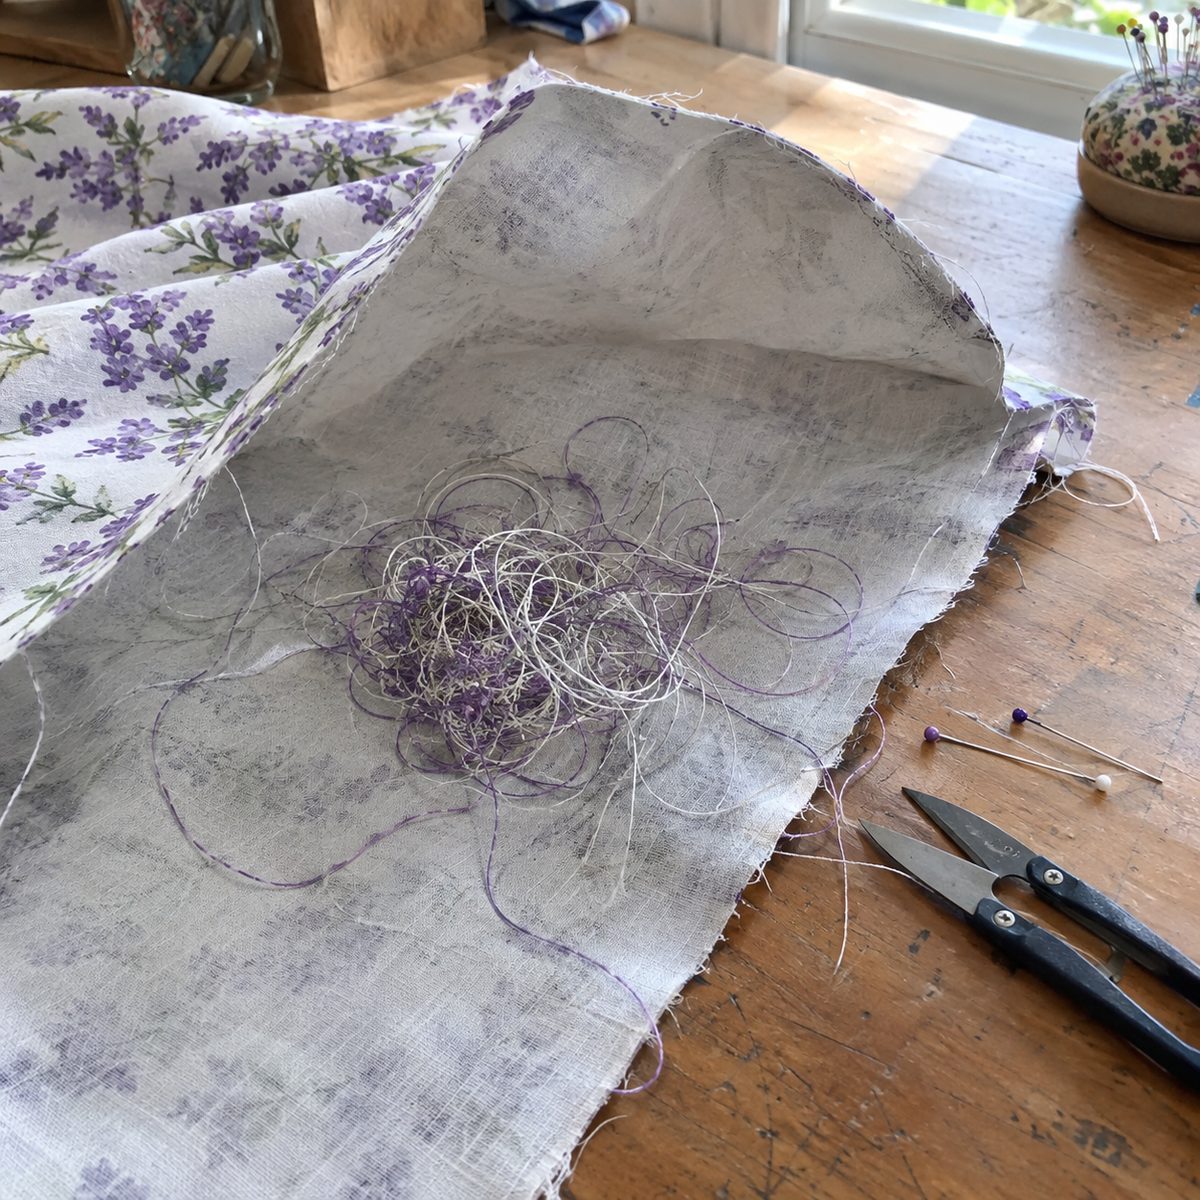
The fix: wash and dry fabric the same way you’ll treat the finished piece, before you cut. Serge or zigzag the cut ends first (or snip the corners diagonally) so a yard of fabric doesn’t turn into a tangled nest of threads. Toss a color-catcher sheet in with bold prints. Then press it smooth. If you’re unsure how a specific fabric should be handled, this guide on washing fabric before sewing walks through it fabric by fabric. The only real exception: dry-clean-only fabrics and pieces you’ll never wash.
2. Using the Wrong Needle for the Fabric
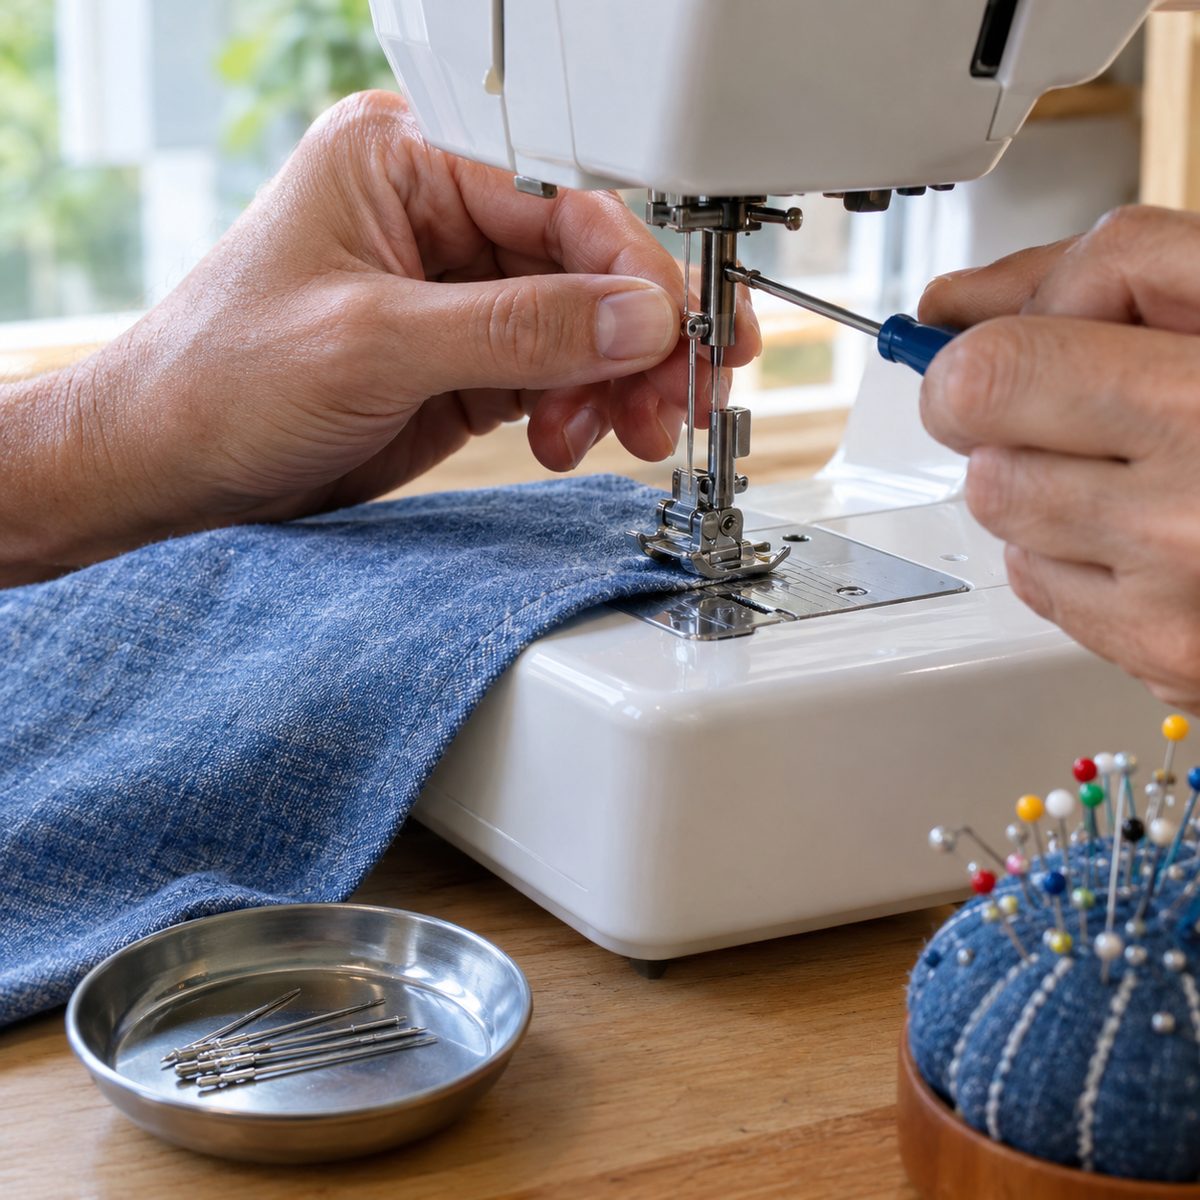
The mistake: leaving whatever needle came in the machine in there for every project.
What it causes: a heavy needle punches visible holes in fine fabric, a thin one bends or snaps in denim, and a sharp needle can snag and ladder knits. Skipped stitches on stretchy fabric are almost always a needle problem.
The fix: match the needle type and size to the fabric. A quick cheat sheet:
- Quilting cotton and linen: universal 80/12
- Lightweight voile or lawn: 70/10 microtex
- T-shirt knits: ballpoint or jersey 75/11
- Leggings and swim fabric: stretch 75/11 or 90/14
- Denim and canvas: jeans 90/14 to 100/16
For a deeper breakdown of cotton weights, see what size sewing machine needle to use for cotton.
3. Sewing Until the Needle Breaks
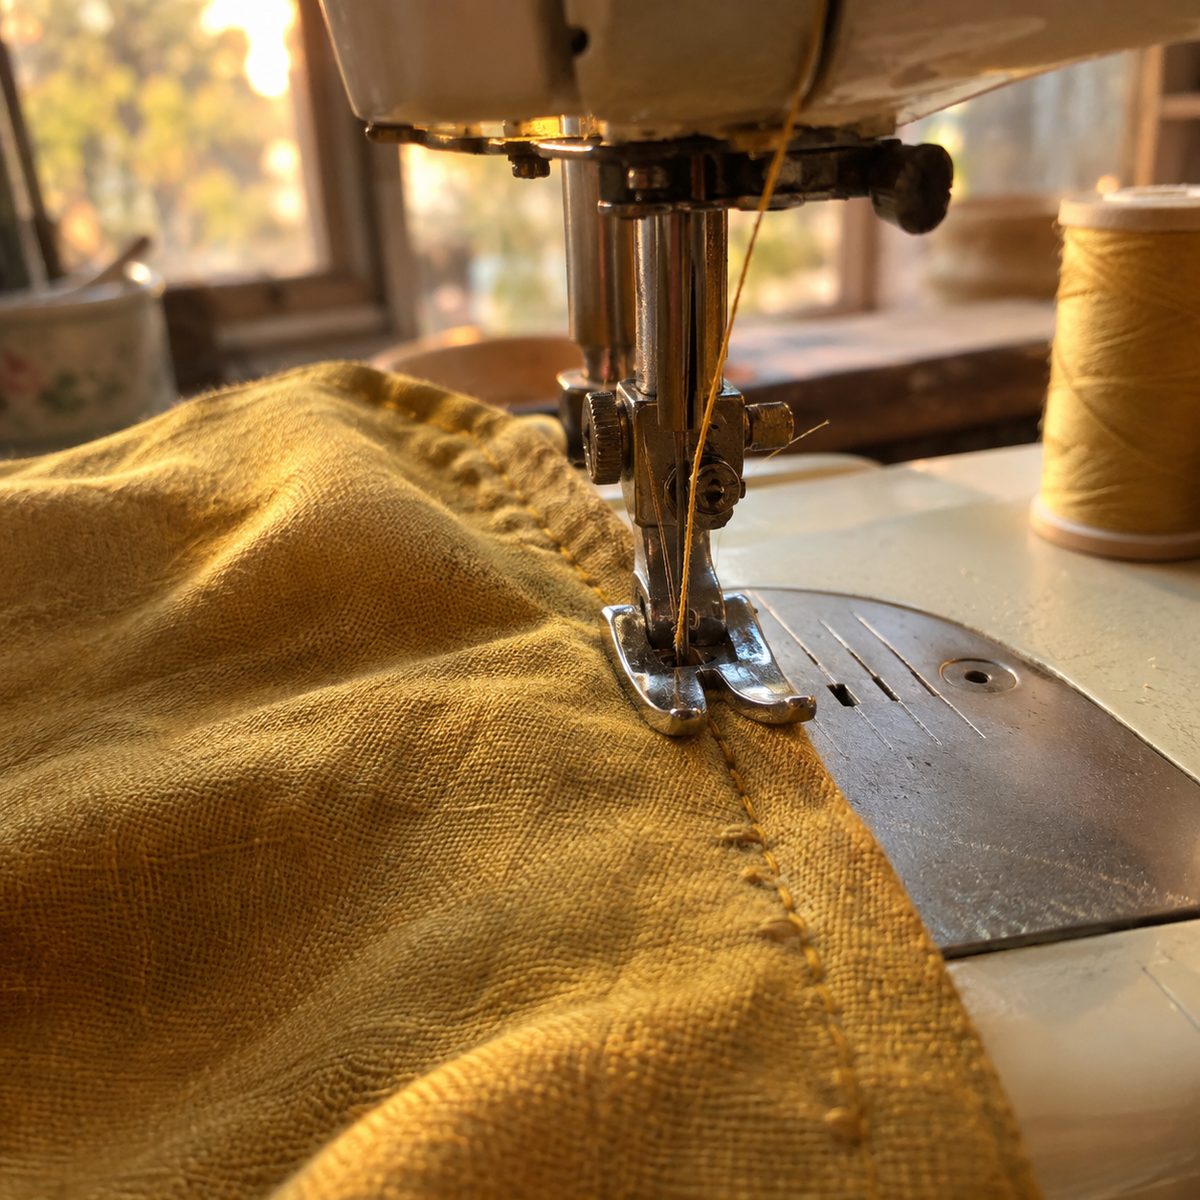
The mistake: treating a needle as permanent until it snaps.
What it causes: needles dull and develop tiny burrs long before they break. A worn needle makes a thudding or popping sound as it enters the fabric, causes skipped stitches, pulls threads in the weave, and can shred your top thread over and over.
The fix: put in a fresh needle at the start of every new project, or after roughly 6 to 8 hours of sewing time. Change it immediately after sewing over a pin or hitting a thick seam hard, since even a slightly bent tip can hit the bobbin case. My habit is to jot the date on a sticky note on the machine when I swap one in. Needles are one of the cheapest supplies in your sewing room, and replacing them fixes a surprising number of “broken machine” problems for pennies.
4. Threading With the Presser Foot Down
The mistake: threading the machine while the presser foot is lowered.
What it causes: when the foot is down, the tension discs are clamped shut, so the thread sits on top of them instead of between them. The result is a huge bird’s nest of loops on the underside of your fabric within the first few stitches, and it looks like a tension problem even though it isn’t.
The fix: always raise the presser foot before threading, and turn the handwheel toward you until the needle is at its highest point. Then thread in order, following the numbered path on your machine, and give the thread a gentle tug near the needle to feel resistance. If there’s no drag at all, rethread. Also hold both thread tails lightly behind the foot for the first two or three stitches so they don’t get sucked into the bobbin area.
5. Ignoring Thread Tension
The mistake: never touching the tension dial, or cranking it around randomly when stitches look wrong.
What it causes: if the top tension is too tight, bobbin thread shows as dots on the top and seams pucker. Too loose, and top thread loops show on the underside and seams pull apart when stressed.
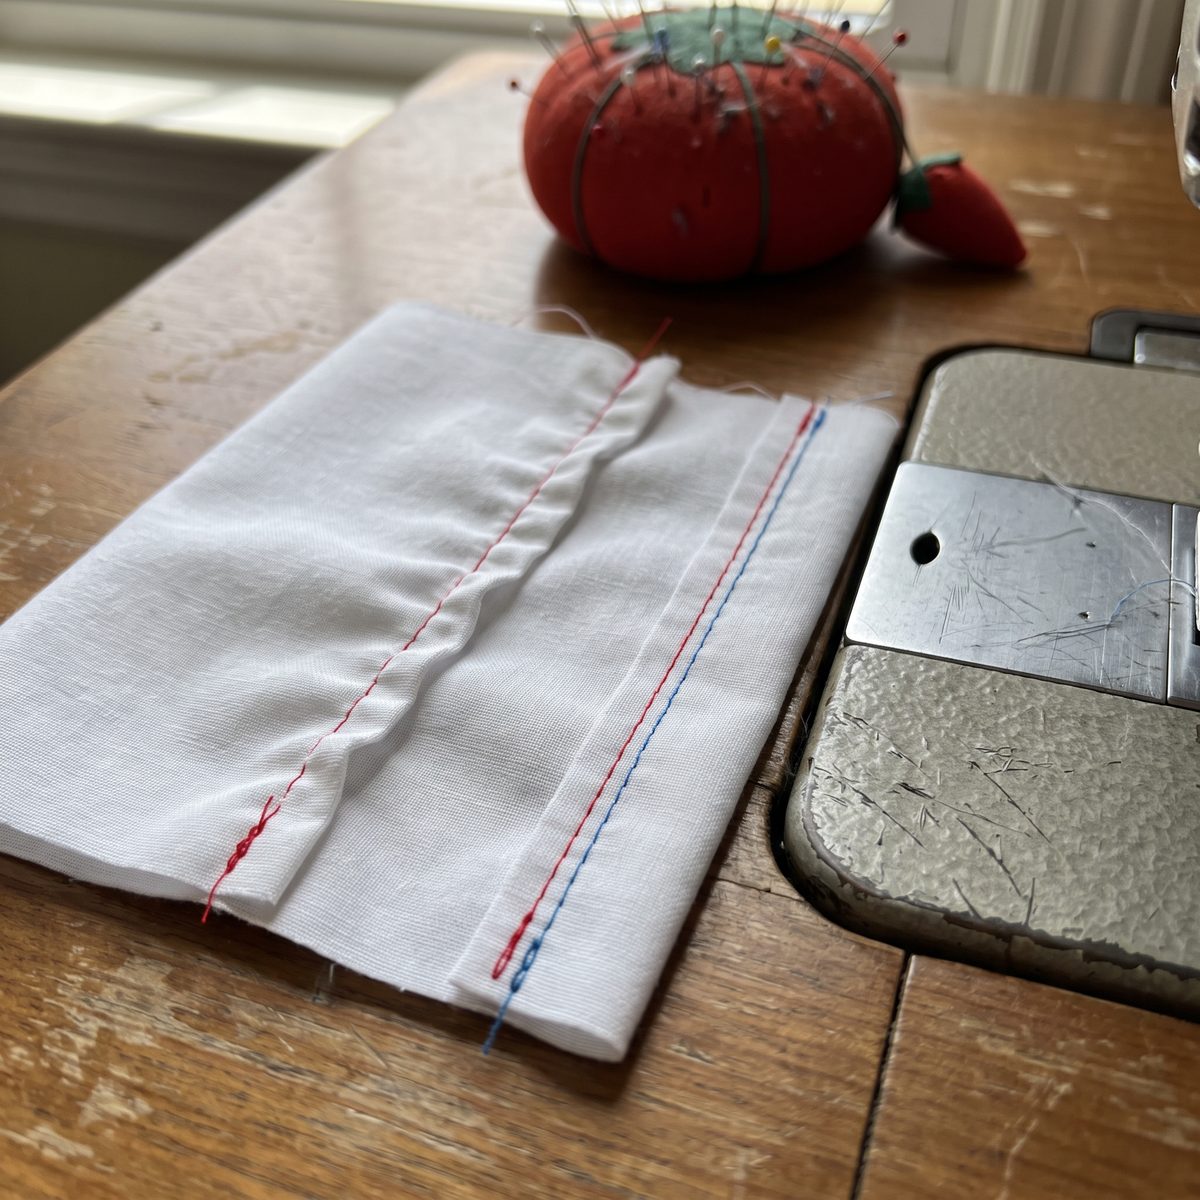
The fix: sew a test line on a double layer of scrap from your actual fabric, using contrasting thread colors in the top and bobbin so you can see where they lock. The knot should hide between the layers. Adjust the top tension one number at a time and retest. Most machines are happy at 4 for woven cotton. Rethread and check the bobbin first, because most “tension problems” are really threading problems. This step-by-step on how to set tension on a sewing machine shows exactly what balanced stitches look like.
6. Buying Bargain-Bin Thread
The mistake: grabbing the multi-spool value pack of mystery thread.
What it causes: cheap thread tends to be fuzzy and uneven in thickness. It sheds lint into your machine, breaks mid-seam, frays at the needle eye, and makes tension nearly impossible to balance because the thickness keeps changing.
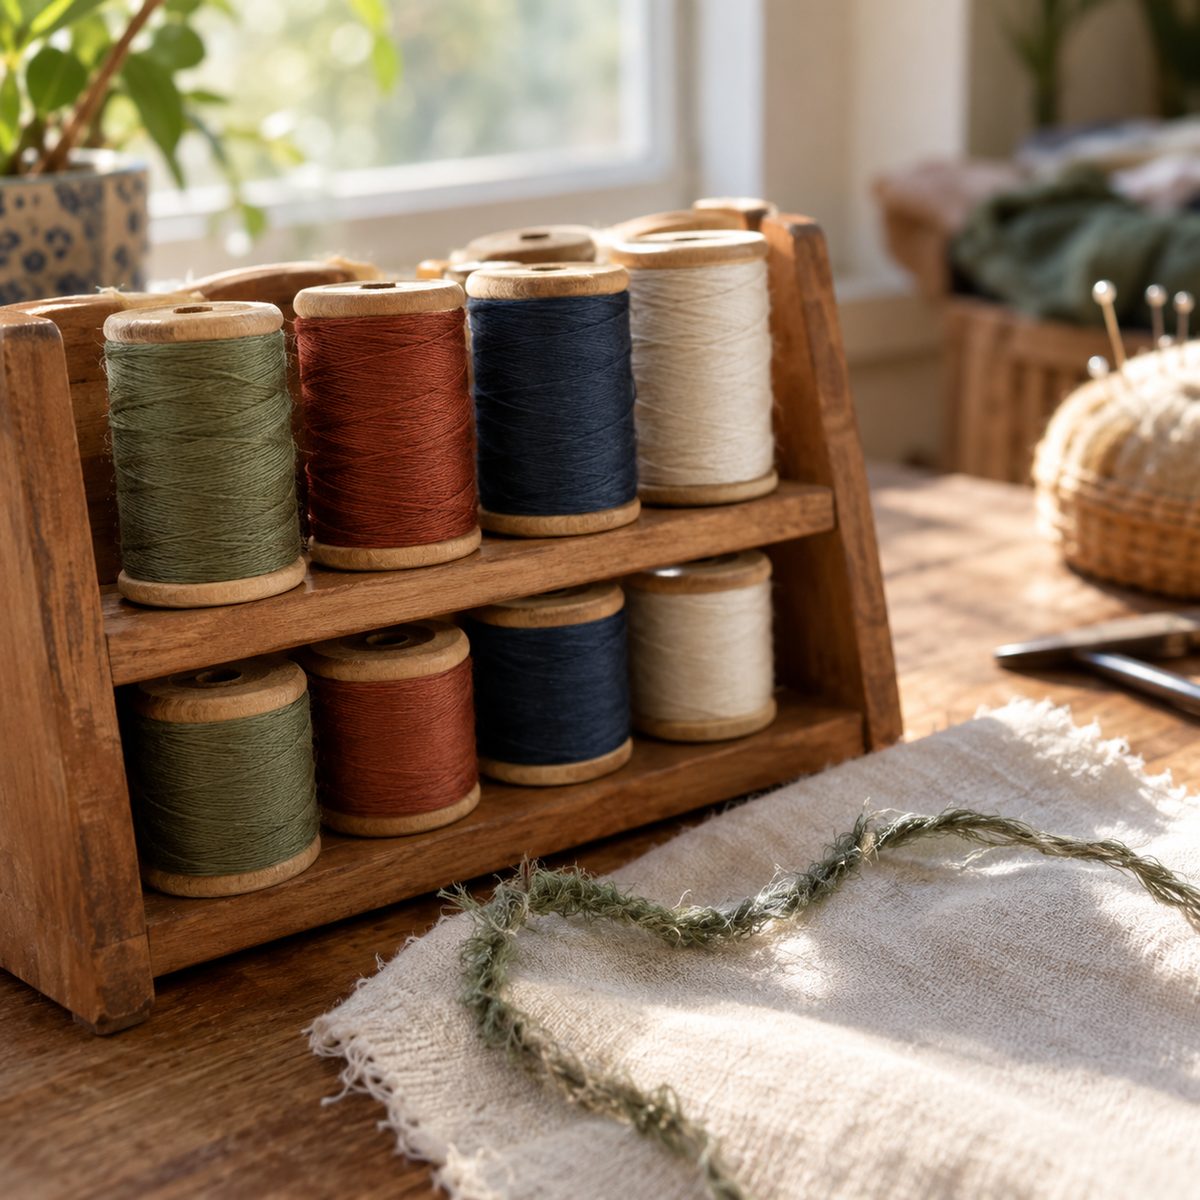
The fix: use a good all-purpose polyester thread for most garment and home-dec sewing, and 100% cotton thread for quilting cotton if you prefer natural fibers. Run a length between your fingers: quality thread feels smooth with almost no fuzz. Use the same thread in the top and bobbin whenever possible. Old thread matters too. If a spool has been sitting in a sunny window or a hot attic for years, test it by snapping a length between your hands; if it breaks easily, it’s time to retire it.
7. Cutting Off-Grain
The mistake: laying pattern pieces wherever they fit best to save fabric, ignoring the grainline arrows.
What it causes: pieces cut off-grain twist and hang crooked. Pant legs spiral toward the front, skirts dip at one side, and stripes or plaids go diagonal. It can’t be pressed out later.
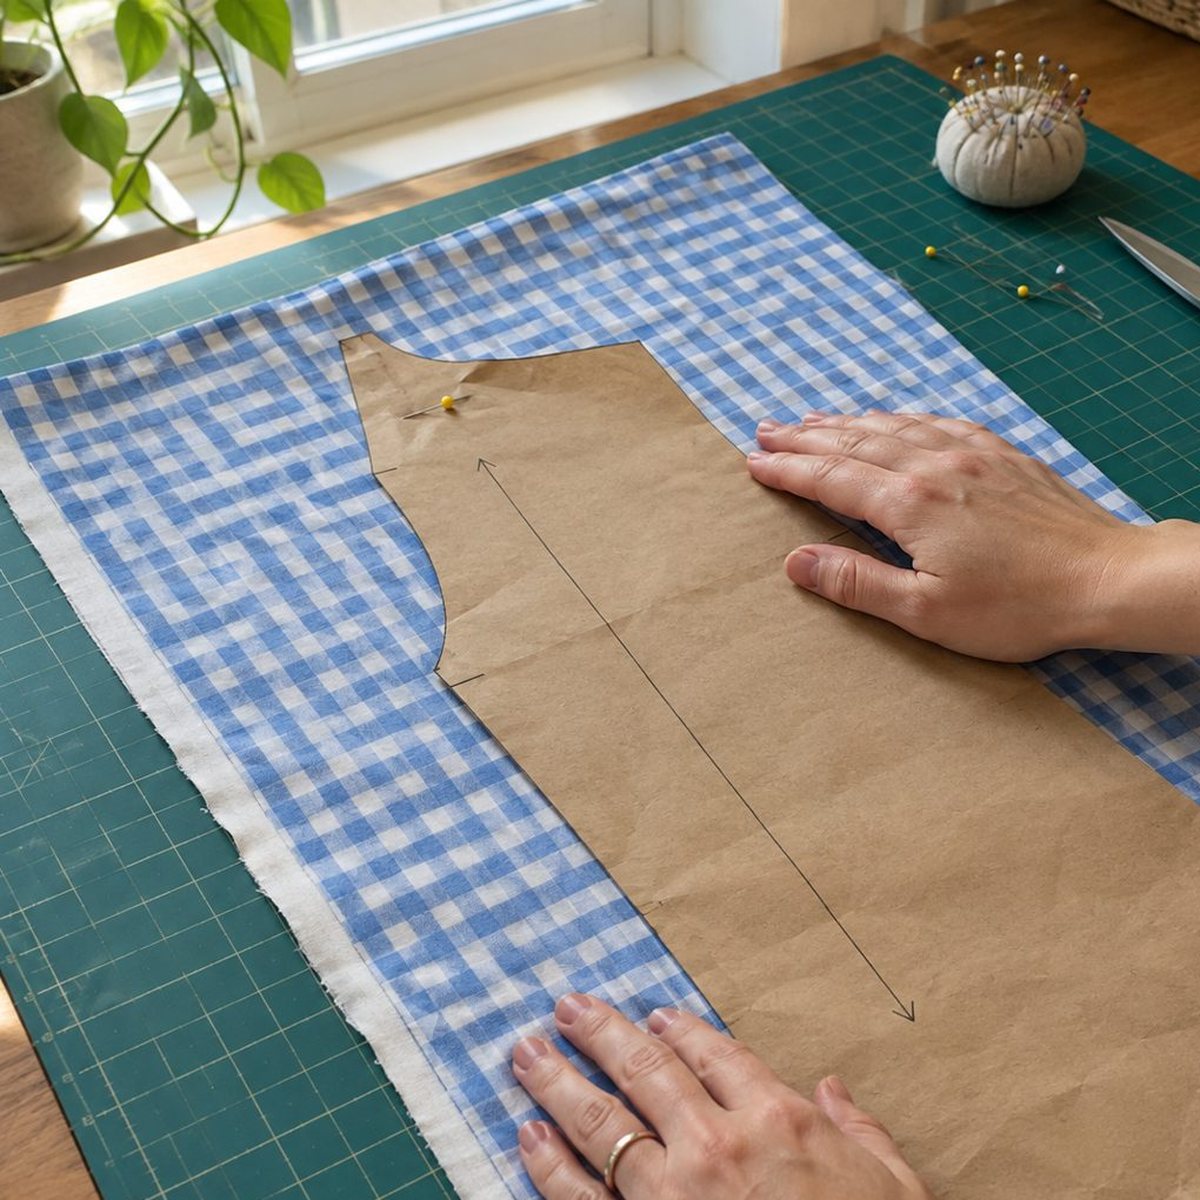
The fix: find the lengthwise grain, which runs parallel to the finished edge of the fabric (the selvage). Lay each pattern piece so its grainline arrow is parallel to that edge. Measure from one end of the arrow to the selvage, then the other end, and nudge the piece until both measurements match. Pin, then cut. If your fabric looks skewed after washing, pull it diagonally on the bias from opposite corners to coax the threads back into square before you lay out any pieces.
8. Cutting With a Dull Rotary Blade or Scissors
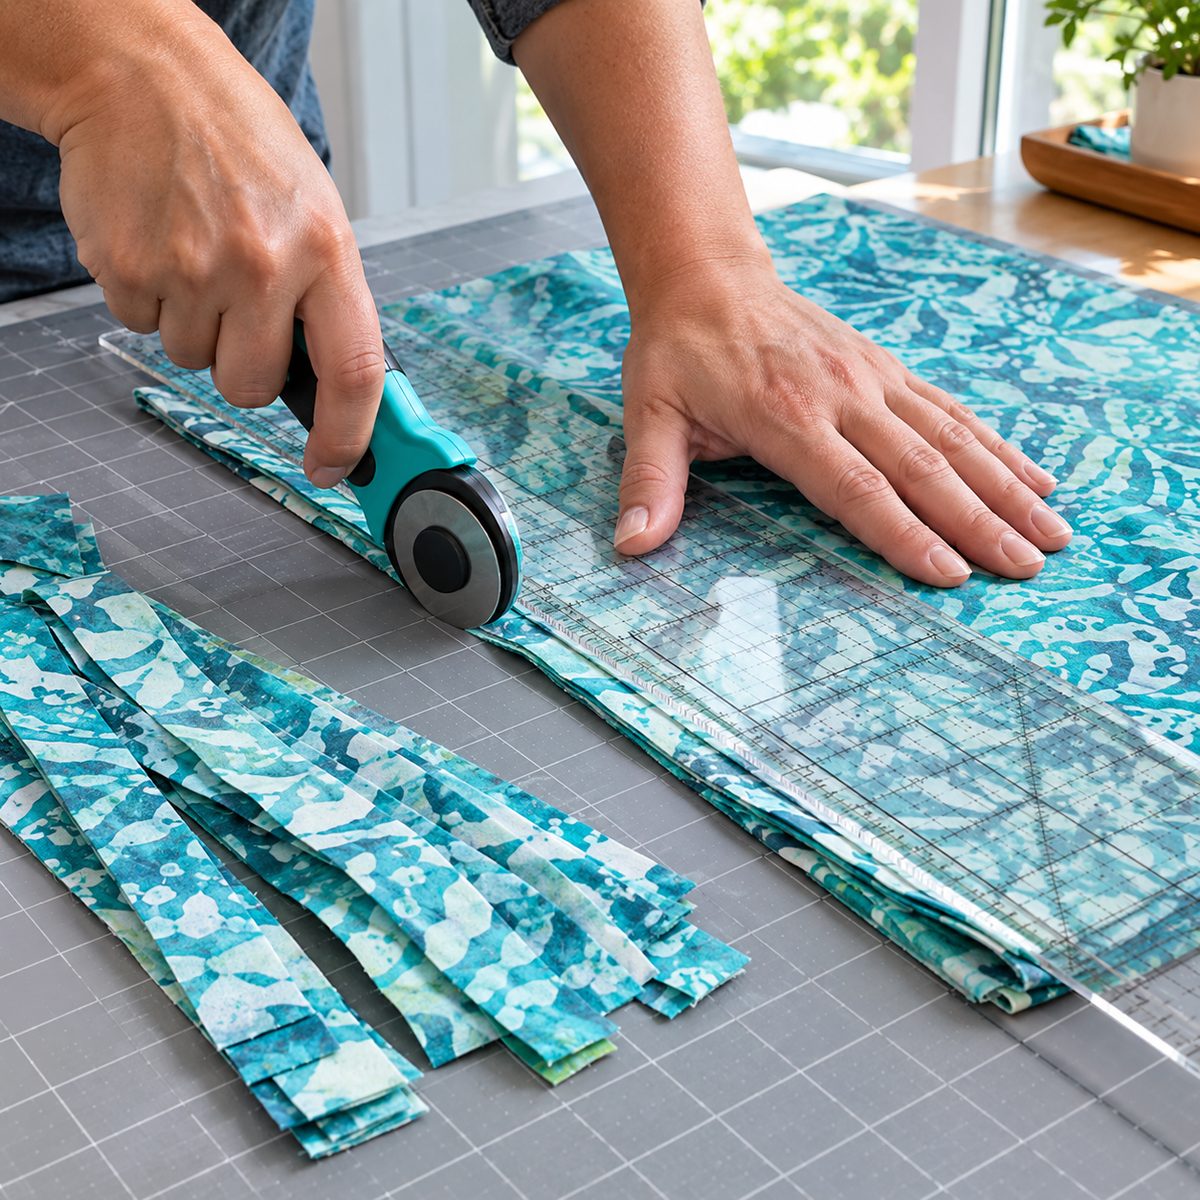
The mistake: pushing harder instead of changing a tired rotary blade, or using your fabric shears on paper.
What it causes: a dull blade skips threads, leaving little uncut spots you have to snip by hand. It chews edges, shifts layers out of alignment, and forces you to press so hard that your wrist aches and the ruler can slip, which is a real safety risk.
The fix: replace a rotary blade as soon as it skips a single thread across a cut; for regular quilters that’s often every few projects. Always cut away from your body and close the blade guard after every cut. Keep a pair of shears for fabric only and tie a ribbon on the handle so nobody borrows them for wrapping paper. Have them professionally sharpened once a year if you sew often.
9. Pulling or Pushing Fabric Through the Machine
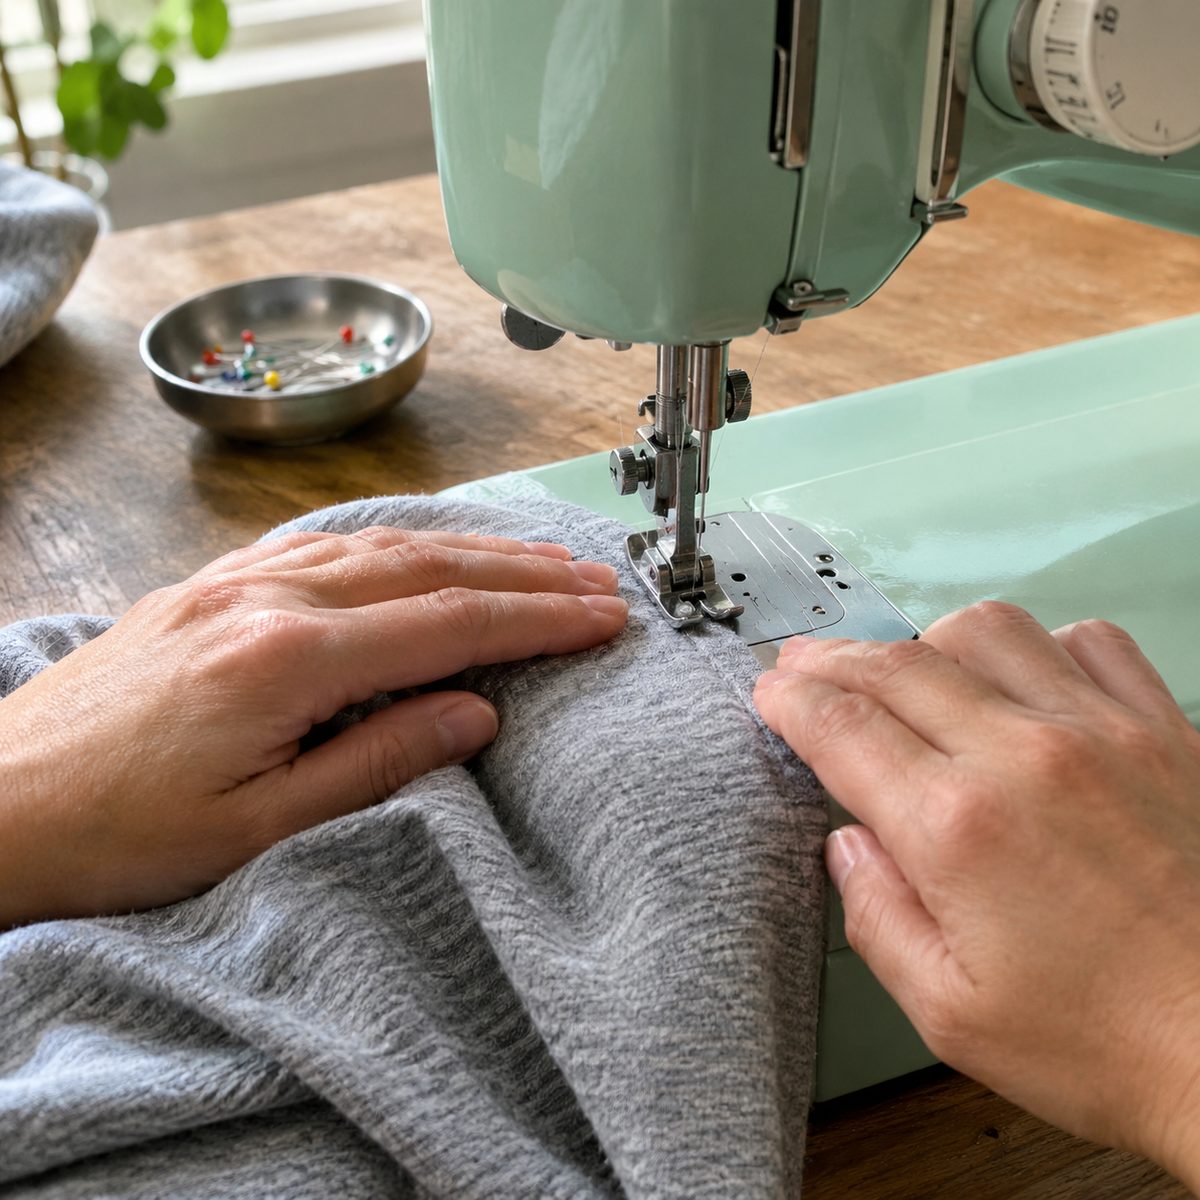
The mistake: tugging the fabric from behind or shoving it forward to “help” the machine along.
What it causes: the feed dogs and presser foot are designed to move fabric at a steady rate. Fighting them gives you uneven stitch lengths, stretched and wavy seams (especially on knits), bent needles, and needles that snap when they hit the throat plate.
The fix: let the machine do the feeding. Your hands only guide. Rest them lightly on either side of the foot and steer, like driving a car with a loose grip. If fabric won’t feed well, the cause is usually something else: presser foot pressure set too low, lint packed in the feed dogs, or a slippery fabric that needs a walking foot. For knits, lower the presser foot pressure a notch and use a stretch stitch so the seam stays flat.
10. Sewing Over Pins
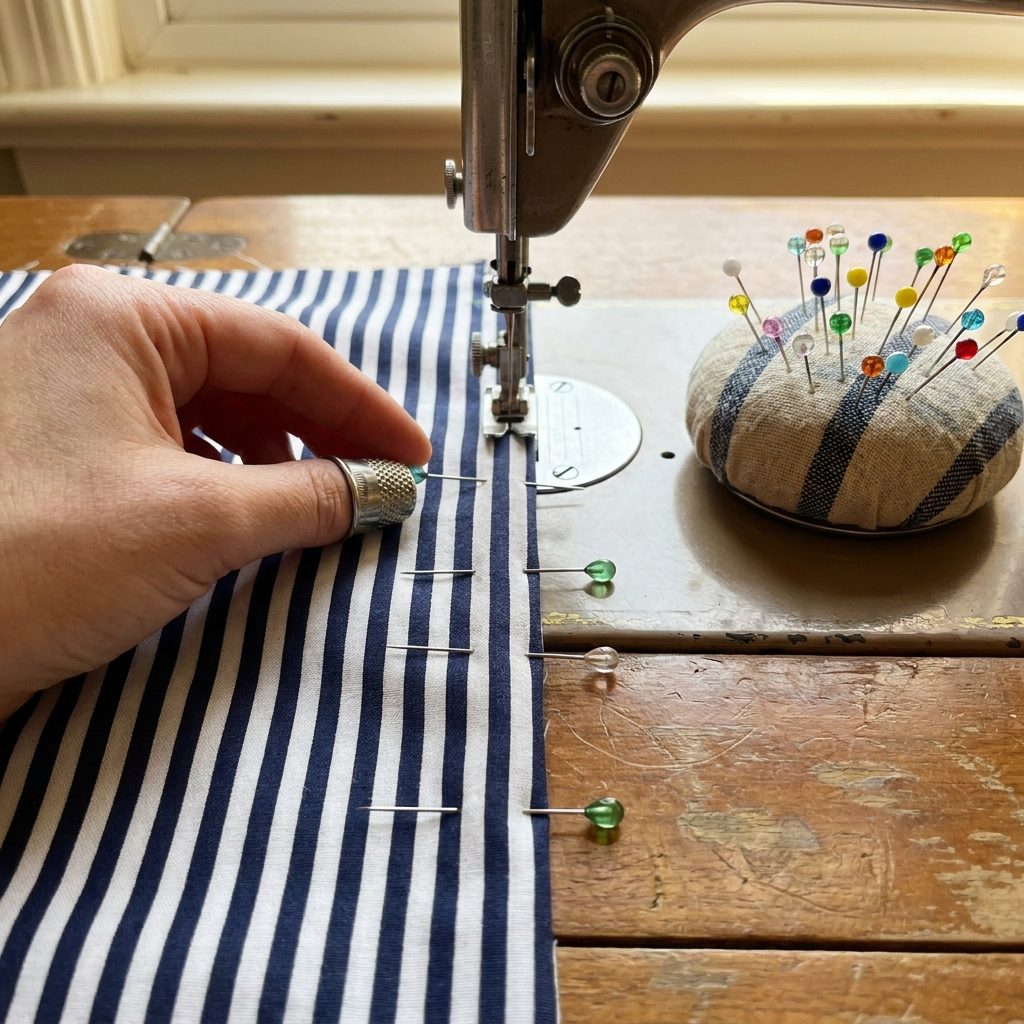
The mistake: leaving pins in and stitching right over them to save time.
What it causes: sooner or later the needle strikes a pin. At best you get a dulled or bent needle; at worst it snaps and can fling a fragment toward your face, or knock your machine’s timing out of alignment, which means a repair shop visit.
The fix: pin perpendicular to the seam line with the heads facing the raw edge, then pull each pin out just before it reaches the presser foot. Keep a magnetic pincushion right next to the machine so you can drop pins as you go without looking. For slippery fabrics, bulky layers, or anything where pins leave marks (like vinyl or leather), switch to sewing clips instead. They hold just as well and you never have to worry about hitting one.
11. Eyeballing the Seam Allowance
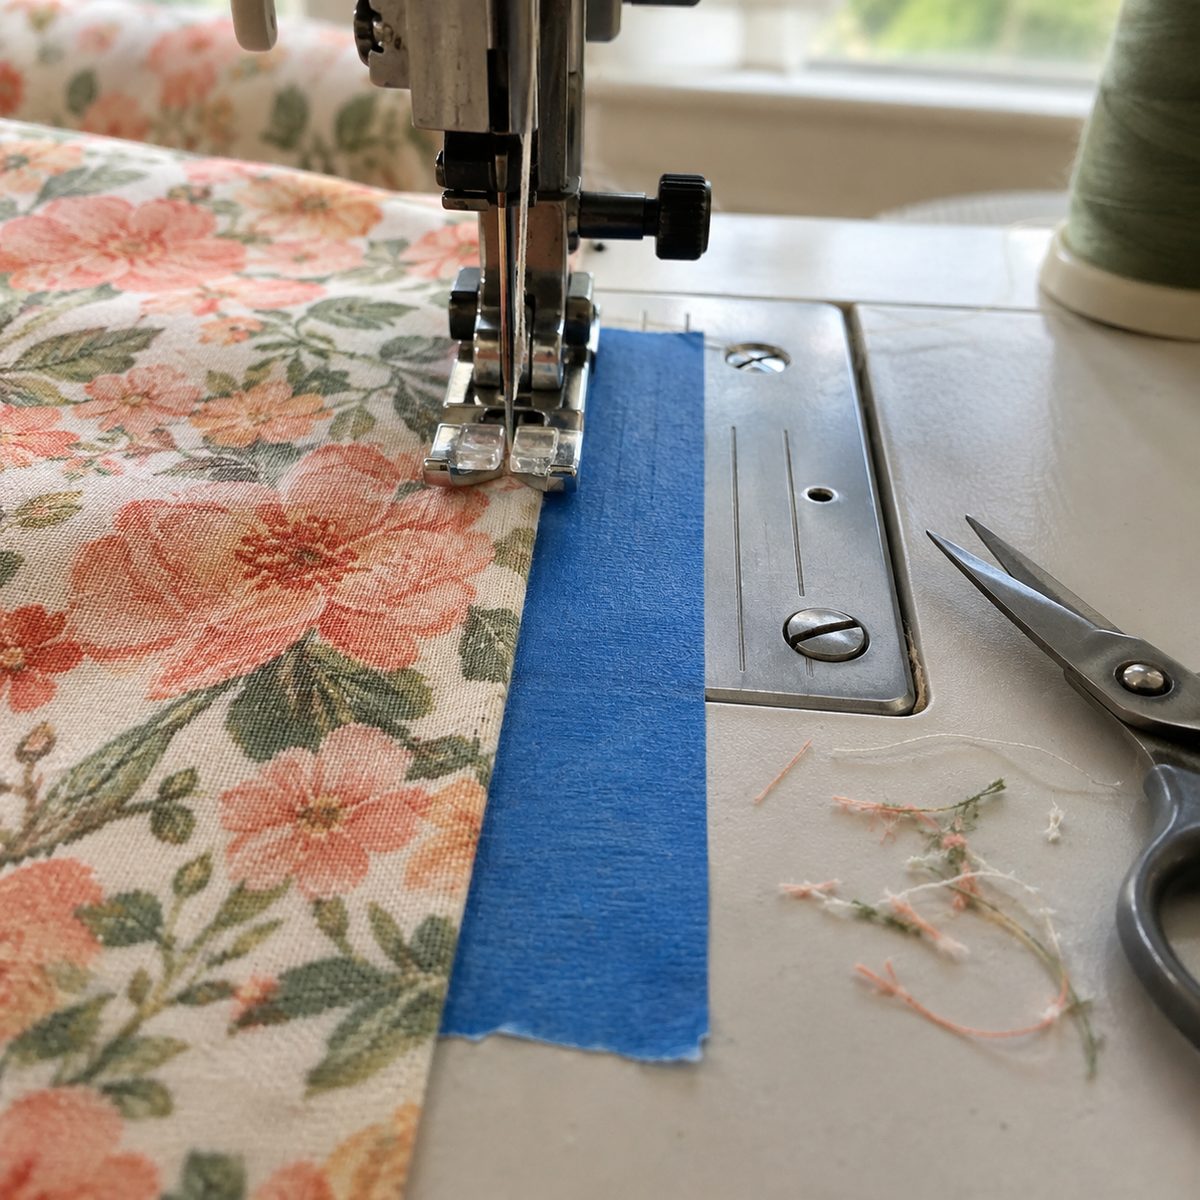
The mistake: lining the fabric up with “about” the right spot on the presser foot.
What it causes: patterns are drafted for an exact seam allowance, usually 5/8 inch for garments and 1/4 inch for quilting. Being off by just 1/8 inch on every seam of a garment with eight seams can add or remove a full inch or more of fit. In quilting, blocks come out the wrong size and points don’t match.
The fix: find the right guide line on your throat plate and keep your eye on that, not the needle. If your plate markings are hard to see, stick a strip of painter’s tape or a magnetic seam guide at the right distance. For quilting, a 1/4-inch foot with a flange makes this nearly foolproof. Check your accuracy by sewing a test seam and measuring it before starting.
12. Bad Backstitch Habits
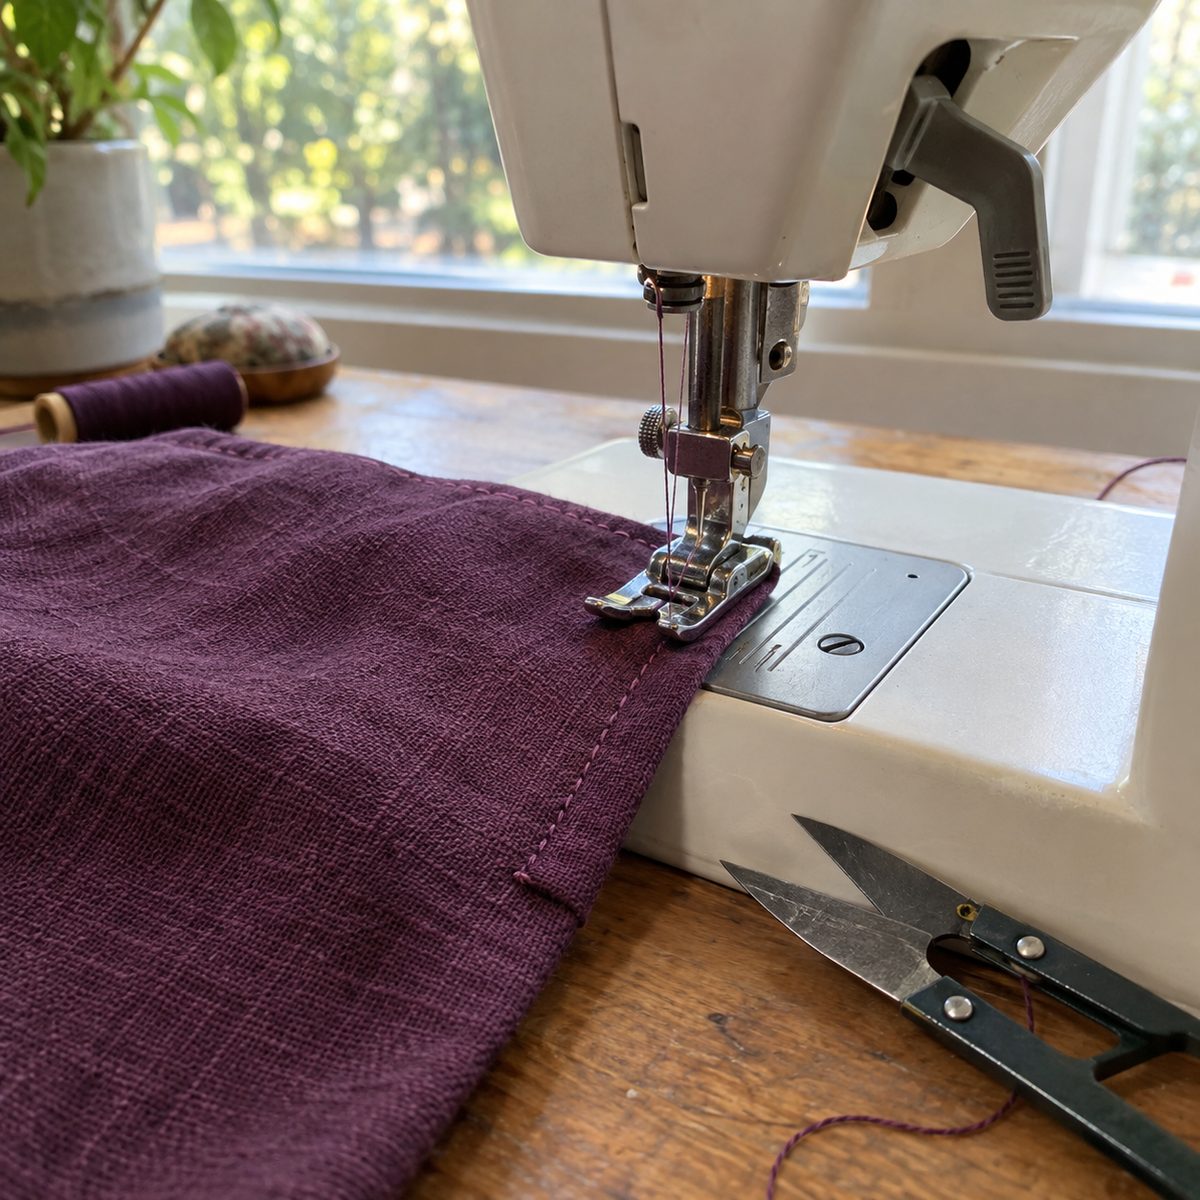
The mistake: either forgetting to backstitch at all, or backstitching five or six times until there’s a hard lump of thread.
What it causes: no backstitch means seams unravel from the ends, especially at openings and pockets. Too much creates a stiff, bulky knot that can show through light fabrics, and starting a backstitch right at the fabric edge often jams the fabric down into the throat plate.
The fix: start about 1/4 inch in from the edge, stitch backward to the edge, then sew forward. At the end of the seam, backstitch three or four stitches, no more. For fine fabrics or topstitching where a backstitch would show, pull both threads to the wrong side and tie them in a knot instead. Skip backstitching entirely on seams that will be crossed by another seam, and on basting stitches you plan to remove.
13. Skipping the Pressing
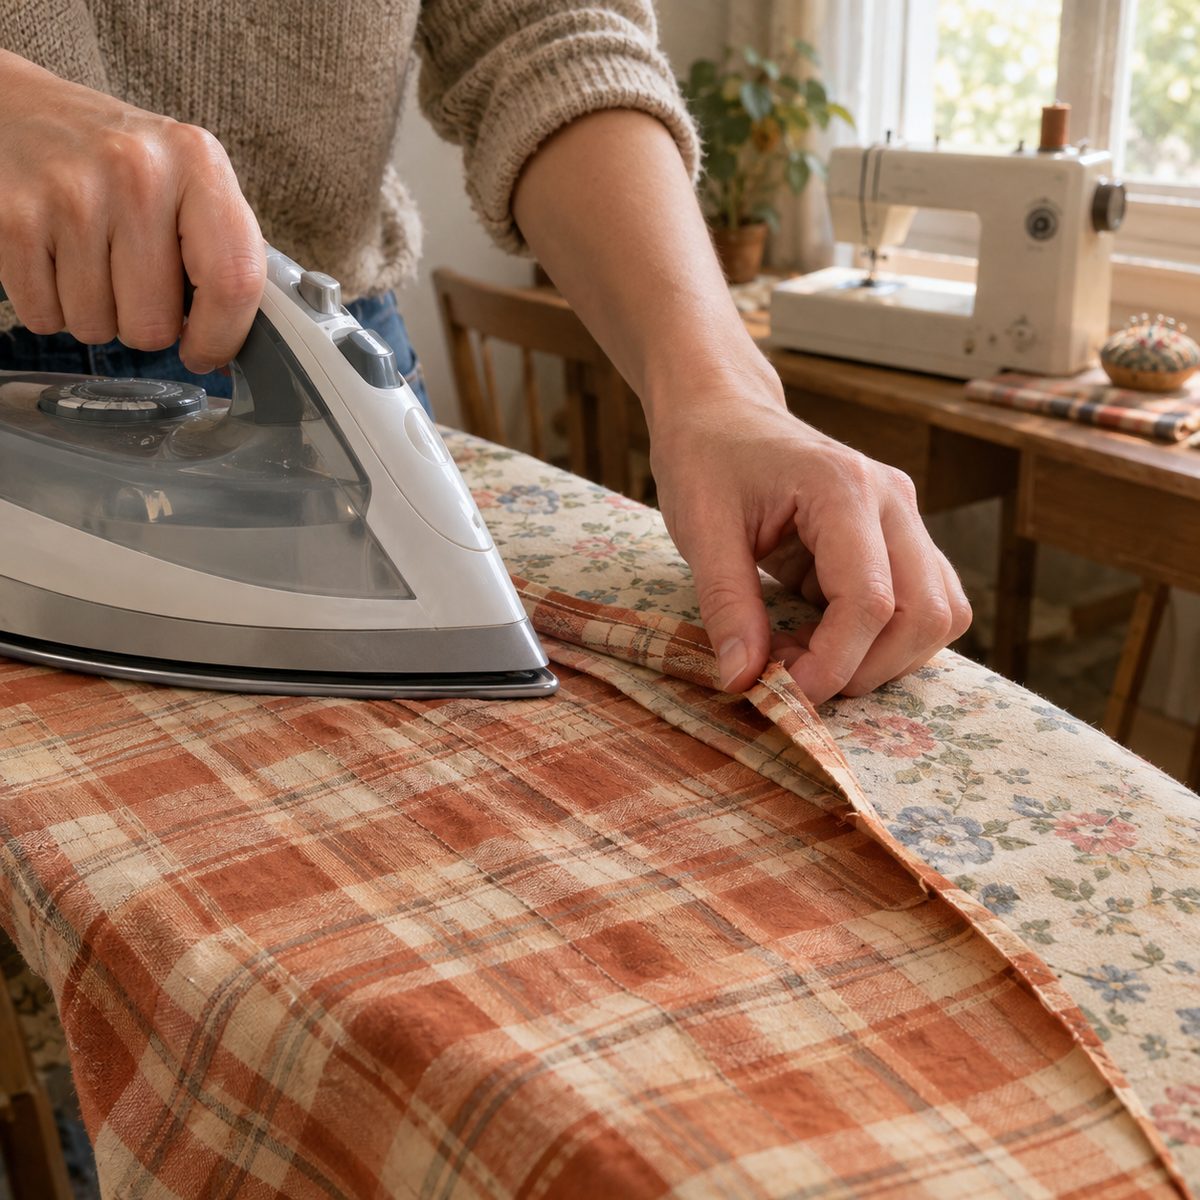
The mistake: sewing seam after seam and saving the iron for the very end, or skipping it completely.
What it causes: unpressed seams create bulk, so the next seam you sew across them goes crooked. Collars and hems look lumpy, quilt blocks shrink, and the finished piece looks homemade in the wrong way.
The fix: press every seam before crossing it with another one. First press the seam flat as sewn to set the stitches, then press it open or to one side, as the pattern says. Press means lifting and lowering the iron, not sliding it back and forth, which stretches fabric out of shape. Use a press cloth on dark fabrics and synthetics to avoid shine. Keeping a small travel iron or mini iron right beside your machine makes this habit painless.
14. Leaving Raw Edges Unfinished
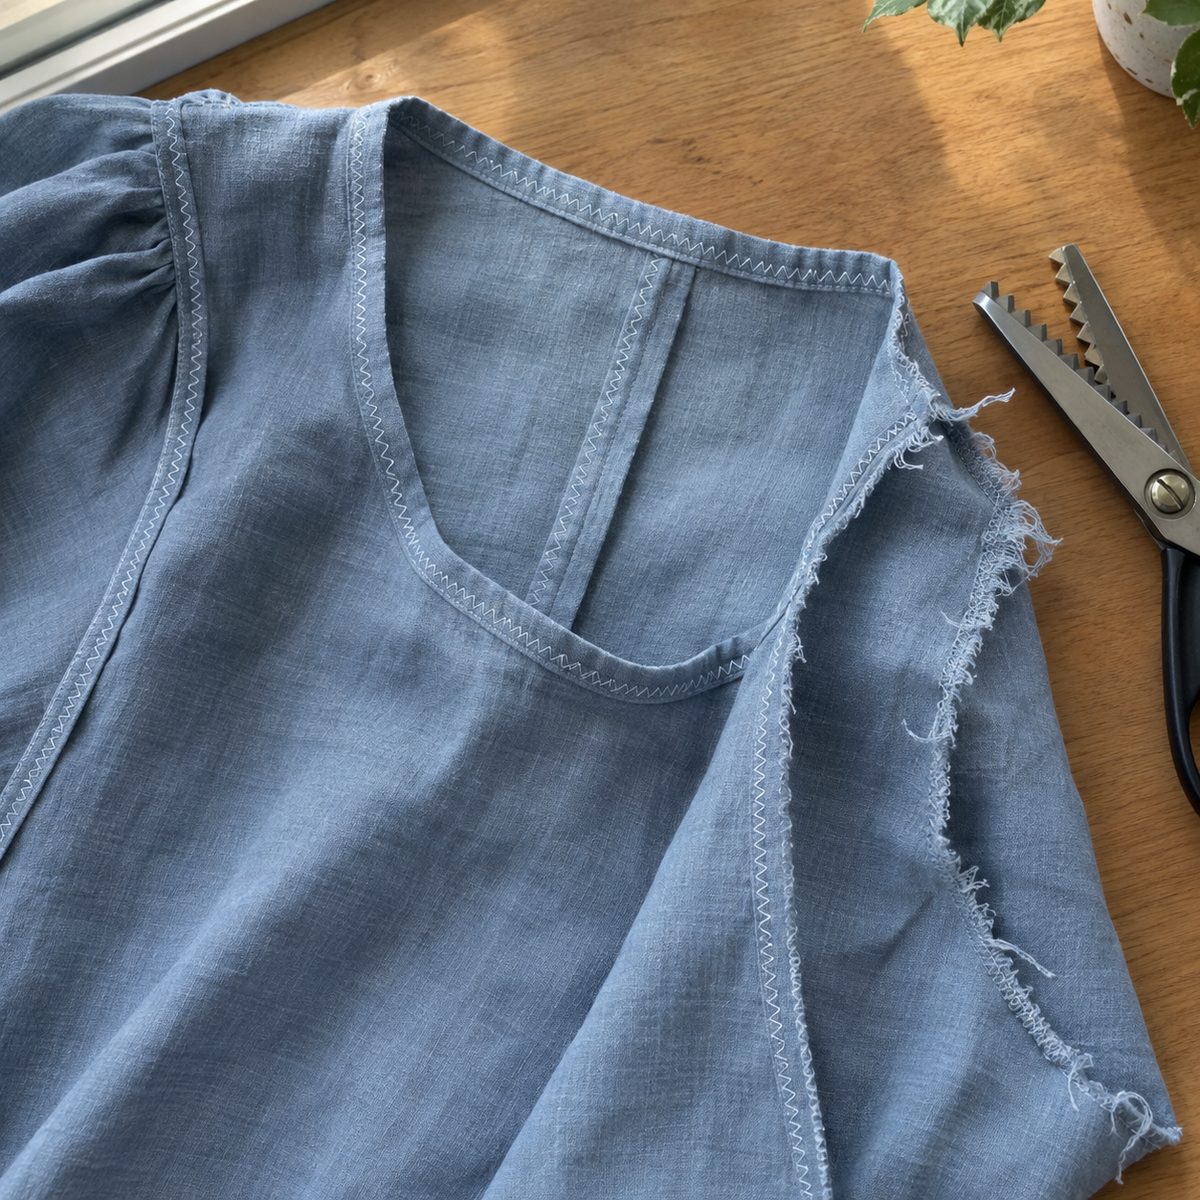
The mistake: sewing the seams and moving on without finishing the cut edges inside.
What it causes: woven fabrics like linen, gauze, and loose cottons fray a little more with every wash. After a few trips through the machine, fraying can creep right up to the stitching line and open the seam up. The inside of the garment also looks messy.
The fix: finish every seam allowance unless the edge is fully enclosed (like inside a lined bag). Easy options:
- Zigzag stitch just inside the raw edge, then trim close
- Pinking shears for stable, tightly woven cotton
- A French seam for sheer or lightweight fabrics
- A serger if you have one, the fastest option
It takes an extra 5 to 10 minutes per project and roughly doubles its life.
15. Never Cleaning the Machine
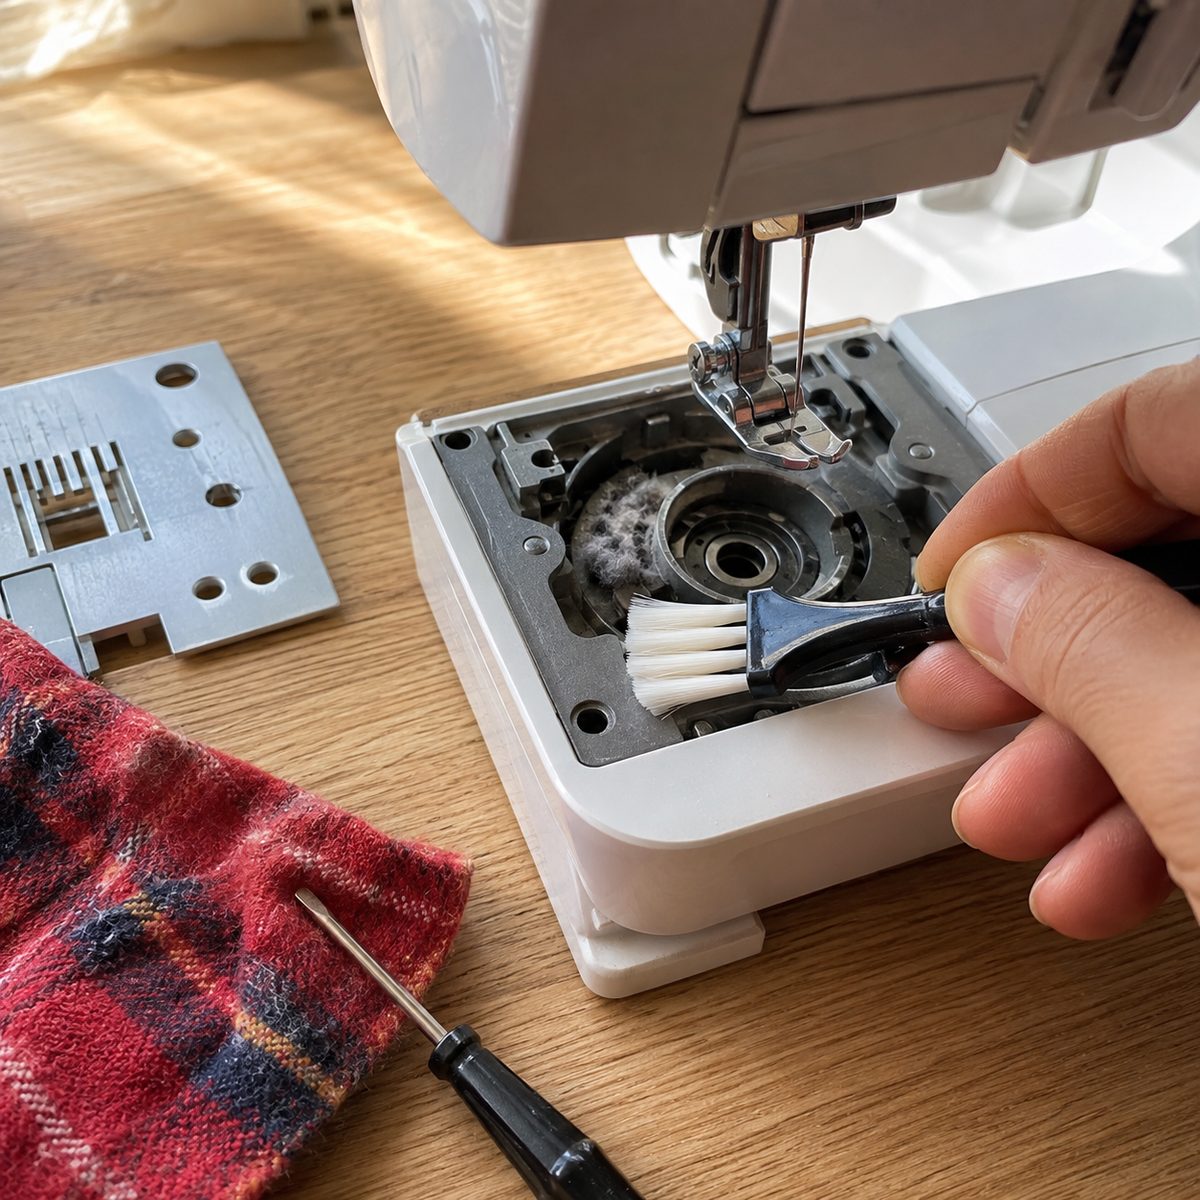
The mistake: sewing month after month without ever opening the bobbin area.
What it causes: lint from fabric and thread packs under the throat plate and around the bobbin case. It throws off bobbin tension, jams the feed dogs so fabric won’t move, and causes skipped stitches, clunking noises, and thread breaks that seem to come from nowhere.
The fix: after every 8 to 10 hours of sewing, or after any fuzzy project like flannel or fleece, unplug the machine, remove the needle, presser foot, and throat plate, and take out the bobbin case. Brush out the lint with the small brush that came with your machine. Skip canned air, which pushes lint deeper inside. Oil only where your manual says to, if at all, since many newer machines are sealed and don’t need oil.
Small Habits, Better Results
You don’t have to fix all fifteen at once. Pick the two or three that sound most familiar, usually the needle, the pressing, and the seam allowance, and make them automatic on your next project. Each one you correct removes a whole category of problems, and suddenly your machine seems a lot more cooperative. Keep this list handy near your machine, and come back to it whenever a project starts fighting you.