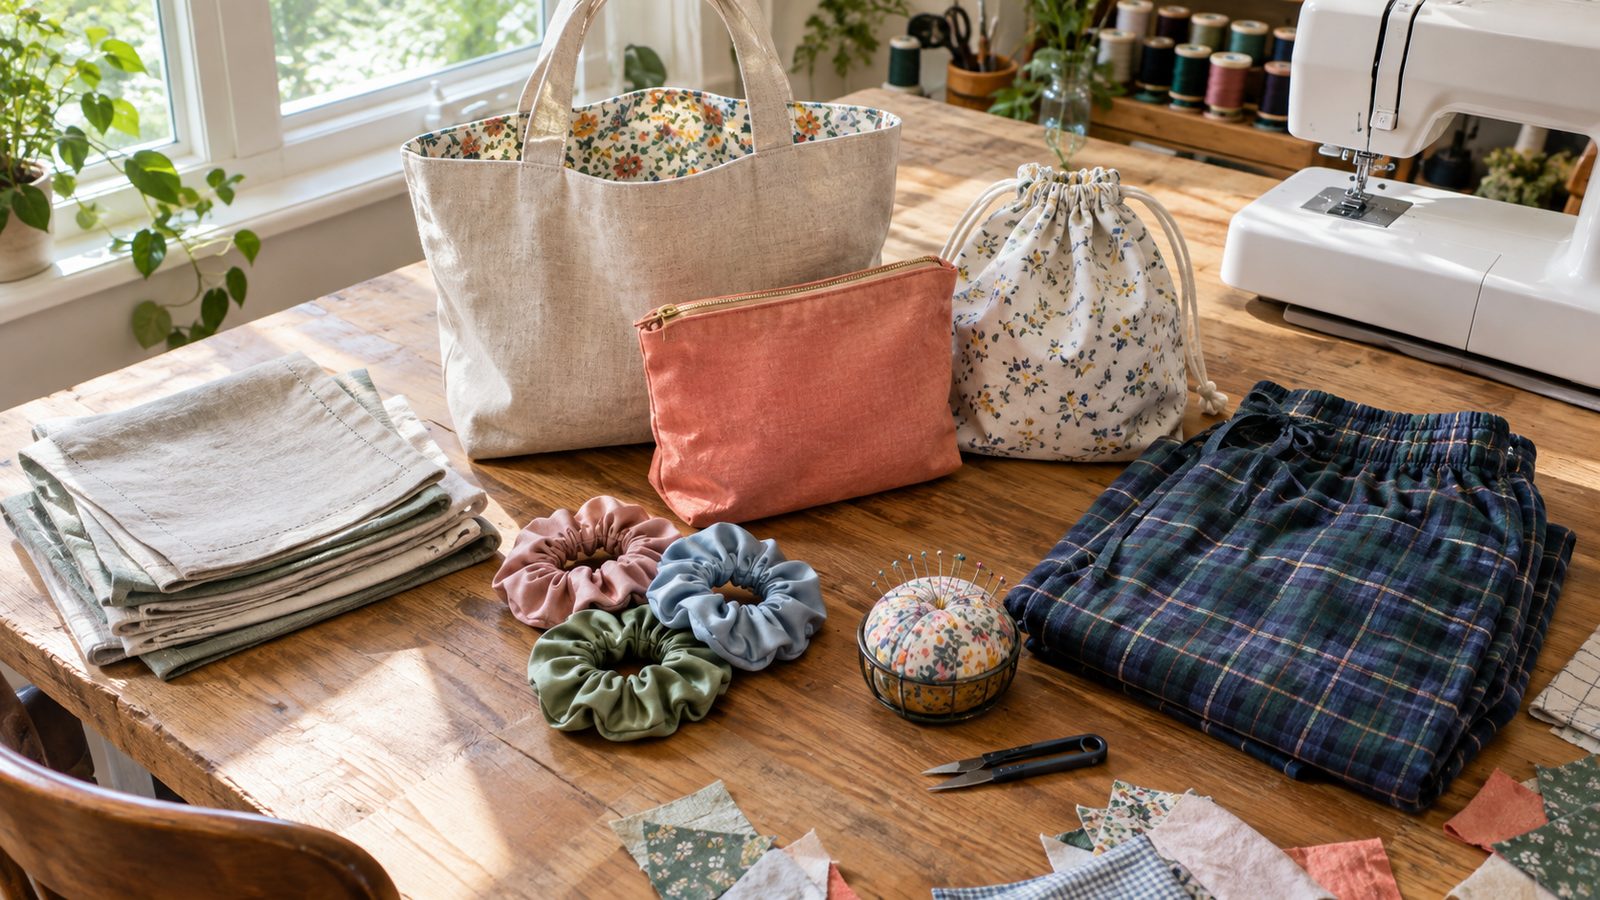
The fastest way to get comfortable at a sewing machine is to finish things. Small, useful projects teach you more than practice scraps ever will, because you actually care how they turn out.
This list is ordered on purpose. It starts with straight seams and hems, moves into corners and layers, then elastic, zippers, and finally a few simple garments. Each project adds one new skill on top of the last.
If your machine is still new to you, skim the beginner’s sewing guide first, then start at number one.
1. Cloth Napkins
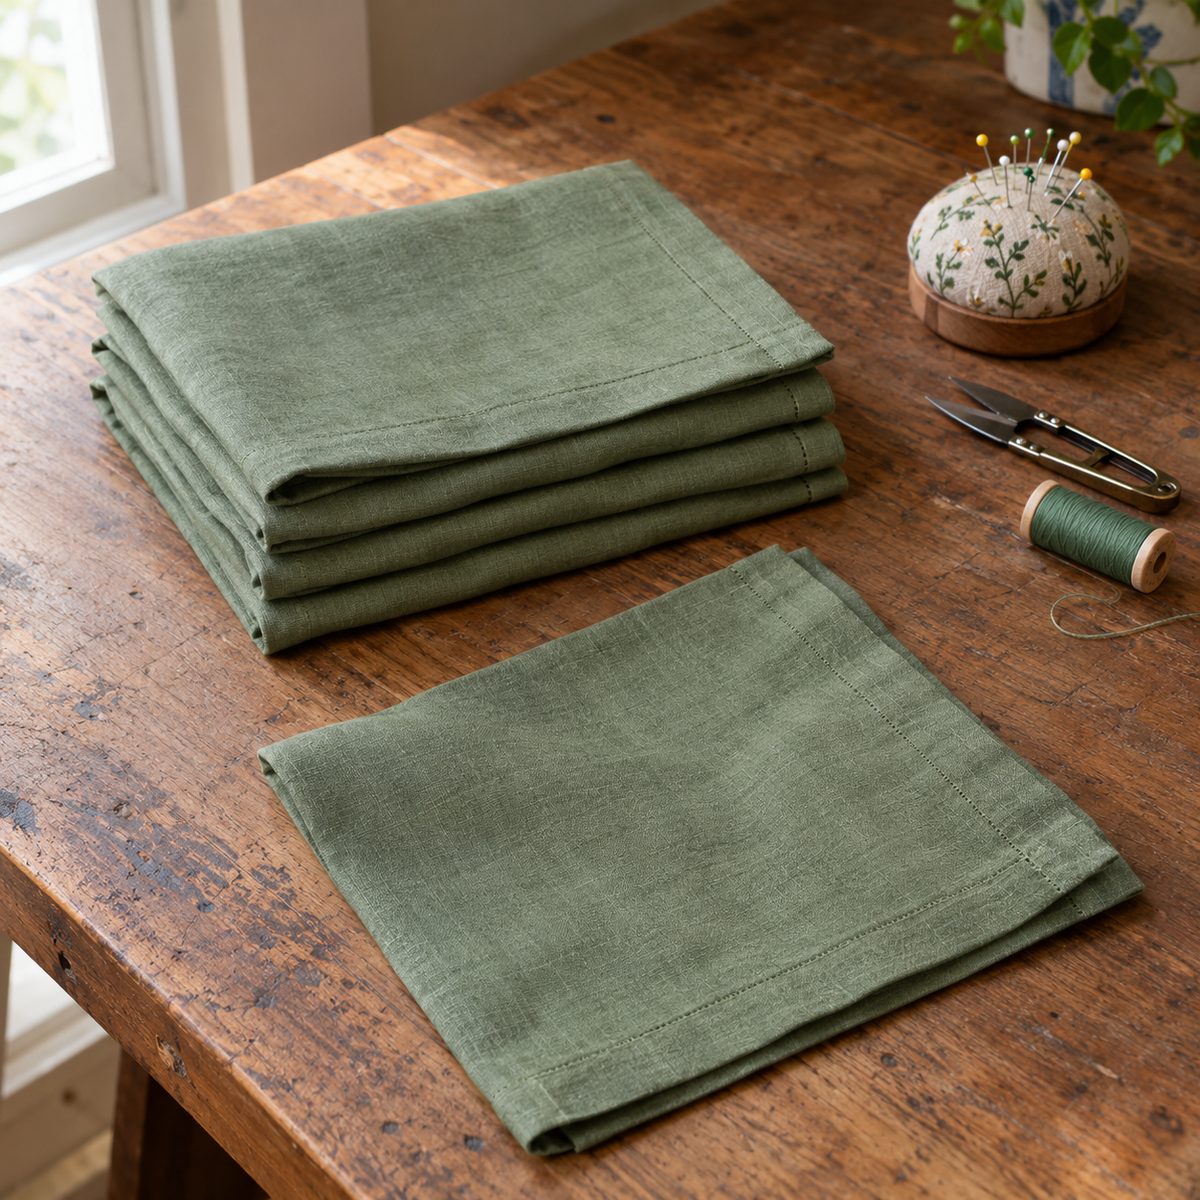
Napkins are the perfect first project: four straight edges, one skill. You’ll learn to press a double-fold hem and stitch a steady line, and you end up with something you’ll use every day.
Cut 18-inch squares from quilting cotton or linen (a yard of 44-inch fabric gives you four). Press each edge under 1/4 inch, then another 1/2 inch, and stitch close to the inner fold. At the corners, trim a little bulk before folding so the hem lies flat.
Make a set of four in an afternoon, about 20 minutes each once you get the rhythm. Prewash first so they don’t shrink crooked later.
2. Tea Towels
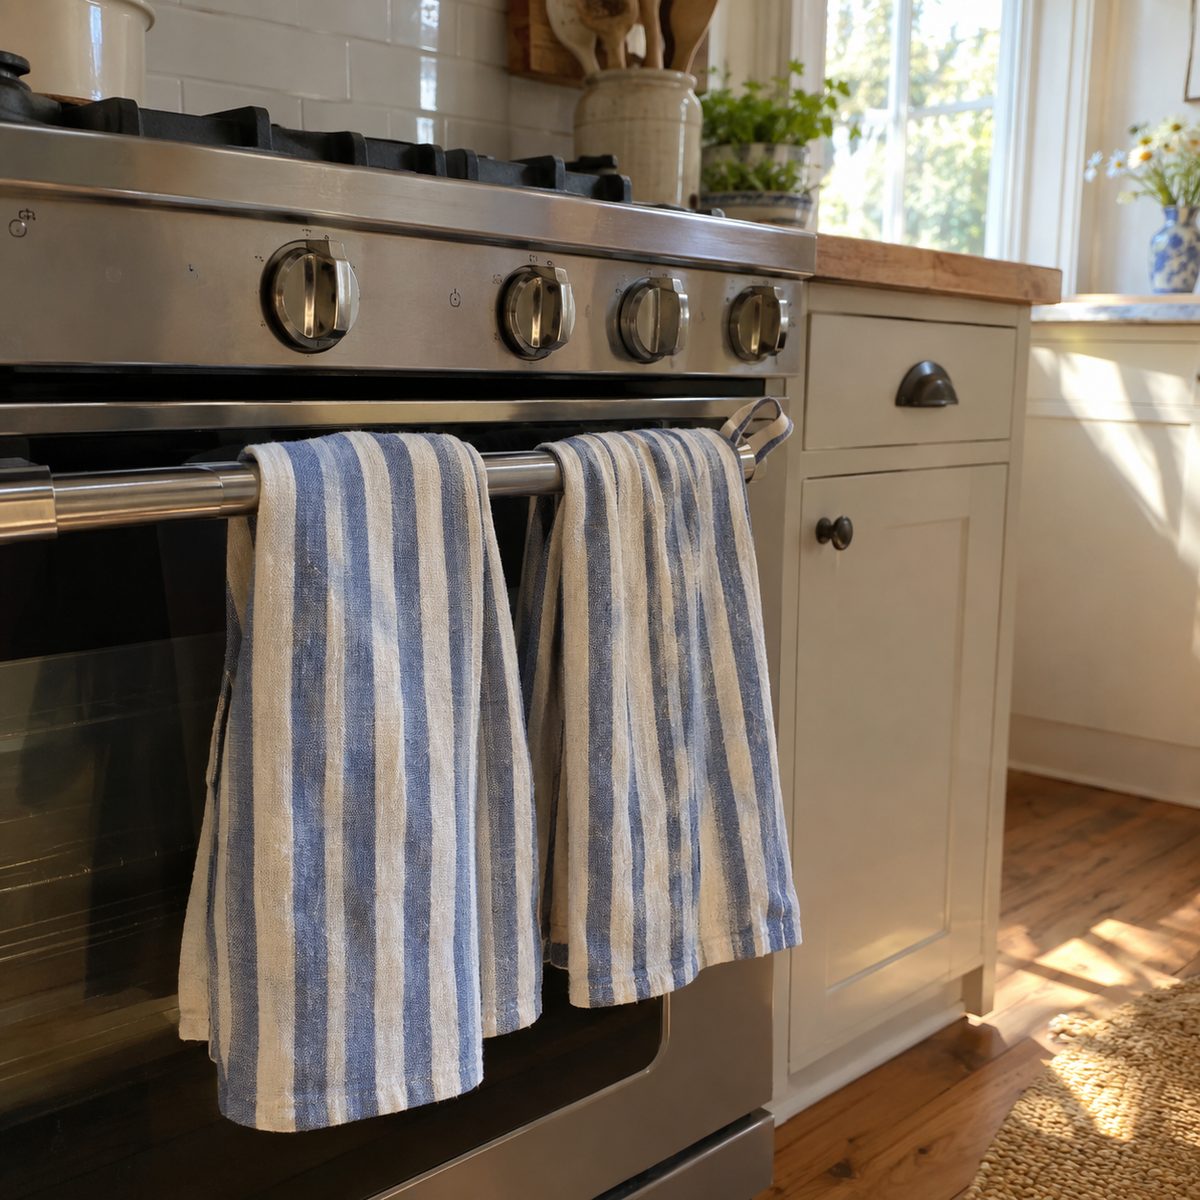
Tea towels use the same double-fold hem as napkins but on longer edges, which is great practice for keeping a seam straight over distance. Keep your eyes on the edge guide, not the needle.
Cut a 20 x 28-inch rectangle of cotton, linen, or flour-sack fabric. Press and hem the long sides first, then the short sides. For a hanging loop, fold a 5-inch strip of twill tape in half and tuck it into one corner hem before stitching.
- Time: about 30 minutes
- Fabric: 3/4 yard makes two towels
- Tip: linen dries fast and gets softer with every wash
3. Simple Table Runner
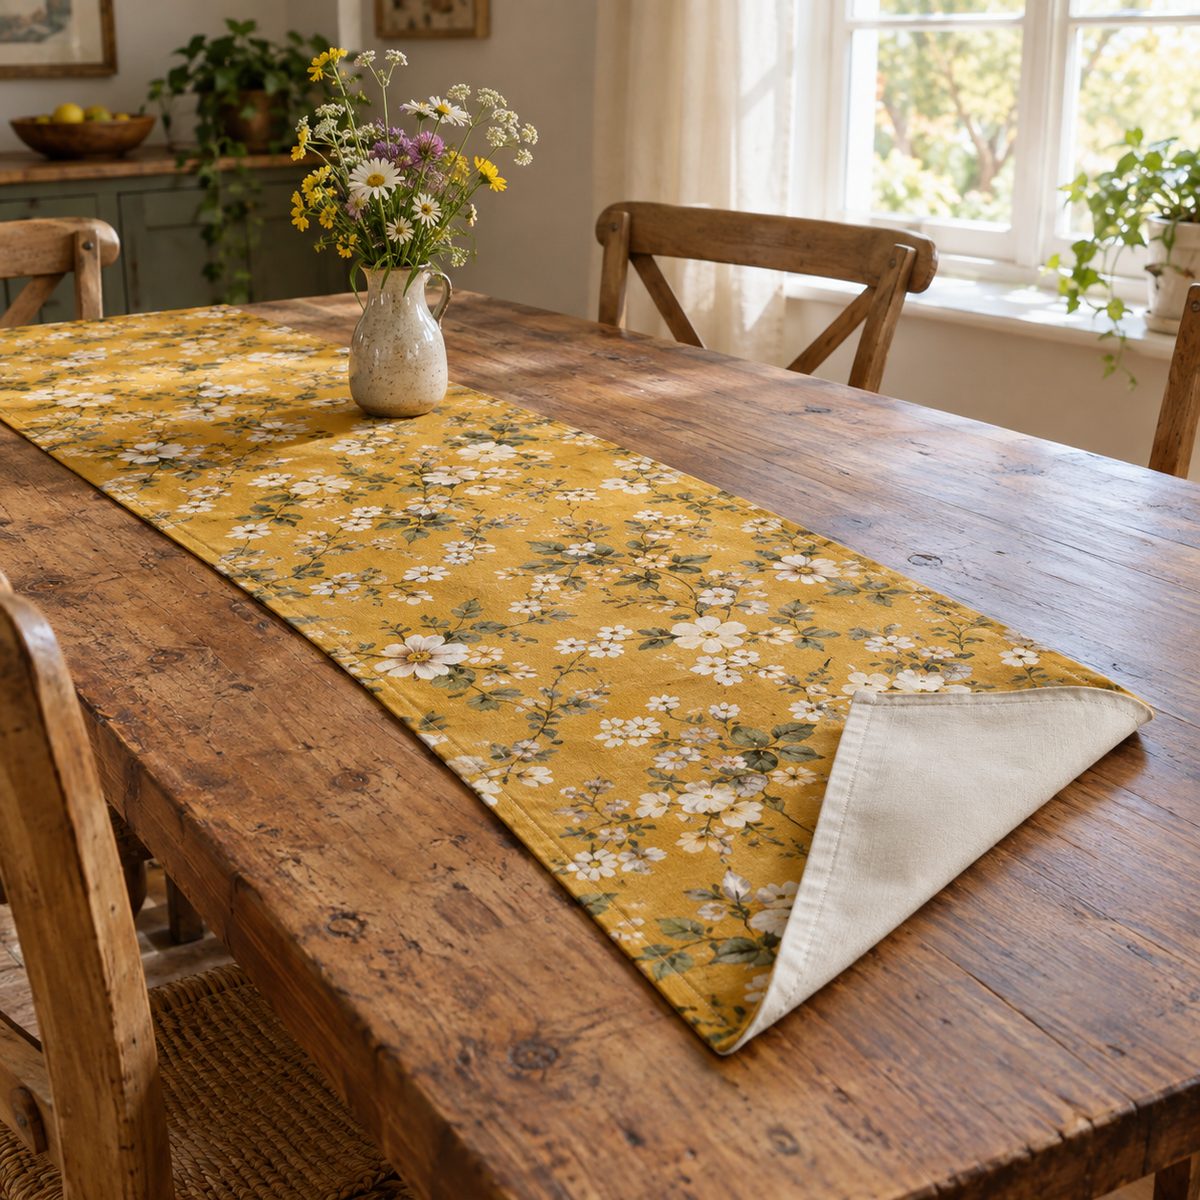
A lined table runner teaches the “sew, turn, and press” method you’ll use on dozens of later projects. Two layers go right sides together, you stitch around, leave a gap, turn it out, and topstitch.
Cut two pieces 14 x 72 inches (adjust length to your table), one print and one coordinating solid. Stitch around with a 1/2-inch seam allowance, leaving a 5-inch opening on one long side. Clip the corners, turn it right side out, poke the corners gently, and press. A topstitch 1/4 inch from the edge closes the gap and gives a crisp finish.
It’s reversible, so you get two looks. Plan on about an hour.
4. Pillowcase
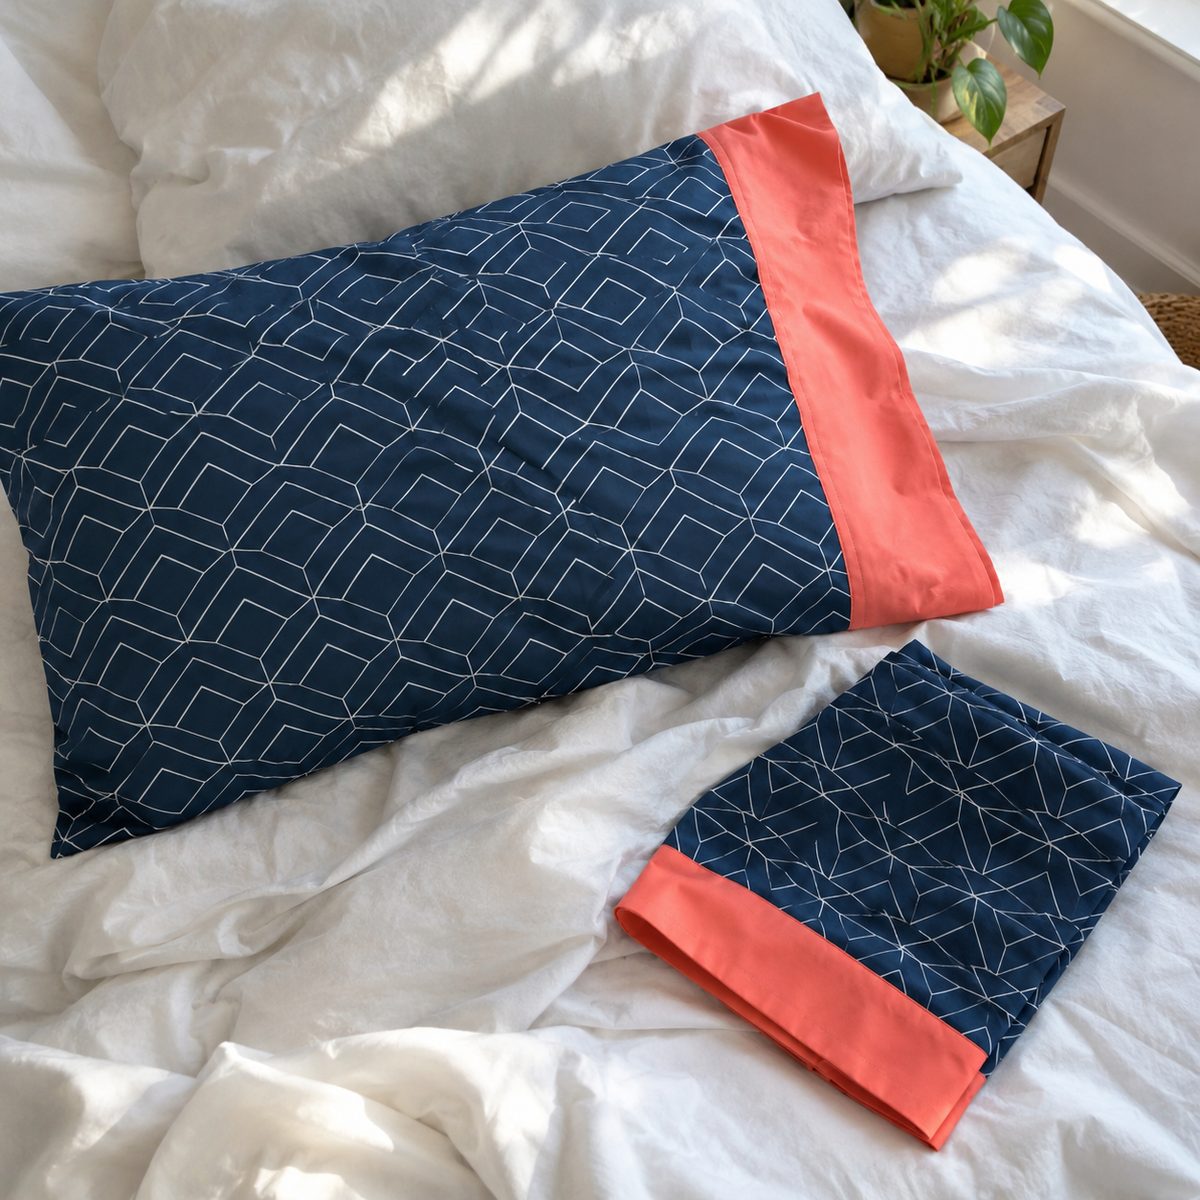
The classic beginner pillowcase uses the “burrito” method, which encloses every raw edge so the inside looks as tidy as the outside.
For a standard pillowcase you need three pieces: a 27 x 42-inch main body, a 12 x 42-inch cuff, and an optional 2 x 42-inch accent strip. Layer the cuff and body, roll the body up, wrap the cuff around it, and stitch. Pull it out through the tube and the seam is fully enclosed.
Finish the side and bottom with French seams for a clean interior. Expect about 45 minutes, and kids love choosing the prints.
5. Drawstring Bag
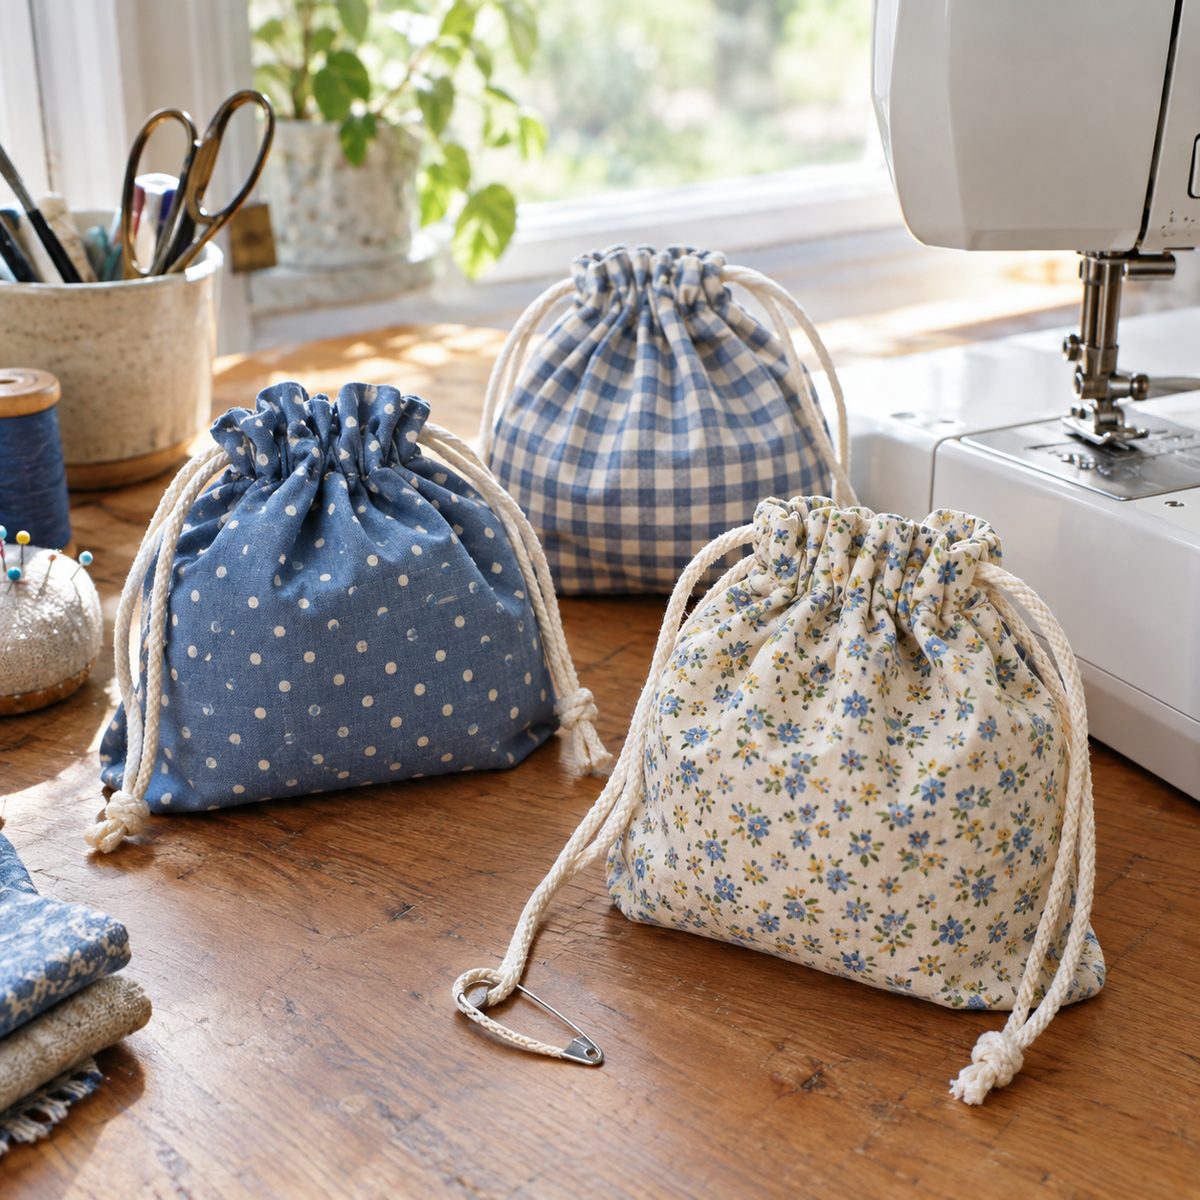
A drawstring bag introduces the casing, a folded channel that a cord or ribbon runs through. Once you’ve sewn one, you’ll see casings everywhere, including waistbands later on this list.
Cut two 10 x 12-inch rectangles. Sew the sides and bottom with a 1/2-inch seam, stopping 2 inches below the top on each side. Press those unsewn side edges back and stitch them down. Then fold the top edge over 1/4 inch, then 1 inch, and stitch to form the casing. Thread cord through with a safety pin and knot the ends.
They take about 30 minutes and work for shoes, toys, gifts, and project storage.
6. Envelope Pillow Cover
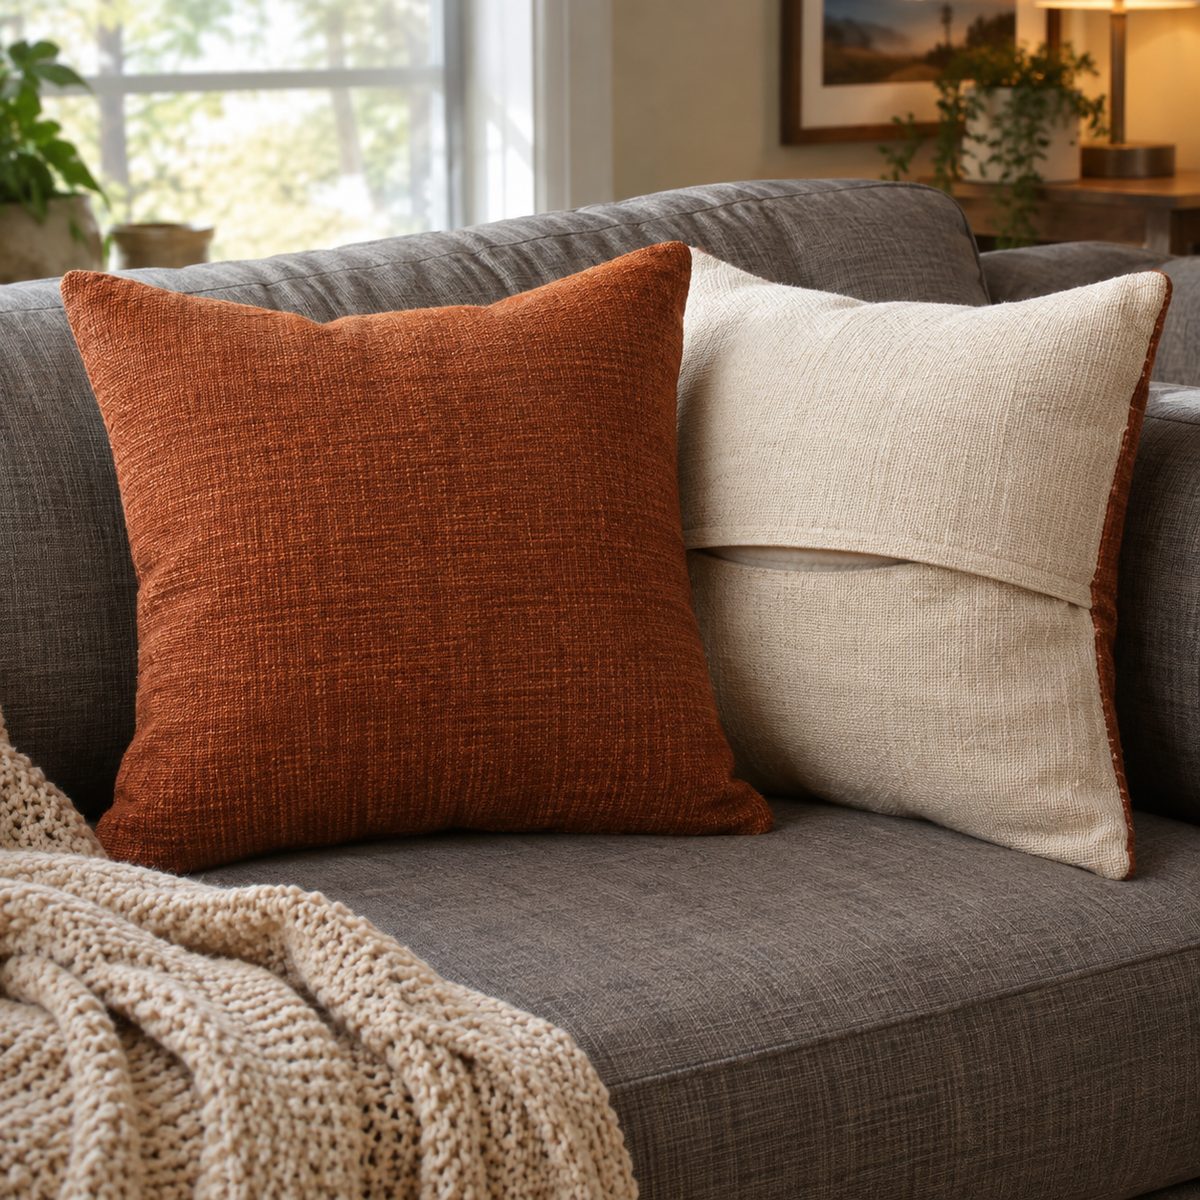
An envelope pillow cover has no zipper and no buttons, just two overlapping back panels. It teaches accurate measuring, because a cover that’s too loose looks sloppy and one cut snug looks plump.
For an 18-inch pillow form, cut one 18 x 18-inch front and two 18 x 13-inch back pieces. Hem one long edge of each back piece with a double fold. Lay the front right side up, place the backs on top right side down with hemmed edges overlapping in the middle, and sew all the way around with a 1/2-inch seam. Clip the corners and turn.
Cutting the front the same size as the insert gives that full, stuffed look. About 40 minutes.
7. Fabric Coasters
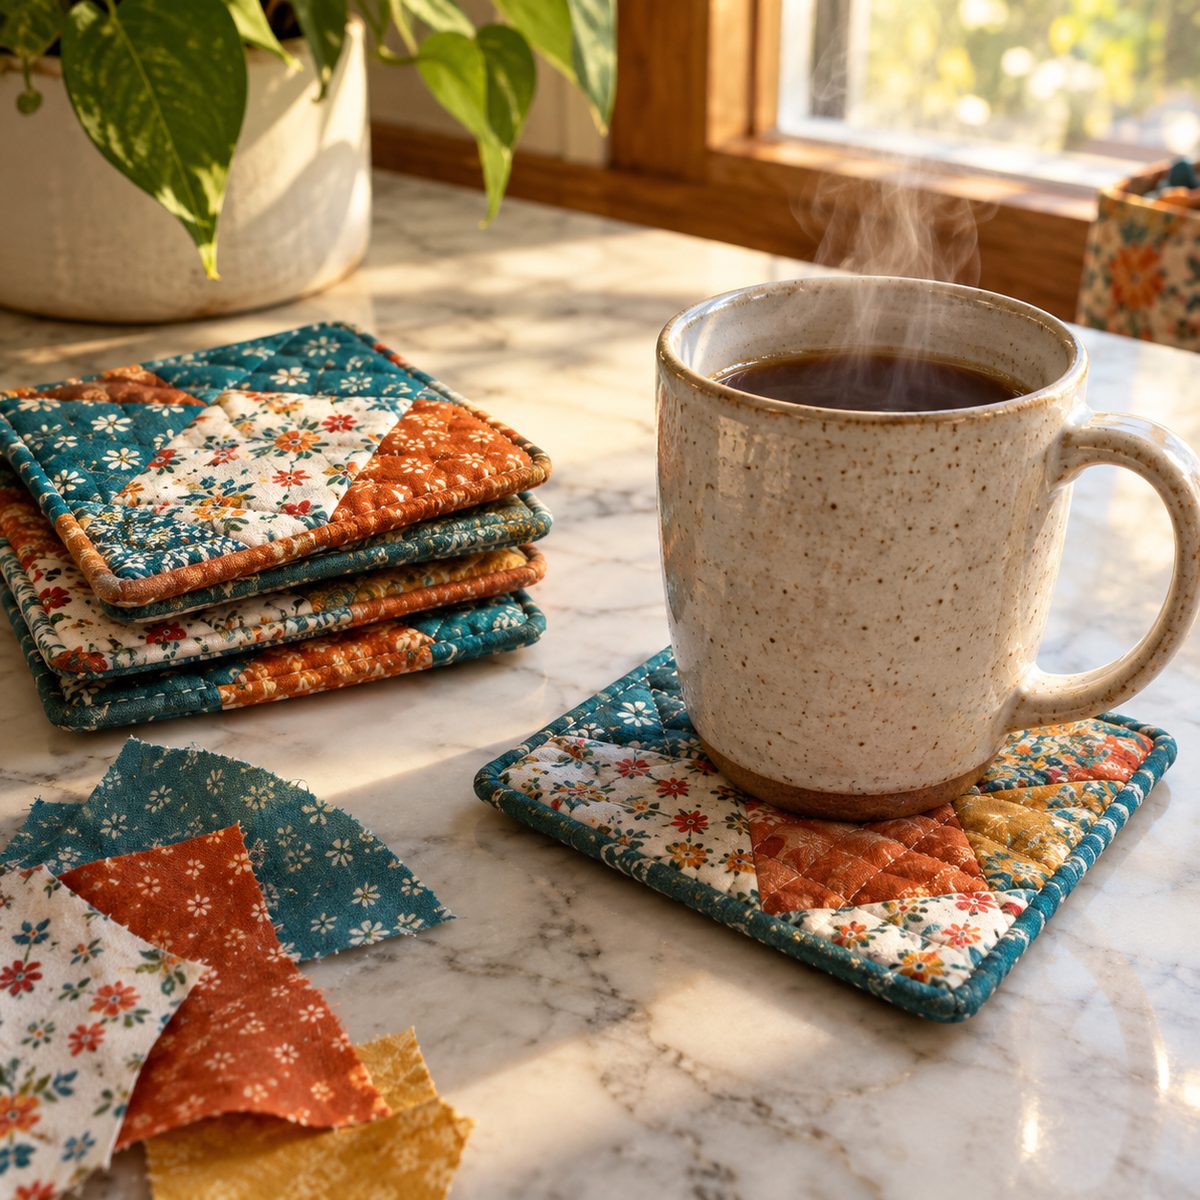
Coasters are small, quick, and the ideal place to practice pivoting at corners. Leave the needle down, lift the presser foot, turn the fabric, lower the foot, and keep going.
Cut two 5-inch squares of cotton plus one 5-inch square of fusible fleece or cotton batting. Fuse or baste the batting to one square, place the second square on top right sides together, and sew around with a 1/4-inch seam, leaving a 2-inch gap. Clip corners, turn, press, and topstitch around the edge.
They’re great scrap busters. A set of four takes under an hour.
8. Quilted Pot Holder
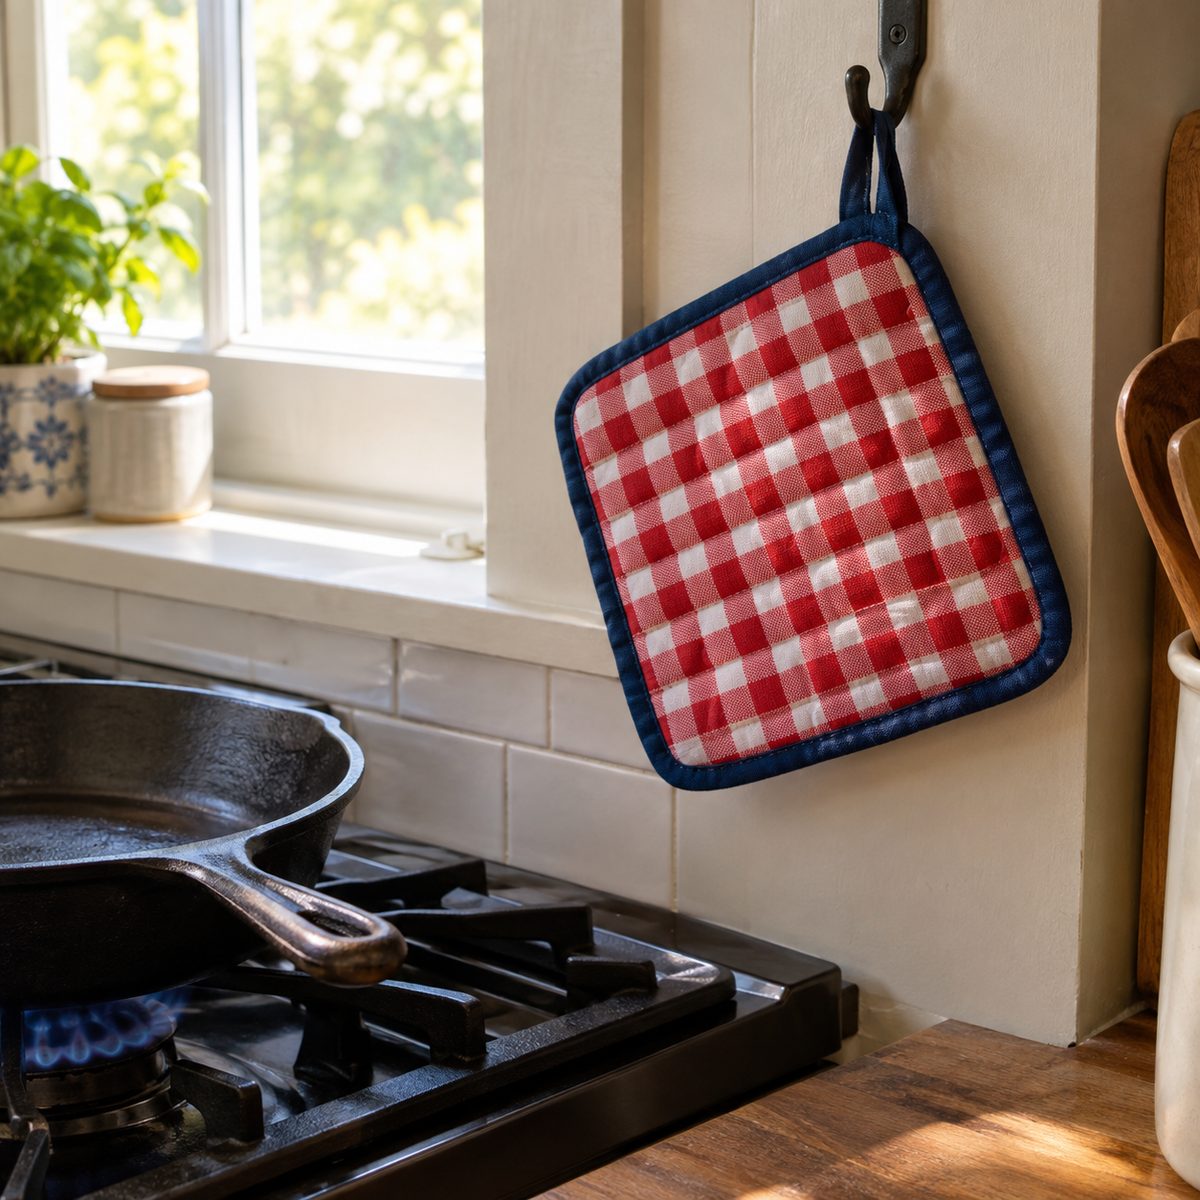
A pot holder adds thickness to the mix. Sewing through several layers teaches you to slow down, use a longer stitch, and let the feed dogs do the work instead of pushing.
Cut two 8-inch cotton squares, one 8-inch square of heat-resistant batting, and one of regular cotton batting. If batting is new to you, here’s a quick explainer on what batting is. Stack and quilt a few straight lines through all layers, then bind the edges with a 2 1/2-inch strip, folding in a hanging loop at one corner.
Use only 100% cotton fabric and thread here, since synthetics can melt near heat. Plan on about an hour.
9. Placemats
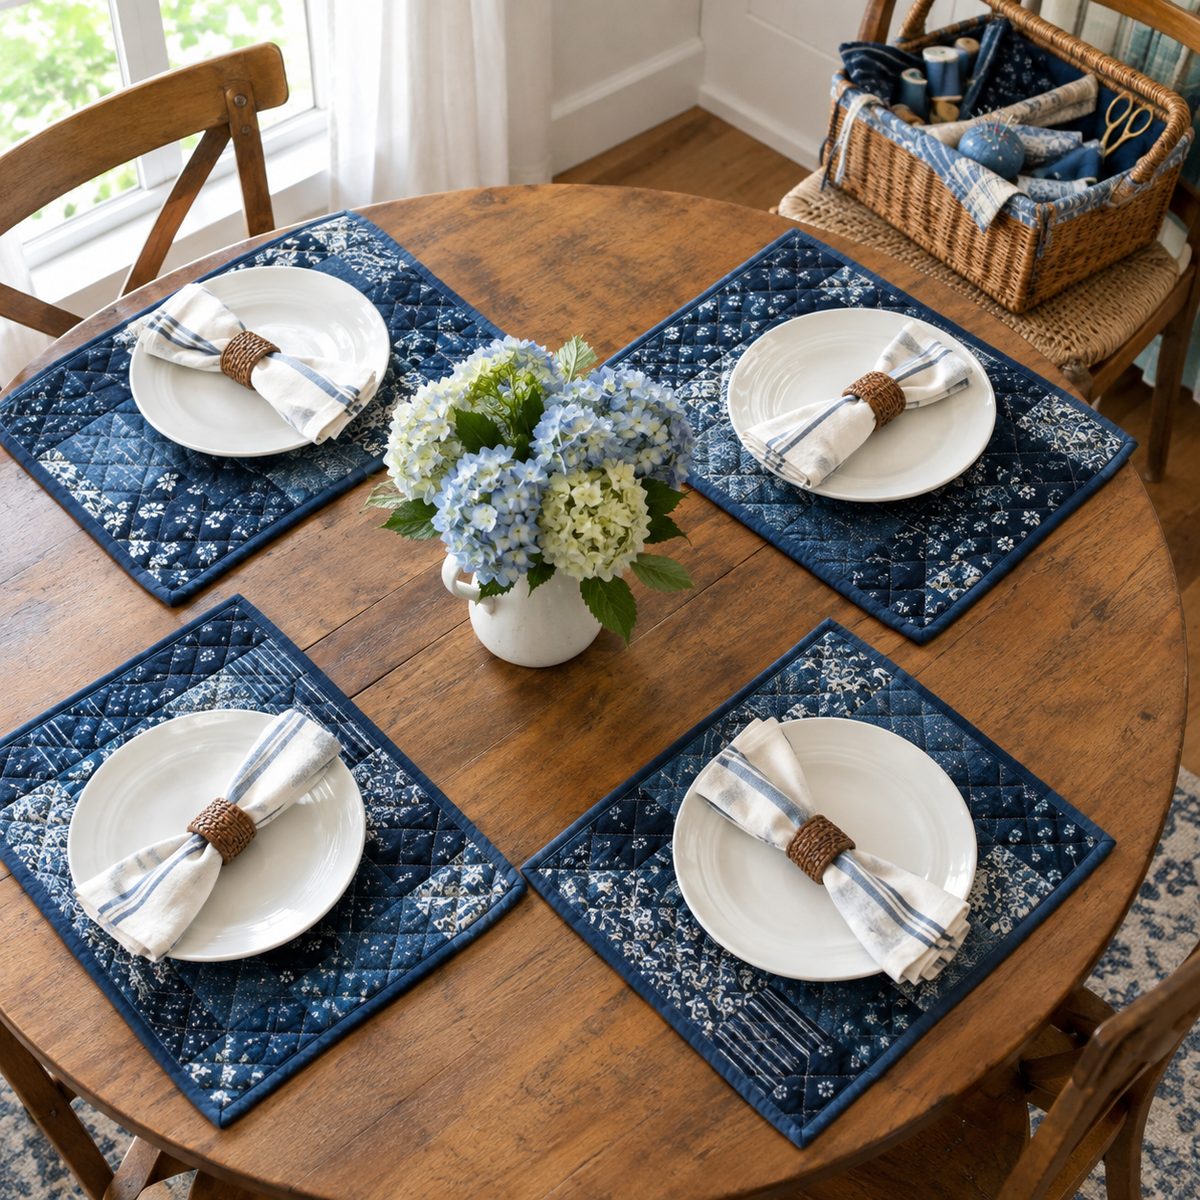
Placemats build on coasters and pot holders by scaling up. Keeping layers smooth over a larger area teaches you to pin well and quilt from the center outward so nothing shifts.
Cut a 13 x 19-inch front, a matching back, and a piece of thin cotton batting the same size. Layer the front and back right sides together with batting on the bottom, sew around with a 1/2-inch seam, leave a 5-inch gap, turn, and press. Topstitch around the edge and add a few straight quilting lines 2 inches apart.
A walking foot helps a lot here if you have one. Each placemat takes about 45 minutes, so a set of four is a good weekend project.
10. Pincushion
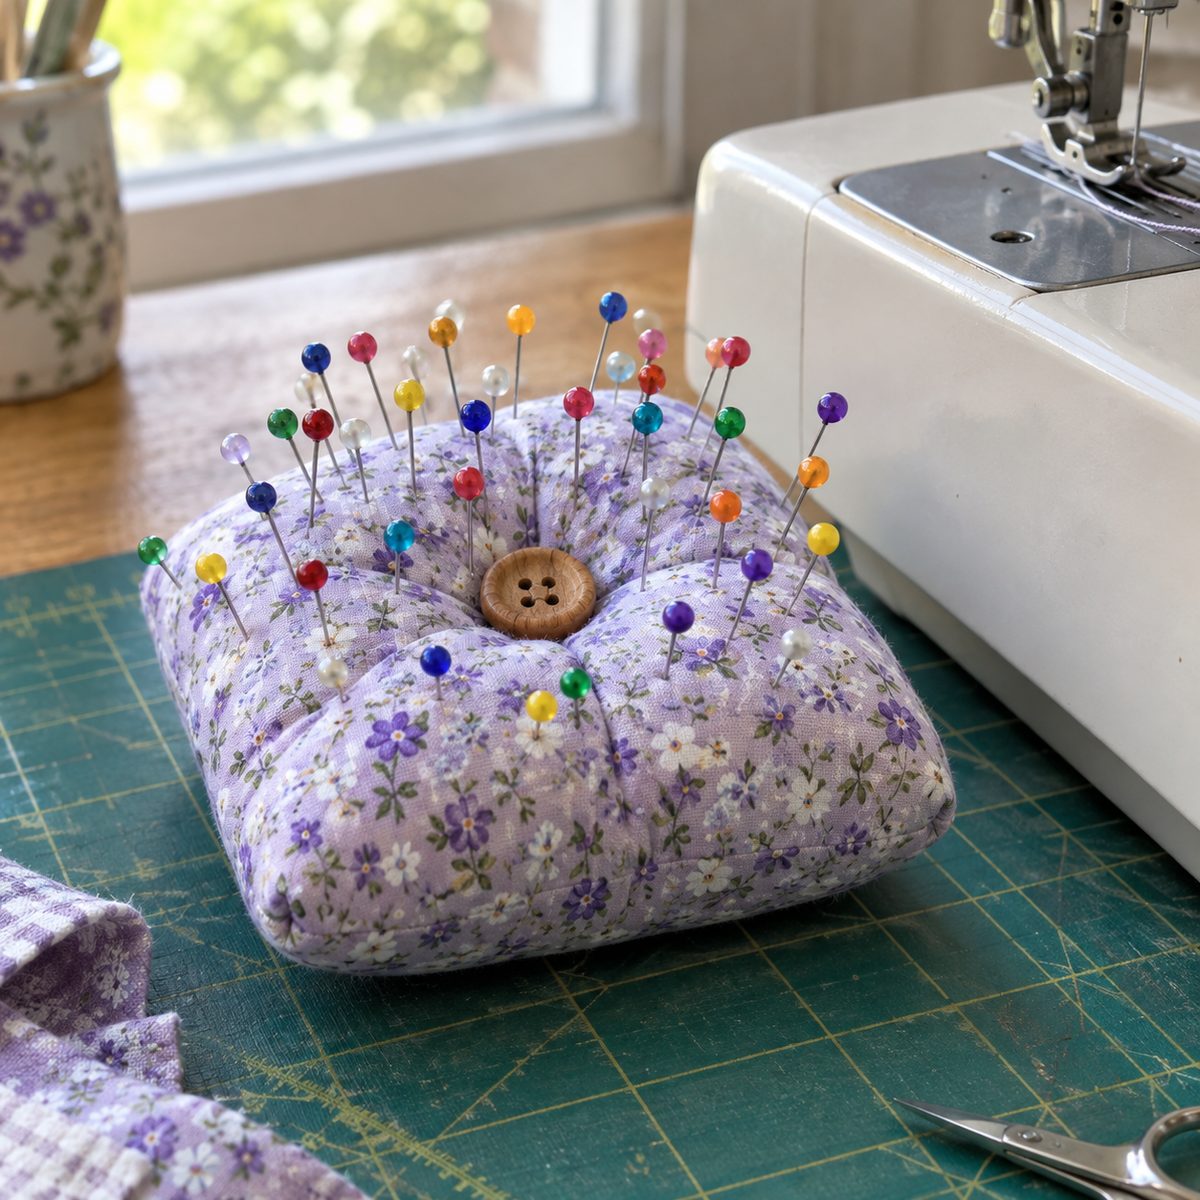
Every sewist needs one, and making your own teaches you to sew small, tight seams with precision. It’s also a fun way to use a favorite scrap.
For a simple square version, cut two 5-inch squares, sew around with a 1/4-inch seam leaving a 2-inch gap, turn, and stuff very firmly with fiberfill or crushed walnut shells. Walnut shells add weight and help keep pins sharp. Close the gap with a ladder stitch by hand.
For a tufted look, pass a doubled thread through the center a few times and add a button on each side. About 30 minutes, and it lives on your table forever.
11. Lined Tote Bag with Boxed Corners
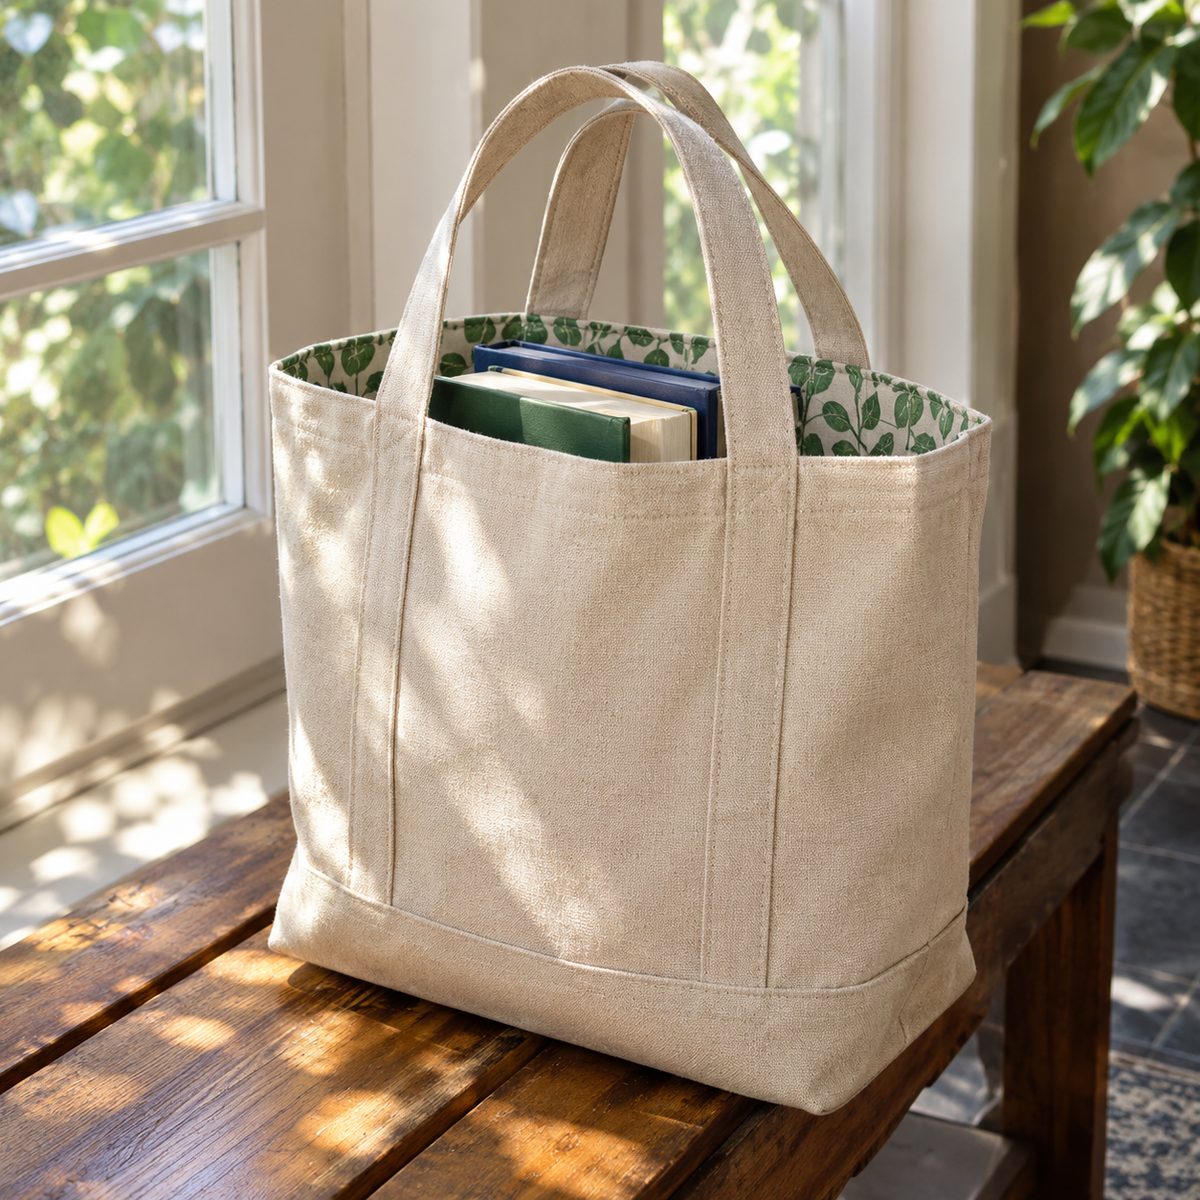
The tote bag is where many beginners get hooked. It combines straight seams, straps, a lining, and boxed corners, which give the bag a flat bottom so it stands up on its own.
Cut two 16 x 18-inch outer pieces from canvas or cotton duck, two matching lining pieces from quilting cotton, and two 4 x 24-inch strap pieces. Sew the outer and lining bags separately. To box a corner, pinch the bottom corner into a triangle, measure 2 inches in from the tip, and sew straight across.
Topstitch the top edge for a crisp finish. Allow about two hours.
12. Fabric Storage Bin
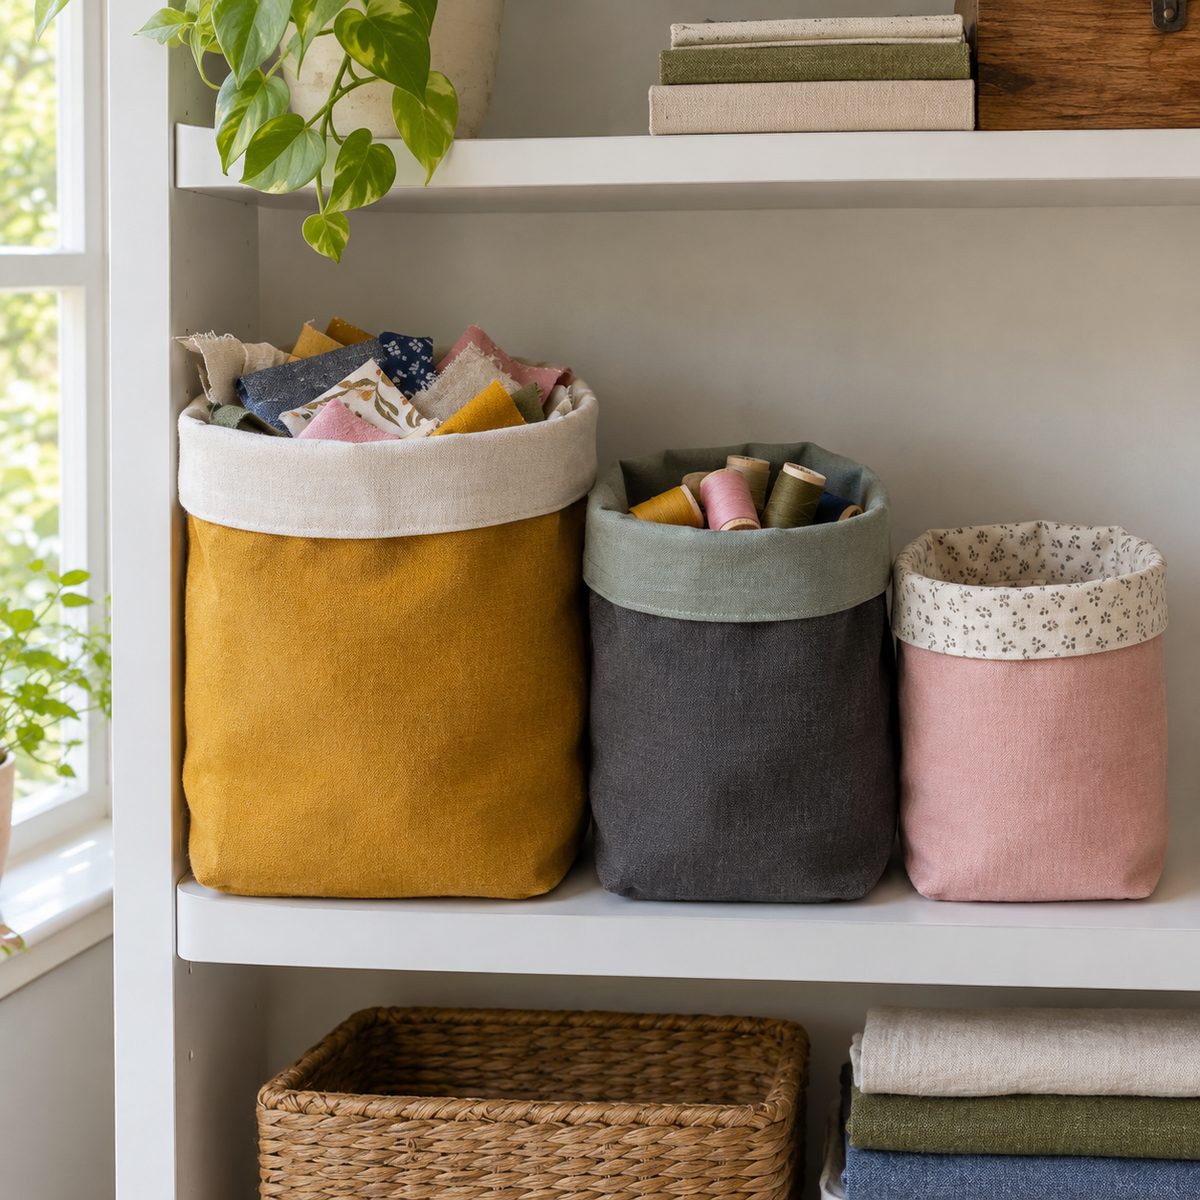
A soft fabric bin uses the same boxed-corner technique as the tote, but with stiffer structure. It’s a practical way to organize scraps, notions, or kids’ toys, and you can size it to fit any shelf.
For a 7-inch bin, cut two 12 x 14-inch outer pieces, two matching lining pieces, and fusible fleece or heavy interfacing for the outer pieces. Fuse, then sew each set into a bag and box the corners at 3 1/2 inches. Nest the lining inside the outer, fold the top edge down, and topstitch.
The fold-over cuff shows off the lining fabric nicely. About 90 minutes for your first one, less after that.
13. Crayon or Pencil Roll
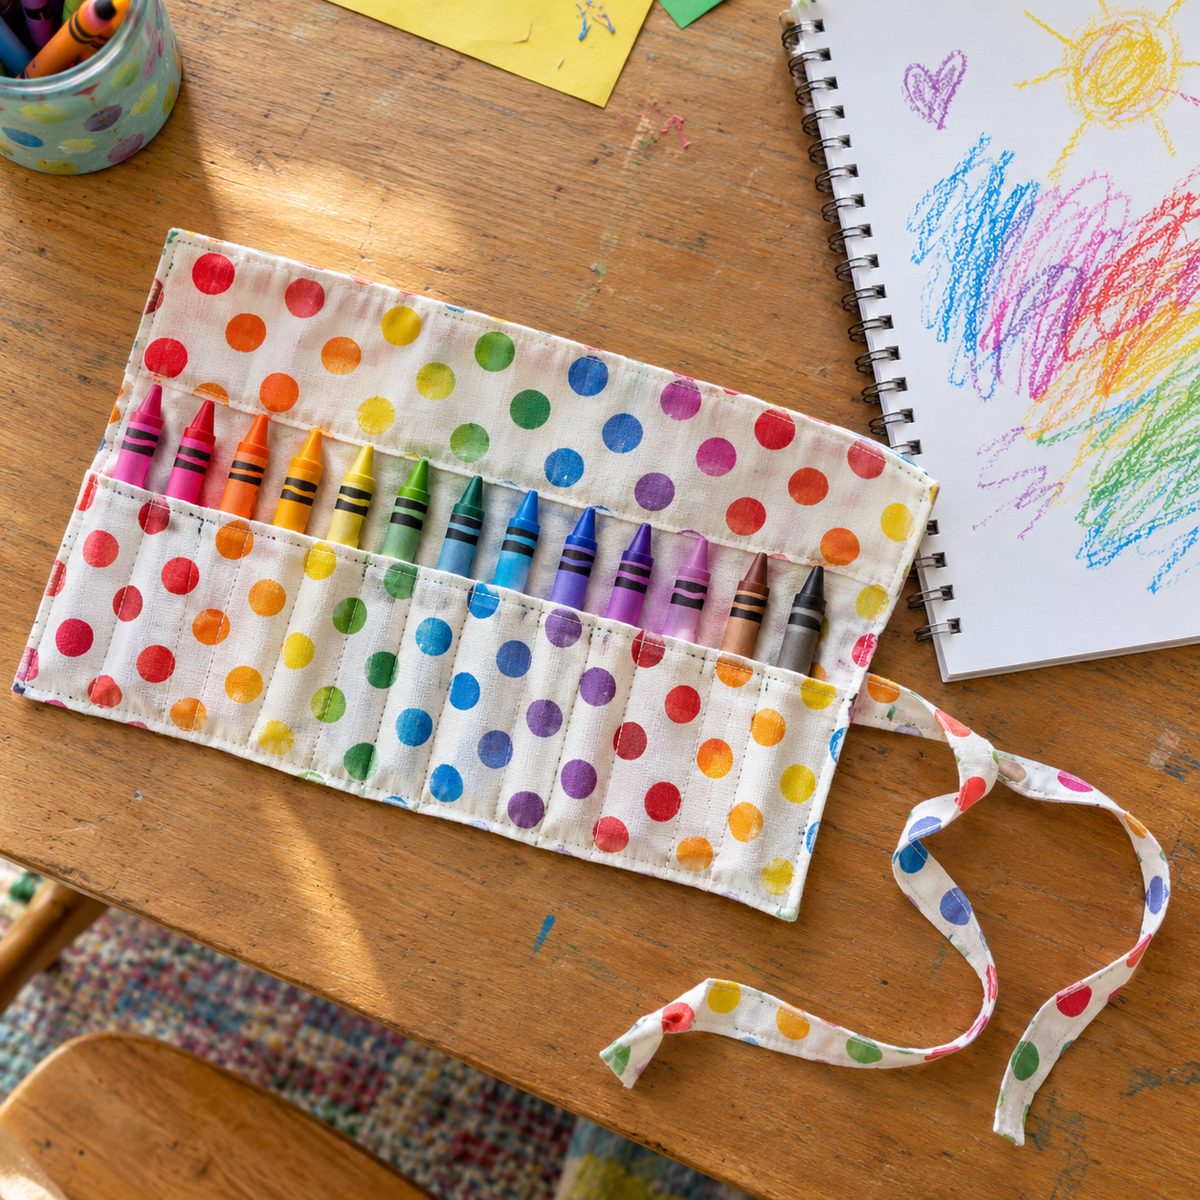
A crayon roll teaches precise channel stitching, where evenly spaced lines create individual slots. It’s a lovely gift for kids.
Cut an 8 x 18-inch outer piece, a matching lining piece, and one 6 x 18-inch pocket piece. Fold the pocket in half lengthwise, lay it along the bottom of the lining, and mark vertical lines every 1 1/4 inches with a washable marker. Stitch along each line. Add a ribbon tie at one side, then layer, sew around, turn, and topstitch.
It holds 12 crayons or pencils. Backstitch at the top of every channel so the stitching holds up to small hands. About an hour.
14. Scrunchie
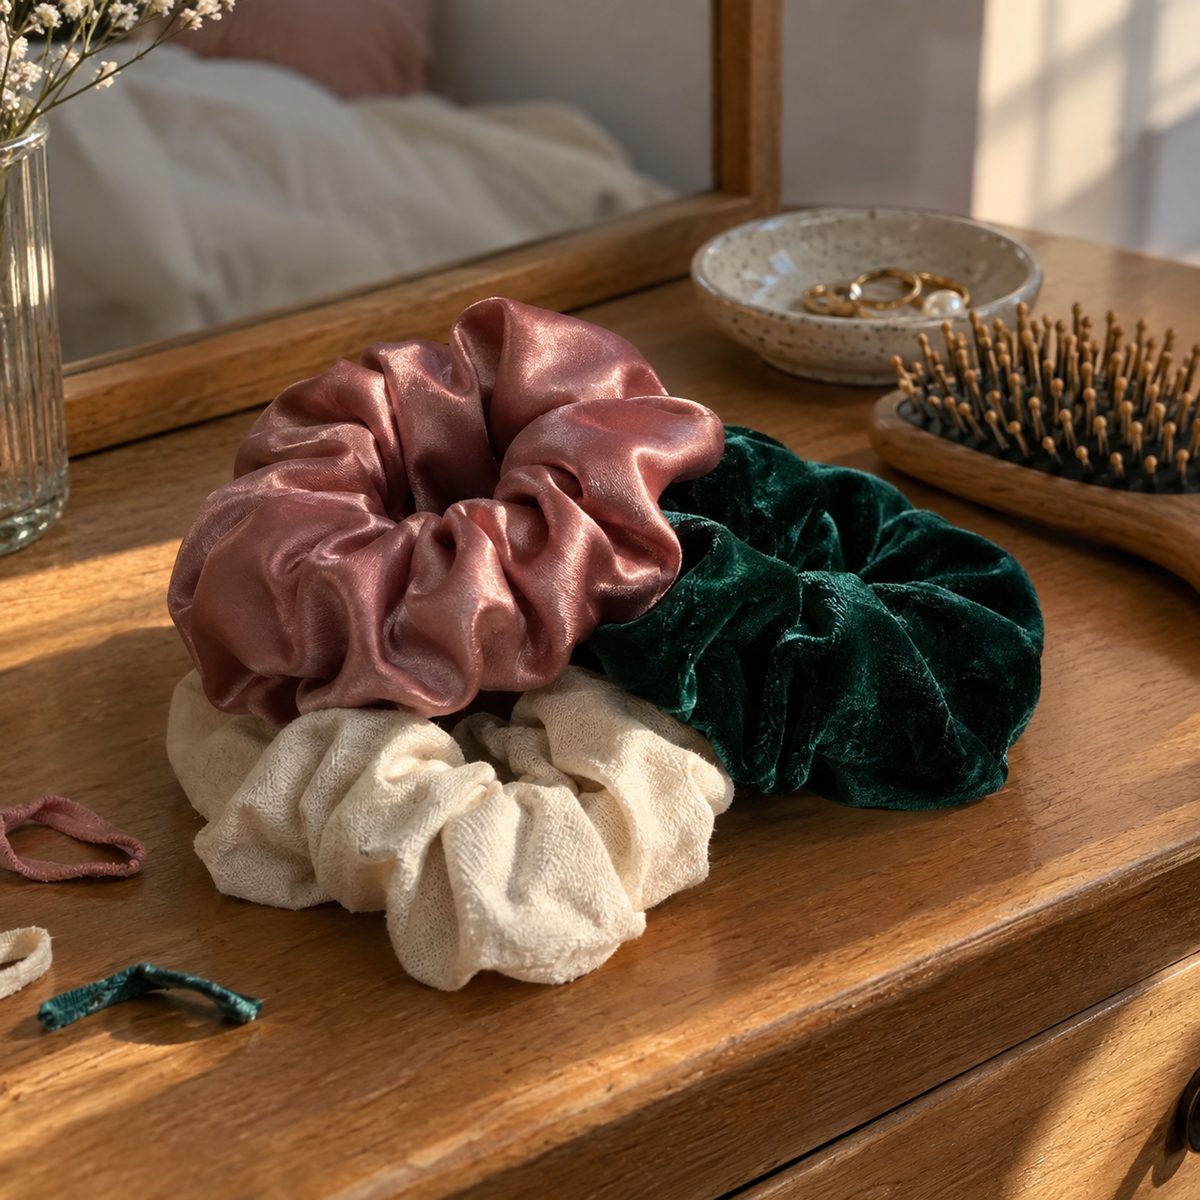
The scrunchie is the easiest introduction to elastic. You make a fabric tube, thread elastic through it, and the fabric gathers up on its own. Ten minutes, and it’s genuinely fun.
Cut a 4 x 20-inch strip of fabric and an 8-inch piece of 1/4-inch elastic. Fold the strip lengthwise right sides together and sew the long edge. Turn it right side out, thread the elastic through with a safety pin, overlap the elastic ends by 1/2 inch, and zigzag them together. Tuck one fabric end into the other and topstitch closed.
For more on handling elastic, see how to sew elastic into fabric. Silky fabrics and velvet make beautiful scrunchies.
15. Elastic-Back Headband
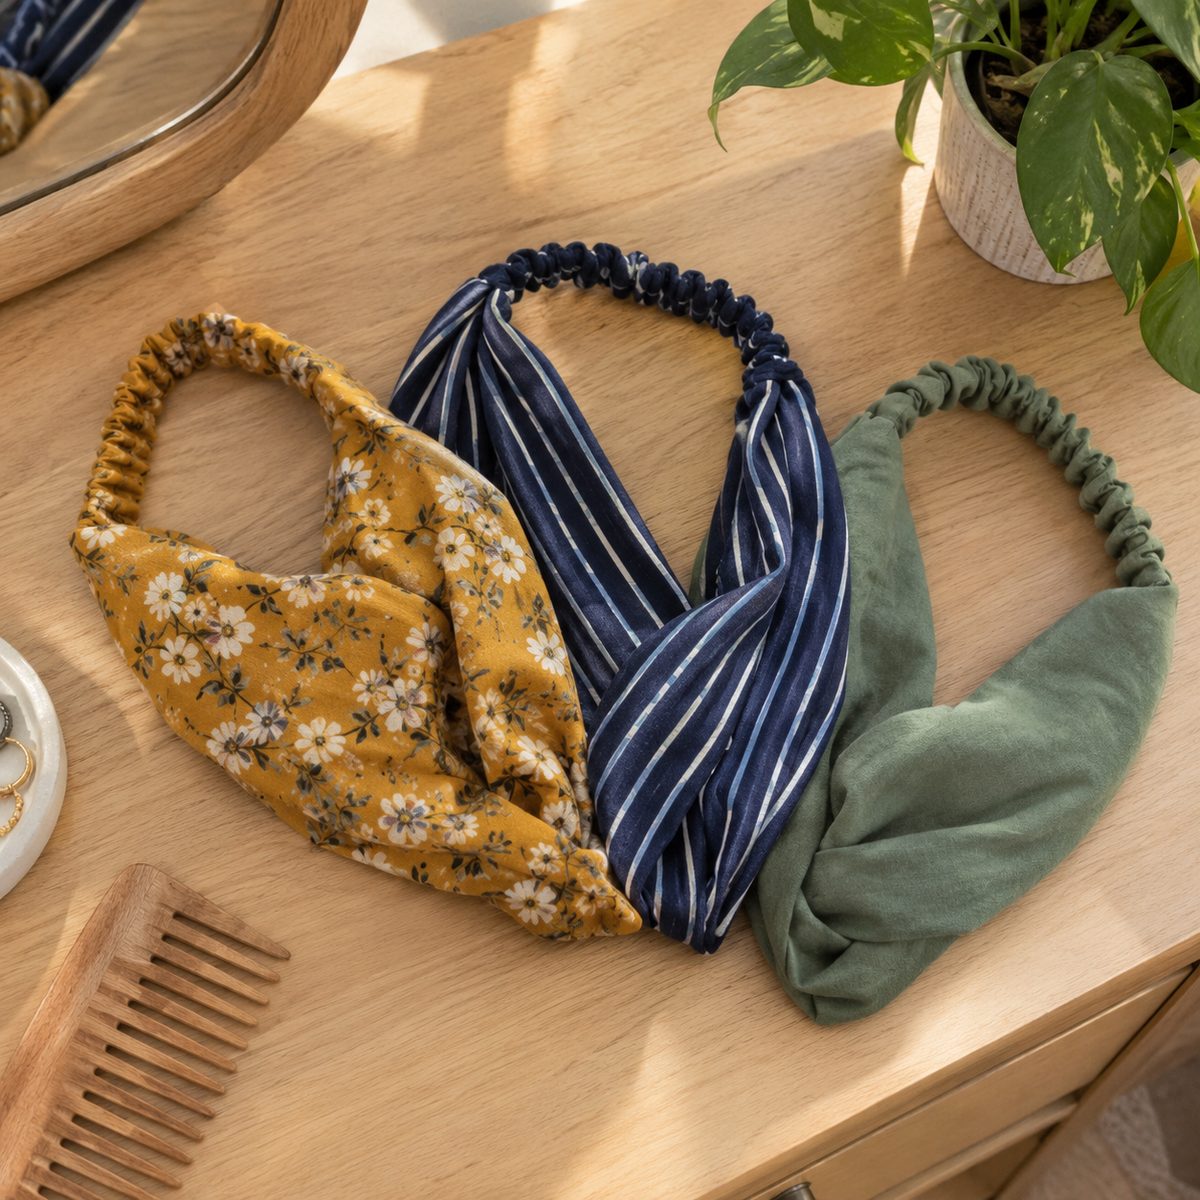
This headband builds on the scrunchie by adding a shaped band and an enclosed elastic section. It teaches you to join pieces neatly and manage a turned tube without twisting.
Cut a 4 x 18-inch fabric strip for the band and a 2 x 8-inch strip for the elastic casing. Sew each into a tube and turn. Thread a 5-inch piece of 1/2-inch elastic through the casing and stitch across both ends to secure it. Tuck the casing ends into the open ends of the band, fold the raw edges in, and topstitch through all layers.
Stretch cotton or jersey is comfortable, but woven cotton works too. About 25 minutes.
16. Fabric Bowl Covers
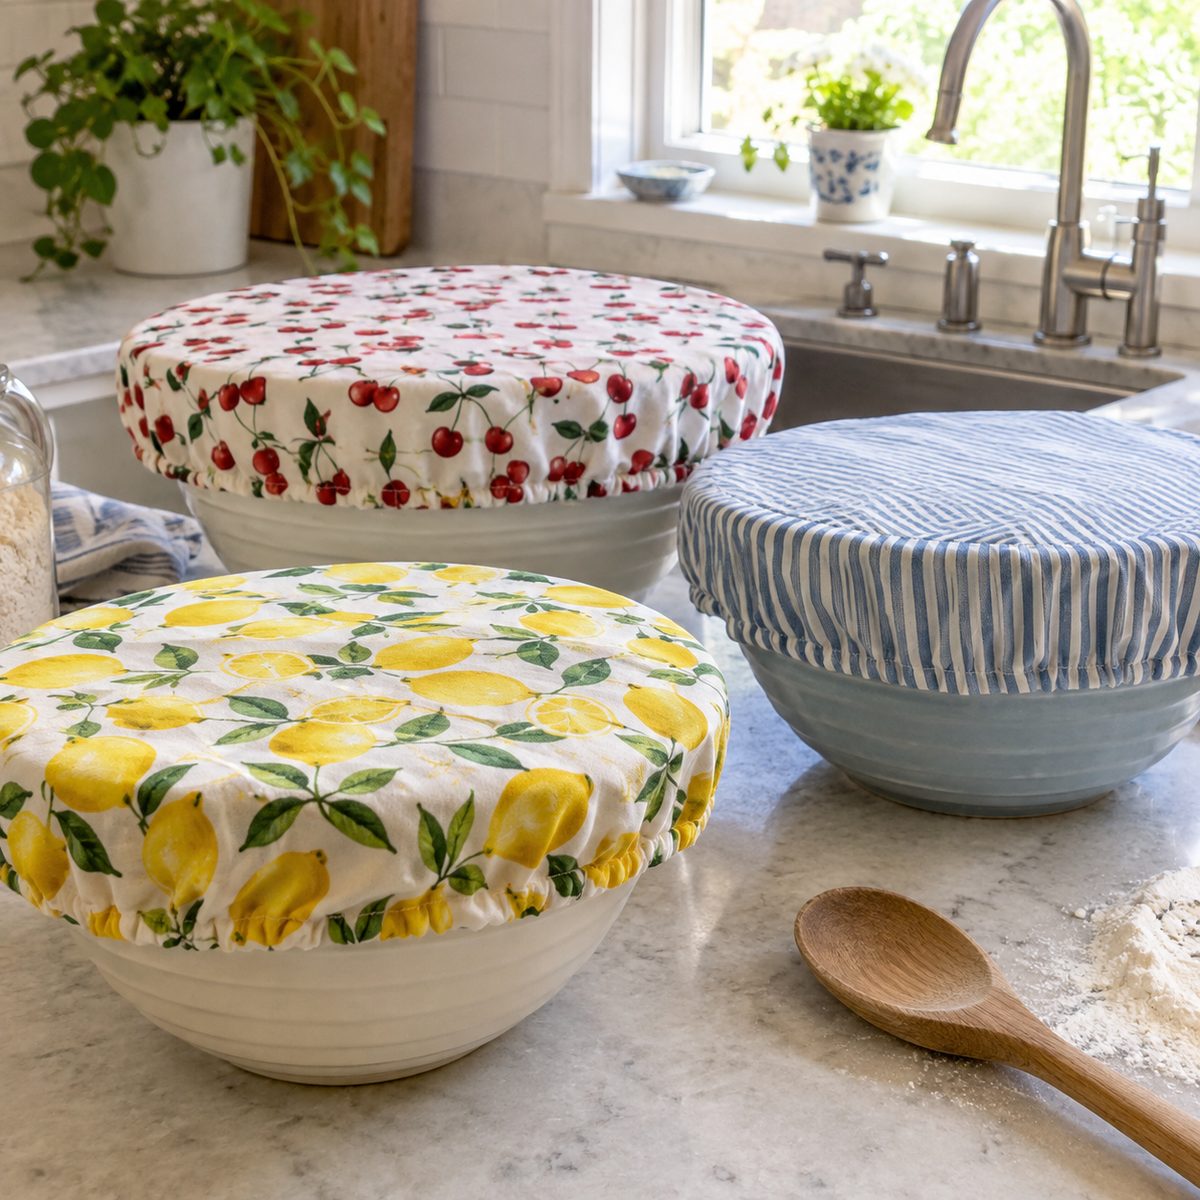
Reusable bowl covers use an elastic casing around a circle, which is great practice for sewing curves. They’re a nice swap for plastic wrap.
Trace a circle 3 inches larger than your bowl all around (a 10-inch bowl needs a 16-inch circle). Cut one circle from cotton, or two for a lined version. Press the edge under 1/4 inch, then 1/2 inch, and stitch the casing, leaving a 1-inch gap. Thread 1/4-inch elastic through, pull until the cover fits snugly, stitch the elastic ends together, and close the gap.
Make a set in three sizes. Wash after each use. About 30 minutes each.
17. Sleep Mask
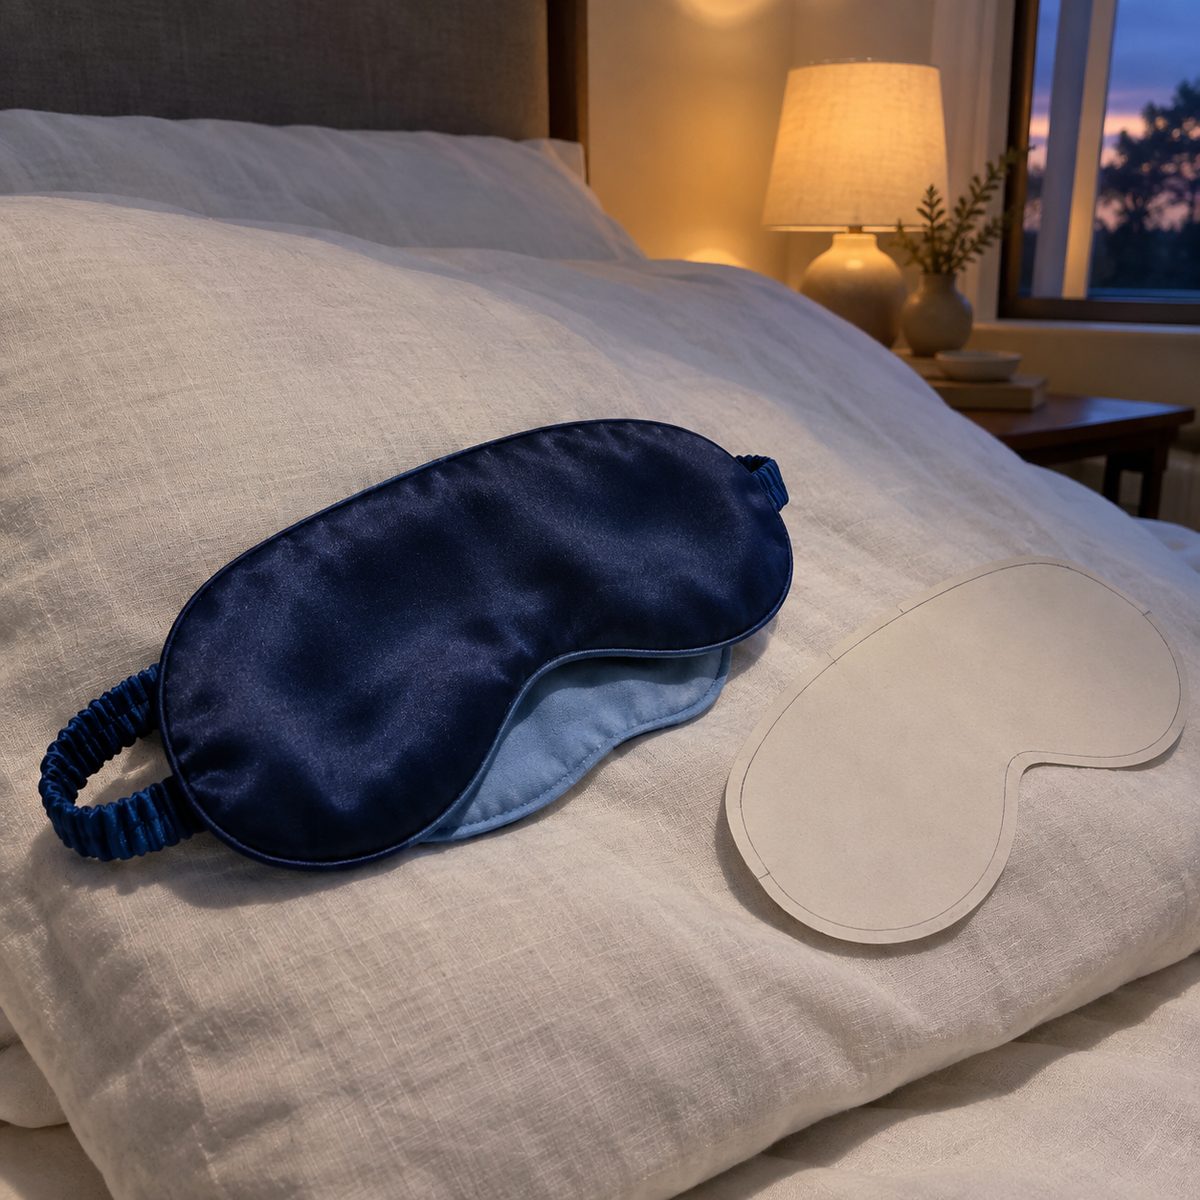
A sleep mask combines curves, layers, and an elastic strap in one small project. It’s a good checkpoint: if you can sew this neatly, you’re ready for zippers.
Draw an 8 x 4-inch rounded mask shape on paper. Cut two pieces from soft cotton or silk and one from cotton batting or flannel for the middle. Cut a 14-inch piece of 1/2-inch elastic and pin its ends at the sides between the two fabric layers, right sides together. Sew around with a 1/4-inch seam, leaving a gap at the bottom. Clip curves, turn, press, and topstitch.
Clipping the curves is what makes the edge smooth. About 40 minutes.
18. Zipper Pouch
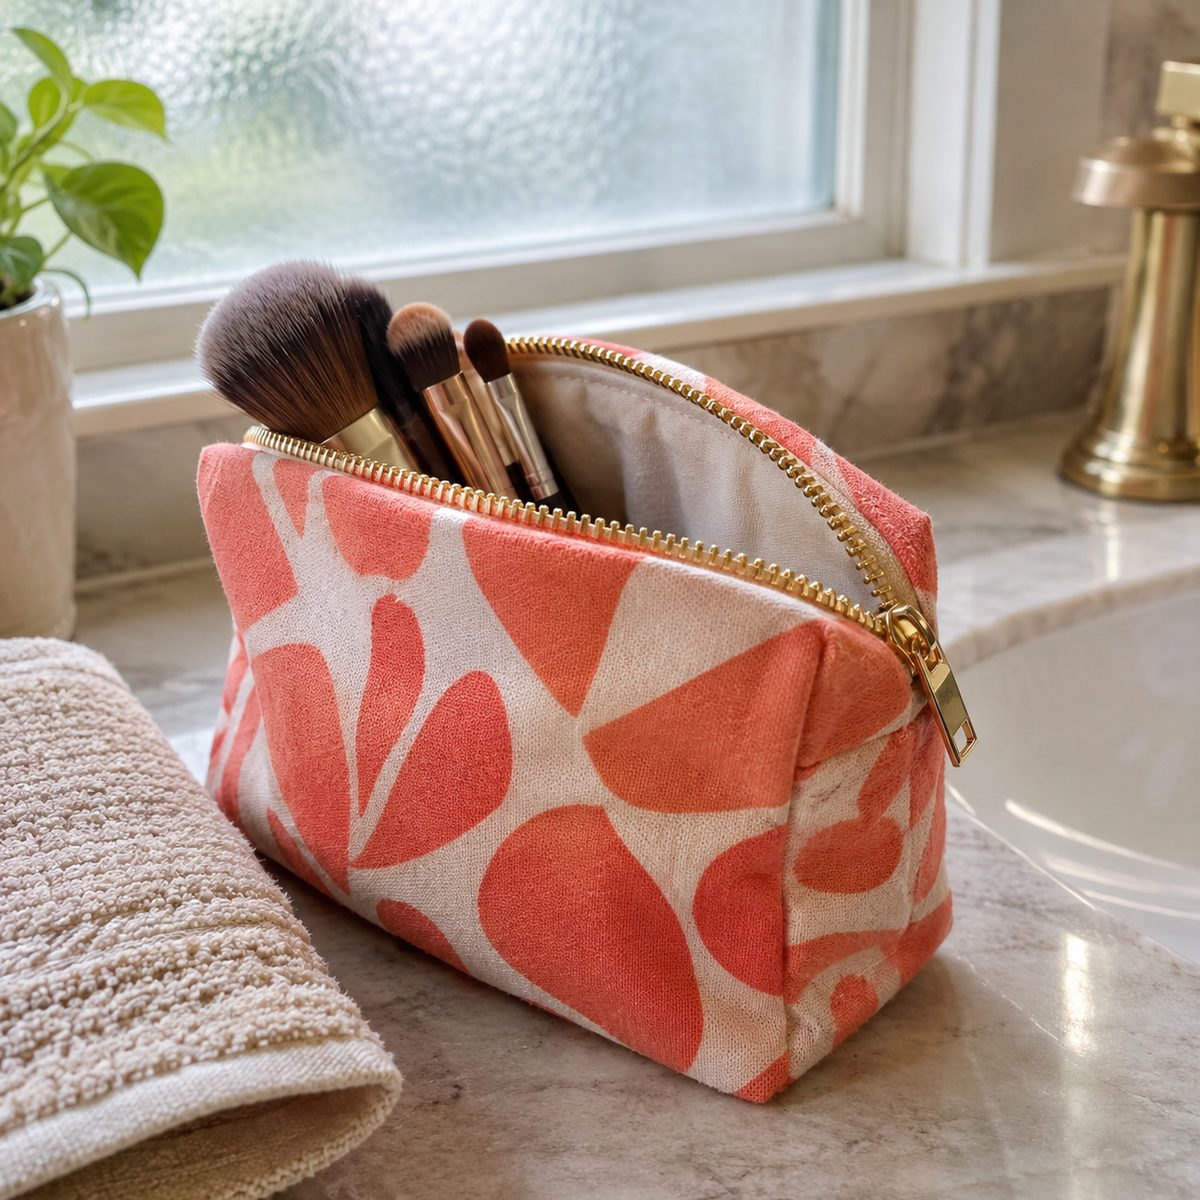
This is the project that takes the fear out of zippers. A simple unlined pouch lets you focus on one thing: sewing close to the zipper teeth with a zipper foot.
Use a 9-inch zipper and cut two 10 x 7-inch pieces of cotton or canvas. Place one piece right side up, lay the zipper face down along the top edge, and sew with the zipper foot. Repeat on the other side. Open the zipper halfway (this is important), place the pieces right sides together, and sew the other three sides. Turn it out through the open zipper.
A light layer of interfacing gives it more body. About 45 minutes.
19. Lined Boxy Pencil Case
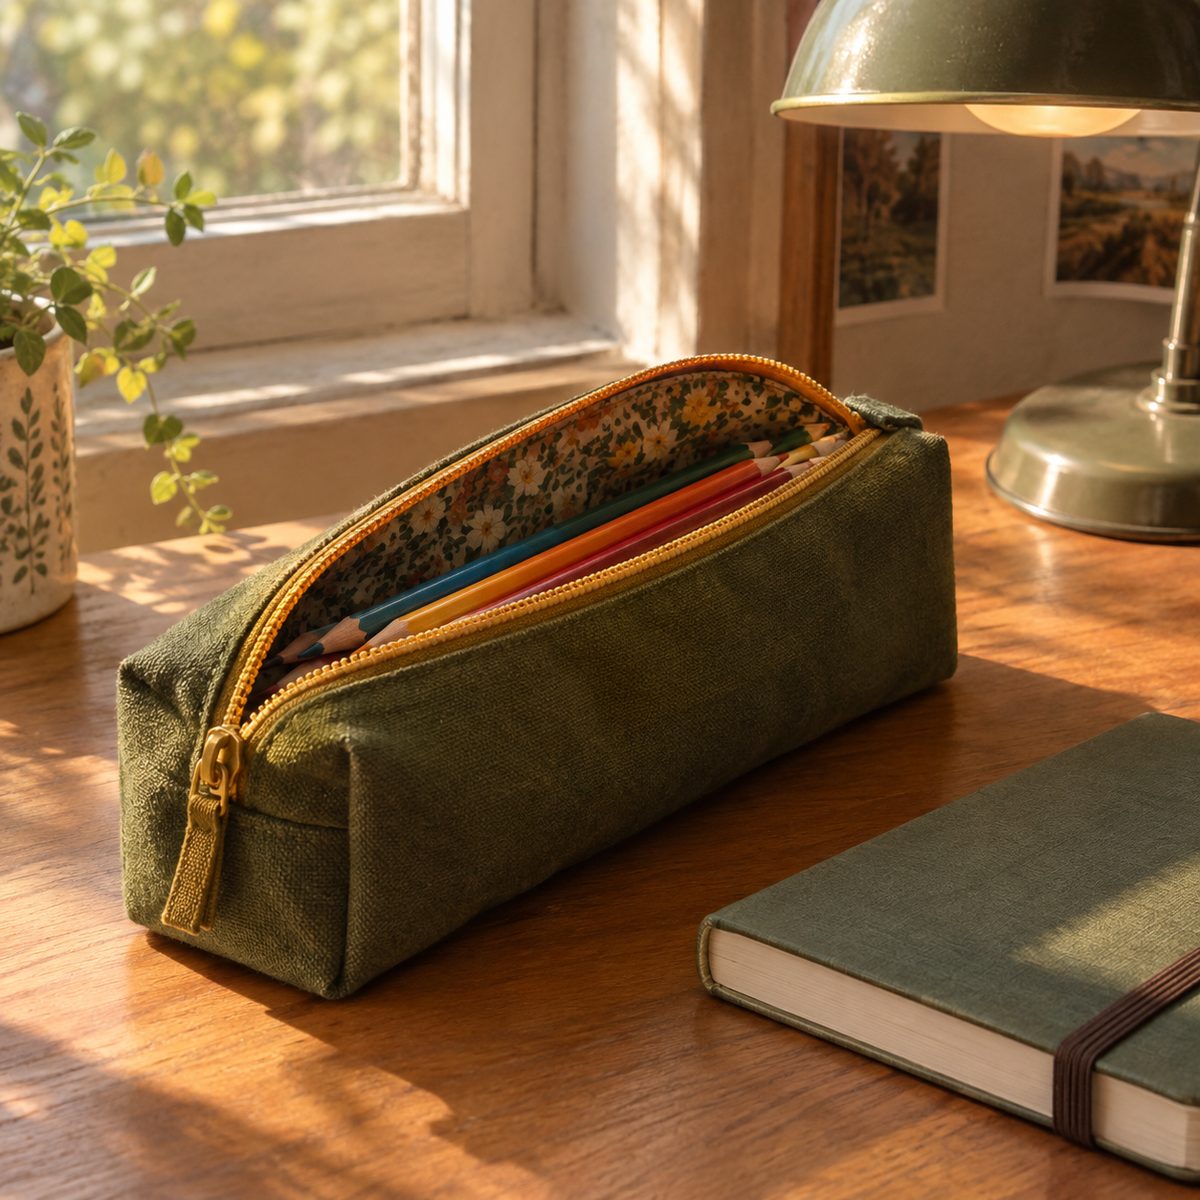
Once the flat pouch feels easy, add a lining and boxed corners to make a boxy case that stands up and holds more. This combines your zipper and corner skills into one very satisfying project.
Use a 12-inch zipper. Cut two 12 x 8-inch outer pieces, two lining pieces, and two interfacing pieces. Sandwich the zipper between outer and lining on each side, stitch, press away from the teeth, and topstitch. Open the zipper, put outers together and linings together, and sew around, leaving a gap in the lining. Box all four corners at 1 1/2 inches, turn, and close the lining gap.
It’s perfect for pencils, notions, or chargers. About 90 minutes.
20. Zippered Pillow Cover
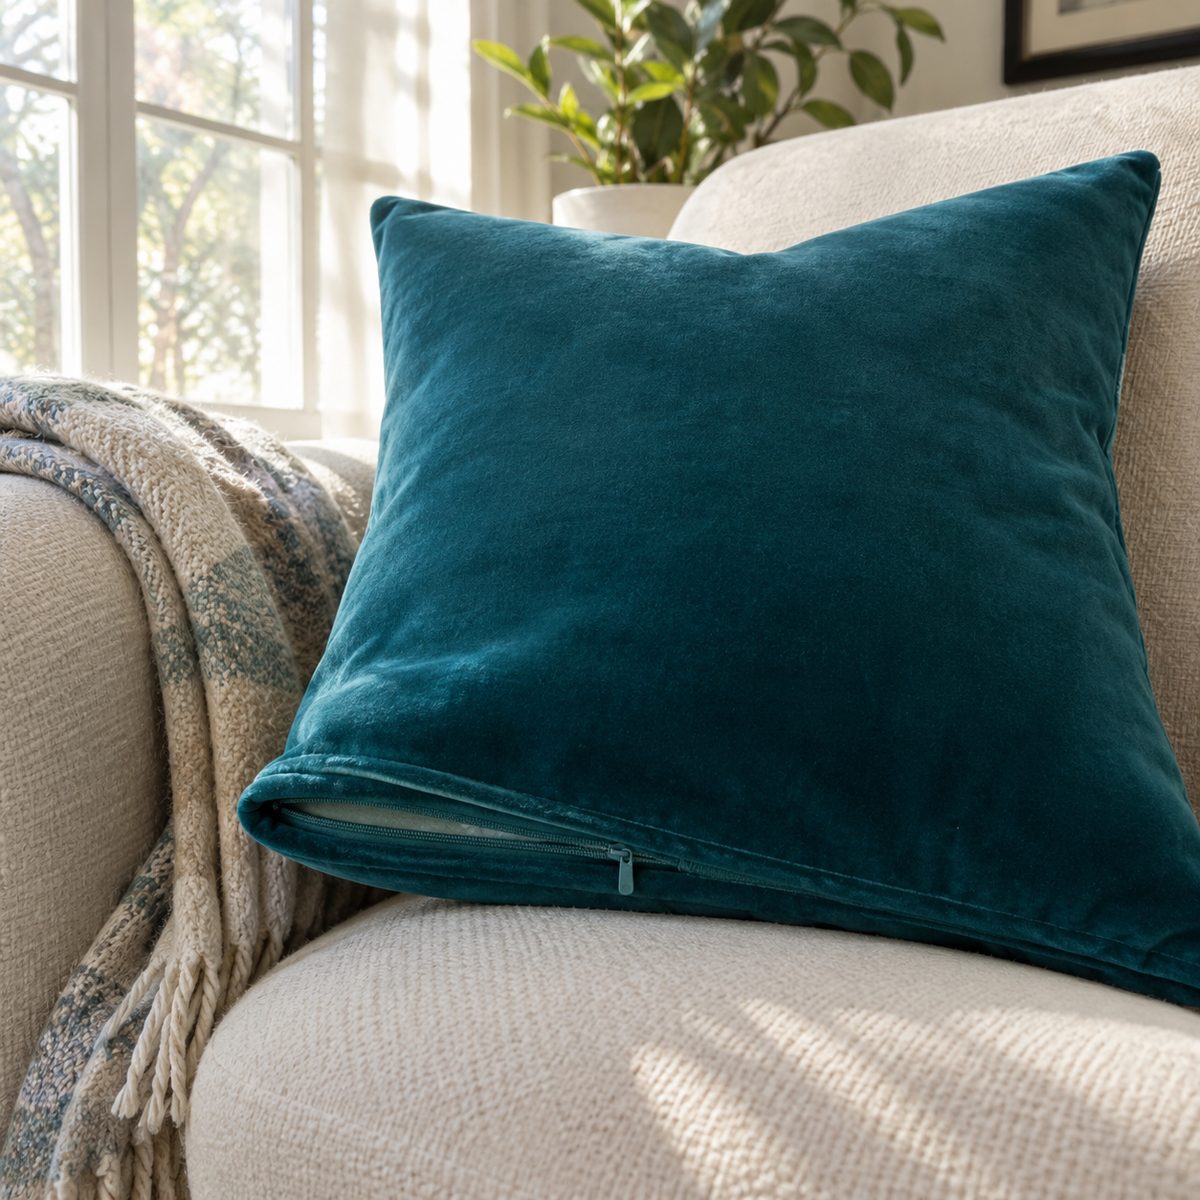
A zippered pillow cover is the grown-up version of the envelope cover, and it looks noticeably more polished. The trick is setting the zipper into the bottom seam so it disappears when the pillow sits on the couch.
For an 18-inch pillow, cut two 18-inch squares and use a 16-inch zipper. Baste the bottom seam closed with a 1/2-inch allowance, press it open, and center the zipper face down over the seam. Stitch around it with a zipper foot, then unpick the basting to open it up. Open the zipper partway, place the squares right sides together, and sew the remaining three sides.
About an hour, and the covers are easy to remove for washing.
21. Kitchen Apron
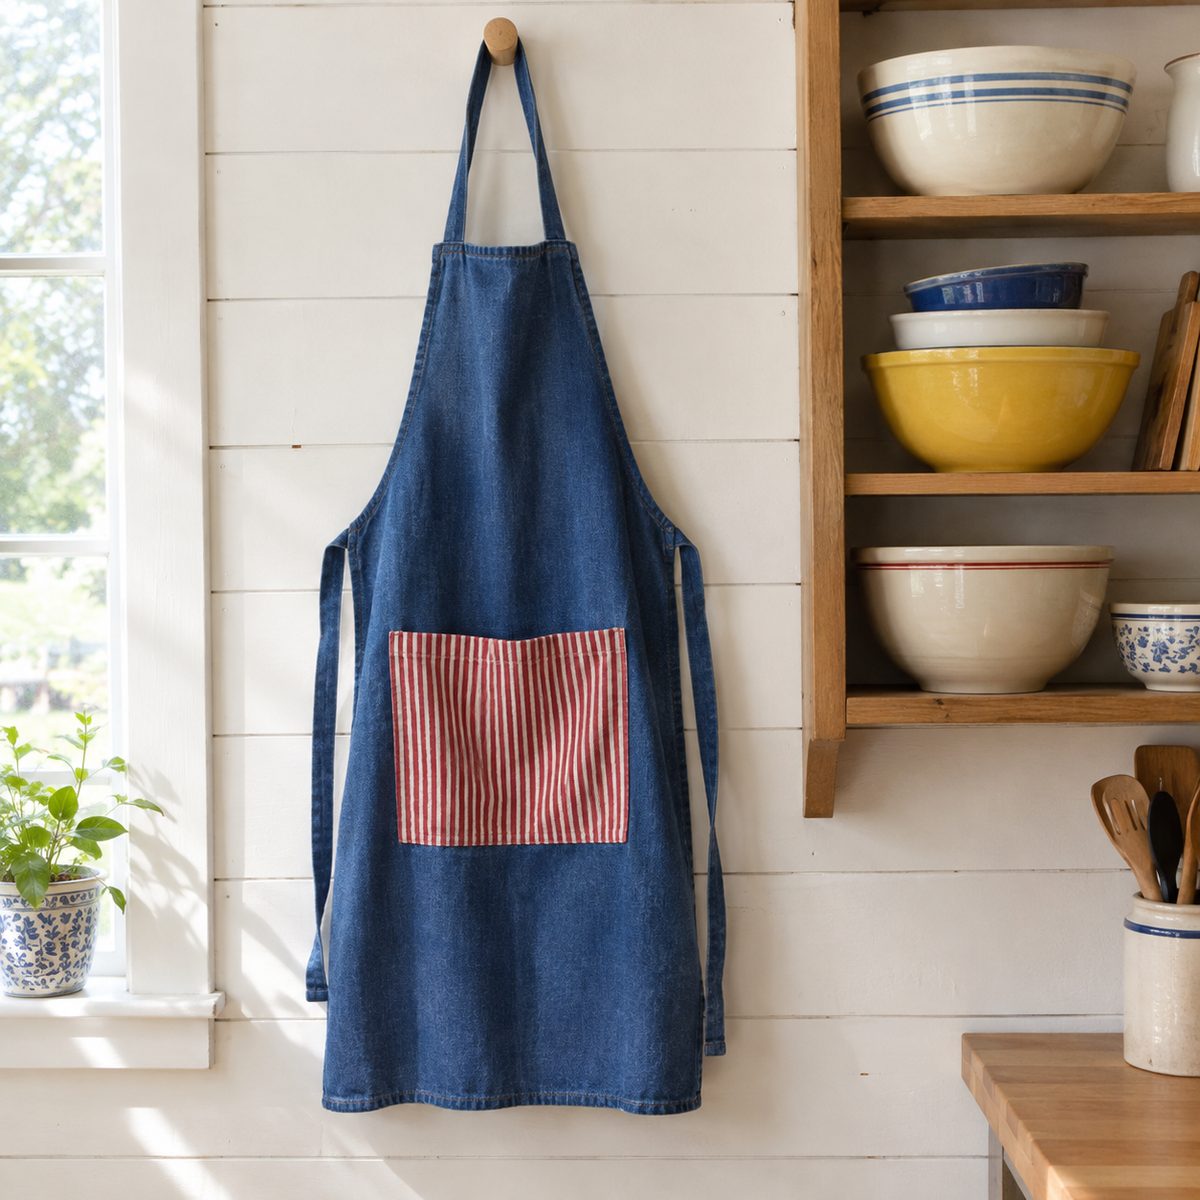
An apron is a great bridge between home goods and garments. You’ll sew long straps, a patch pocket, and neck and waist ties, and you’ll learn to reinforce stress points so it lasts.
Cut a 28 x 34-inch rectangle from cotton twill or canvas, then trim a gentle curve from each top corner toward the sides for the armholes. Hem all edges with a double fold. Make a 22-inch neck strap and two 30-inch waist ties from 3-inch strips folded into quarters. Stitch them on with a small box and an X for strength.
Add a 10 x 8-inch patch pocket. Allow about two hours.
22. Infinity Scarf
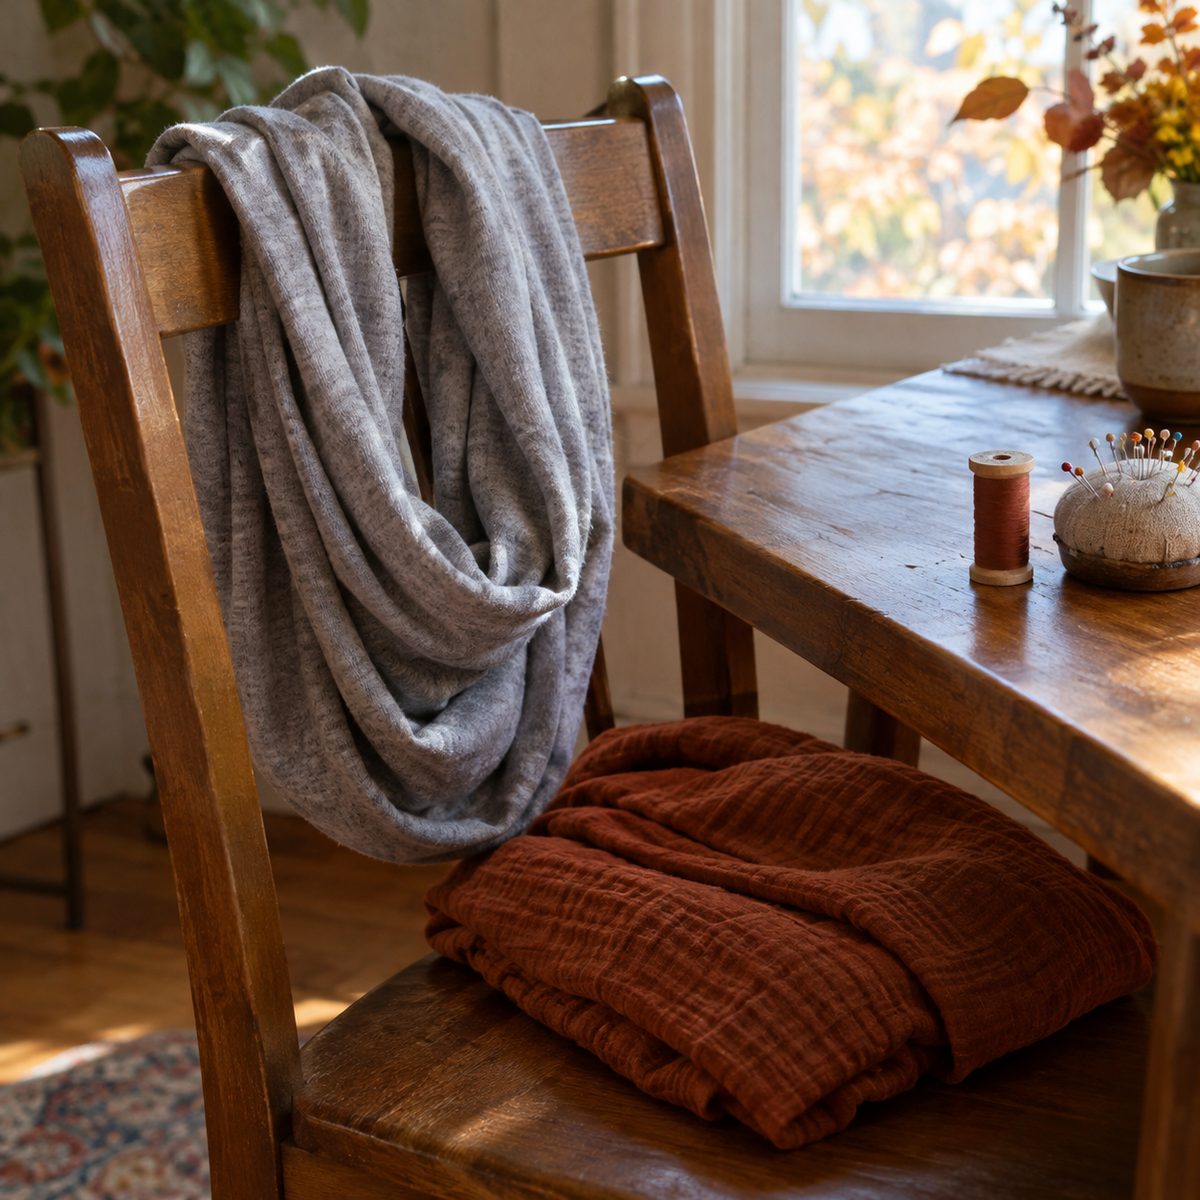
An infinity scarf is a gentle first taste of knit fabric, and it’s nearly impossible to get wrong. There’s no fitting, just one long seam and a tidy join.
Cut a rectangle about 60 x 24 inches from jersey or a soft double gauze. Fold it lengthwise right sides together and sew the long edge into a tube. Turn it right side out, then tuck one end inside the other, matching the seams, and sew the ends together, leaving a small gap to close by hand.
For knits, use a ballpoint needle and a narrow zigzag or stretch stitch so the seam can give. Knits don’t fray, so you can skip hemming. About 30 minutes.
23. Elastic-Waist Gathered Skirt
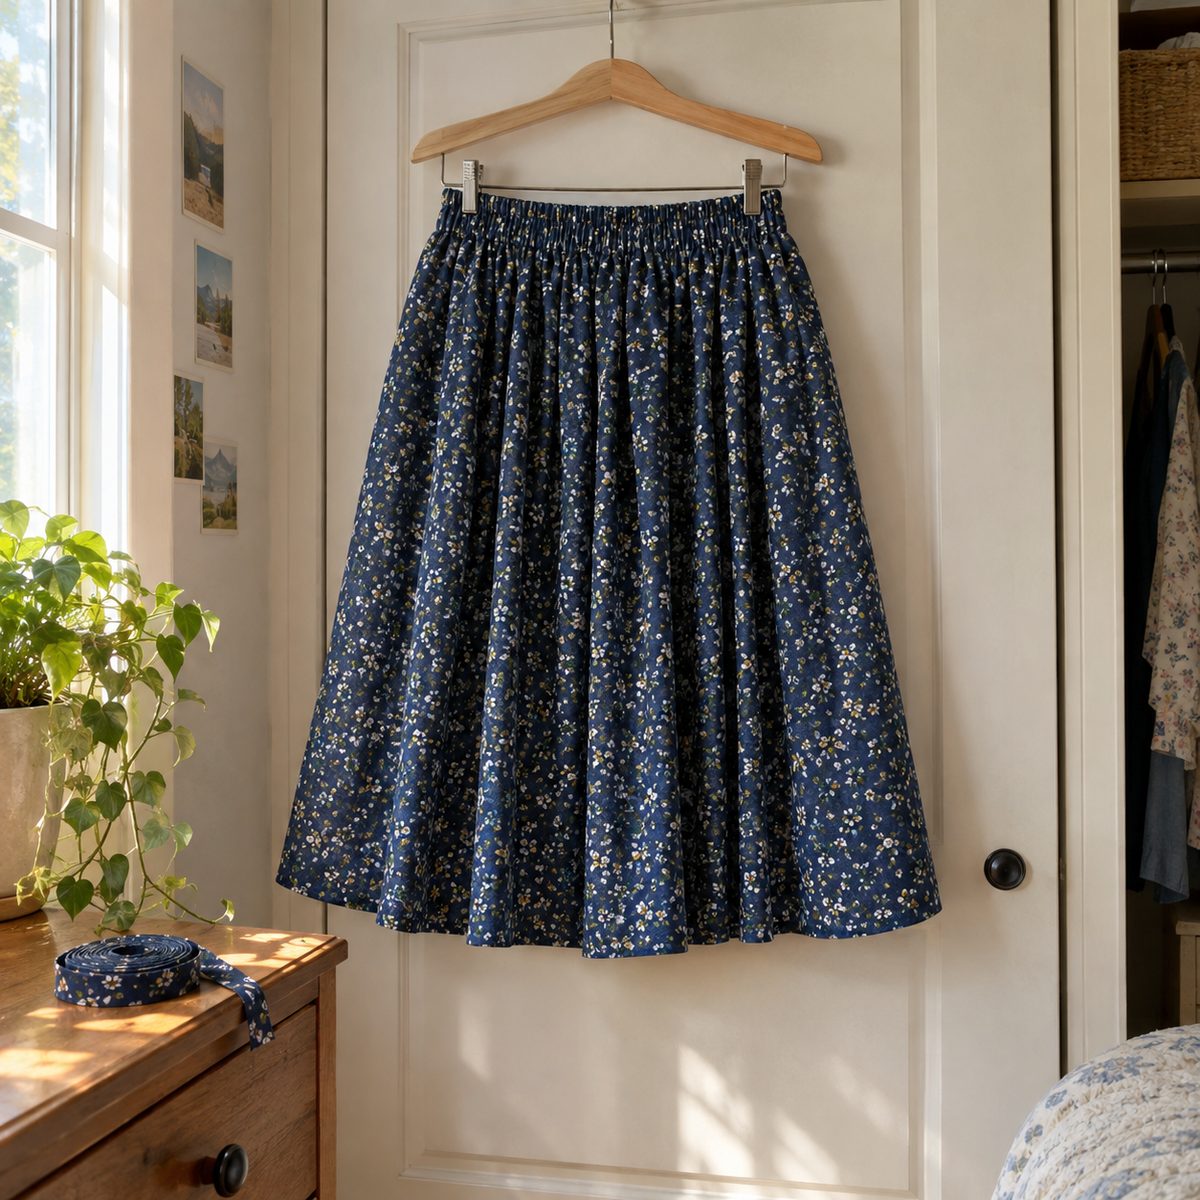
This is the classic first garment. It’s made from rectangles, so you don’t need a pattern, and it uses the casing and elastic skills you’ve already practiced on the drawstring bag and bowl covers.
Measure your hips and multiply by 1.5 to 2 for the width, and decide on your length plus 3 inches. Cut one or two rectangles to that total. Sew the side seam, then fold the top edge over 1/4 inch and then 1 1/4 inches for the casing, leaving a 2-inch gap. Thread 1-inch elastic cut about 2 inches smaller than your waist, overlap, stitch, and close the gap. Hem the bottom.
Cotton lawn, rayon, or chambray drape nicely. About two hours.
24. Pajama Pants
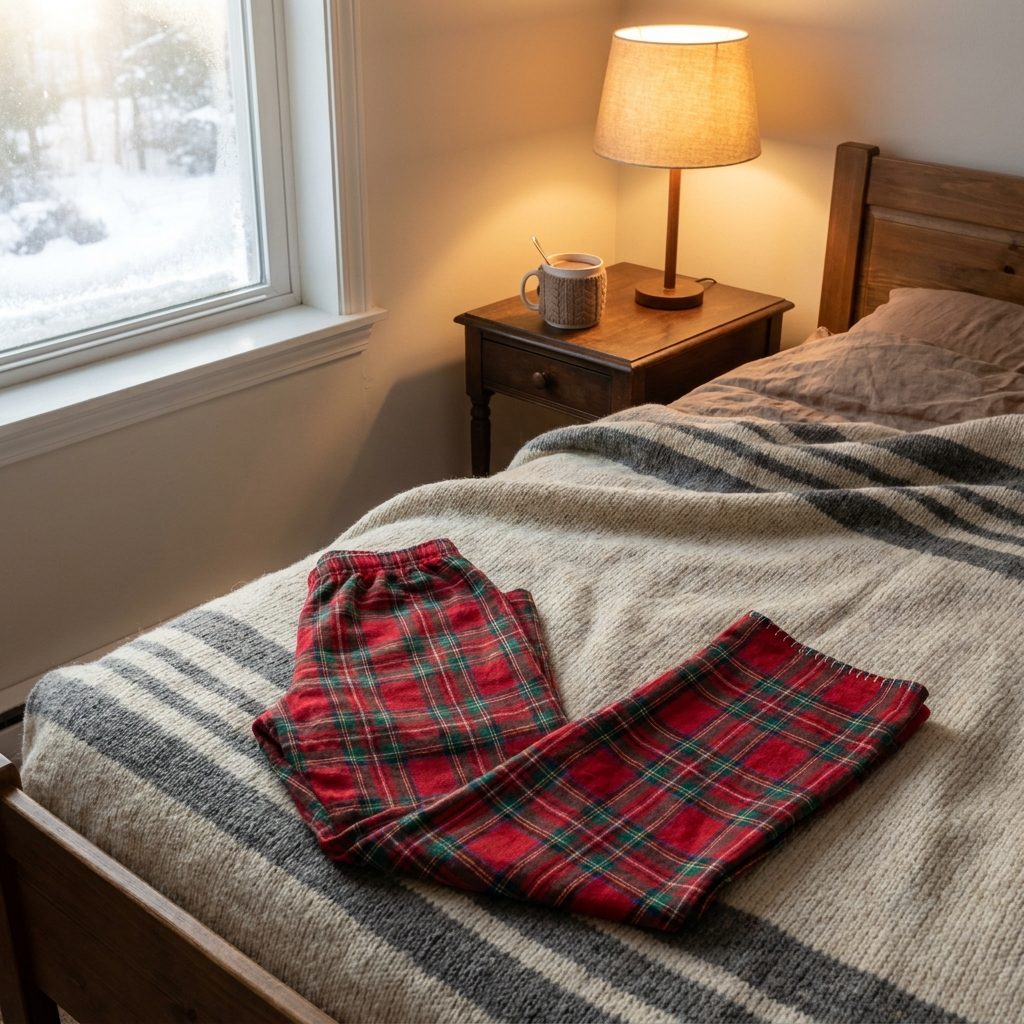
Pajama pants are the most-recommended first “real” garment, and for good reason. They introduce crotch curves and inseams, but a loose fit and an elastic waist make them very forgiving.
Trace a pair of well-fitting loose pants onto paper, adding 1/2-inch seam allowances and 2 inches at the top for the casing, or use a basic beginner pattern. Flannel or cotton lawn is easy to handle. Sew the inseam of each leg, then turn one leg right side out and slip it inside the other to sew the crotch seam in one continuous curve. Make the waistband casing, add elastic, and hem.
- Fabric: about 2 1/2 yards of 44-inch flannel
- Time: about three hours
25. Simple Boxy Top
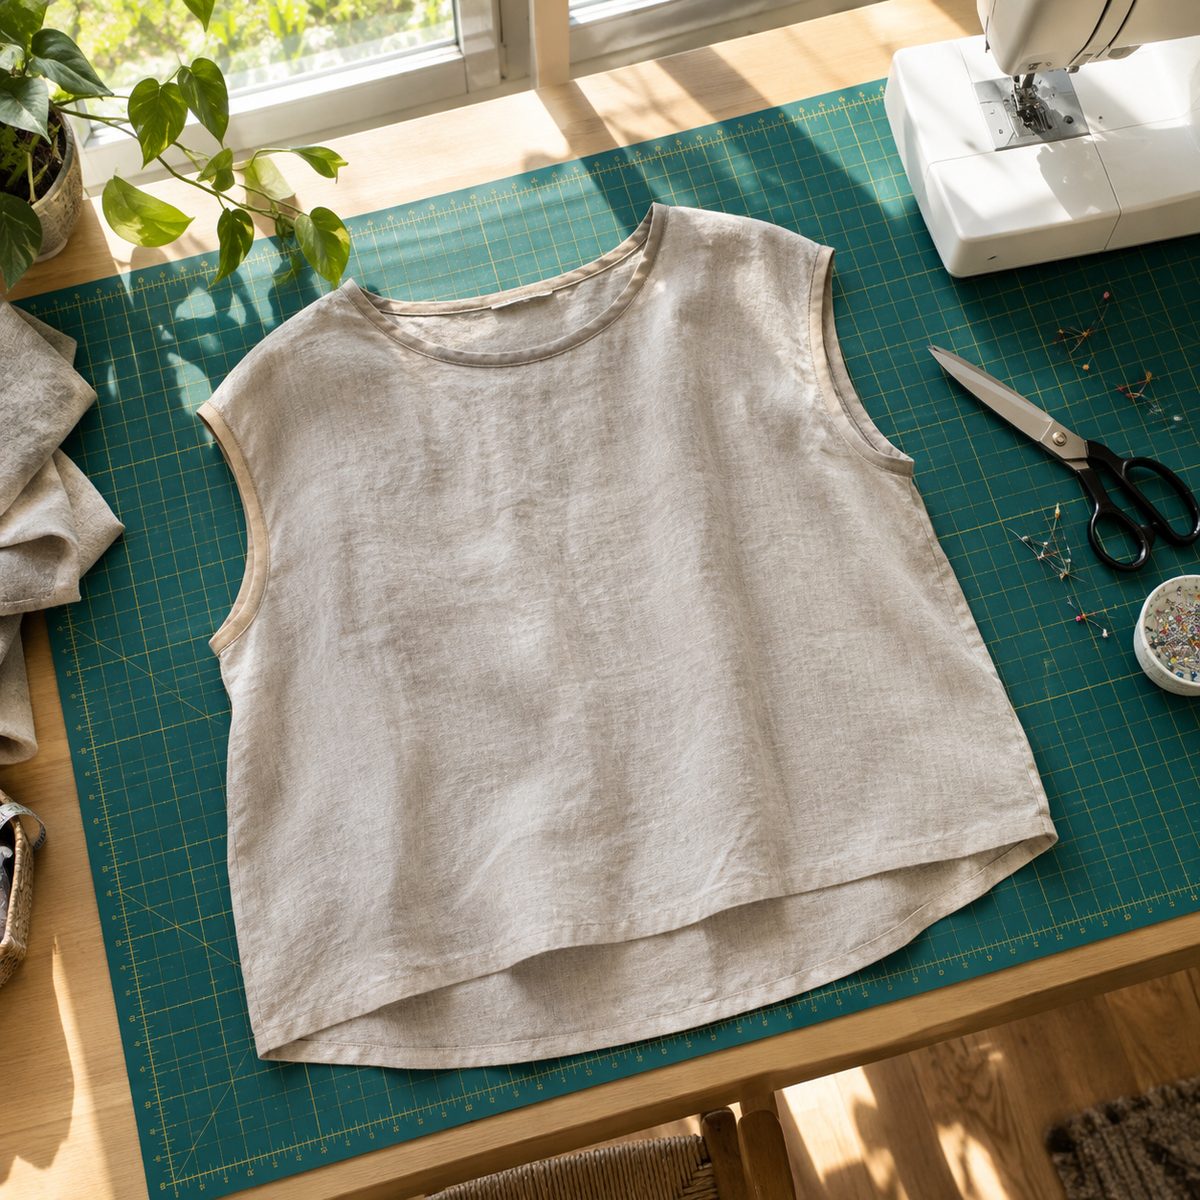
A boxy top made from two rectangles is a great graduation project. It brings together hems, shoulder seams, side seams, and a finished neckline, with barely any fitting required.
Cut two rectangles about 24 inches wide and 26 inches long from linen, double gauze, or cotton. Sew the shoulder seams, leaving a 10-inch opening in the center for your head. Finish the neckline with bias tape or a simple narrow hem. Sew the side seams, leaving 8 to 9 inches open at the top for armholes, then hem the armholes and bottom.
Wash your fabric first, especially linen. Plan on about two to three hours.
Where to Go from Here
You don’t need to make all 25 in order, but try to finish at least one from each group before jumping ahead. Straight seams build control, corners teach precision, elastic teaches patience with gathers, and zippers prove you can handle hardware. Once you’ve made pajama pants or a boxy top, most beginner patterns are within reach. Don’t worry about perfection on the first try. The second one is always better.