You can sew a perfect running stitch or do a blanket stitch that would make your grandmother proud. Maybe you need to tie off that project on the fancy new embroidery machine you just bought 🙂
But equally important is your ability to finish off that hand-sewn masterpiece to make it last.
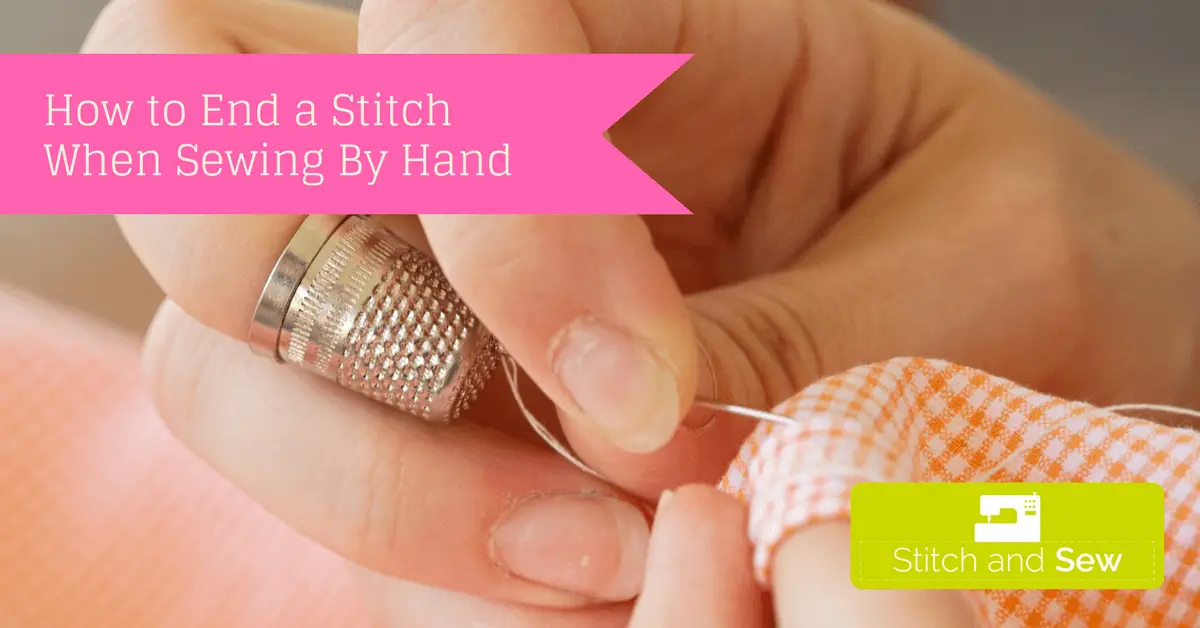
The method for finishing off hand stitching varies from person to person, but basically, you are tying off the thread in your project. Here are several different methods for finishing a hand-sewn project.
Table of Contents
Method #1
- Leave approximately 4 to 6 inches of thread on your project. If the thread is too short, you will not be able to tie a knot.
- Lay the project on a flat surface to avoid accidentally sewing through another layer of fabric, such as your clothing.
- Pass the needle through to the back or wrong side of the fabric. This way it won’t show from the front.
- Turn the fabric over so the back side is facing you. Using your needle, gently pick up the nearest stitch and pass it through until a loop is formed.
- Holding the loop in one hand and the needle in the other, pass the needle through the loop and slowly pull it through until it tightens. Hold the loop straight while pulling slowly to avoid twisting. This will help keep the thread from tangling.
- Repeat this step several times to ensure that it is secure.
- Trim the thread leaving a half-inch tail. If you cut the thread too close to the knot, it will likely come undone.
Alternatively, after pulling the loop tight, you can pass the needle through the knot itself to secure it.
Method #2
- Insert the needle halfway through the fabric. Make sure the end of the needle is sticking out of the fabric.
- Wind the remaining thread around the needle a few times.
- Hold the wound thread in place with one finger and pass the needle through the fabric the rest of the way.
- Tighten the knot and trim the thread. Voila! You have a knot!
Method #3
(Especially good for the blanket stitch)
- Insert the needle through the fabric near the last stitch and gently pull till a loop is formed. Leave it loose.
- Pass the needle through the loop, forming a second loop. Leave the second loop loose as well.
- Now go through the second loop until you have 3 loops.
- Take the thread nearest the first loop and slowly pull it tight.
- Next, take the thread closest to the needle and start pulling it. Make sure to keep the loop straight, not allowing it to twist.
- Keep pulling the thread slowly until a tight knot forms.
- Clip off the end.
Method #4
- Pass the needle through to the back of the fabric.
- Pick up 1/16th of an inch of fabric with the needle and pass through until a loop is formed.
- Holding the loop between the index finger and thumb with one hand, thread your needle through it two or three times.
- Keeping loop straight, slowly pull the thread tighter.
- Place your finger on the knot itself and continue pulling the thread into a tight knot
Note: If your needle is double-threaded, make sure your needle clears both threads in the loop before tightening into a knot. Accidentally catching only one thread is easier to do than you might think, resulting in a knotted nightmare!
Finishing off your hand sewing or by machine can make the difference between a project that falls apart or one that endures. There’s more than one way to do so. It’s all a matter of preference.
Just pick whatever method works for you and have fun sewing!
I found this finishing edge course on Craftsy to be very helpful, check it out: