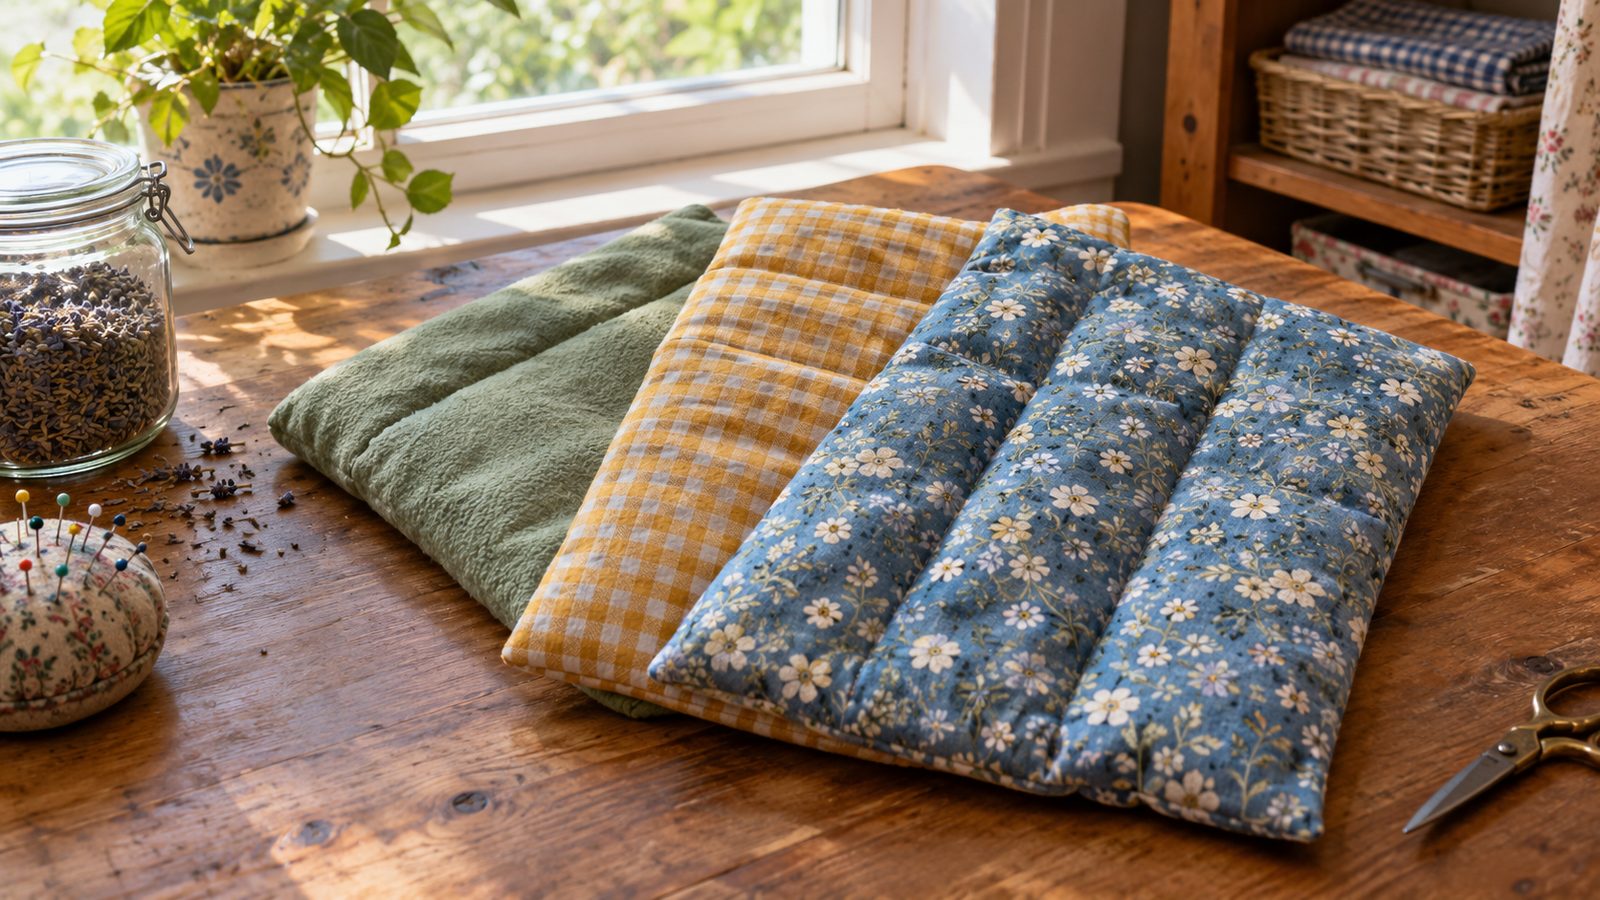
A rice heating pad is one of the most useful things you can sew in an afternoon: two rectangles of cotton, a few rows of stitching, and a few cups of plain rice. Warm it in the microwave and you have a soft, weighty pad that drapes over your shoulders, lap, or cold feet.
This version finishes at about 8 x 20 inches and uses stitched channels so the rice stays spread out instead of slumping into one end. You’ll also find an optional slip-on cover you can wash, plus the heating habits that keep a homemade pad safe to use.
What you’ll need
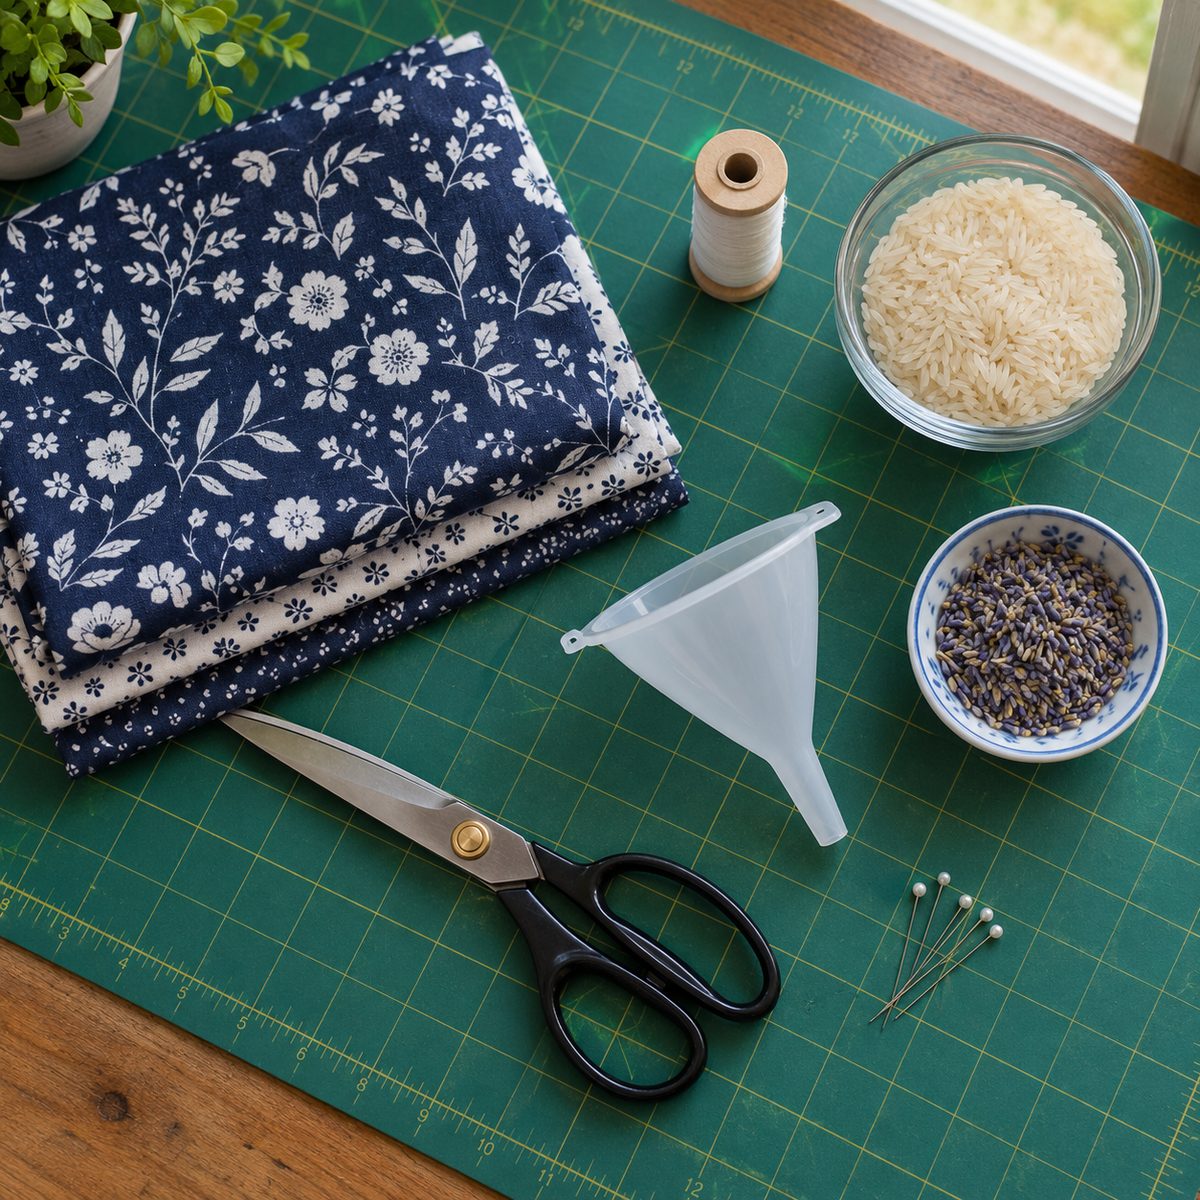
- Inner bag: two pieces of 100% cotton fabric, each 9 x 21 inches (quilting cotton, muslin, or cotton canvas)
- Filling: about 4 to 5 cups of plain, uncooked long-grain white rice
- Thread: 100% cotton thread (no polyester, no metallic)
- Optional cover: one piece of 100% cotton or cotton flannel, 22 x 23 inches
- Optional scent: 2 to 3 tablespoons of dried lavender buds
- Rotary cutter or scissors, ruler, washable fabric marker, pins or clips
- A funnel (or a sheet of paper rolled into a cone) and a measuring cup
- Sewing machine with a universal or quilting needle, plus a zipper foot if you have one
Choosing fabric, thread, and filling
Everything that goes into the microwave needs to be natural fiber. That’s the one rule I don’t bend on this project. Use 100% cotton fabric for the inner bag and 100% cotton thread for every seam. Synthetic fabrics like polyester fleece, minky, and many blends sold as “soft touch” can soften or melt with heat, and polyester thread can do the same. Metallic thread, glitter prints, metal zippers, snaps, and rivets have no place in anything that gets microwaved, since metal can spark.
A tightly woven cotton works best because it keeps rice dust in and holds up to repeated heating. Quilting cotton, plain muslin, or a light cotton canvas are all good choices. If you’re not sure about a fabric’s content, skip it for the inner bag and save it for something else. Our guide on how to choose fabric for sewing covers ways to check fiber content. Prewash your cotton before cutting so any shrinkage happens now, not later; see should you wash fabric before sewing if you’re on the fence.
Picking the rice
Buy plain, uncooked long-grain white rice. Avoid instant or quick-cook rice, which is partly cooked and can scorch or break down, and skip seasoned or flavored blends. Rice holds heat well and has a pleasant weight, and it holds a little natural moisture, which is part of why these pads feel gently warm rather than dry.
Some sewists use whole flaxseed or whole dried feed corn instead. Both work in the same channel design, though flaxseed is slipperier and more likely to find its way through a loose weave. Whatever you choose, keep it plain and dry.
Adding lavender (optional)
If you like a light scent, mix 2 to 3 tablespoons of dried lavender buds into the rice before filling. Keep it modest, since too much can overwhelm and the buds can scorch faster than rice. Leave it out if the pad is a gift for someone sensitive to fragrance. Skip essential oils in the filling; oily rice heats unevenly.
Cutting and sewing the inner bag
The inner bag is a simple rectangle sewn on three sides, turned right side out, and then divided into channels. A 1/2-inch seam allowance is used throughout.
- Cut two rectangles of prewashed cotton, each 9 x 21 inches. Use a ruler and rotary cutter if you have them so the corners are square.
- Pin right sides together, matching all edges.
- Sew around three sides, both 9-inch short ends and one 21-inch long side, with a 1/2-inch seam allowance. Backstitch at the start and finish. Shorten your stitch length slightly (about 2.0 to 2.2 mm) so the seams are tight enough to keep rice in. Check what size needle to use for cotton if you’re unsure which one to put in.
- Clip the two sewn corners diagonally, close to but not through the stitching, to reduce bulk.
- Turn the bag right side out and push the corners out gently with a blunt tool like a chopstick.
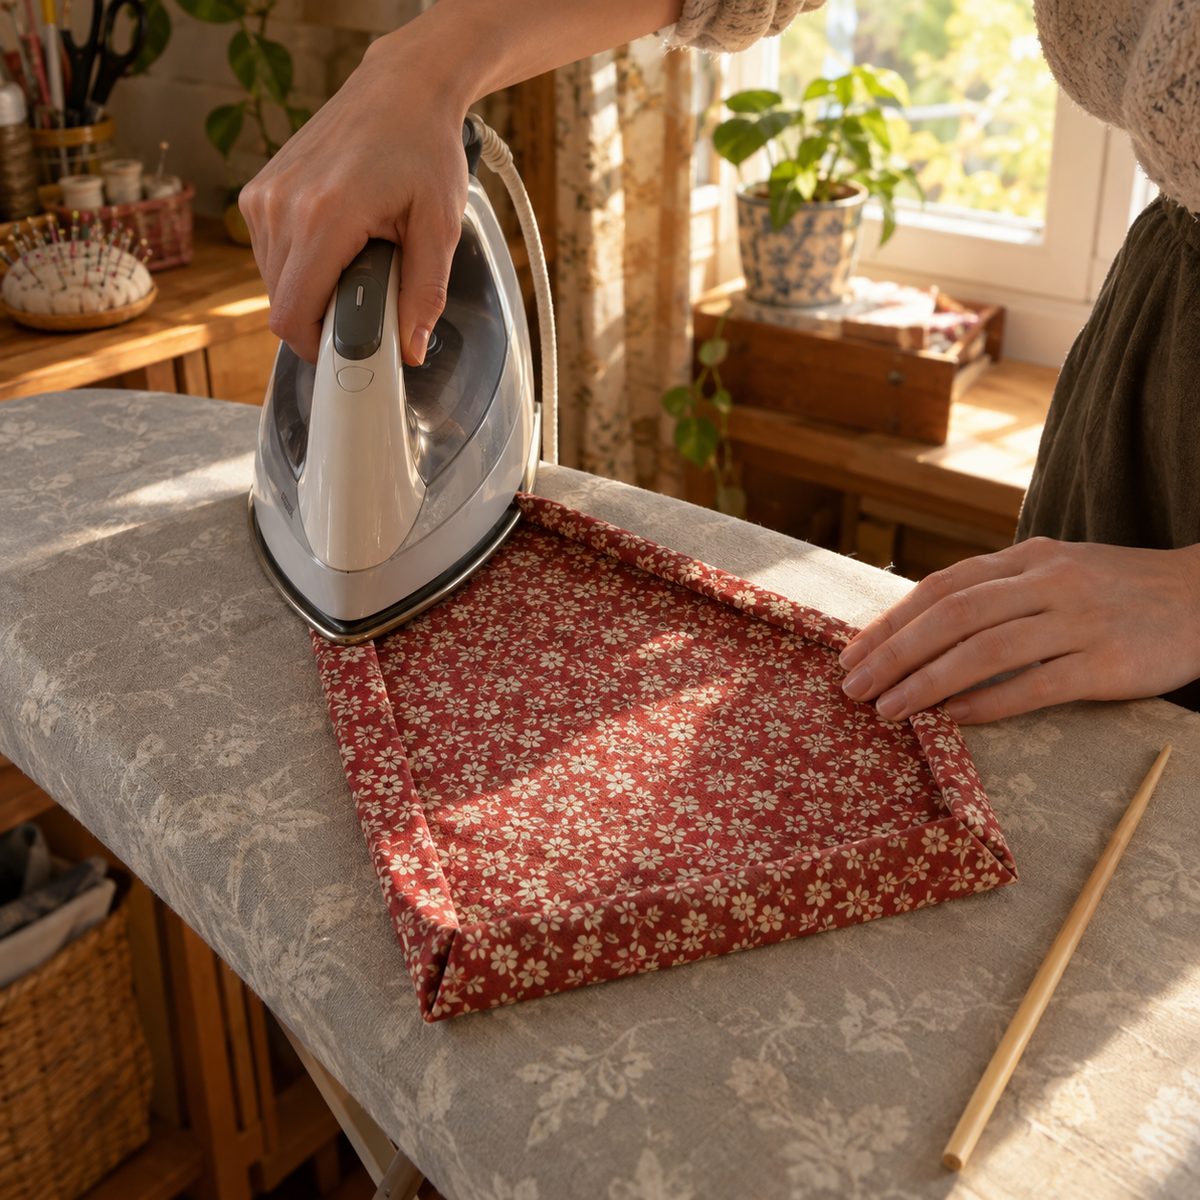
- Press flat. At the open long edge, fold both raw edges inward by 1/2 inch and press them so the folds line up. This pressed edge becomes your final closure, so take a moment to get it crisp.
For an extra line of security, topstitch around the three finished sides about 1/4 inch from the edge. It gives the pad a tidy look and adds a second barrier against leaks.
Marking and stitching the channels
Channels are what keep the rice evenly spread. Without them, all the filling slides to the lowest point and you end up with an empty flap on one end and a lump on the other. For an 8 x 20 pad, five pockets of about 4 x 8 inches each strike a good balance: small enough to hold the rice in place, large enough that the pad still bends and drapes.
- Lay the bag flat with the open edge at the top.
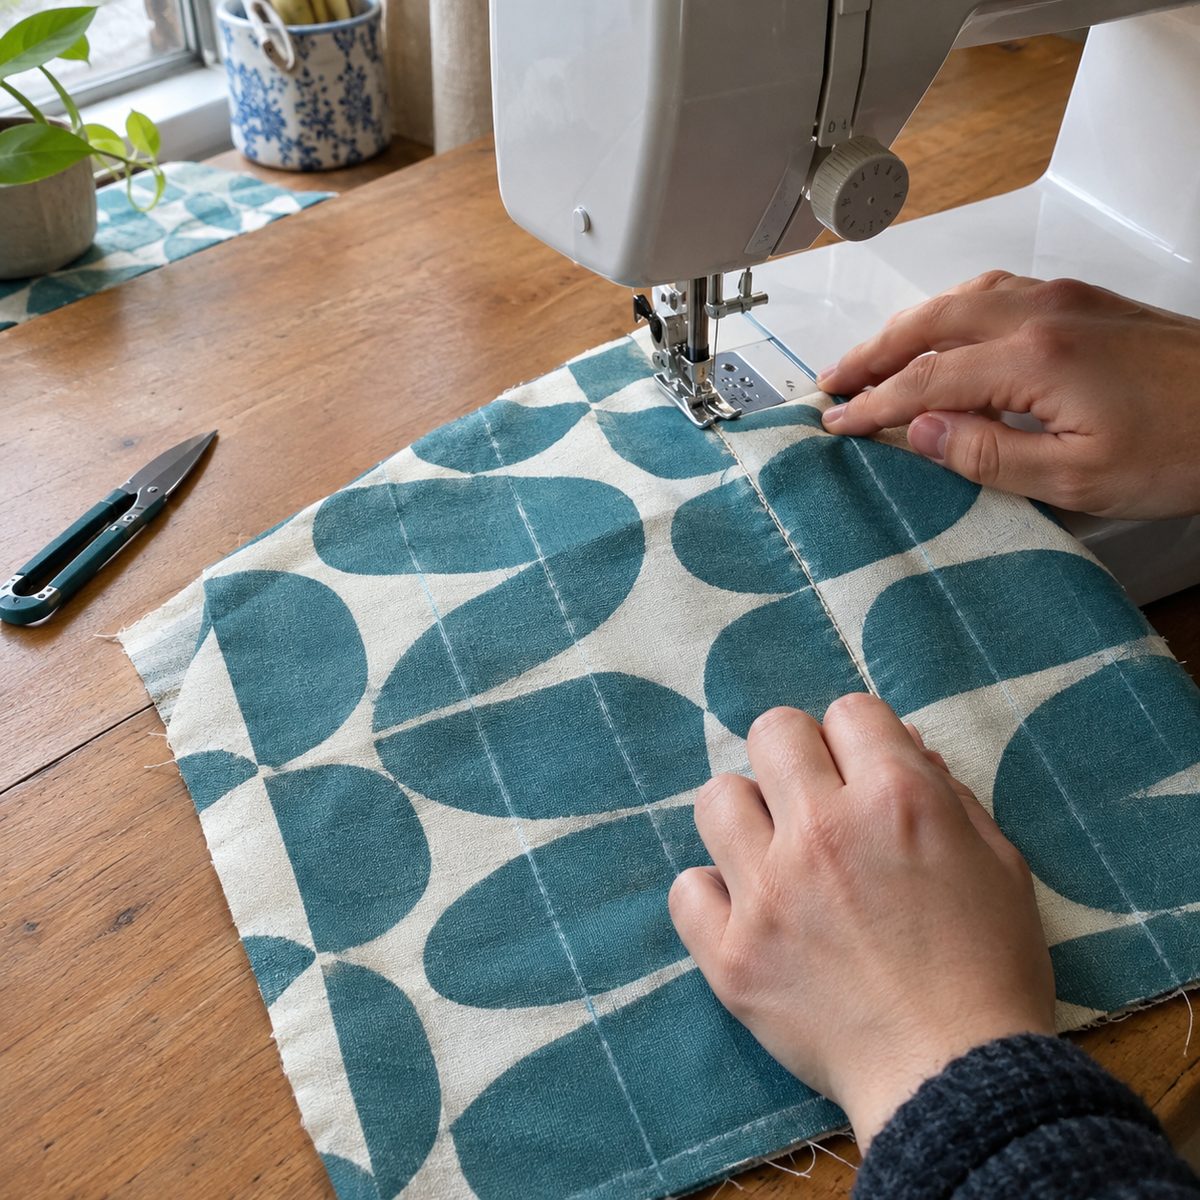
- Measure from one short end and mark vertical lines at 4, 8, 12, and 16 inches with a washable marker. Each line should run from the bottom seam up toward the open edge.
- Mark a stop point about 1-1/2 inches below the pressed opening on each line. The channel stitching ends here so you have room to pour and then seal the top.
- Stitch each channel line, starting at the bottom edge and sewing up to the stop point. Backstitch firmly at both ends, because these seams take a lot of strain once the rice goes in.
You now have five separate pockets that open into a shared strip along the top. If you’d like fewer, wider pockets, four channels of 5 inches each also work; just keep them no wider than about 5 inches or the rice will bunch.
Filling the channels
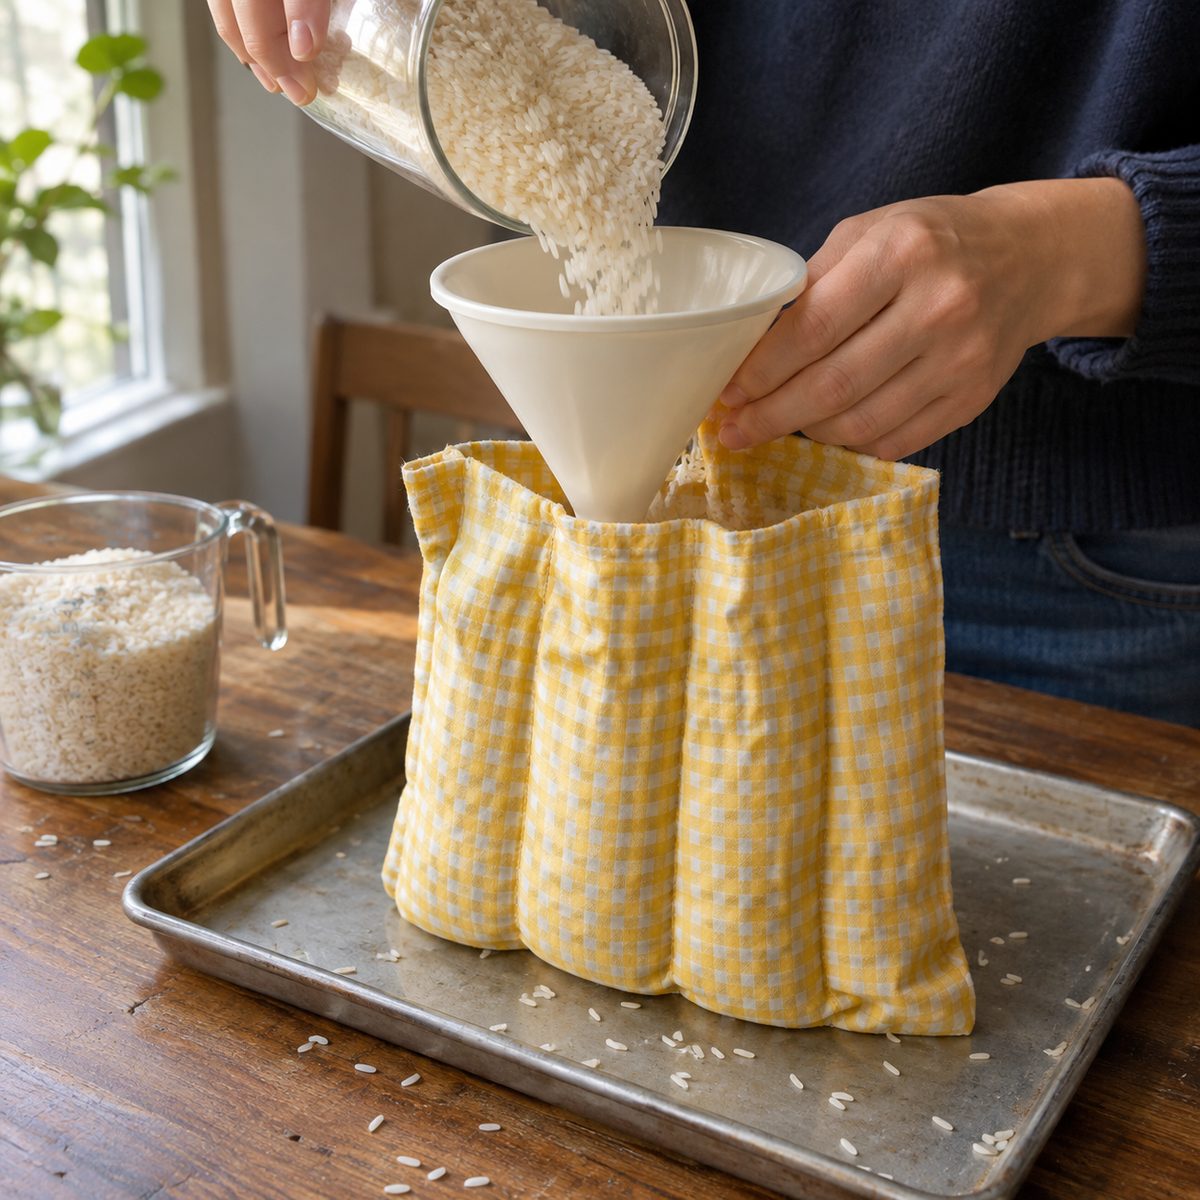
This is the fun part, and the messiest. Work over a tray or a rimmed baking sheet so stray grains are easy to collect.
- Mix your filling first if you’re adding lavender, so every pocket gets an even share.
- Divide the rice into five roughly equal portions of about 3/4 to 1 cup each. Measuring per pocket is the easiest way to keep the pad balanced.
- Pour one portion into each pocket through a funnel or a paper cone. Aim for each channel to be about two-thirds to three-quarters full. It should feel loose and floppy when you pick the pad up, not packed tight.
- Check the drape. Lift the pad and let it hang over your arm. If it feels stiff, remove a little rice; if the pockets look thin and flat, add a few tablespoons more.
Underfilling is better than overfilling. A pad that’s too full doesn’t mold to the body, heats unevenly, and puts extra stress on the seams.
Closing the pad securely
You’ll close the top with two rows of stitching: one that seals each channel and one that closes the pressed opening. The double seal keeps the rice where it belongs.
- Shake the rice down. Hold the pad upright by the open edge and tap it on the table so the filling settles to the bottom of each pocket, well away from the top.
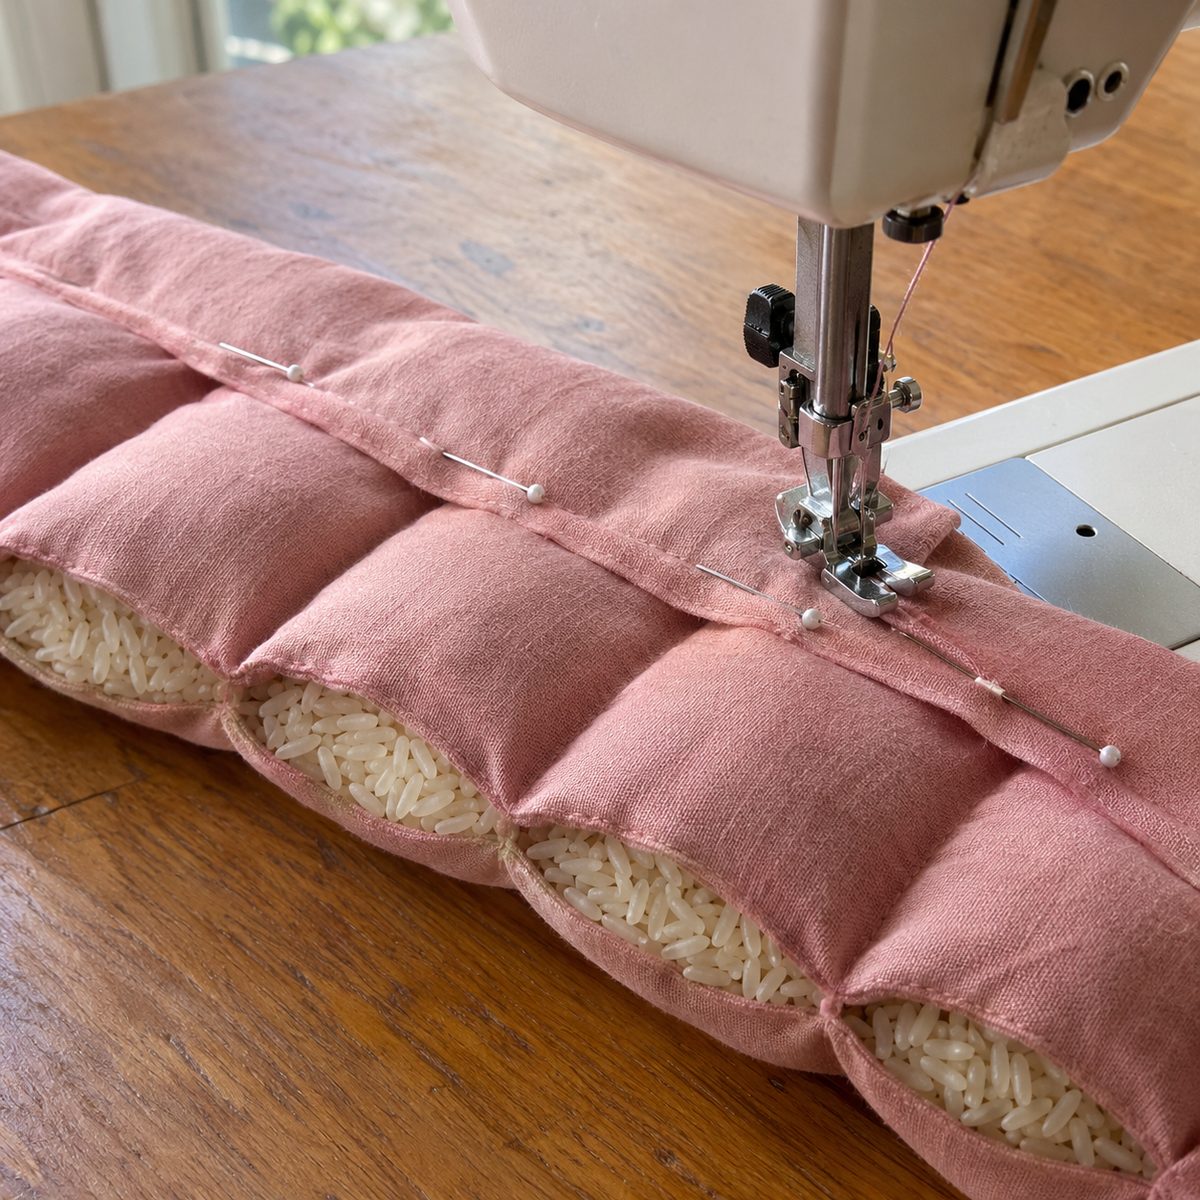
- Pin a line across the pad just above the rice and just below the channel stop points, about 1-1/4 inches from the opening. Pins placed horizontally help hold the grains back.
- Sew across the full length along that pinned line, backstitching at both ends. A zipper foot lets you stitch close to the rice without the presser foot riding up over it. Go slowly and nudge any stray grains away from the needle, since hitting rice can break a needle or throw the stitch off.
- Edgestitch the opening closed. Line up the pressed folded edges, pin or clip them, and stitch about 1/8 inch from the fold along the whole top edge.
- Give it a shake and check every seam for gaps. If any grain peeks through, add another row of stitching right there.
The rice-filled inner bag isn’t meant to go through the washing machine, since water will cook and ruin the filling. That’s the main reason to make a cover.
Sewing a removable cover (optional)
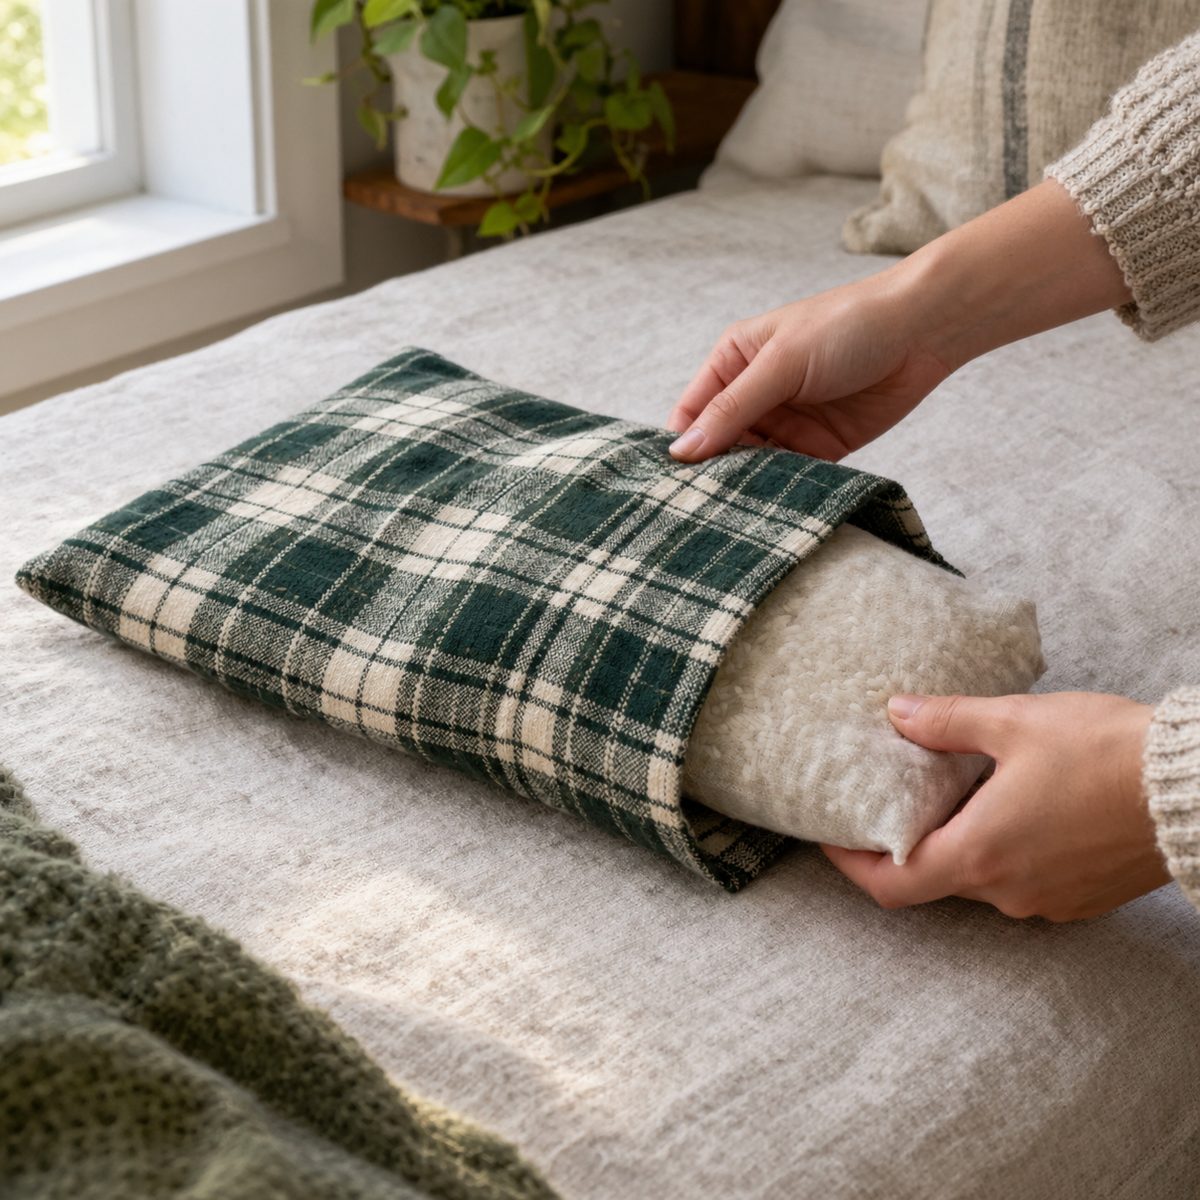
A slip-on envelope cover keeps the inner pad clean and can go in the wash whenever you like. It has no zipper or buttons, so there’s no hardware to worry about. Make it from 100% cotton or cotton flannel.
- Cut one piece of fabric 22 inches wide by 23 inches tall.
- Hem the two 22-inch edges. On each, fold 1/4 inch to the wrong side and press, then fold another 1/4 inch, press, and stitch close to the inner fold. Pressing each fold before you stitch keeps these narrow hems straight.
- Fold the envelope. Lay the fabric right side up. Fold the top hemmed edge down and the bottom hemmed edge up so they overlap by about 3 inches in the middle and the folded piece measures 9 inches tall. Pin the overlap in place.
- Sew both short ends with a 1/2-inch seam allowance, stitching through all layers, including the overlap. Backstitch over the overlap area for strength.
- Clip the corners, turn right side out through the envelope opening, and press. The finished cover is about 9 x 21 inches, giving the filled pad a little room to slide in and out.
Take the cover off before heating the pad and slip it back on afterward. That way the cover never goes in the microwave, it stays fresh longer, and the extra layer adds a bit of softness between the warm pad and your skin. If you’re making a few as presents, browse our handmade gifts to sew for more ideas to round out a gift basket.
How to heat it safely
Homemade heating pads are simple, but microwaves vary a lot in power, and rice can scorch if it’s overheated. A few habits make a big difference.
Safety first
- Heat in short intervals. Start with about 1 minute, then add 15 to 30 seconds at a time. Most pads this size are warm enough somewhere between 1-1/2 and 2-1/2 minutes, depending on the microwave.
- Put a cup of water in the microwave alongside the pad. It adds a little moisture and helps keep the fabric and rice from drying out and scorching.
- Stay with the microwave while it runs, and remove the cover and anything metal first.
- Shake or knead the pad after heating to spread out hot spots, then test the temperature on the inside of your wrist before using it. It should feel comfortably warm, not hot.
- Never use it on infants or young children, on anyone who can’t feel heat well or can’t move the pad away on their own, or while sleeping.
- Don’t overheat it. More time is not better. Let the pad cool completely before reheating.
- Replace the pad if it smells scorched, shows brown spots, or the fabric looks thin or worn.
A slight toasty rice smell during the first few heats is normal. A sharp, burnt smell is not; if you notice one, retire that pad and sew a new one. Between uses, let the pad cool and air out on a flat surface so any moisture can escape before it goes back in a drawer.
This is a comfort item, not a medical device. If you’re dealing with pain or an injury, check with a healthcare provider about whether heat is right for you.
Frequently asked questions
How much rice do I need for a heating pad?
For an 8 x 20 inch pad with five channels, plan on about 4 to 5 cups of uncooked long-grain white rice, or roughly 3/4 to 1 cup per pocket. The exact amount depends on your seam allowances and how full you like it. Fill each channel about two-thirds to three-quarters full so the pad stays floppy and drapes well.
Can I use polyester thread or fleece if the fabric is cotton?
For the inner bag, no. Everything that goes in the microwave should be natural fiber, including the thread, because synthetics can soften or melt with heat. Use 100% cotton fabric and cotton thread for the rice-filled bag. A fleece cover can work only if you always remove it before heating, but a cotton flannel cover avoids that worry entirely.
Can I wash a rice heating pad?
Don’t put the rice-filled inner bag in water. Wet rice swells, cooks, and can spoil or mildew inside the fabric. Spot clean the inner bag with a barely damp cloth if needed and let it air dry fully. That’s exactly why the removable envelope cover is worth sewing: you can machine wash it as often as you like.
Can I freeze a rice pad for a cold pack?
Yes, many people keep one in a zip-top bag in the freezer. The rice won’t get as cold as a gel pack, but it stays flexible. Keep a separate pad for cold use if you can, and let a frozen pad return to room temperature and dry out completely before you ever heat it in the microwave.
Once you’ve made one, you’ll see how quickly a second comes together, and they make thoughtful gifts for anyone who’s always cold. Keep the fabric and thread all cotton, fill the channels loosely, and heat in short bursts, and your rice pad will be a cozy favorite for a long time.