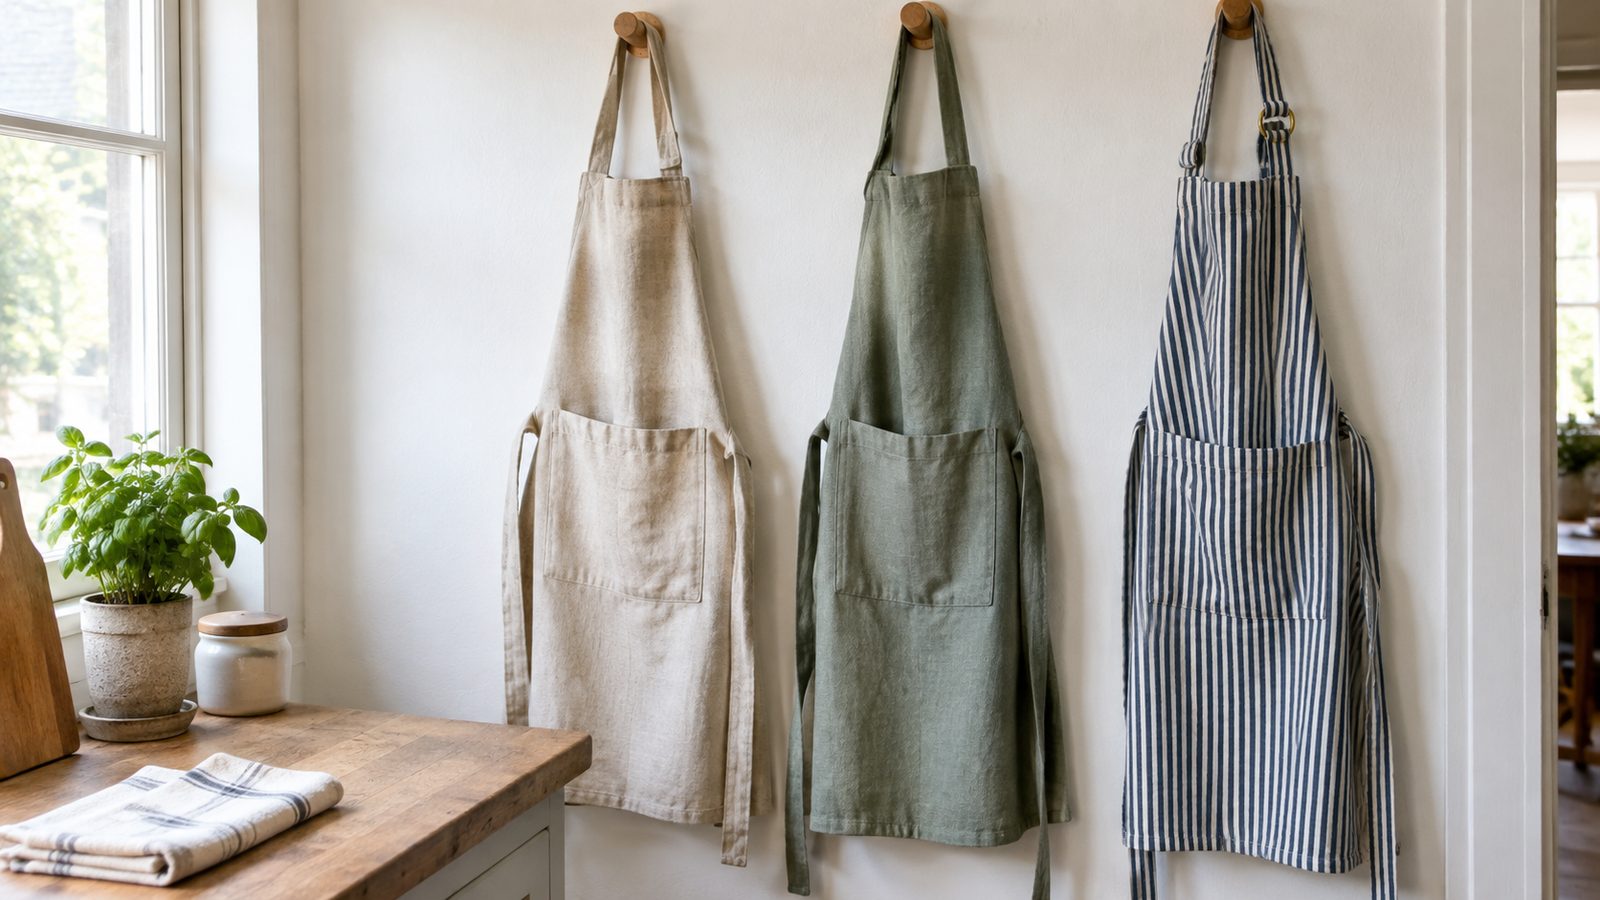
A full kitchen apron is one of the most satisfying things you can sew without a pattern. The whole shape is a rectangle with two curves cut out of the top corners, and everything else is straight hems, a pocket, and a few strips of fabric for the straps and ties. If you can sew a straight line and press a fold, you can finish one in an afternoon.
Below you’ll find exact measurements for an adult one-size bib apron (about 27 by 34 inches finished), how to mark the armhole curves right on your fabric, and the order I like to sew everything in. There’s also a sizing table for a child’s apron and a half apron, plus notes on fabric and yardage.
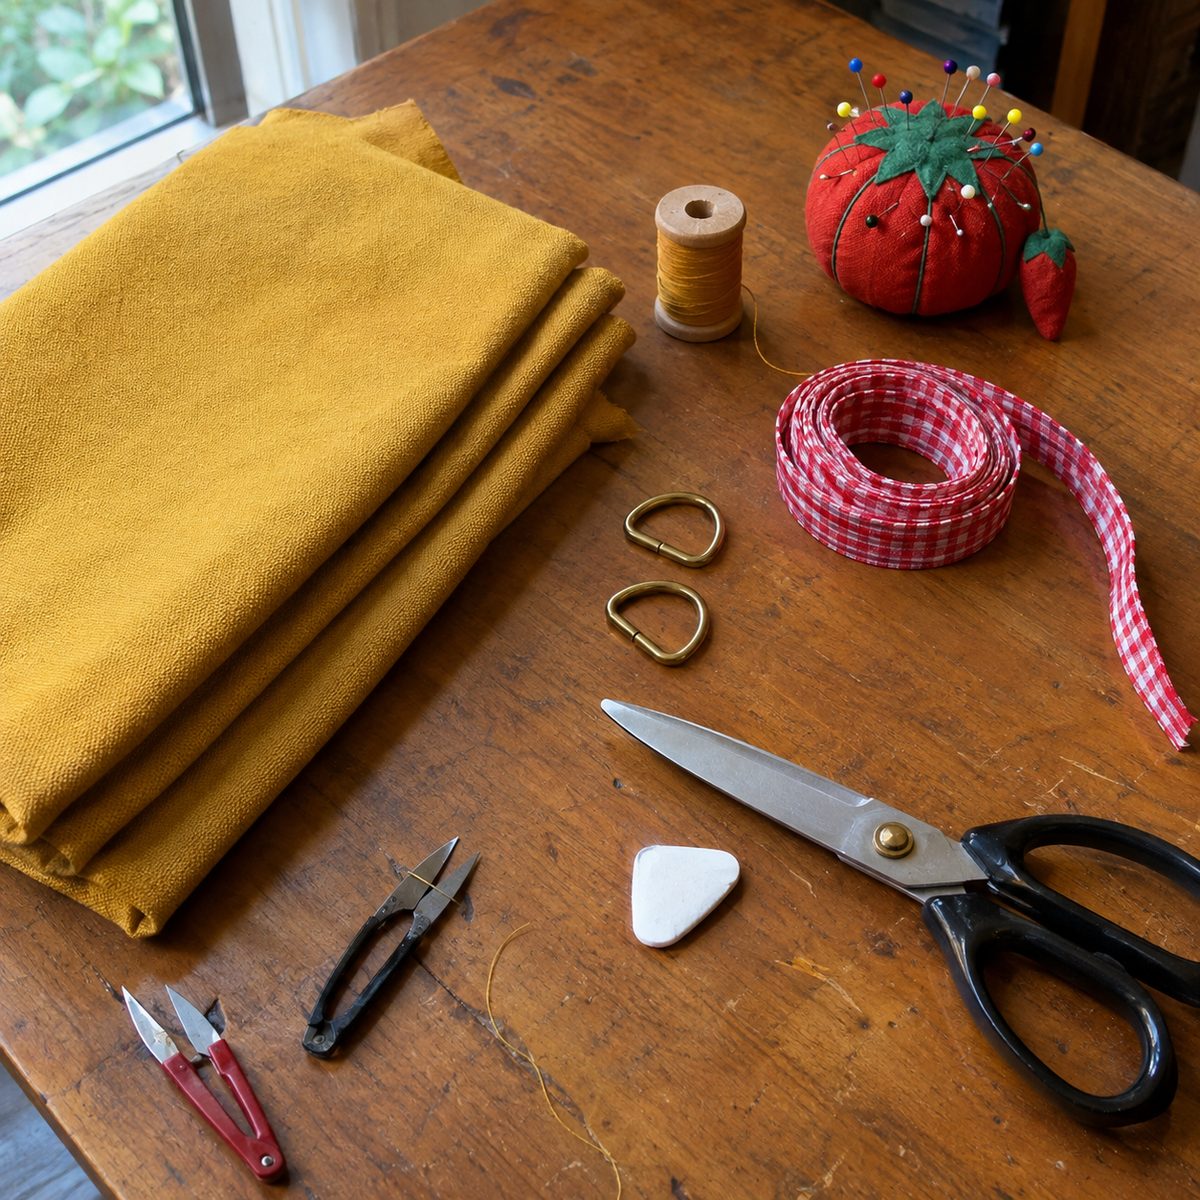
What you’ll need
- Fabric: 1 yard of 54–60 in wide fabric, or 1 1/2 yards of 44–45 in wide fabric, for an adult apron
- Good choices: cotton canvas, duck (7–10 oz), cotton twill, denim, or a linen-cotton blend
- Thread: all-purpose polyester, or a slightly heavier topstitching thread if you like a bold line
- Needle: a jeans/denim needle, size 90/14 for twill and linen, 100/16 for heavy duck
- Optional hardware: two 1 in D-rings for an adjustable neck strap
- Tools: long ruler or yardstick, tailor’s chalk or a fabric marker, pins or clips, scissors or rotary cutter, iron
- Optional: 2 yards of 1/2 in double-fold bias tape to finish the armhole curves
Wash and dry your fabric before cutting. Canvas and linen blends can shrink noticeably, and an apron is going to be washed constantly, so it’s worth doing now rather than finding out later. My guide on prewashing fabric before sewing covers the details.
Drafting the apron shape on your fabric
You don’t need paper for this. You’ll draw directly on the wrong side of the fabric with chalk. Every number below is a cut size that already includes a 1 in allowance on each edge for a 1/2 in double-fold hem, so the finished apron comes out about 2 in narrower and 2 in shorter than what you draw.
| Measurement (cut size) | Adult one-size | Child (about ages 4–9) | Half apron |
|---|---|---|---|
| Body width (at hips) | 29 in | 20 in | 26 in |
| Body length | 36 in | 24 in | 20 in |
| Bib top width | 13 in | 10 in | none |
| Armhole curve: down from top | 10 in | 7 in | none |
| Armhole curve: in from each side | 8 in | 5 in | none |
| Neck strap (fixed) | 4 x 25 in | 4 x 19 in | none |
| Waist ties (cut 2) | 4 x 34 in | 4 x 24 in | 4 x 40 in |
| Patch pocket | 10 x 9 in | 7 x 6 in | 9 x 8 in |
| Finished size (approx.) | 27 x 34 in | 18 x 22 in | 24 x 18 in |
To mark the adult apron:
- Fold your fabric in half lengthwise, right sides together, and lay it flat with the fold closest to you. Working on the fold means both sides come out perfectly symmetrical.
- Measure 36 in along the fold for the length. Square off both ends with your ruler.
- At the bottom end, measure 14 1/2 in out from the fold (half of 29 in) and draw the bottom edge. Draw the side edge straight up from there.
- At the top end, measure 6 1/2 in out from the fold (half of the 13 in bib) and make a mark. This is the top corner of the bib.
- On the side edge, measure 10 in down from the top and make a second mark. This is where the armhole curve meets the side.
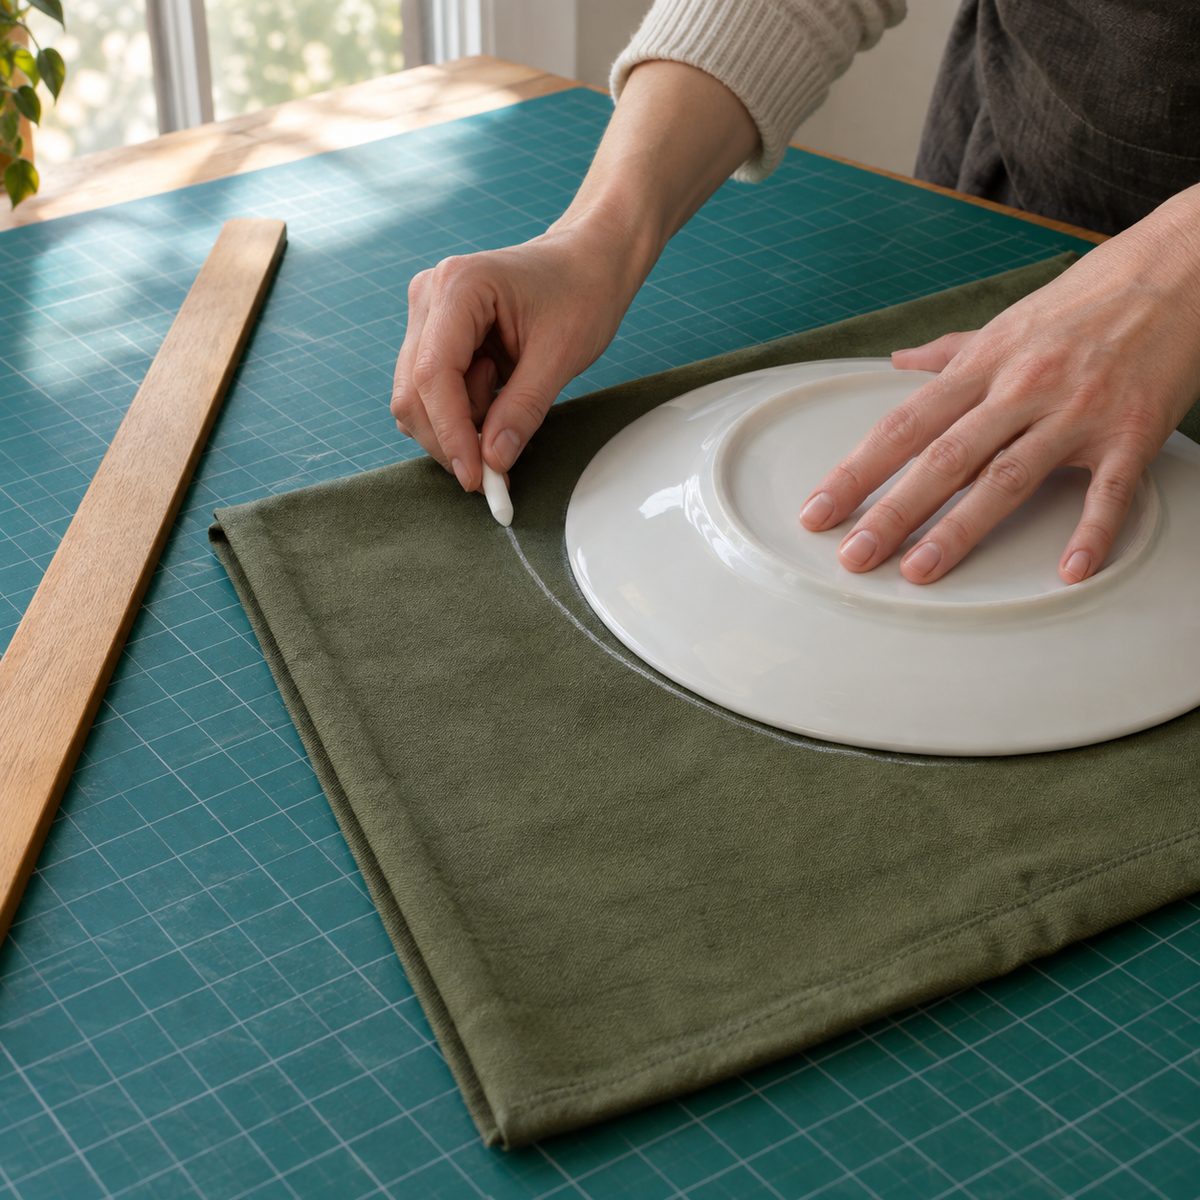
- Connect the two marks with a smooth, scooped curve that dips toward the inside of the apron, like a shallow quarter circle. A large dinner plate or mixing bowl is a handy guide; slide it along until the curve looks relaxed rather than pinched.
Before you cut, hold the folded fabric up to yourself in a mirror. The top of the bib should sit just below your collarbone and the bottom should land around the knee. If you’re taller or want a more generous fit, add length at the bottom edge and a couple of inches of width at the sides. It’s much easier to change a chalk line than a finished hem.
Cutting the pieces
Cut along your chalk lines through both layers, keeping the fold intact. Then cut the smaller pieces from the leftover fabric:
- Neck strap: one strip 4 x 25 in for a fixed strap. For an adjustable strap, cut one strip 4 x 28 in and one short tab 4 x 5 in.
- Waist ties: two strips 4 x 34 in. Cut them parallel to the selvage so they don’t stretch or twist as you wear them.
- Pocket: one rectangle 10 in wide x 9 in tall.
On 54–60 in fabric, all of this fits in a single yard: the apron body takes 29 in of the width, and the ties, strap, and pocket sit side by side in the remaining space. On narrower 44 in fabric you’ll run out of width, which is why 1 1/2 yards is the safer buy.
Hemming the apron body
All the straight edges get a 1/2 in double-fold hem, which hides the raw edge completely and gives the apron a sturdy, clean border. Press as you go; with canvas and twill a hot iron and a bit of steam do most of the work for you. If you tend to slide the iron back and forth, pressing vs. ironing explains why lifting and pressing gives crisper folds.
- Armhole curves first. Curves don’t like to fold under neatly, so you have two good options. The first is to press under 1/4 in, then another 1/4 in, easing the fabric as you go and pinning often; stitch slowly and stop with the needle down to pivot. The second, easier option is to wrap 1/2 in double-fold bias tape over the raw curve and edgestitch it in place. Bias tape stretches around curves beautifully and adds a nice contrast detail.
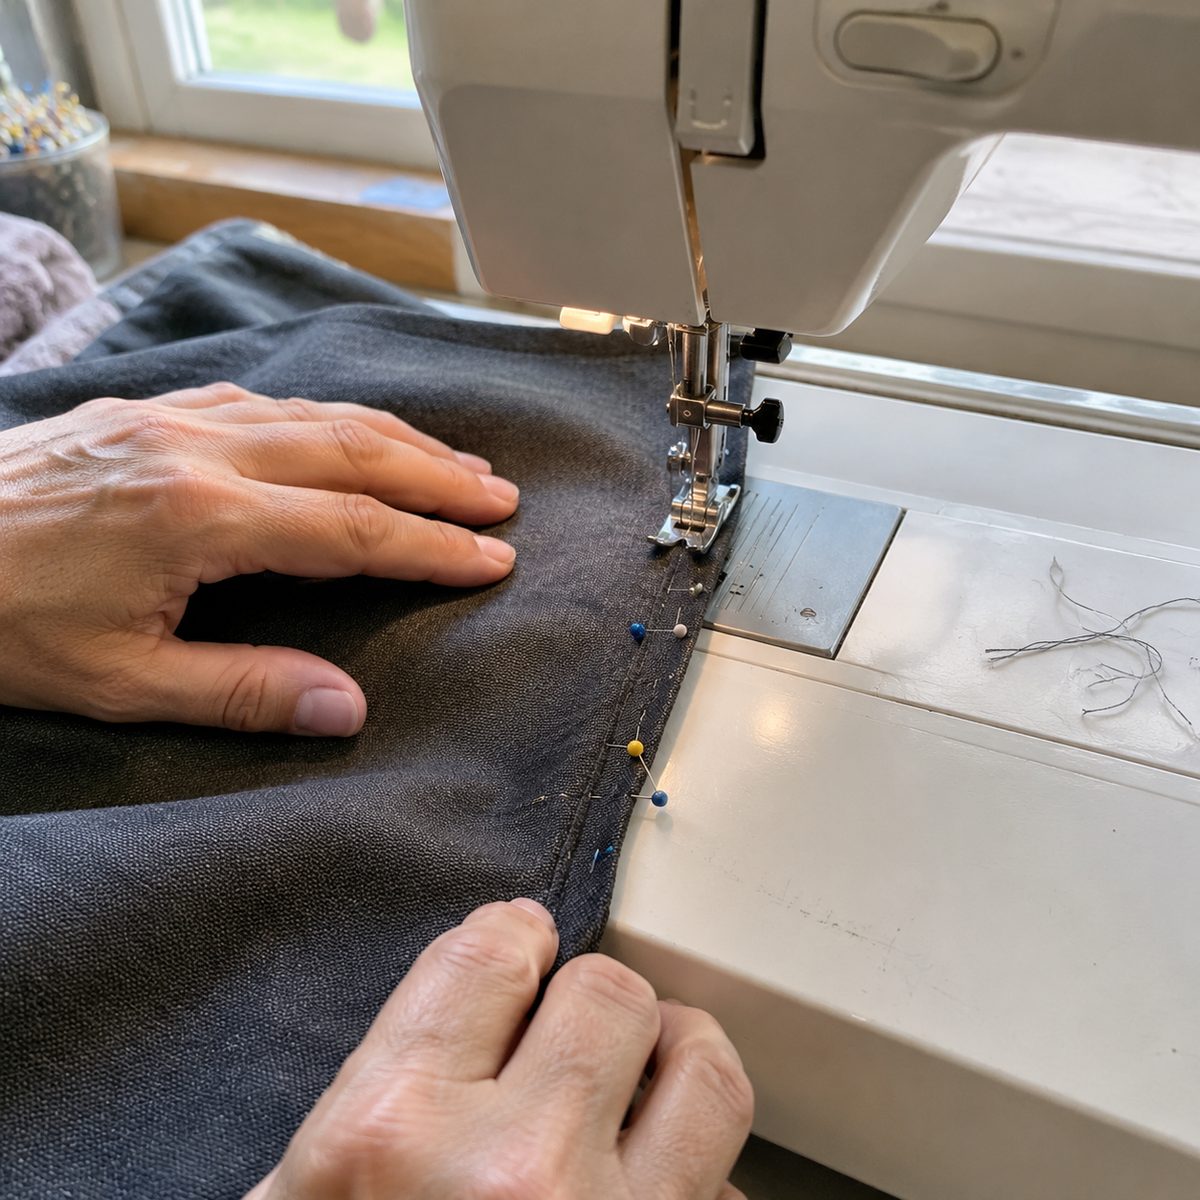
- Sides. Press each side edge 1/2 in to the wrong side, then another 1/2 in. Pin and stitch close to the inner fold, about 1/8 in from the edge.
- Top of the bib. Hem the same way as the sides. If you used the 1/4 in fold on the curves, the corners where the curve meets the bib top will be a little bulky; trim away a small wedge of the inner fold before stitching.
- Bottom edge. Hem last, folding the corners neatly so the side hems are tucked inside the bottom hem.
If your stitches look loopy or uneven on heavier fabric, slow down, switch to a fresh jeans needle, and try lengthening the stitch to 3 mm. Thick layers at the corners are the most common spot for trouble, so walk the machine over them by turning the handwheel if needed.
Adding the patch pocket
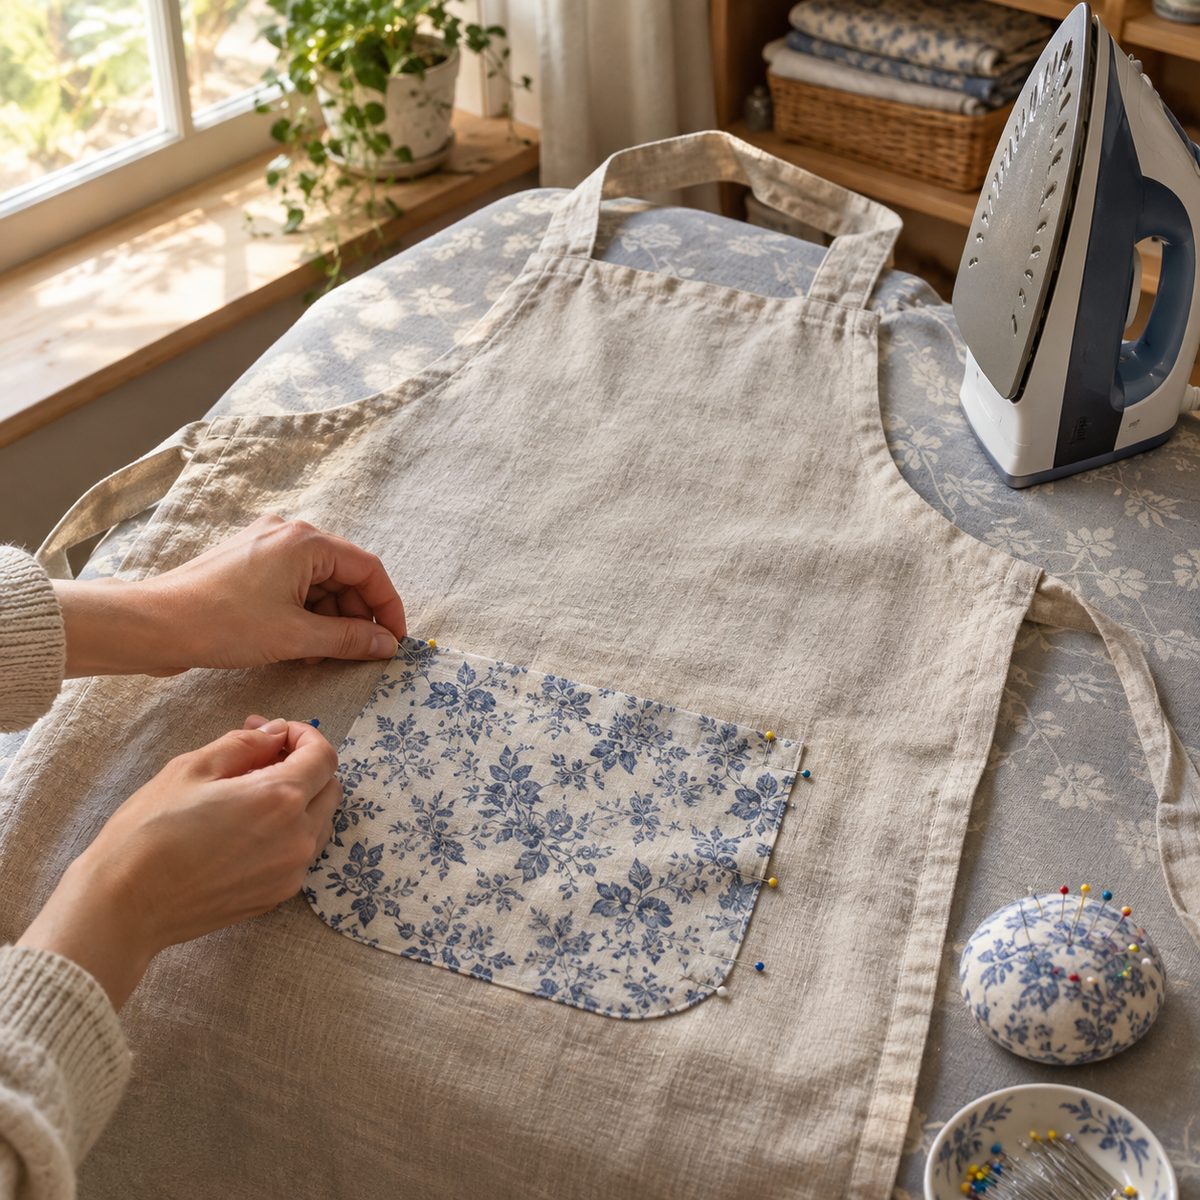
A single wide pocket at the waist is the classic kitchen apron look, and it’s the perfect place to stash a phone, a towel, or a recipe card.
- On the top edge of the pocket, press under 1/2 in, then another 1 in. Stitch along the lower fold to make a firm pocket hem.
- Press the remaining three edges 1/2 in to the wrong side. Fold the bottom corners in at an angle first so they come out sharp rather than lumpy.
- Try the apron on and mark where your hands naturally fall. For most adults that’s about 16–18 in below the top of the bib. Center the pocket there and pin it in place.
- Edgestitch around the sides and bottom, leaving the top open. Backstitch firmly at both top corners, or sew a small triangle at each corner for extra strength, since that’s where pockets get pulled.
- For a divided pocket, sew a straight line from top to bottom. A line down the center gives two equal pockets; a line about 2 in from one side makes a slot for a pen or thermometer.
Making the neck strap and waist ties
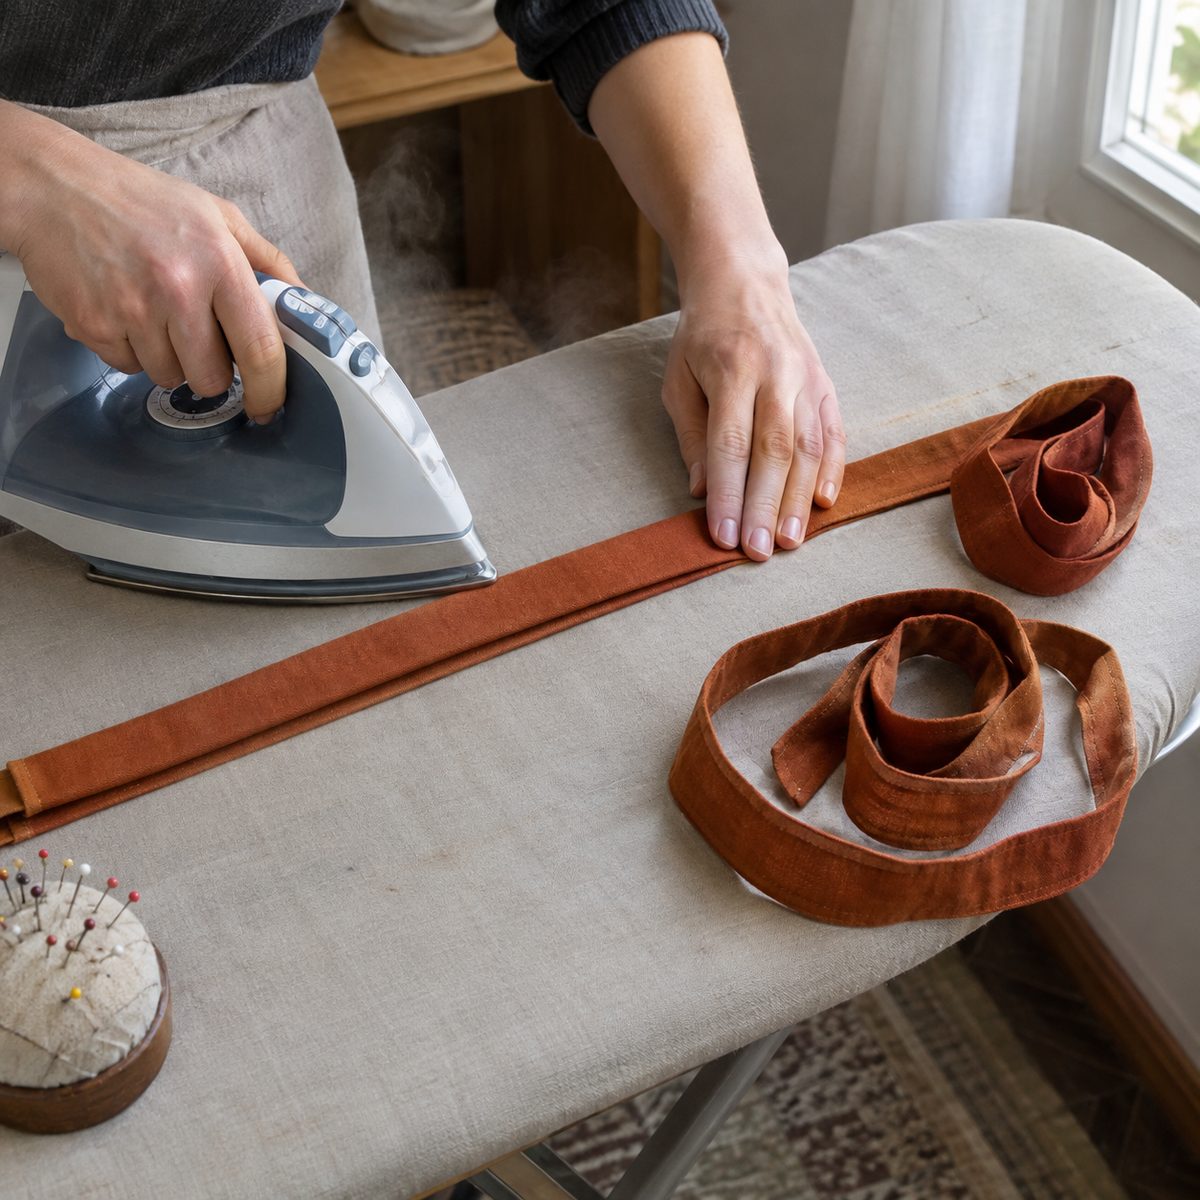
The strap and ties are made the same way, using the four-fold method. Starting with a 4 in strip gives you a finished strap 1 in wide, which suits 1 in D-rings exactly.
- Press the strip in half lengthwise, wrong sides together, then open it up.
- Fold each long edge in to meet the center crease and press.
- Fold in half again along the original crease so the raw edges are hidden inside. You now have a 1 in wide strip with four layers.
- For the waist ties, tuck in one short end by about 1/2 in before stitching so the end that hangs down is finished. Leave the other end raw; it gets hidden when you attach the tie.
- Edgestitch down both long sides. Stitching both sides, not just the open one, keeps the strap flat and stops it from twisting in the wash.
This is a lot of straight sewing, and it’s a good moment to check your thread tension on a scrap of folded fabric first. If the stitches pucker or ripple the strip, loosen the top tension slightly and try again.
Attaching the straps and ties
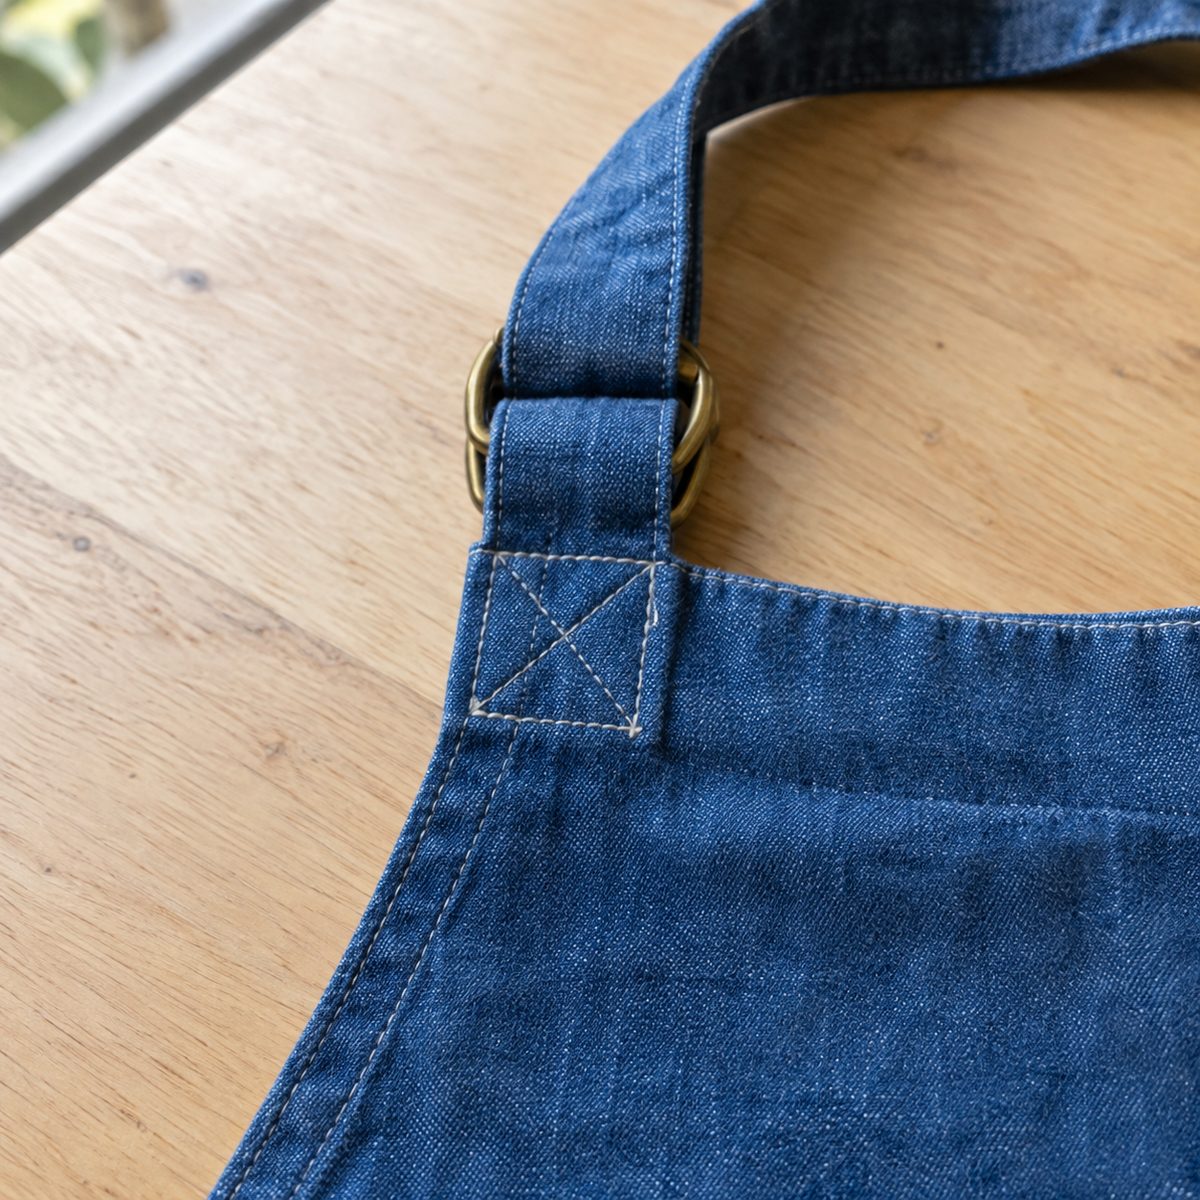
Straps take the most strain of anything on an apron, so they get a box stitch: a stitched square with an X through the middle. It looks tidy and it will hold up to years of tugging.
Waist ties
Place the raw end of each tie on the wrong side of the apron, right at the point where the armhole curve meets the side edge. Overlap the tie by about 1 in onto the hem, fold the raw end under, and pin. Sew a box stitch through all layers. From the front, you’ll see a neat square on the side hem.
Fixed neck strap
Pin one end of the strap to each top corner of the bib on the wrong side, overlapping about 1 in, and box stitch both ends. Check the length before you sew the second end; slip the loop over your head and make sure the bib sits where you want it. Shorten or lengthen as needed.
Adjustable neck strap with D-rings
- Thread both D-rings onto the short 5 in tab, fold the tab in half around the flat side of the rings, and stitch across close to the rings to hold them snugly.
- Box stitch the raw ends of the tab to one top corner of the bib.
- Box stitch the long strap to the other top corner, with the finished end free.
- Thread the free end up through both D-rings, then back down through the lower ring only. Pull to tighten. That’s it: anyone in the house can adjust it in seconds.
Variations: kids’ aprons, half aprons, and extras
A child’s apron
Use the child column in the table above. The construction is identical, just smaller. For young kids, I’d skip the D-rings and use a fixed neck strap with a length of elastic sewn into the middle so it slides on and off easily without anyone fiddling with buckles. A kid’s apron is also a great first project for a young sewist to help with; there are more ideas in teaching your child to sew.
A half apron
Cut a rectangle 26 x 20 in, hem the sides and bottom with a 1/2 in double-fold hem, and hem the top edge the same way. Instead of separate ties, you can make one long waistband: cut a strip 4 in wide and about 100 in long (piece it if needed), fold it with the four-fold method, center it along the top of the apron, and edgestitch it so the top of the apron is sandwiched inside the band. The ends become your ties. Add one or two pockets across the front.
Small upgrades
- Contrast binding: use a printed bias tape on the armholes and a matching fabric for the pocket.
- Towel loop: sew a 1 x 5 in loop at one hip so a dish towel can hang from the apron.
- Crossback straps: replace the neck strap with two long straps that cross behind your back and button or tie at the waist. They take pressure off your neck for long cooking sessions.
- Waterproof front: make the apron in laminated cotton for canning, dyeing, or messy crafts.
Frequently asked questions
What is the best fabric for a kitchen apron?
Medium to heavy cotton is hard to beat. Cotton canvas and 7–10 oz duck are sturdy and resist stains soaking straight through, cotton twill is softer but still durable, and a linen-cotton blend feels lovely and wrinkles less than pure linen. Avoid thin quilting cotton for the body unless you line it, since it can feel limp and show every splash.
How much fabric do I need for an apron?
For an adult bib apron, buy 1 yard of 54–60 in wide fabric or 1 1/2 yards of 44–45 in wide fabric. That covers the body, pocket, neck strap, and two waist ties. A child’s apron or a half apron needs about 3/4 yard. If you want a contrast pocket or bias tape, buy those separately.
How long should apron ties be?
For an adult, two ties about 33 in long when finished will wrap around to the back and tie in a bow for most waist sizes. If you like to wrap the ties all the way around and knot them at the front, add 8–10 in to each. For kids, 22–24 in finished ties are plenty.
Can a beginner sew an apron?
Yes. An apron is one of the best first projects because it’s almost entirely straight seams and hems, it doesn’t need to fit precisely, and you get to practice pressing, pockets, and topstitching on a forgiving shape. The armhole curves are the only tricky part, and bias tape makes those much easier.
Once you’ve sewn one apron, you’ll find the measurements become second nature, and making a stack of them for gifts goes quickly. Try one in sturdy canvas for yourself, then play with prints, pockets, and binding for the next. For more projects in the same spirit, browse these easy sewing projects for beginners.