Sewing is a hobby that provides people with excellent creative options for making clothes, bedding, curtains, and other items that add a bit of personal flair to the home. You can take your sewing creations even further and make them stand out more by sewing letters on the fabric.
Imagine adding a letter to a baby shower gift that you created to make it unique and special. Whatever you plan to use the lettering for, it is clearly a great technique to master.
Table of Contents
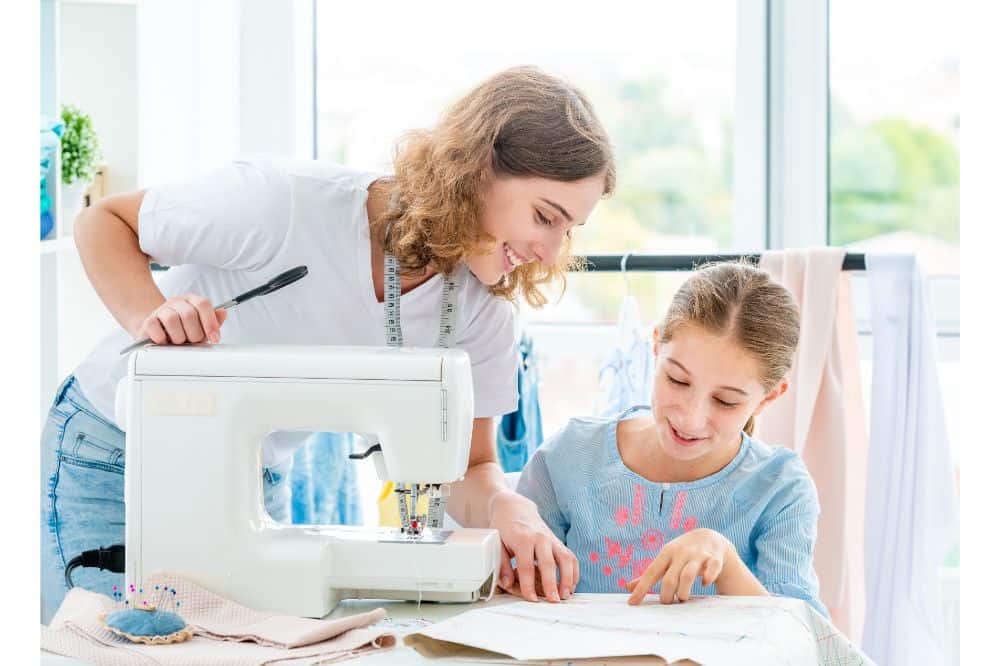
How to Sew Letters on Fabric
Most sewing machines come with several features that allow you to practice your monogramming and embroidery skills to add that special touch to garments, towels, baby blankets, and pillowcases. Follow these steps to create your first embroidered masterpiece while using your sewing machine.
1. Decide on a template that you would like to use
If you are good at sketching, you can draw your own template. Alternatively, there are thousands of free templates available online. You can then make or look for thicker fonts and lines. You can fully embrace your creativity and design or print any design that you would like to try on your sewing machine.
2. Get your fabric ready
A stabilizer is a great tool to make your fabric easier to work with because it will be sturdier. A double-sided stabilizer is even better because it will provide both sides of your fabric with adhesive while giving you the freedom to iron your designs on the fabric.
3. Place the letters or designs so that the area is well-fitted
This is when you can make sure that the design isn’t too big or too small on your chosen fabric because once you have started, it is too late to turn back.
4. Test your stitching on a loose piece of fabric
This is a crucial step because it lets you see if the stitch suits your design and whether your sewing machine is threaded correctly. Then, you can easily adjust the stitch’s length and width until you find the perfect size.
5. Make sure that you are using a needle that is suitable for embroidery
It is also vital that you choose embroidery thread that is suitable for a sewing machine.
6. The edge of the letter is stitched first
Start with the first couple of stitches; go slowly while holding the hoop to keep the thread secure.
7. Stay patient and don’t pull your fabric
Raise your needle when you get to the end. Then you can pull the thread and cut it.
8. Hide the ends with backstitching
Finish off with a bit of backstitching to put everything together.
What is Free-motion Machine Embroidery?
Free-motion machine embroidery is an excellent skill for people who enjoy making quilts because it offers complete free-motion so that there aren’t any restrictions with guidelines or restraints. Instead, quilters have freedom and control when it comes to the lines and stitch patterns they choose.
It is a skill that is mostly used on fabric, but it is also common on cards and paper. This incredible skill makes it possible to embroider any artwork, design, or font. You can try a free-motion machine embroidery project by following these steps.
1. Start by gathering all the supplies that you will need. The supplies you need for a free-motion machine project are:
- your fabric
- ripper for seams
- a machine needle
- an embroidery hoop. If this is your first project, a smaller ring will offer more control.
- stabilizer
- darning foot
- a marker
- scissors
2. Your next step is installing the darning foot. If you aren’t sure how to do this, you can check your manual or search on the internet.
3. Your sewing machine’s tension needs to be reduced to 1 or 2.
4. Next, you need to lower the feed dog of your sewing machine so that you can stitch in all directions.
5. Check whether your machine has a proper setting for free-motion embroidery. You want exact sewing, so set the length of your stitch to zero. If this is your first time trying free-motion embroidery, practice on loose scraps of fabric before going onto your chosen fabric.
6. It is recommended that you start with simple letters and designs, and then as you get a feel for it, you can expand your skills into more complex techniques like floral designs or illustrations.
There are sewing machines that come with letters, while others provide you with borders and various designs.
Tips for sewing letters and designs
- Double-check your machine before you begin with a project.
- Practice on a scrap piece of fabric first.
- Always start with the edge of the letter and work your way around.
- When embroidering, start slowly until you get the hang of it, and then you can pick up the pace.
- It is best to begin with open lines and add various movements like a spiral stitch or some zigzag stitches. If you can’t follow the lines correctly, stay calm and keep on practicing. It is a great idea to join a group of fellow embroidery lovers to share ideas and issues that you might have.
- You might want to use a large monogram design, but the area you want to use it on just doesn’t fit it. In this case, you can split your monogram design. Start by stitching one letter. Then continue to rehoop and start working on the following letters. Although this is a complicated method, it can be done successfully with excellent results.
- If you find that your embroidery stitches look imbalanced and you see loops on either side of your fabric, you must check whether your machine has been threaded correctly and has correct tension.
Conclusion
It is possible to add that personal touch to any of your creations or store-bought fabrics. By mastering embroidery skills, you expose yourself to a large selection of options that will give you a fantastic creative outlet with a fashion-forward payoff. New skills take time to master, and embroidery skills are no exception. Therefore, be patient with yourself. Enjoy the process and the end result.