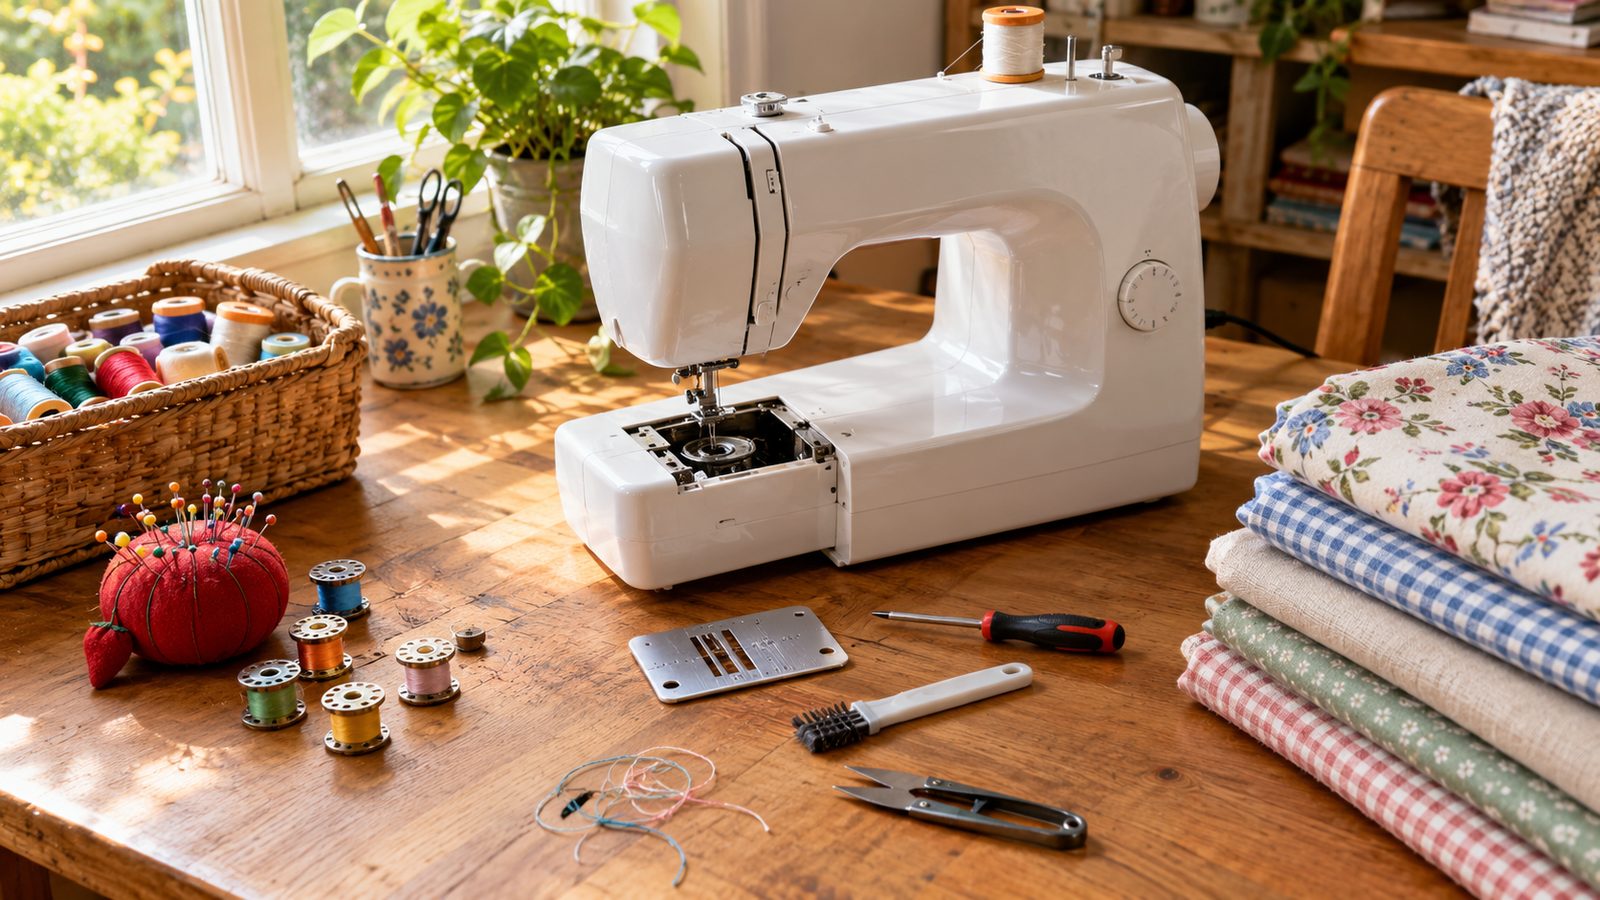
Your machine was humming along, and then suddenly there’s a wad of thread underneath, the needle snaps, or the fabric just sits there. Frustrating, but almost every sewing machine problem comes down to a handful of simple causes you can fix at home in minutes.
For each problem below you’ll find the symptom, the likely causes in order from most to least common, and a step-by-step fix. Start with the first cause and work down the list.
Before any fix that involves the needle area, turn the machine off and unplug it.
1. Thread Bunching Underneath (Bird’s Nest)
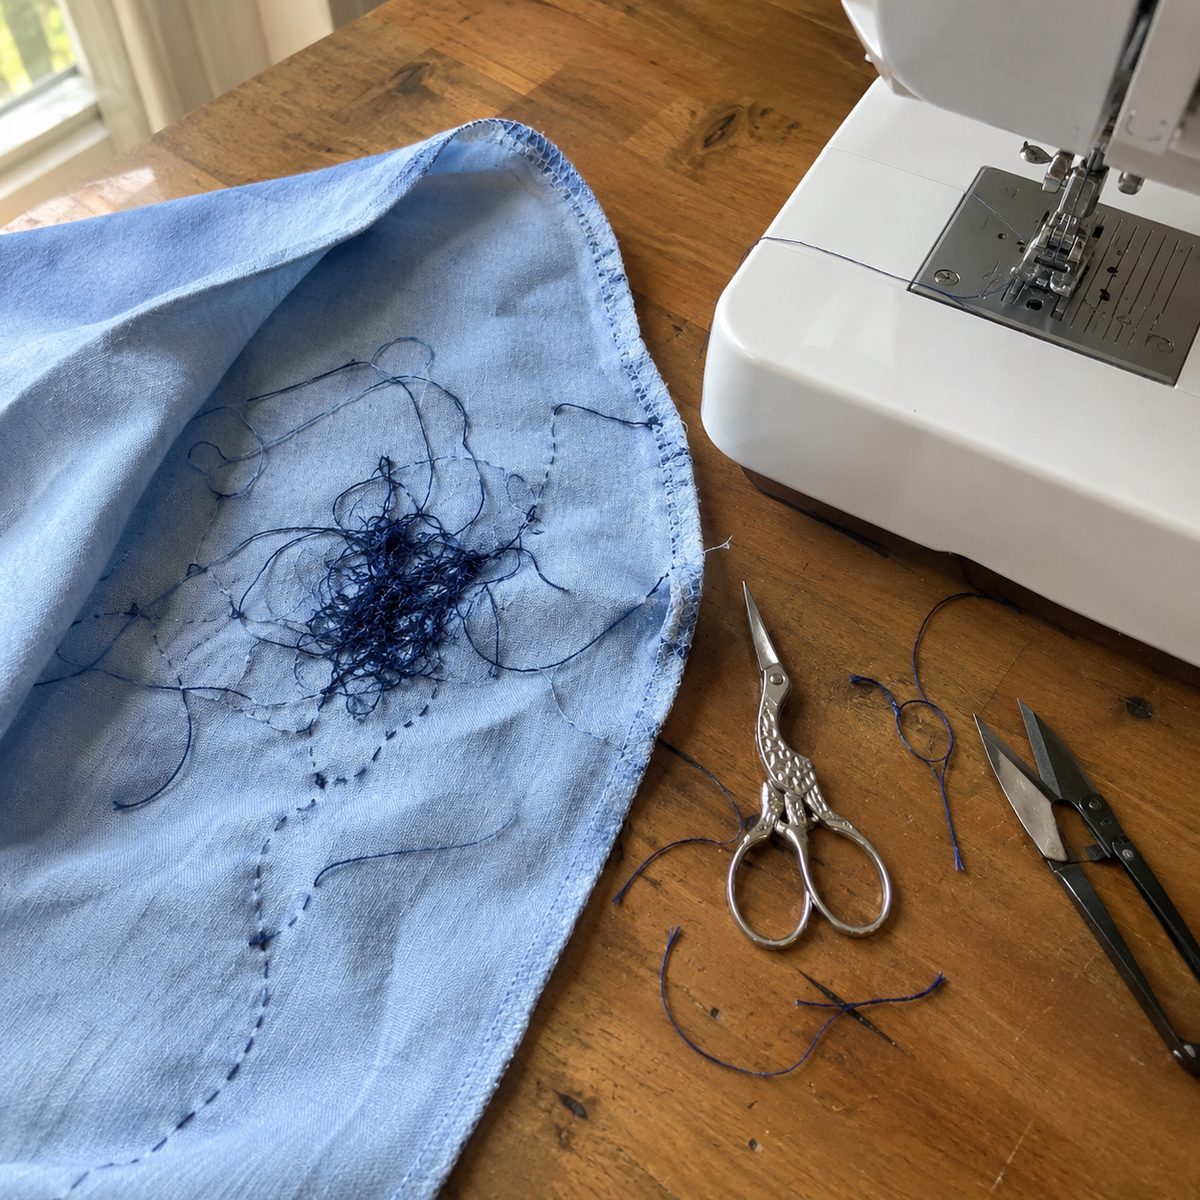
Symptom: A tangled wad of thread builds up on the underside of your fabric, often after just a few stitches.
Likely causes: It looks like a bobbin problem, but it’s almost always the top thread. The machine was threaded with the presser foot down, so the thread never settled between the tension discs. Next most common: the thread skipped the take-up lever, or you started sewing without holding the thread tails.
- Raise the presser foot, cut the nest free, and remove the fabric.
- Pull out the top thread completely.
- With the presser foot up and the needle at its highest point, rethread from the spool, making sure the thread passes through the take-up lever.
- Hold both thread tails for the first 3 or 4 stitches.
This fixes a bird’s nest about nine times out of ten. If it doesn’t, rewind and reinsert the bobbin.
2. Skipped Stitches
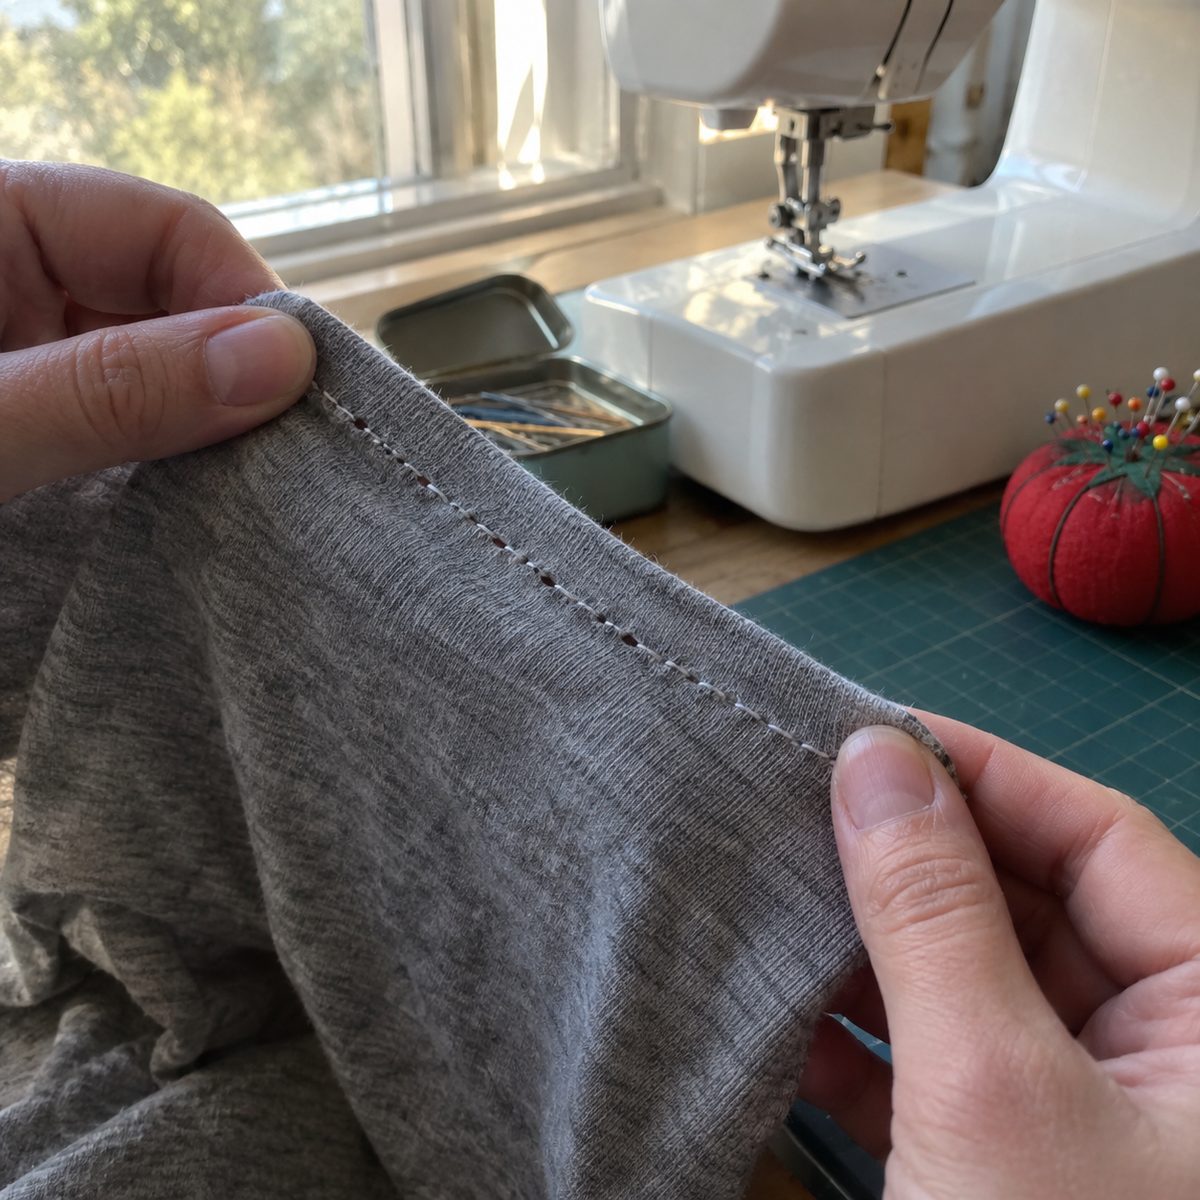
Symptom: The seam has gaps where the machine seems to hop over a stitch or two, especially on knits or thick layers.
Likely causes: A dull or slightly bent needle is the number one culprit. After that: the wrong needle type for the fabric (a universal needle on stretchy knits), a needle not pushed all the way up into its clamp, or threading that’s slightly off.
- Put in a brand-new needle, flat side of the shank facing the back on most home machines, pushed up as far as it goes.
- Match the needle to the fabric: ballpoint or stretch for knits, jeans needles for denim.
- Rethread top and bobbin.
- Sew slowly over thick seams.
Change needles every 6 to 8 hours of sewing. For a deeper walkthrough, see why a sewing machine skips stitches.
3. Needle Keeps Breaking
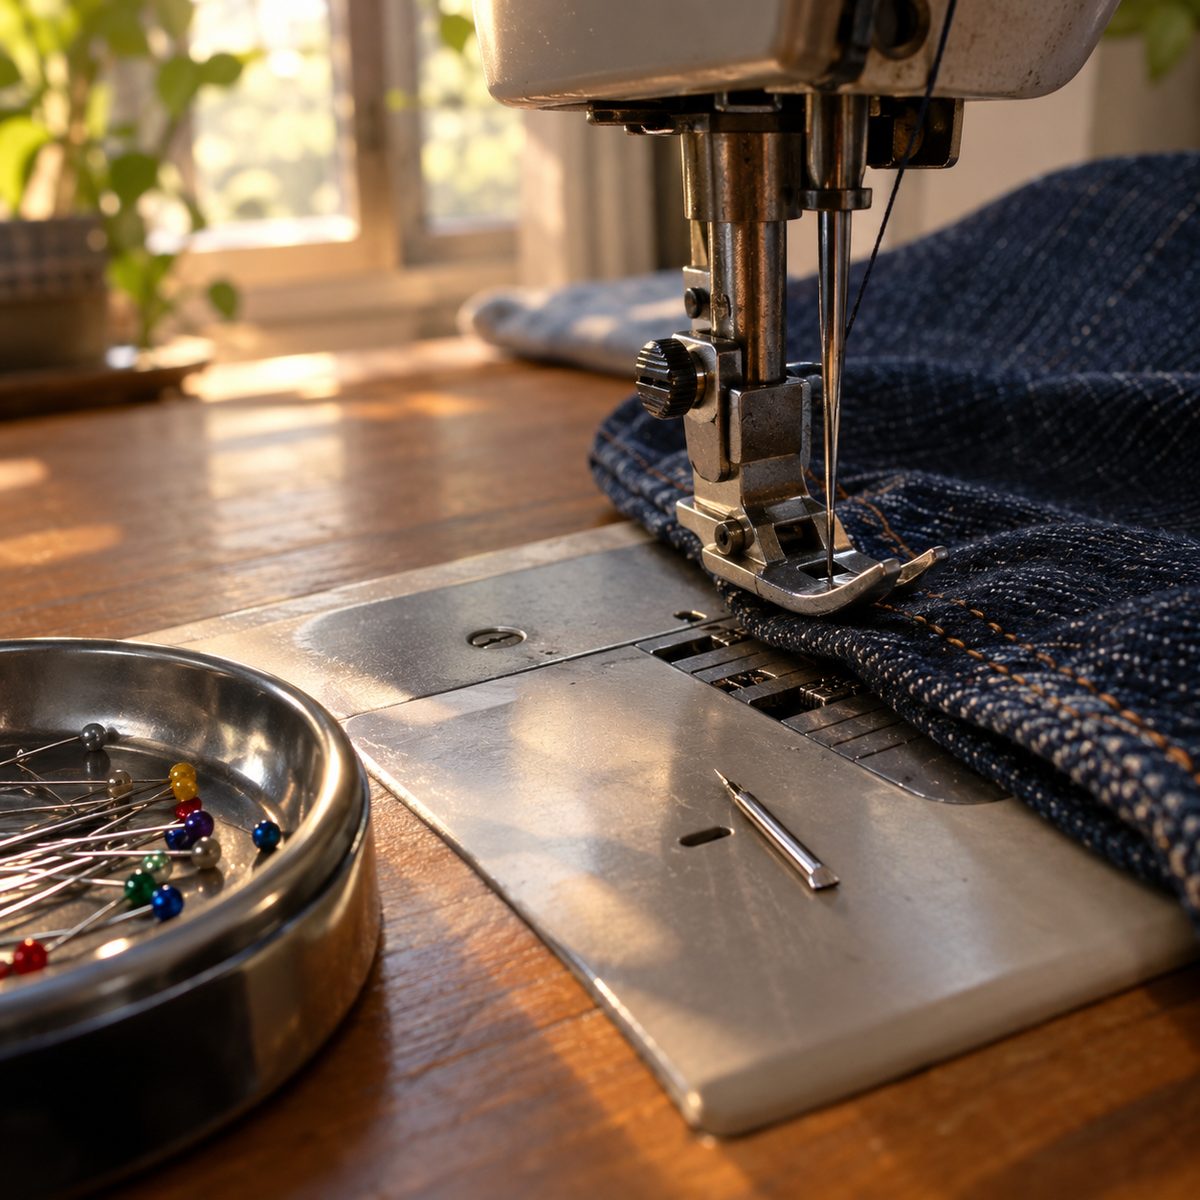
Symptom: The needle snaps, sometimes with a loud crack, and you find pieces on the throat plate.
Likely causes: Most often you’re pulling or pushing the fabric, which bends the needle into the throat plate. Next: sewing over pins, a needle too fine for the fabric (a size 70/10 on denim), a loose needle clamp, or a zigzag or wide stitch used with a straight-stitch foot or plate.
- Unplug the machine and find every piece of the broken needle, including any that fell into the bobbin area.
- Insert a new needle sized for your fabric (90/14 or 100/16 for denim and canvas) and tighten the clamp screw firmly.
- Pull pins out just before they reach the presser foot.
- Let the feed dogs move the fabric; only guide it.
- Turn the handwheel toward you once to confirm the needle clears the foot before sewing a wide stitch.
4. Fabric Not Feeding Through
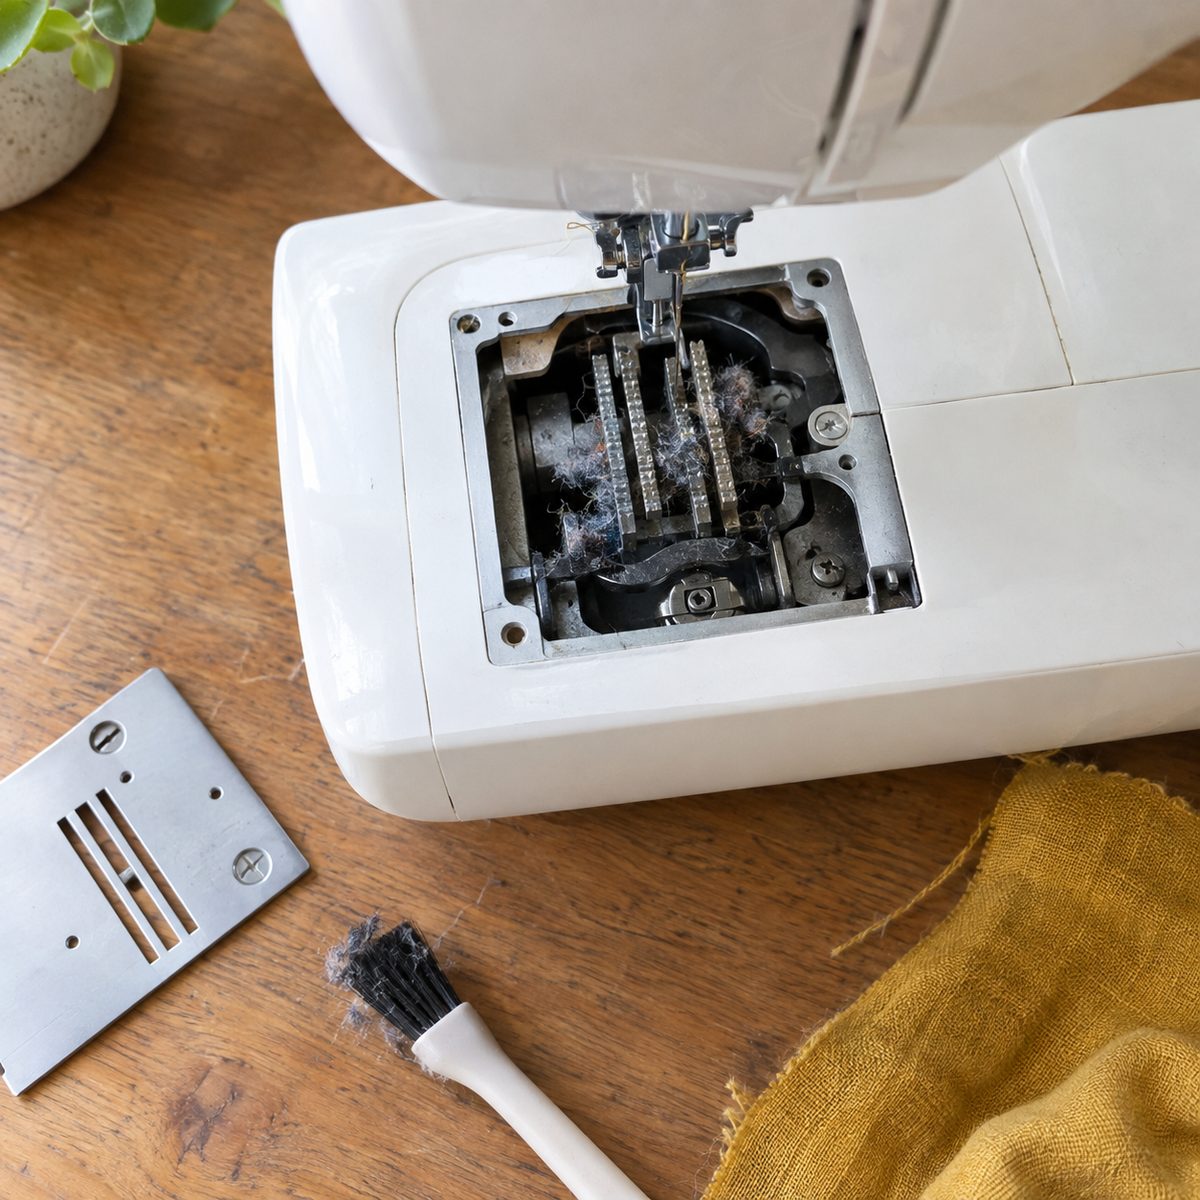
Symptom: The needle goes up and down, but the fabric stays in place, stitching over the same spot.
Likely causes: In order: the presser foot isn’t lowered, the feed dogs are dropped (the setting used for free-motion quilting or darning), the stitch length is set to 0, or lint is packed around the feed dogs so they can’t grip.
- Check that the presser foot lever is down.
- Find the feed dog switch, usually on the back of the machine or behind the free arm, and raise it. Turn the handwheel a full turn so they pop up.
- Set stitch length to about 2.5 mm.
- Unplug, remove the throat plate, and brush out lint between the feed dog teeth.
If the fabric feeds but drifts on slippery or thick fabrics, try a walking foot or adjust presser foot pressure if your machine has a dial.
5. Thread Shredding or Breaking
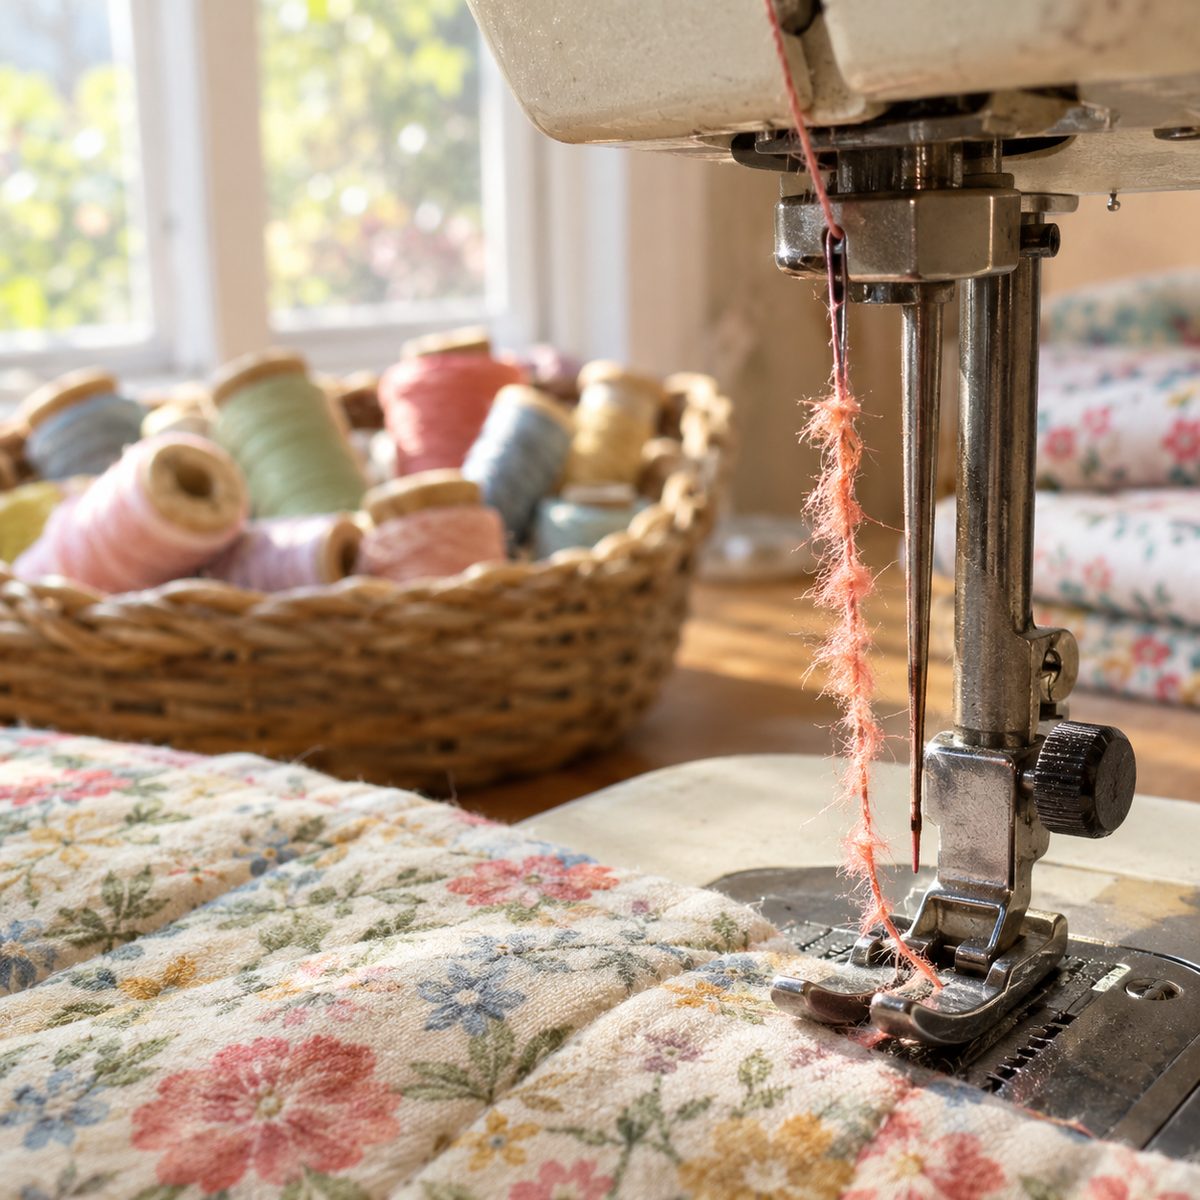
Symptom: The top thread frays near the needle and snaps every few inches.
Likely causes: Old or low-quality thread tops the list, since thread gets brittle with age. After that: a needle eye too small for the thread, a burr on the needle, top tension set too tight, or the thread catching on the notch of the spool.
- Test with a fresh spool of good all-purpose polyester or cotton thread.
- Change the needle. For heavy or topstitching thread, use a topstitch needle, which has a larger eye.
- Place the spool so the notched end faces away from where the thread comes off, or use a spool cap.
- Stacked (straight-wound) spools usually feed best on a vertical pin; cross-wound spools on a horizontal pin.
- Lower top tension a step or two if the problem continues.
Specialty threads like metallics almost always need a metallic needle and a slower speed.
6. Loose or Loopy Stitches
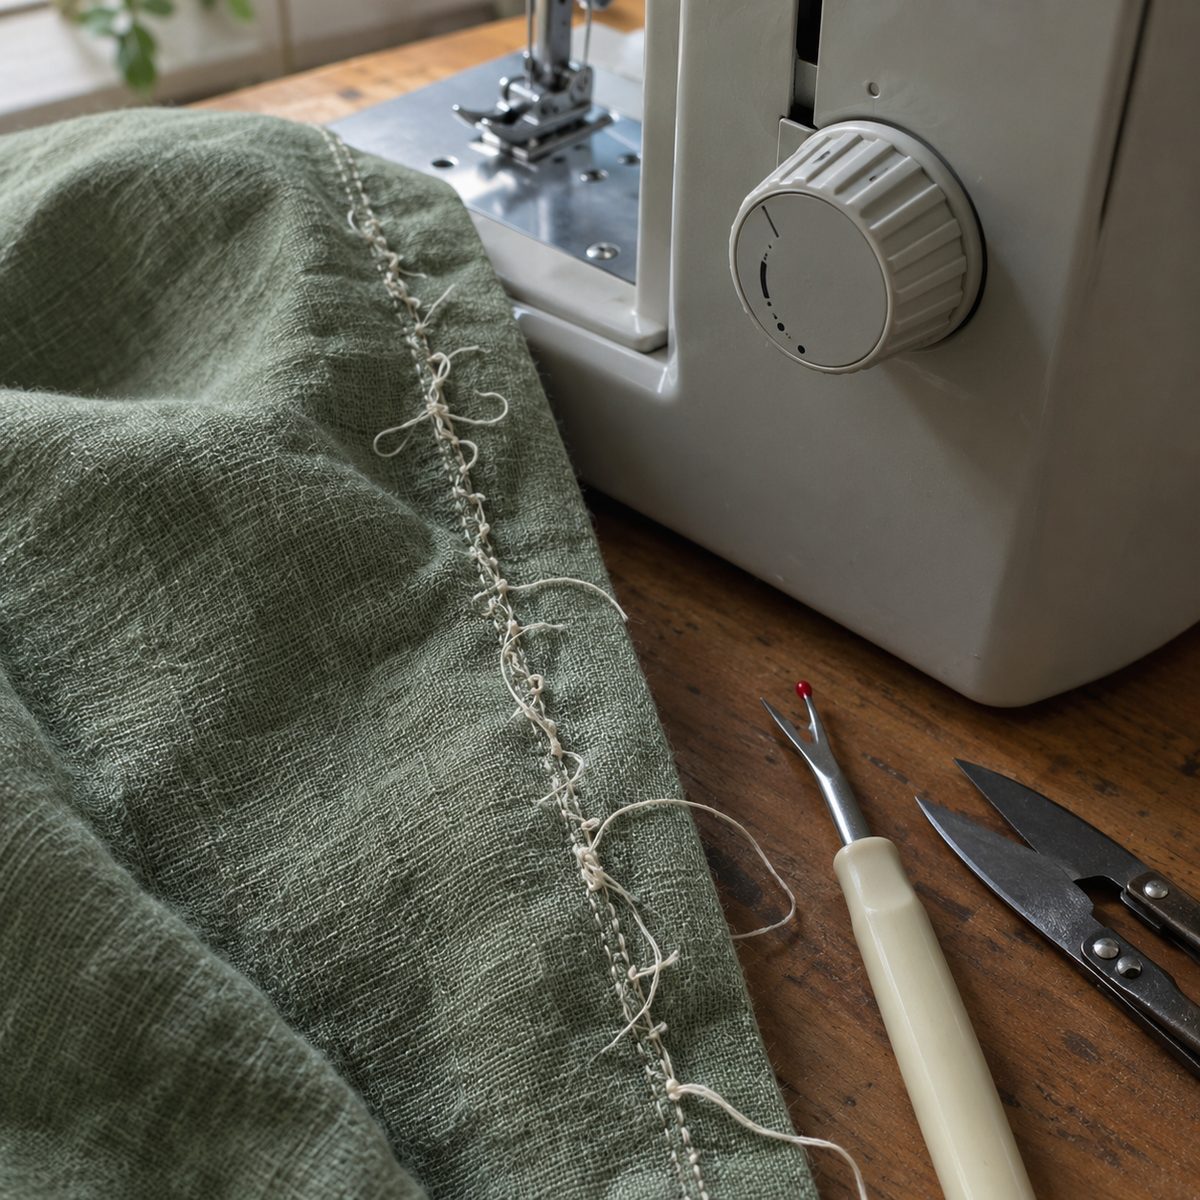
Symptom: Stitches look sloppy, with small loops on one side of the fabric.
Likely causes: Look at which side the loops are on. Loops on the underside mean the top thread isn’t under enough tension, usually because it’s not seated in the tension discs. Loops on the top point to the bobbin: it’s inserted the wrong way or skipped the bobbin tension spring.
- Loops underneath: raise the presser foot and rethread the top thread, flossing it firmly into the tension discs.
- Loops on top: remove the bobbin, check the direction shown on your machine or manual, and pull the thread into the tension slot until you feel a slight click.
- Only after rethreading, adjust the top tension dial in small steps.
Most machines sew balanced stitches at a tension setting around 4. My full guide to setting tension on a sewing machine walks through testing on scraps.
7. Bobbin Thread Not Catching
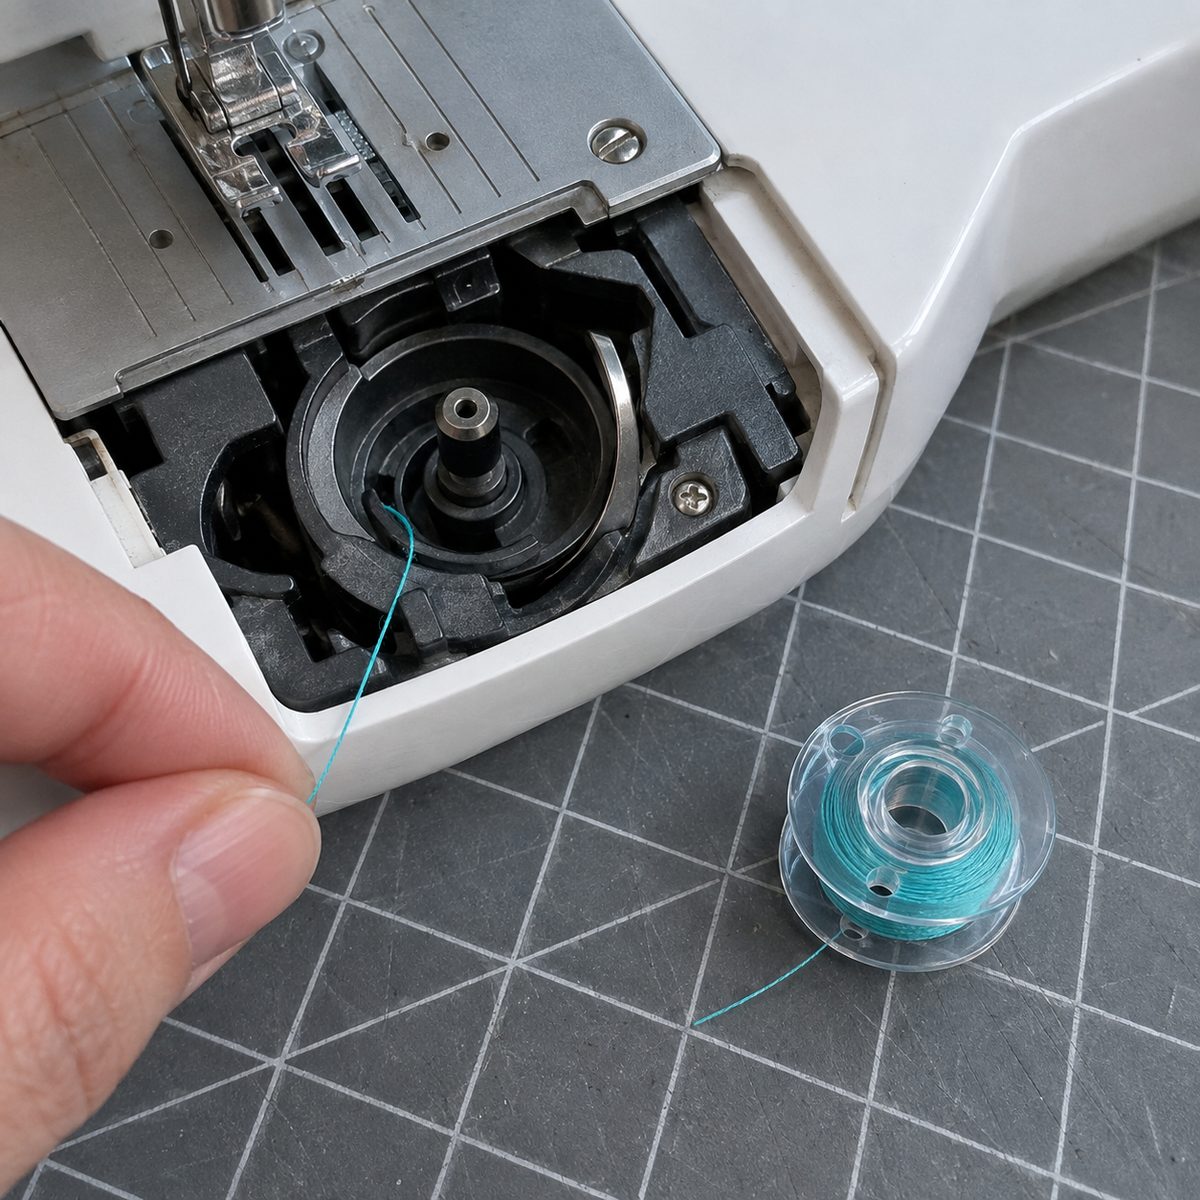
Symptom: The needle goes down, but it won’t pick up the bobbin thread, so no stitches form at all.
Likely causes: A needle inserted backwards or not pushed all the way up is the most common reason. Next: the wrong needle system, a bobbin that doesn’t fit your machine, a bobbin wound loosely, or the timing knocked out of position after a hard jam.
- Reinsert the needle with the flat side facing the direction your manual shows, pushed up fully.
- Use standard home machine needles (system 130/705H, also sold as 15×1 or HAx1).
- Check your bobbin type. Class 15 and Class 66 bobbins look almost identical but aren’t interchangeable.
- Hold the top thread, turn the handwheel toward you one full turn, and pull the top thread to bring the bobbin loop up.
If none of this works, the hook timing is likely off. That’s a job for a repair shop.
8. Machine Jammed or Handwheel Won’t Turn
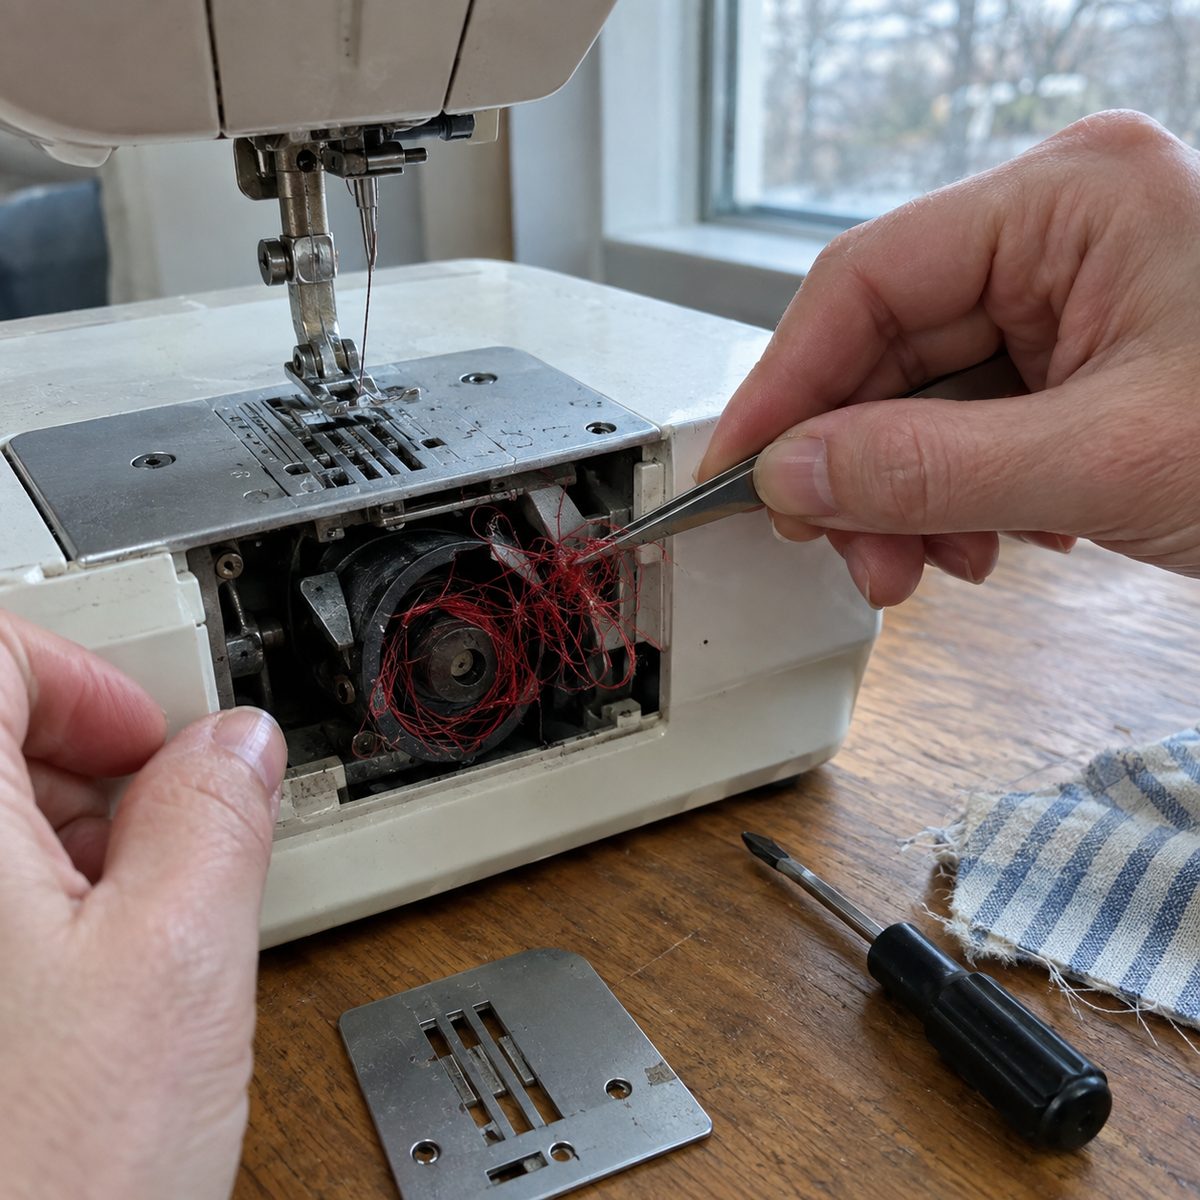
Symptom: The machine locks up mid-seam, the needle is stuck in the fabric, and the handwheel won’t budge.
Likely causes: Almost always a thread jam in the bobbin area, often from a bird’s nest or a thread tail pulled down into the hook. Less often: a broken needle tip or a pin caught under the throat plate.
- Stop. Never force the handwheel or keep pressing the pedal.
- Unplug the machine, raise the presser foot, and snip the threads above and below the fabric.
- Gently rock the handwheel toward you and back to loosen things.
- Remove the bobbin and throat plate, then pick out every thread scrap with tweezers.
- Brush out lint, reassemble, and test on a scrap.
To avoid repeat jams, hold the thread tails when you start and don’t begin stitching right at the raw edge of thin fabric. This usually takes 10 to 15 minutes to clear.
9. Noisy, Clunking, or Grinding Machine
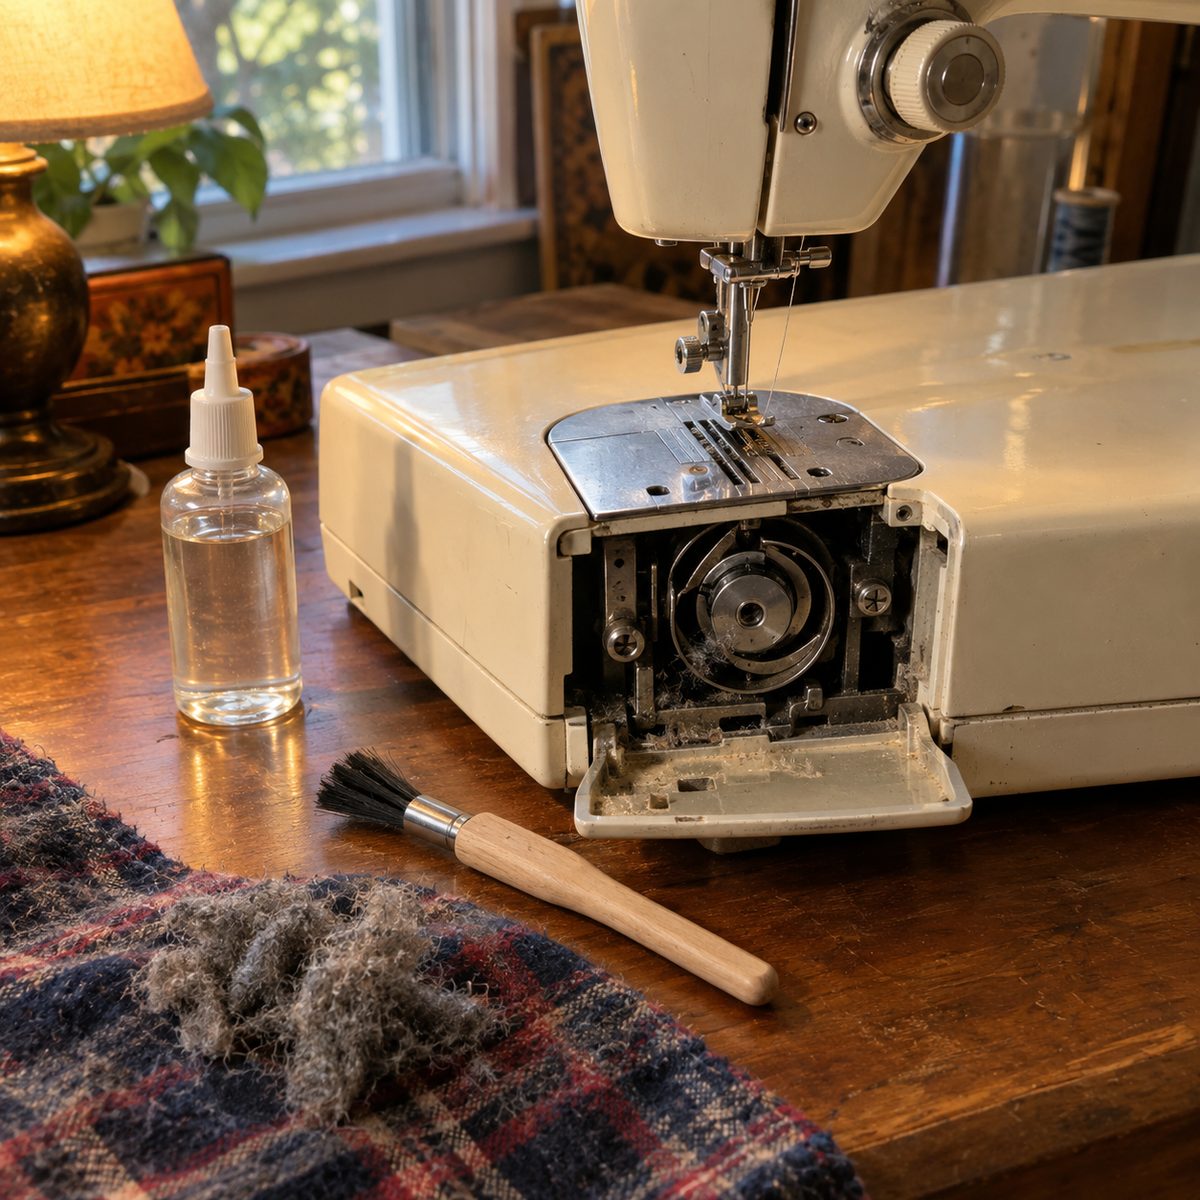
Symptom: A machine that used to purr now clunks, knocks, or grinds.
Likely causes: Built-up lint in the bobbin area is the top reason. After that: a bent needle hitting the throat plate, a bobbin case seated incorrectly, a machine that needs oil, or a loose screw on the throat plate or presser foot.
- Change the needle first. It’s the quickest check.
- Unplug, remove the throat plate and bobbin case, and brush out all the lint. Skip canned air, which can push lint deeper.
- Reseat the bobbin case exactly as your manual shows.
- Oil only if your manual calls for it, using sewing machine oil, one drop at each marked point. Many newer machines are designed not to need oiling.
- Tighten any loose screws on the throat plate or foot.
If grinding continues after cleaning, have it serviced before damage spreads.
10. Uneven Stitch Length
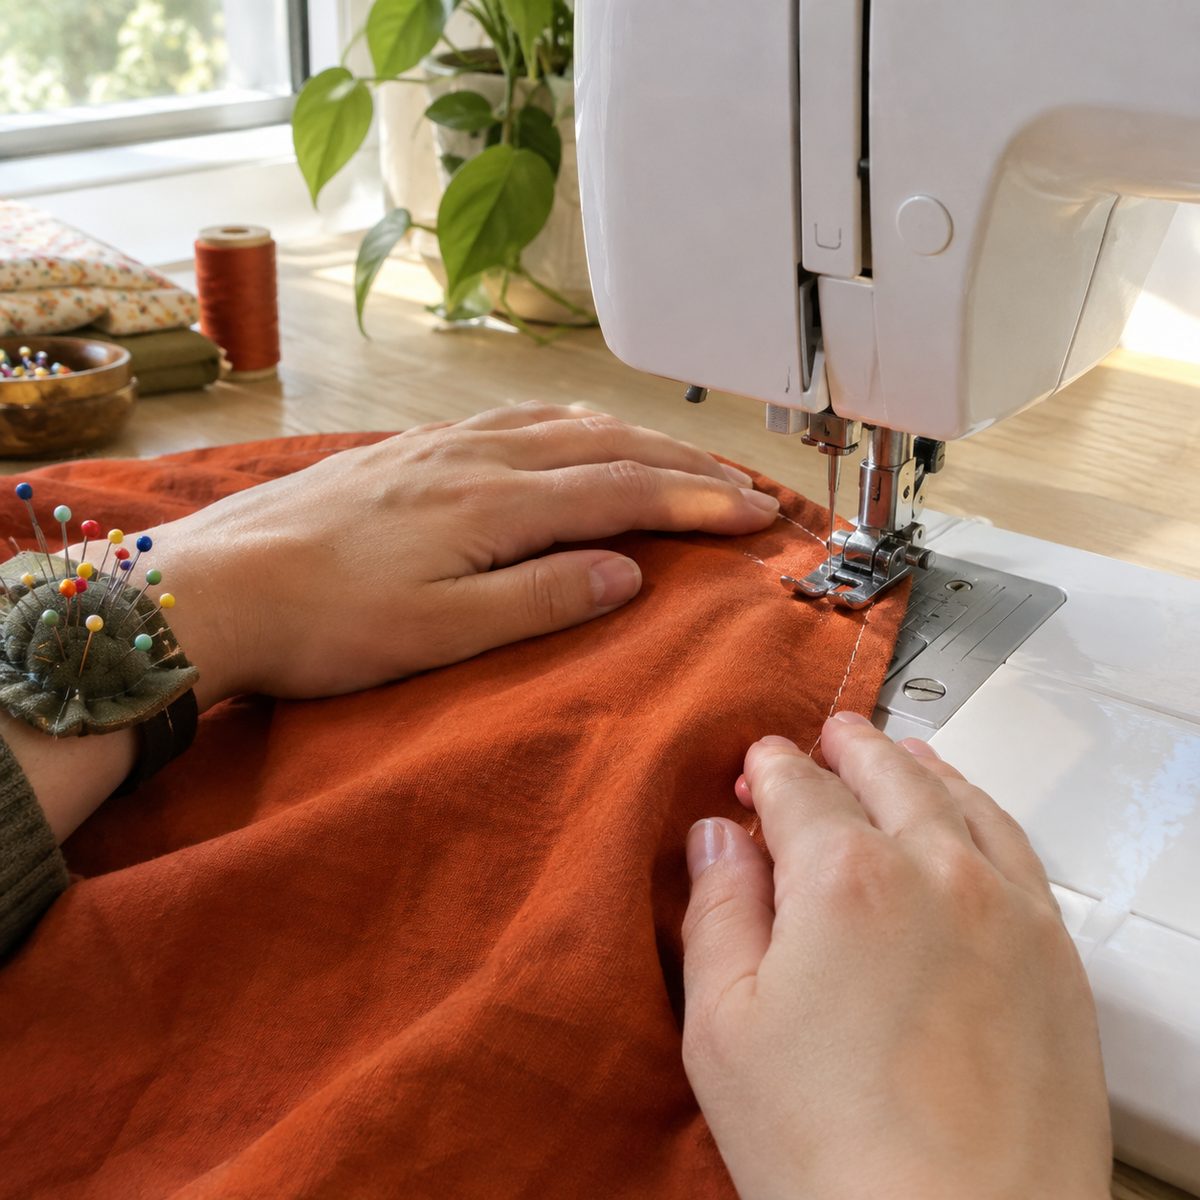
Symptom: Some stitches are long and some short, or the seam wanders even though the stitch length setting hasn’t changed.
Likely causes: Pulling or holding back the fabric is the most common cause. Next: sewing too fast over changing thickness, an unevenly wound bobbin, lint on the feed dogs, or presser foot pressure too light for the fabric.
- Rest your hands flat on the fabric and just guide it. Let the feed dogs set the pace.
- Slow down at bulky seams, and use a small folded scrap behind the foot to level it when climbing a thick hem.
- Rewind the bobbin at a steady medium speed so thread lays evenly.
- Clean the feed dogs.
- Use a walking foot on quilts and slippery fabrics.
A quick test: sew a 6-inch line on two layers of quilting cotton at 2.5 mm without touching the fabric. If stitches are even, the problem is your hands, not the machine.
11. Needle Keeps Unthreading
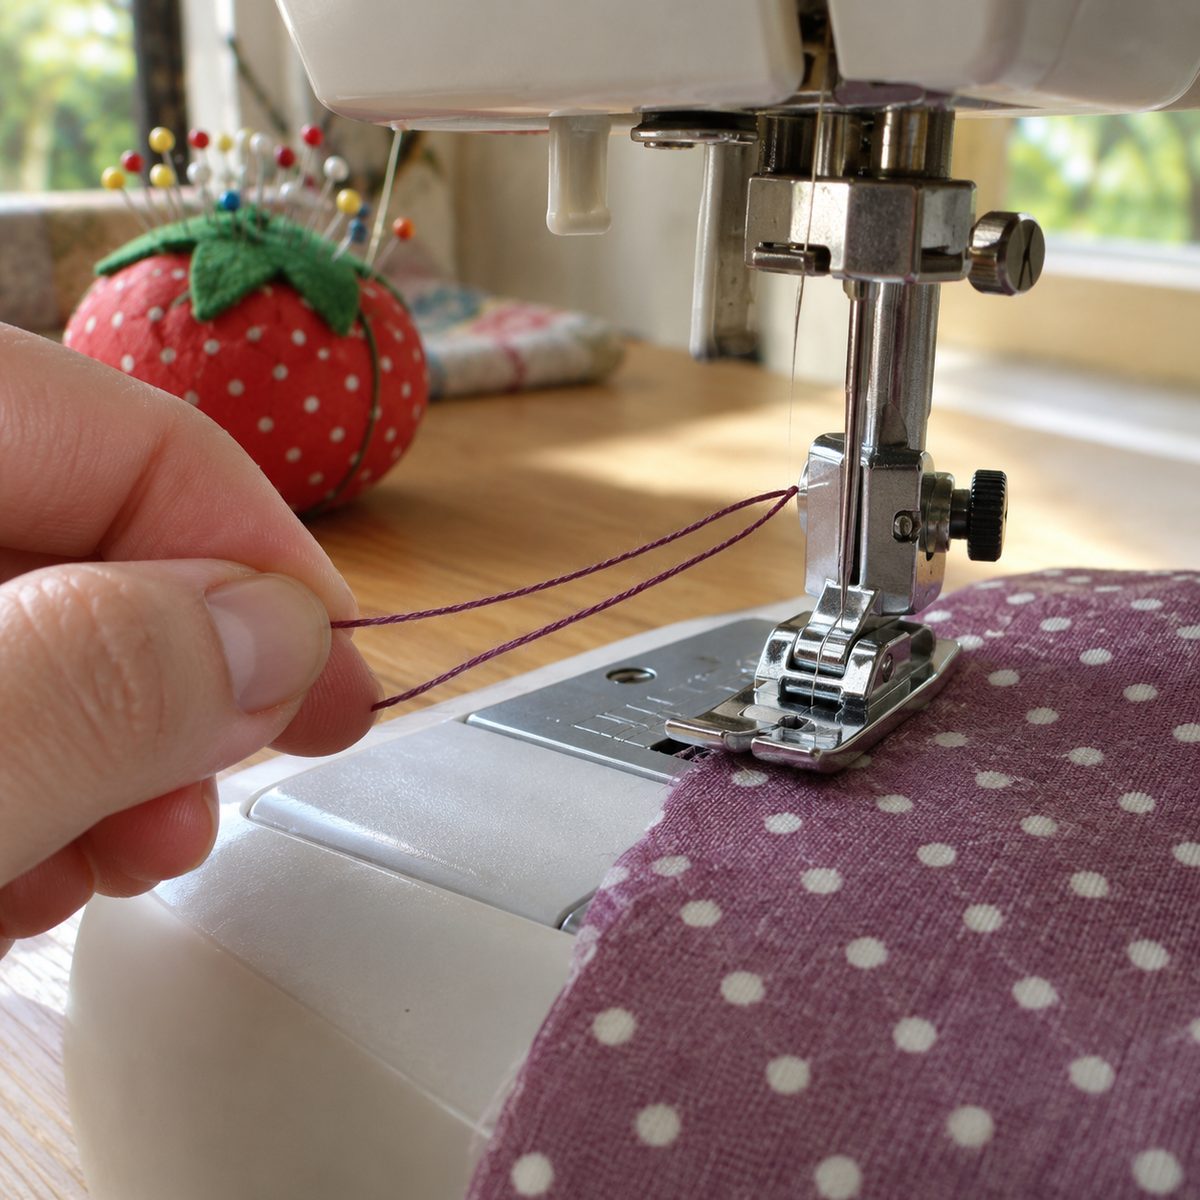
Symptom: Every time you start sewing, the thread pulls out of the needle eye on the first stitch or two.
Likely causes: The take-up lever isn’t at its highest point when you start or stop, so the first stitch yanks the thread out. Other causes: a thread tail that’s too short, or not holding the tails at the start.
- Before you start and after you stop, turn the handwheel toward you until the take-up lever is at its highest point. Many computerized machines have a needle up/down button that does this for you.
- Leave a 4- to 6-inch tail on both threads.
- Hold both tails lightly toward the back for the first few stitches.
- Start stitching about 1/4 inch in from the fabric edge.
This small habit also prevents many bird’s nests and jams, so it’s worth practicing until it’s automatic.
12. Puckered Seams
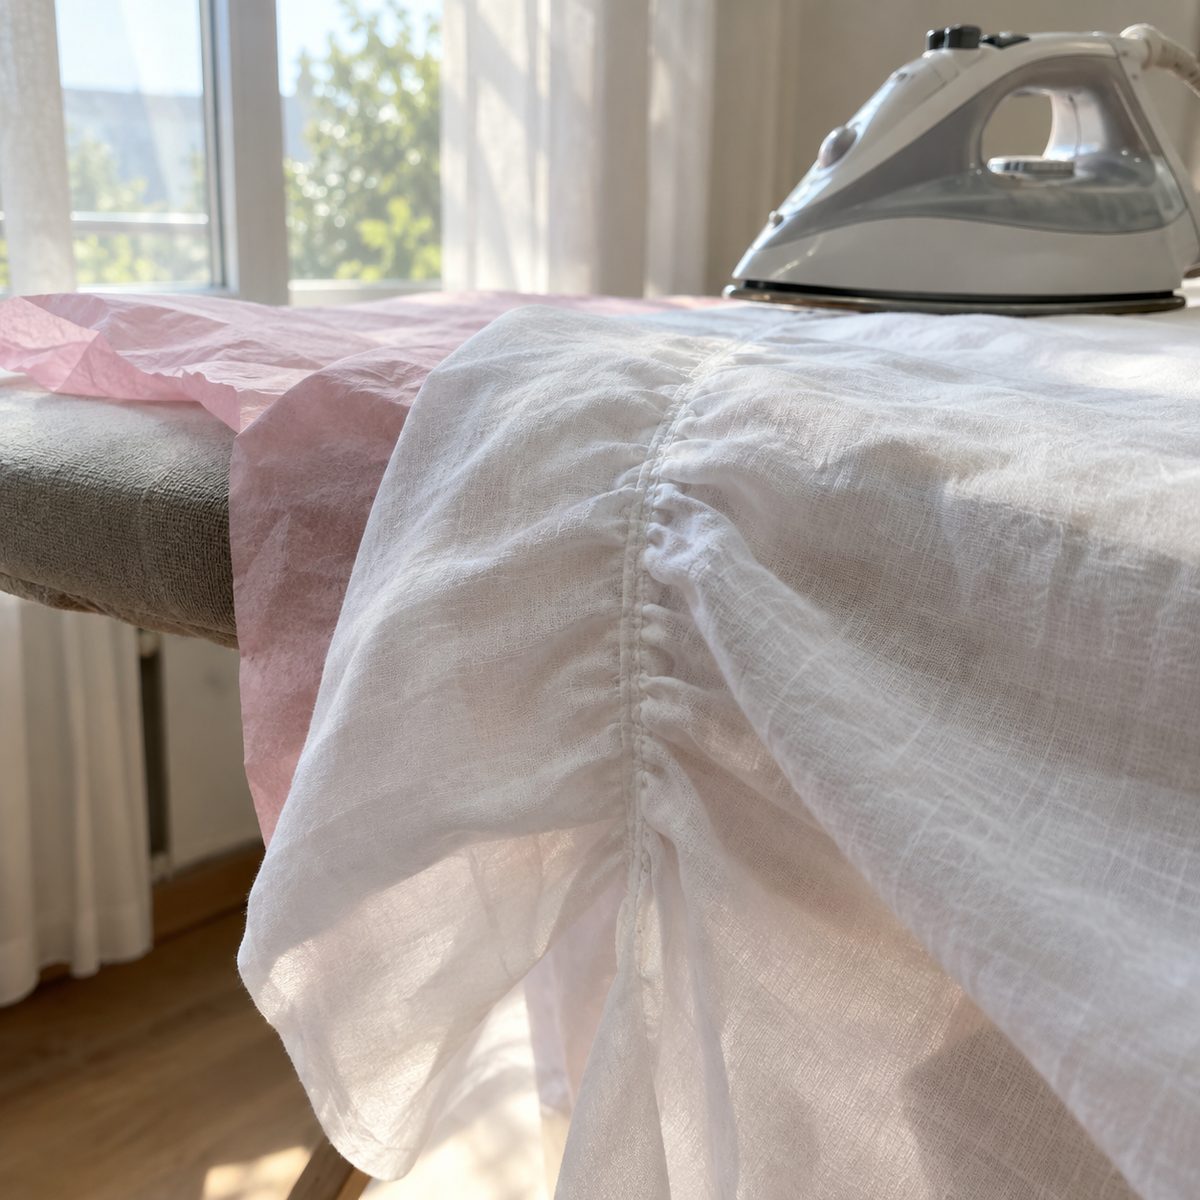
Symptom: The seam looks gathered or wavy, and the fabric scrunches along the stitch line.
Likely causes: Top tension set too tight is the most common cause, followed by stitch length too long for lightweight fabric, a needle too large, or thin and slippery fabric that needs support.
- Lower top tension one number at a time and test on a scrap.
- Shorten the stitch to about 2.0 mm for lightweight fabrics like voile or lawn.
- Switch to a finer needle, such as a 70/10 or a microtex needle. See what size needle to use for cotton.
- Hold the fabric slightly taut in front of and behind the foot without pulling it through.
- Put tissue paper or tear-away stabilizer under very sheer fabrics and tear it off after sewing.
Press every seam flat with steam. It often relaxes minor puckers.
13. Motor Runs but Needle Won’t Move
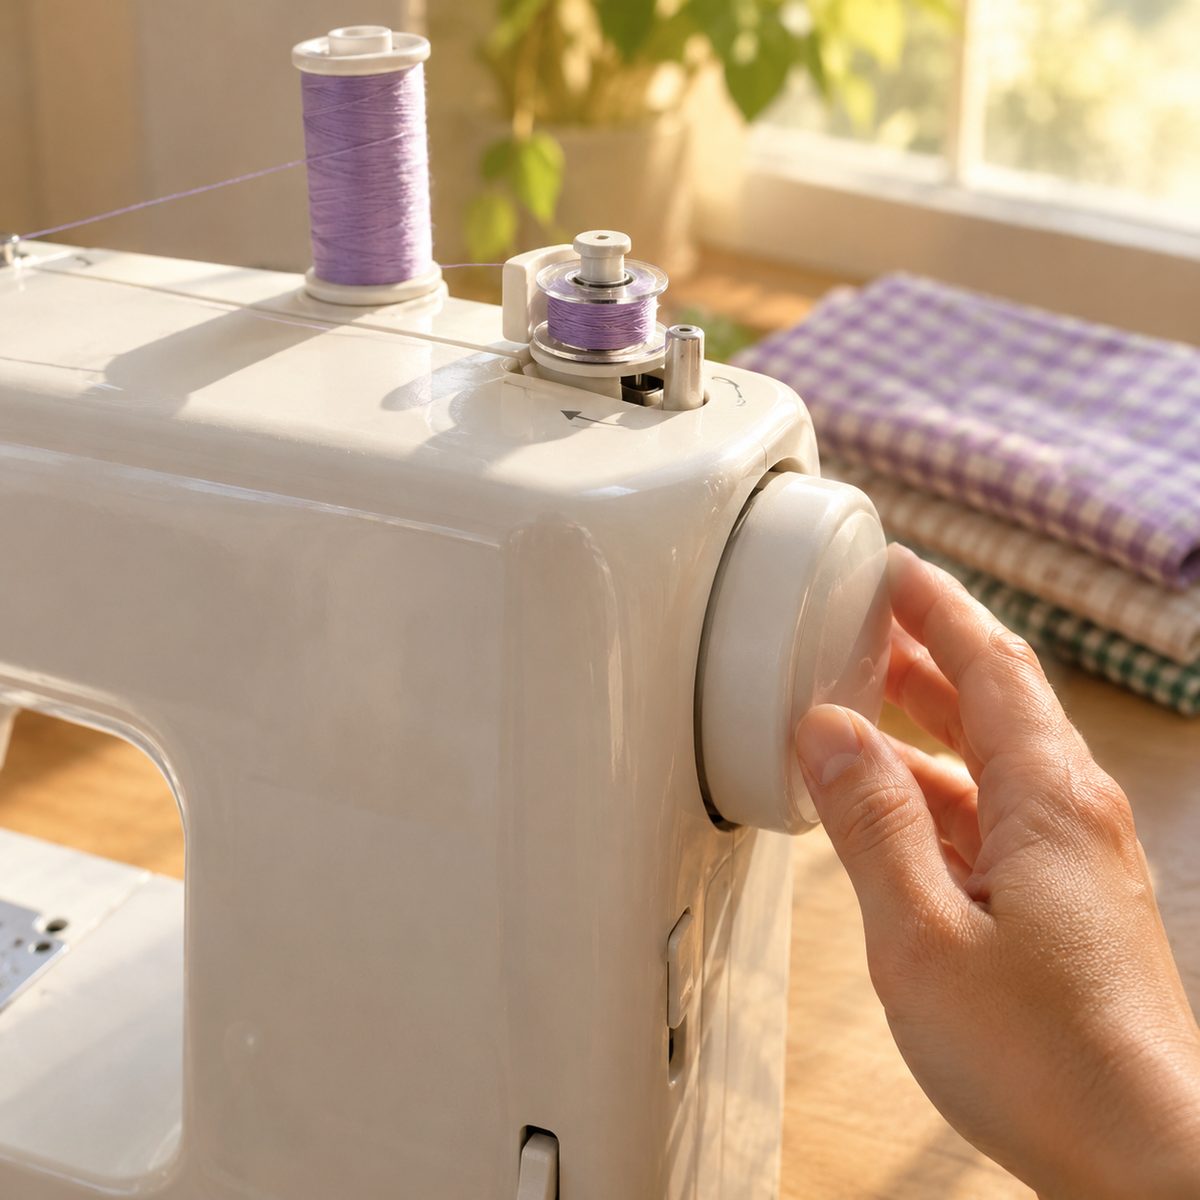
Symptom: You press the pedal and hear the motor spinning, but the needle stays still.
Likely causes: The bobbin winder is still engaged, which disconnects the needle so you can wind a bobbin. On older machines, the clutch knob in the center of the handwheel may be loosened. Less often: a jam in the bobbin area, or a stretched or broken motor belt.
- Push the bobbin winder spindle back to the left (sewing) position.
- If your handwheel has an inner knob, turn it toward you to tighten it.
- Check the bobbin area for jammed thread.
- Unplug and turn the handwheel by hand. If it spins freely with no needle movement, the belt has likely slipped or broken.
Belt replacement is simple on some older machines, but most people will want a repair shop to handle it.
14. Foot Pedal Problems
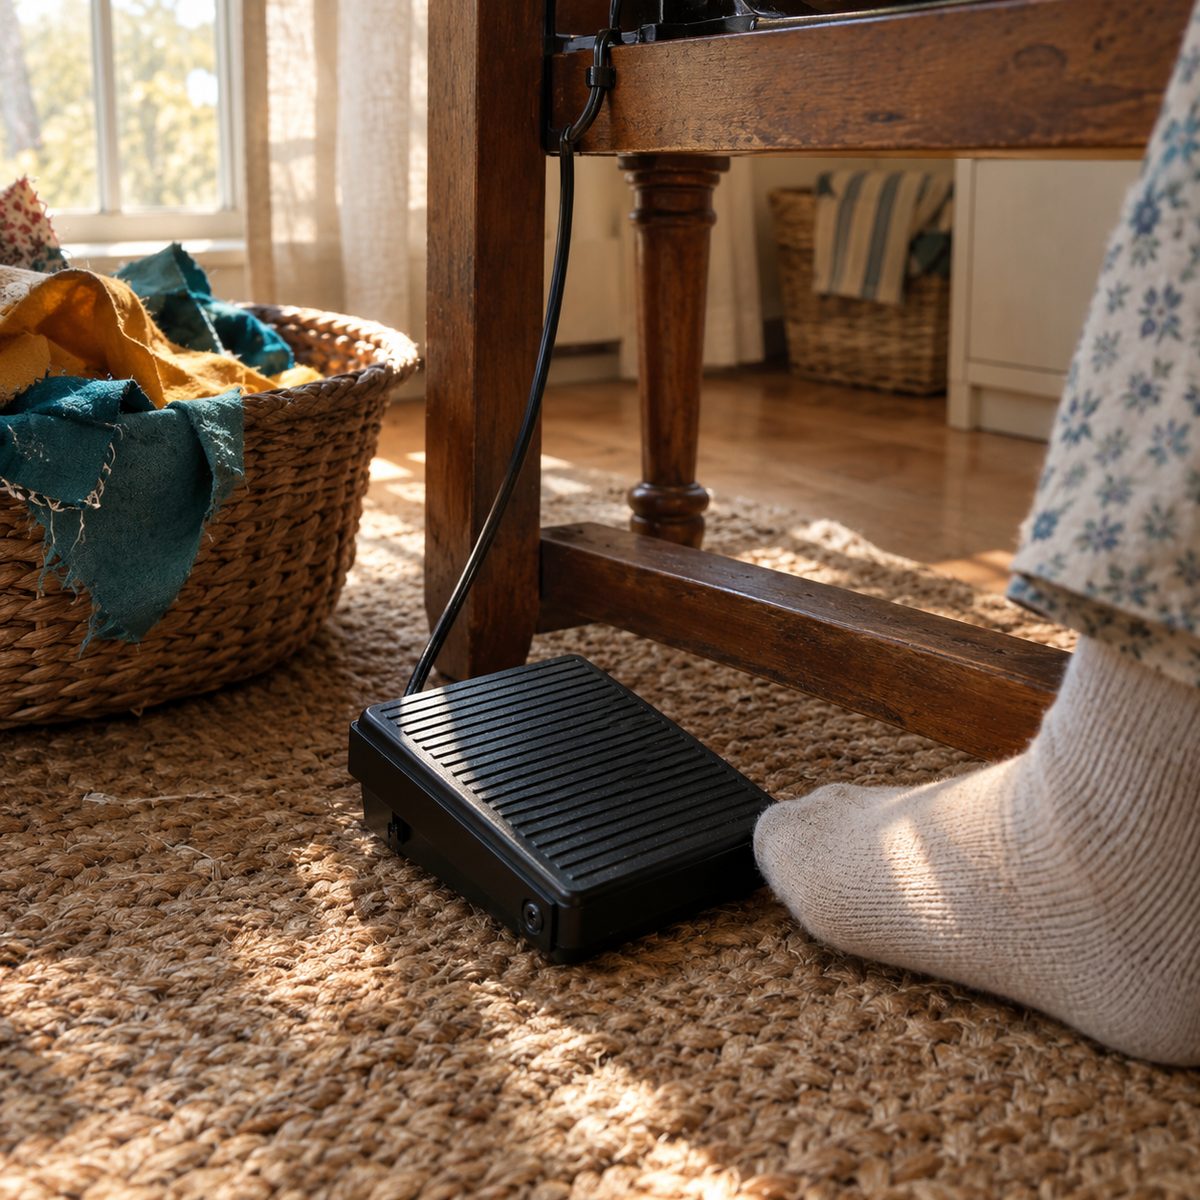
Symptom: The machine won’t start, runs in jerky bursts, races at full speed, or the pedal gets hot.
Likely causes: A loose plug at the machine or wall is the most common. Next: a speed slider on the machine set to slow (on computerized models it limits pedal speed), a damaged cord, or a worn controller inside the pedal.
- Unplug and firmly reseat both ends of the pedal cord and the power cord.
- Check the machine’s speed slider and set it to the middle or high.
- Look for kinks, cuts, or crushed spots in the cord from chair legs.
- Try a different outlet without a power strip.
A pedal that runs the machine with no pressure, sparks, smells hot, or feels very warm should be unplugged and replaced right away. Buy a replacement made for your exact machine model. Pedals are not universal, and a mismatched one can damage the motor.
Your Quick Troubleshooting Routine
When something goes wrong, run through the same three checks before anything else: rethread the top with the presser foot up, rewind and reinsert the bobbin, and put in a fresh needle. Those three steps solve most of the problems on this list in under five minutes. Add a quick lint brushing every few projects, and your machine will stay happier for years. If you’re still learning your machine, the beginner’s sewing guide is a good next stop.