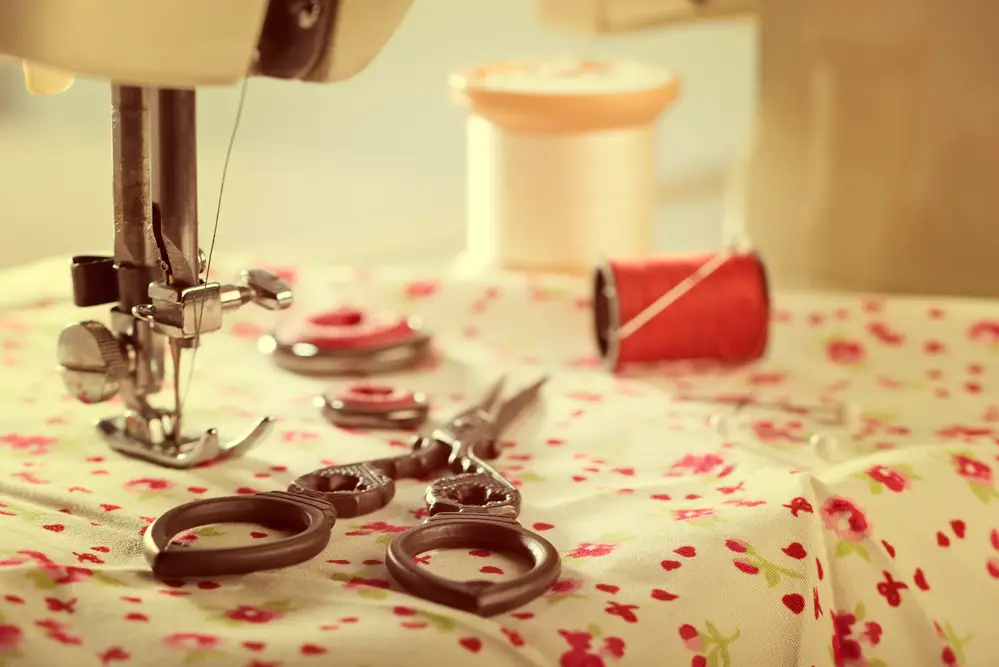
Attaching one or two buttons to your sewing project isn’t too difficult or time-consuming. But, add any more buttons, and the process becomes much more tedious. Since you probably don’t want to spend hours upon hours carefully hand-stitching each individual button into place, you’re probably looking for alternative methods.
So, can you use your sewing machine as a shortcut to hand-stitching buttons on your project? We’re here to discuss this, so stick around to learn more!
Can I Use My Sewing Machine To Sew On A Button?
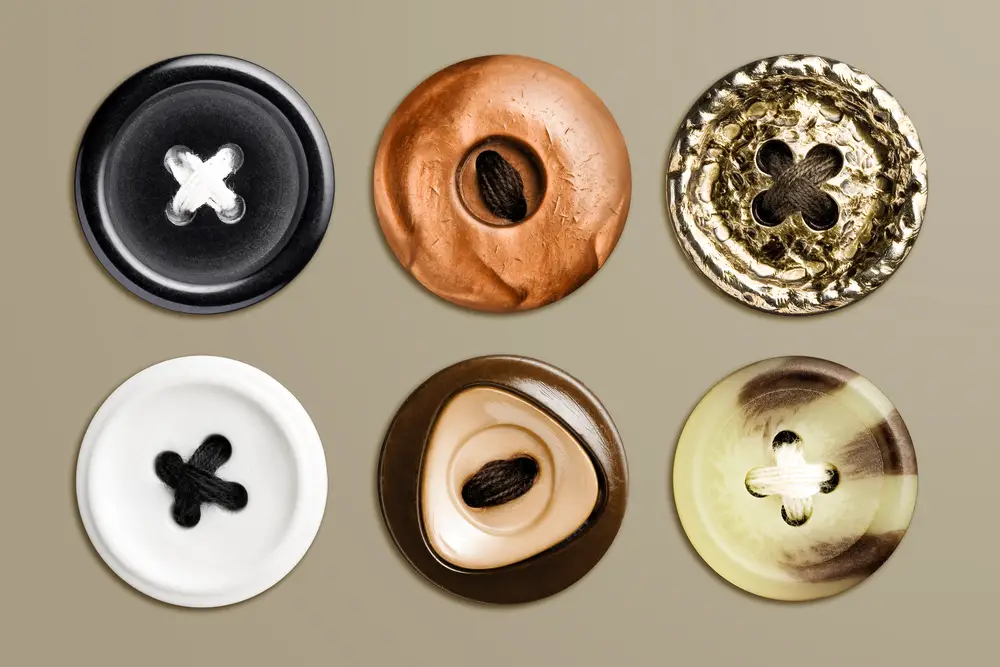
Absolutely – you can use your sewing machine to sew on a button. Buttons are involved in dozens of sewing projects, from those offering functionality to those solely serving as a finishing touch. However, attaching every button by hand can become a time-consuming task.
With a sewing machine, you can blaze through several buttons in the time it would take you to securely attach a single button. Most modern sewing machines can attach both two and four-hole buttons, but it varies from one sewing machine to the next.
How Do You Machine Sew A Button?
Using a sewing machine to attach a button to your project isn’t tricky. That said, there are a few things you’ll need to know.
Invest In A Button Foot

First, you need to make sure you have a way of holding the button in place while the machine does its job. You don’t want to try to hold the button with your fingers, as that puts them dangerously close to the rapidly-moving needle. Unless you’re trying to sew a button to your finger, we wouldn’t recommend using your hands.
So, what then? Well, a button foot will do the trick.
A button foot is specifically designed to hold the button in place while the machine works. Most button feet have a rubber coating to help keep the button from slipping out of place during the process. Generally, the foot attaches to the machine ankle in two separate places. This helps prevent it from rocking back and forth.
To attach the button foot, you’ll need to remove the presser foot. If you don’t have a button foot, you could also use the machine ankle to hold the button in place, which will also require you to remove the presser foot. We recommend investing in a button foot if you regularly sew buttons to your projects, but it is ultimately up to you.
Lower The Feed Dogs
The feed dogs are the tiny “teeth” that push the fabric across your sewing machine’s plate. While these are helpful for sewing tons of different things, you don’t want your machine trying to push the button out of the way while trying to attach it.
So, you need to lower the feed dogs. With these lowered, your machine can stitch over and over in the exact location, which is essential for sewing buttons. The steps you need to follow to lower the feed dogs depend on your particular machine.
If you’re unsure how to lower them, refer to the manual. Some modern sewing machines feature fancy settings that allow you to change things up easily, while others require a bit more work.
Make Your Mark
Before you stitch the buttons, make sure you mark the fabric, so you know exactly where it needs to go. Then, tape the button to the material with a piece of clear tape. If you use regular clear tape, you can sew it right over the tape. Then, when you’re done, simply pull the tape away.
Start Sewing
Once you attach the button foot (or remove the presser foot and use the machine ankle), lower the feed dogs, and set the button in place, you’re ready to stitch. Choose the correct button sewing stitch.
Some machines have a stitch designed specifically for sewing buttons. If that’s the case, simply pick that setting. If not, simply use a zig-zag stitch and set the stitch length to zero. Once you choose the correct setting, position the button underneath the needle so it will come down into the left hole of the button.
Lower the foot to secure the button in place, then hand-crank the machine, so the needle comes down into the fabric. This way, you can make sure the needle hits directly in the center of the left hole. You might need to lift the presser foot to adjust the button to the best alignment.
Hand-crank the machine, so the needle comes back up, then down into the right hole. Adjust the drop position by tinkering with the stitch width. Remember, any changes in the width will directly impact both swings of the needle, so you’ll have to hand-crank the machine again to ensure the left-hole position is still correct.
Attach The Button
After the needle hits the middle of each hole on the button, you can start stitching. So, slowly sew eight or nine stitches. Then, raise the presser foot and slide the fabric and newly attached button out. Snip the top and bottom thread tails, but leave at least four inches of thread.
Finishing Touches

If you used tape, go ahead and remove it now. Your last step is to tuck the tails. Thread the tails through a hand sewing needle, then insert the needle through one buttonhole. Pull the thread tails through the button, so they’re under the button but on top of the fabric.
Then, wrap the tails around the new stitches. Feed the needle through to the back of the fabric, right beside the stitching. Tie the two thread tails in a knot, doubling or tripling it for extra security. Trim the tails close to the knot, then discard the extras.
If the button has four holes, you’ll need to move the button forward slightly towards the second set of holes, where you’ll repeat the process.