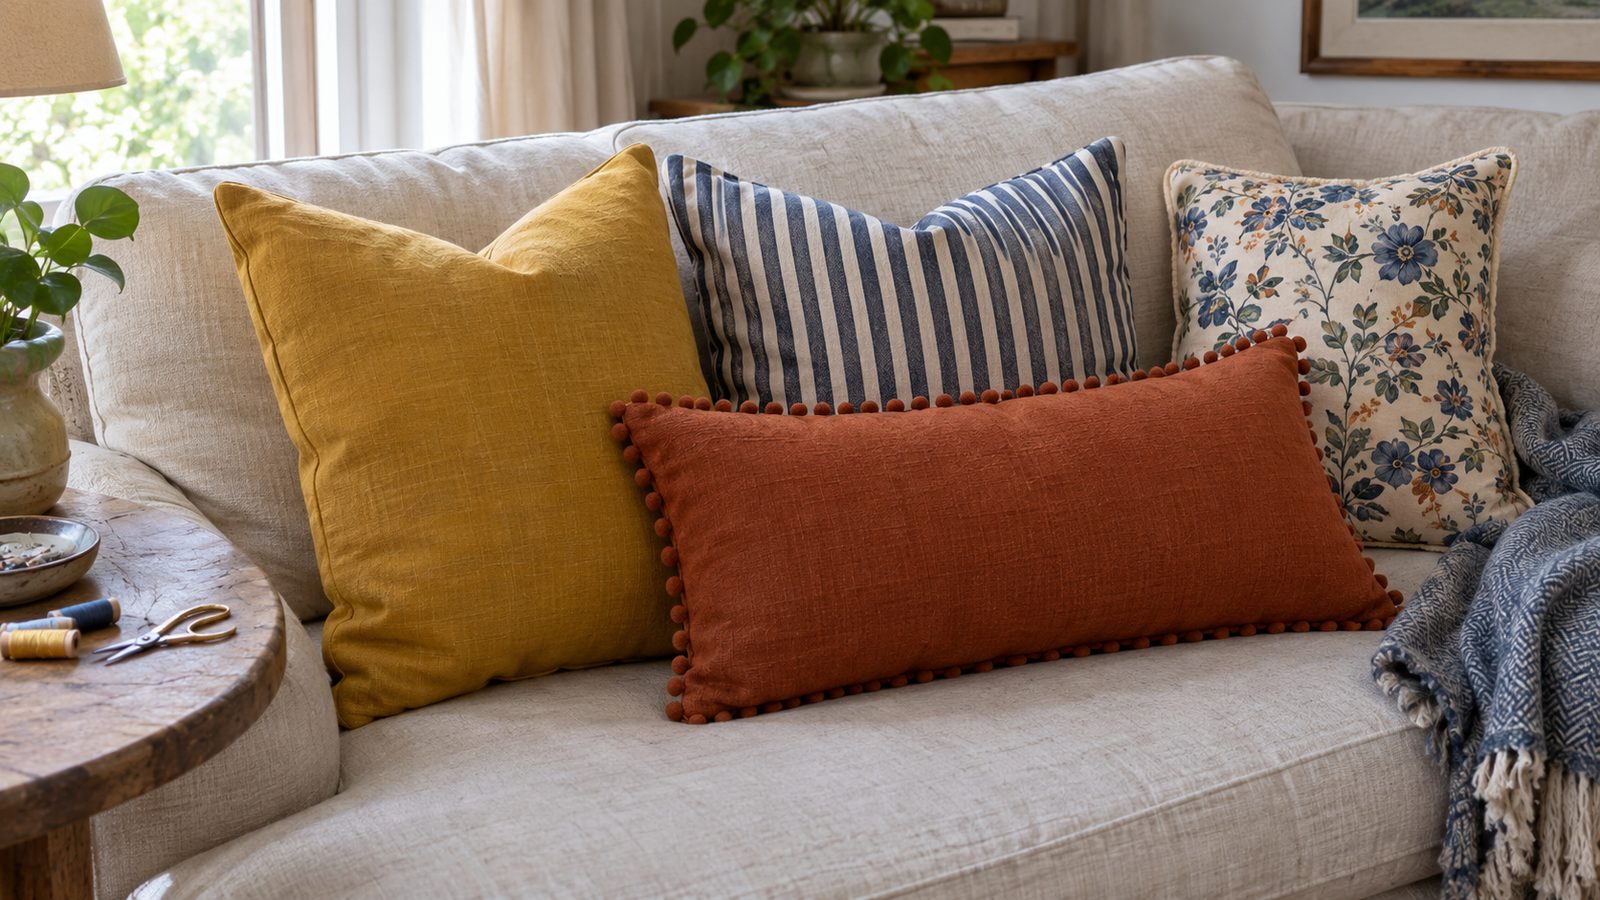
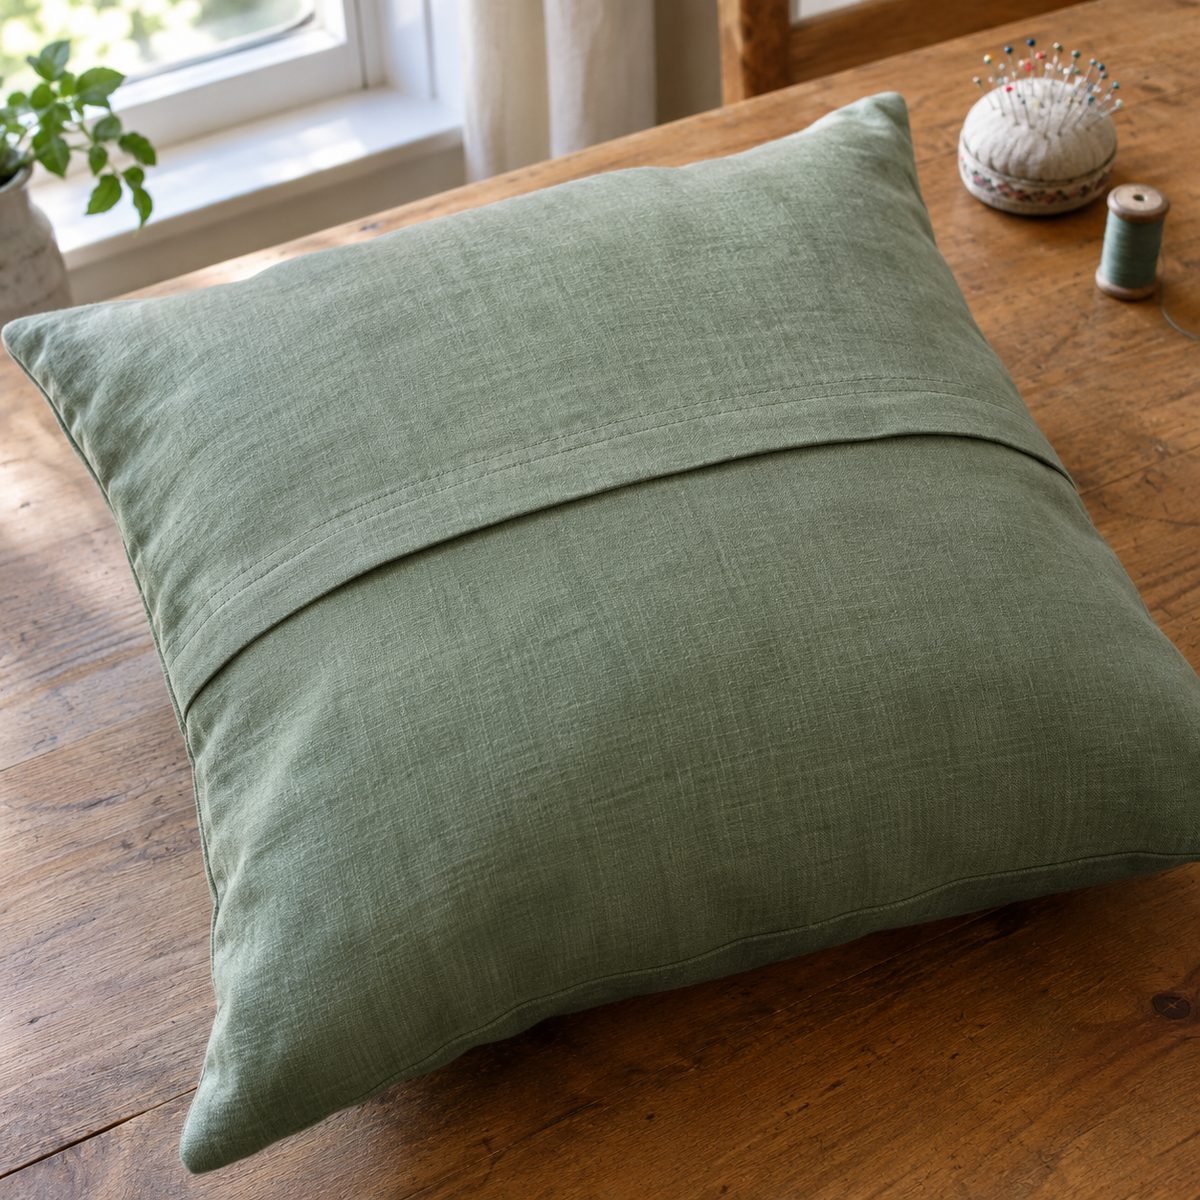
An envelope pillow cover is the easiest cushion cover you can sew: one front panel, two hemmed back panels that overlap, and a single seam around the outside. No zipper, no buttons, and the insert slips in and out through the overlap whenever the cover needs a wash.
Below you’ll find a cut chart for the most common insert sizes, the simple rule behind every number so you can size a cover for any pillow, and the full sewing sequence from cutting to the final press. Most people finish their first cover in well under an hour.
At a glance
- Skill level: beginner; straight seams only
- Time: about 45 minutes per cover once your pieces are cut
- Fabric: 5/8 yard of 54″ wide decor fabric, or 1 yard of 44″ quilting cotton, for an 18″ pillow
- Seam allowance: 1/2″ throughout
- Overlap: 4″ to 6″ at the back opening
- Closure: none; the overlap holds the insert in place
Envelope pillow cover sizing chart
These measurements assume a 1/2″ seam allowance, a double-folded 1/2″ hem on each back opening edge, and the “same size as the insert” convention explained below. Heights run top to bottom and widths run side to side; the back opening runs vertically, splitting the width.
| Insert size | Front panel (cut 1) | Back panels (height x width) | Overlap |
|---|---|---|---|
| 16″ square | 16″ x 16″ | 16″ x 11″ (cut 2) | 4″ |
| 18″ square | 18″ x 18″ | 18″ x 12 1/2″ (cut 2) | 5″ |
| 20″ square | 20″ x 20″ | 20″ x 13 1/2″ (cut 2) | 5″ |
| 22″ square | 22″ x 22″ | 22″ x 15″ (cut 2) | 6″ |
| 12″ x 20″ lumbar | 12″ x 20″ | 12″ x 13″ (cut 2) | 4″ |
For a 12″ x 20″ lumbar pillow, the opening runs across the short direction, so each back panel is 12″ tall and 13″ wide. If you prefer the opening to run the long way, swap the math onto the 12″ side, but the shorter overlap looks a little skimpy on a narrow pillow.
The rule behind the numbers
Once you know the formula you’ll never need a chart again. Every size above comes from three simple steps:
- Front panel: cut it the same size as your insert. An 18″ insert gets an 18″ x 18″ front.
- Back panel height: the same as the front panel height.
- Back panel width: half the pillow width, plus half the overlap, plus 1″ for the hem. For an 18″ pillow with a 5″ overlap, that’s 9 + 2 1/2 + 1 = 12 1/2″.
You can double-check any size: subtract the 1″ hem from each back panel, add the two hemmed widths together, then subtract the overlap. You should land exactly on the front panel width. For the 18″ cover, 11 1/2 + 11 1/2 – 5 = 18. If the numbers don’t match, recheck before you cut.
As for the overlap itself, 4″ is enough for small pillows, 5″ suits most 18″ and 20″ covers, and 6″ keeps a big 22″ floor or sofa pillow from gaping when someone leans on it.
Why cut the cover the same size as the insert?
Because you sew a 1/2″ seam on every side, a cover cut to the insert size finishes 1″ smaller than the insert in each direction. That slight squeeze is exactly what you want. It fills the corners, keeps the fabric taut, and gives the plump, full look you see on store-bought throw pillows. A cover that finishes the same size as the insert tends to look slack and wrinkly within a week.
The exception is a firm foam insert or a very thick fabric like upholstery velvet. For those, add 1/2″ to 1″ to every measurement so the cover isn’t a wrestling match to fill.
Materials and tools
- Pillow insert (feather or polyester fiberfill)
- Main fabric for the front and back; medium-weight cotton, linen, canvas, or twill all work well
- All-purpose polyester thread in a matching color
- Sewing machine with a universal or denim needle, depending on fabric weight
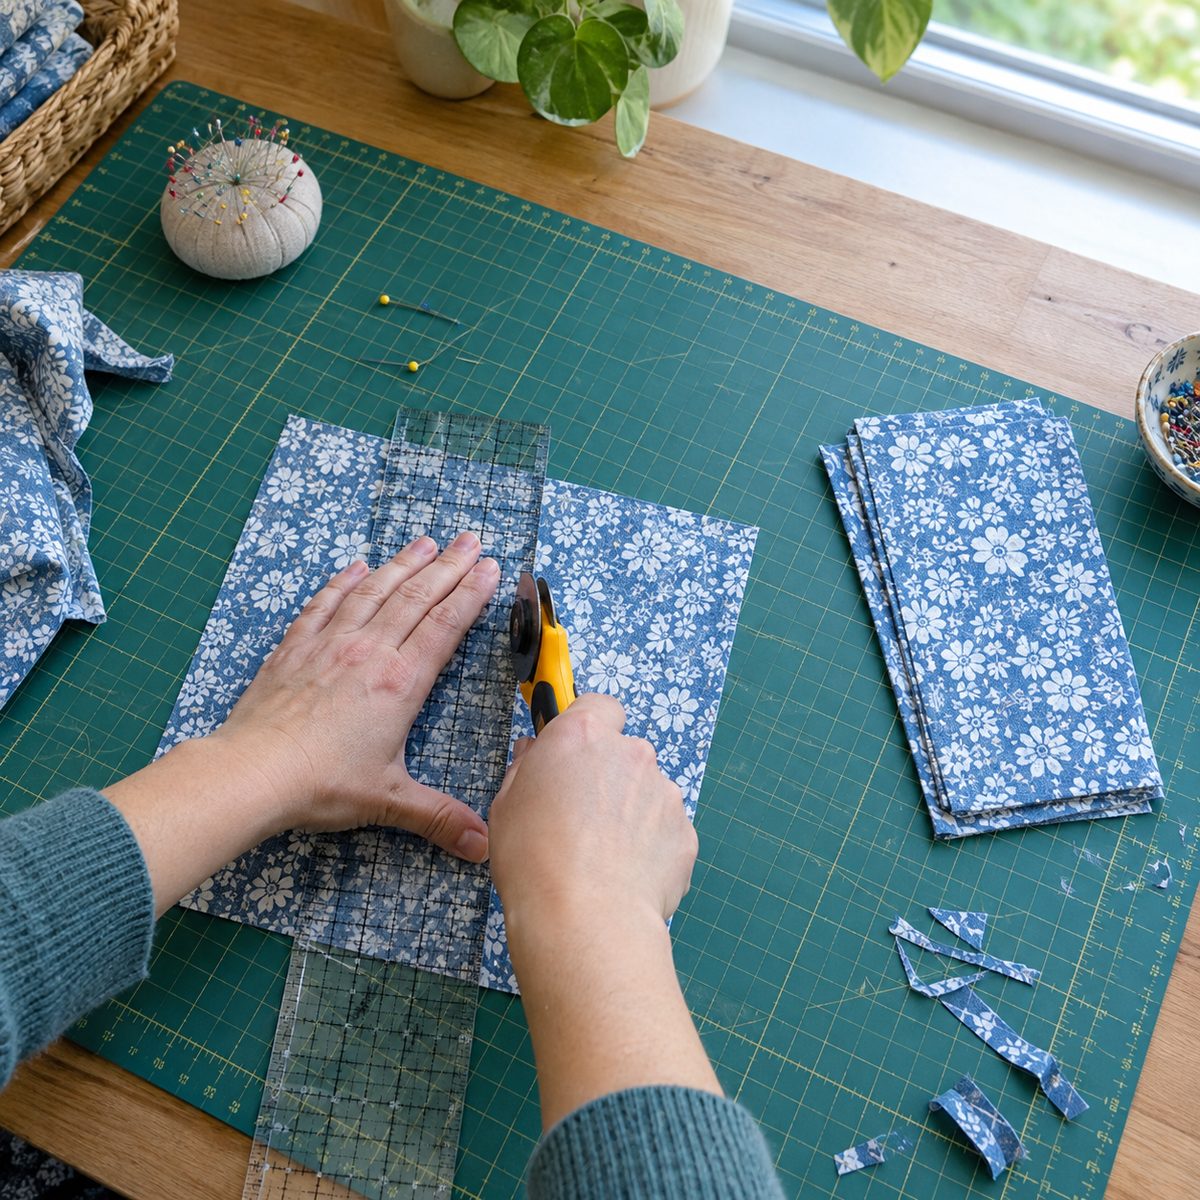
- Rotary cutter, ruler, and mat, or fabric scissors and a marking pen
- Pins or sewing clips
- Iron and pressing surface
- Point turner or a chopstick for pushing out corners
- Optional: pinking shears or a serger for finishing seams
Choose fabric with a little body. Quilting cotton works, though it can look soft and floppy on larger pillows; home decor weight cotton and linen blends hold their shape much better. If you’re unsure, our guide on how to choose fabric for sewing walks through the options. Prewash anything you’ll want to launder later so the cover doesn’t shrink smaller than the insert; see whether you should wash fabric before sewing for the details.
Step 1: Cut the front and back panels
Accurate cutting makes everything after it easier, so take your time here.
- Press your fabric flat so you’re measuring true dimensions, not wrinkles.
- Square up one edge of the fabric using the grain as your guide.
- Cut the front panel to the chart size. If your print has a motif you want centered, fussy-cut it now and center the design on the panel.
- Cut two back panels to the chart size. If your print is directional, cut both so the design runs the same way once the panels are side by side.
- Check that corners are square. A slightly skewed front panel shows up as a twisted pillow.
Step 2: Hem the back opening edges
Each back panel gets a clean hem along one long edge, which becomes the visible edge of the envelope opening. On a square pillow that’s the edge running the full height of the panel.
- On the wrong side, fold the opening edge over 1/2″ and press.
- Fold it over another 1/2″ to enclose the raw edge, and press again.
- Pin or clip the fold, then topstitch close to the inner folded edge, about 3/8″ from the outer edge.
- Repeat on the second back panel.
A crisp press before stitching makes this step go faster and look better; pressing, not ironing, keeps the fold from stretching. For a more decorative finish, sew a second line of topstitching 1/4″ away from the first.
Step 3: Layer the front and back panels
The order you stack the pieces in decides which back panel ends up on top of the finished envelope.
- Lay the front panel right side up on your table.
- Place the first back panel right side down on top, lining up its raw edges with the right edge, top, and bottom of the front panel. The hemmed edge points toward the center.
- Place the second back panel right side down, lining up with the left edge, top, and bottom. Its hemmed edge overlaps the first panel by the amount in the chart.
- Check that all outside edges line up and the overlap is even from top to bottom.
- Pin or clip all around the perimeter, putting an extra pin through both back panels where they overlap so they can’t shift.
Remember that the panel you lay down last becomes the one underneath once the cover is turned right side out. If you want a particular panel on top, lay it first.
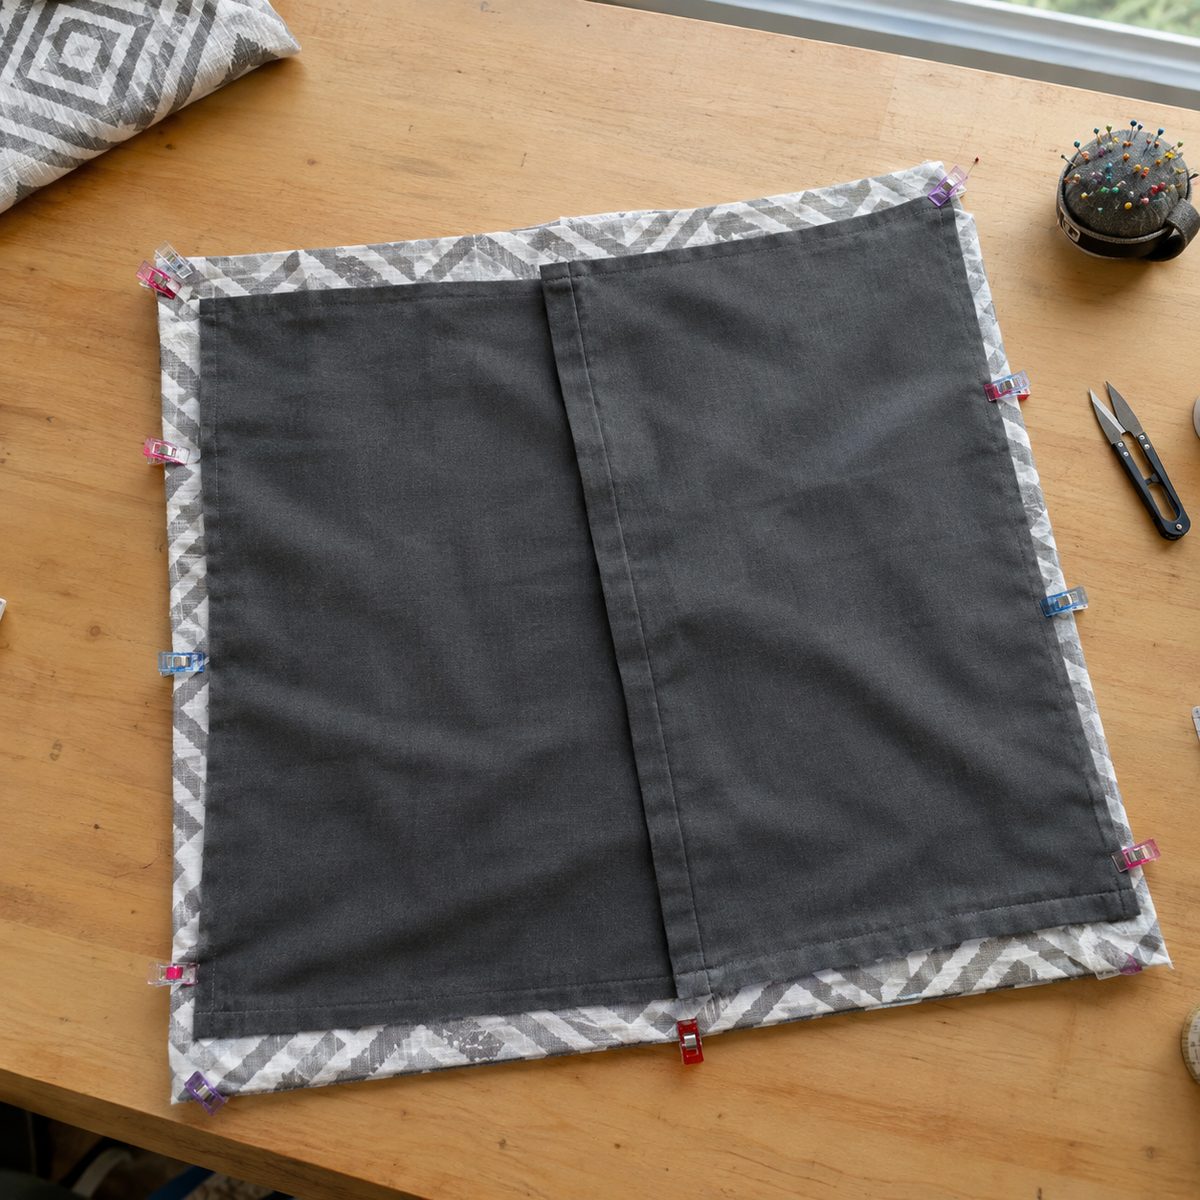
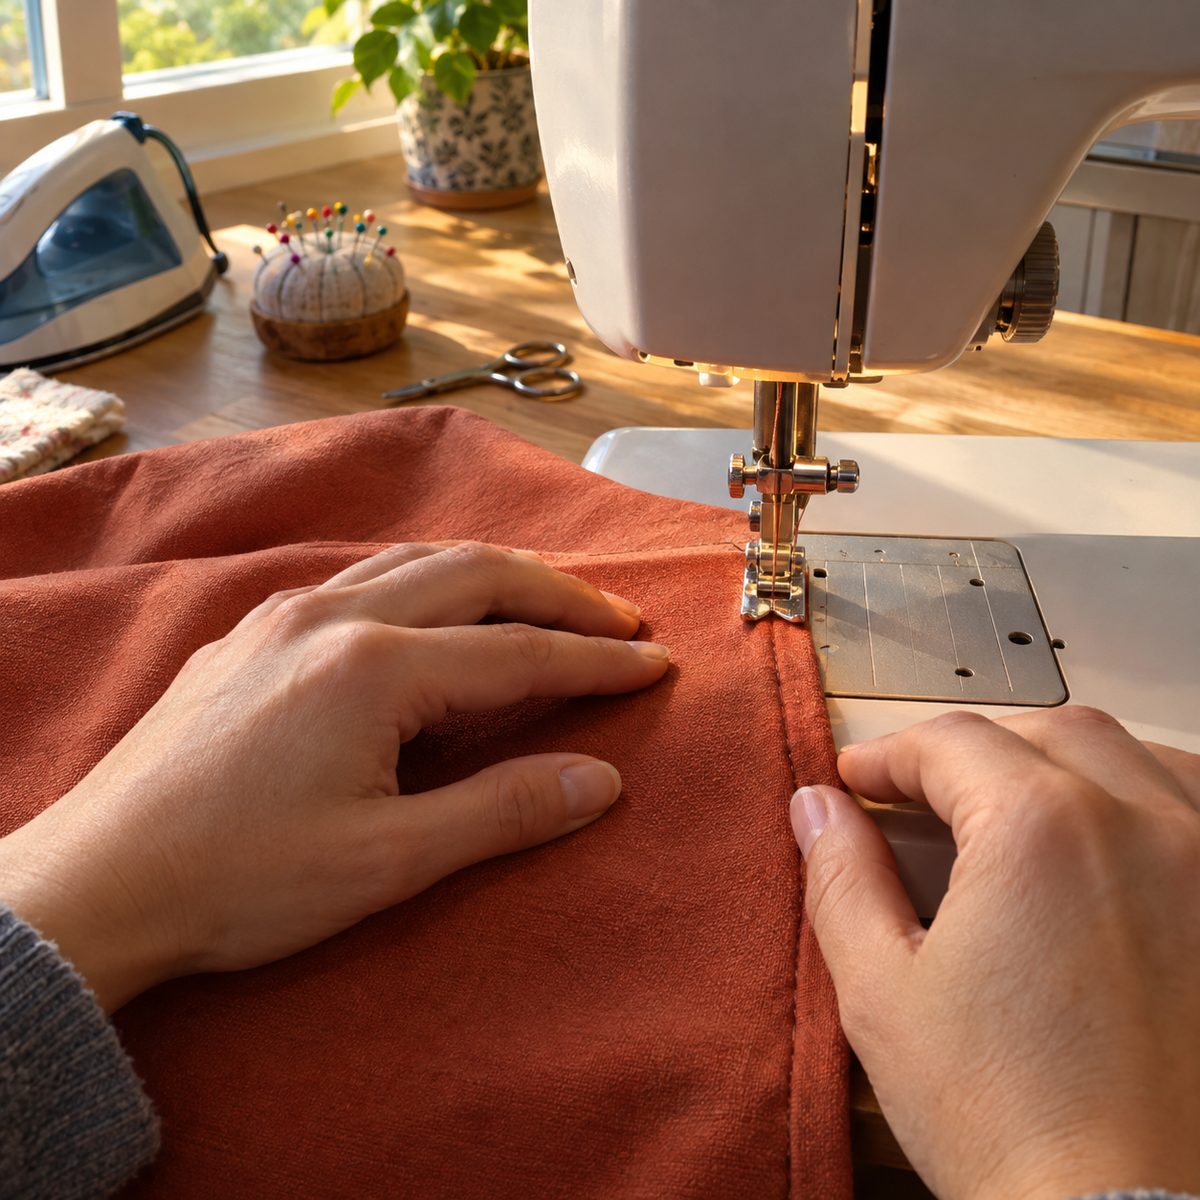
Step 4: Sew around the outside
- Start partway down one side rather than at a corner, and backstitch.
- Sew with a 1/2″ seam allowance all the way around. At each corner, stop with the needle down 1/2″ from the edge, lift the presser foot, pivot, and continue.
- When you reach the overlap area, backstitch over the hemmed edges on both sides. These spots take the most strain when you stuff the insert in.
- Finish where you started and backstitch to lock the stitches.
Sewing through four layers at the overlap can make some machines hesitate. Slow down, and if your stitches start looking uneven there, try a longer stitch length and a fresh denim needle.
Step 5: Clip the corners
Clipping removes bulk so your corners turn out sharp instead of rounded and lumpy.
- At each corner, trim straight across the seam allowance diagonally, cutting about 1/8″ away from the stitching.
- For thick fabric, also taper the seam allowance on each side of the corner at an angle.
- Be careful not to cut through the stitches; that’s the one mistake here that’s hard to fix.
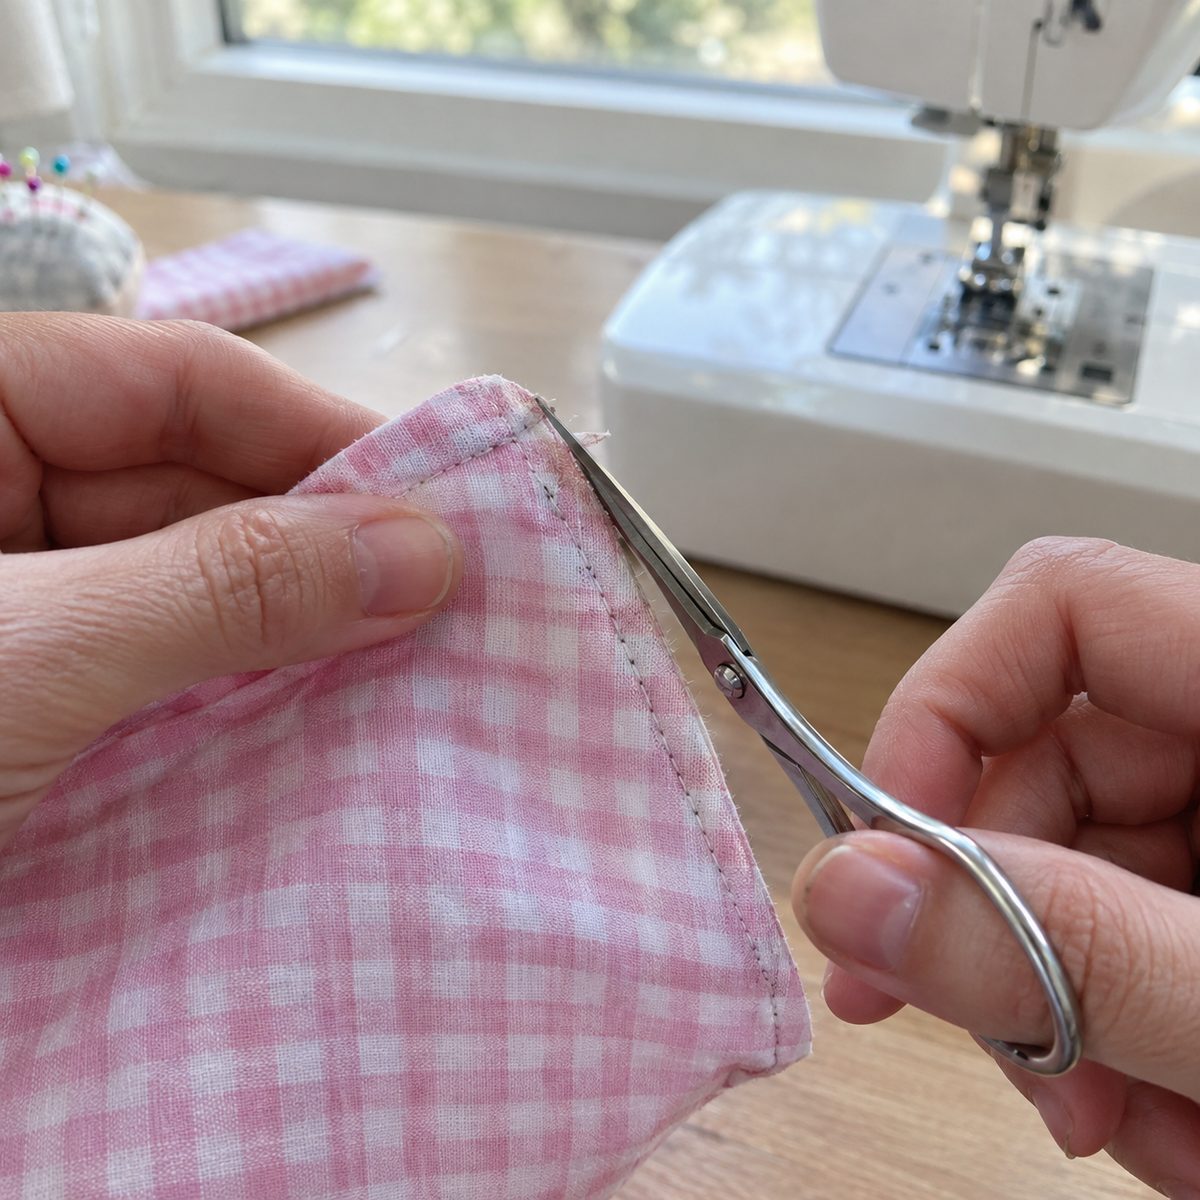
Step 6: Finish the raw seam edges
The inside of a pillow cover is mostly out of sight, but envelope covers get washed and stuffed repeatedly, and unfinished edges fray. Finishing them adds a few minutes and years of life.
- Zigzag stitch: sew a medium zigzag along the raw edge inside the seam allowance. It works on any machine.
- Pinking shears: quick and tidy for tightly woven cottons, though less durable on loose weaves.
- Serger: the fastest, neatest option if you have one.
- Overcast stitch: many machines include one; use the matching presser foot if it came with your machine.
Linen and loose weaves fray the most, so don’t skip this step with them.
Step 7: Turn and press
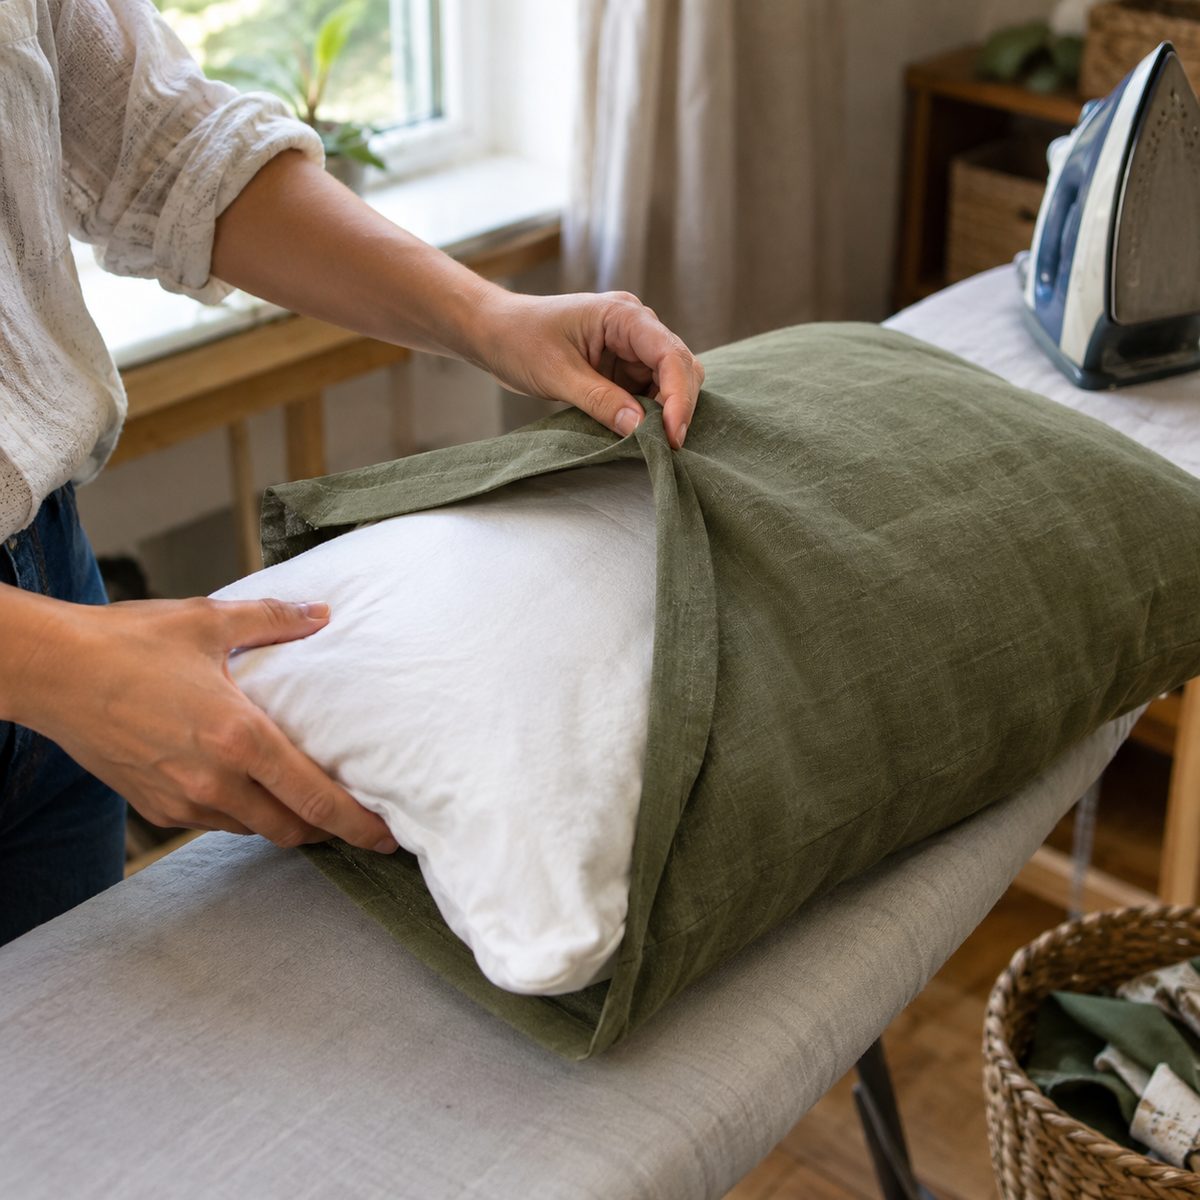
- Reach through the envelope opening and turn the cover right side out.
- Push each corner out gently with a point turner or chopstick. Go slowly so you don’t poke through the fabric.
- Roll the seams between your fingers so they sit right on the edge, then press the whole cover.
- Fold the insert in half, slide it through the opening, and let it open up inside. Shift the filling into the corners.
If the cover feels very tight, that’s normal with the plump-look sizing. Work the insert in one side at a time.
Optional variations
Once you’ve made one plain envelope cover, the same pattern opens up plenty of easy upgrades.
Piping
Piping gives a tailored, upholstered look. Pin purchased or homemade piping to the right side of the front panel with the raw edges aligned and the cord facing inward. Clip the piping seam allowance at each corner so it bends smoothly. Baste it in place with a zipper foot, then layer the back panels on top and sew along the same line, keeping the zipper foot snug against the cord. Overlap the piping ends at the bottom edge, where the join is least noticeable.
Contrast back
Nothing says the back must match the front. A solid linen back behind a bold print front uses up smaller cuts of fabric, lets you save the special fabric for where it shows, and gives you a reversible look. Stripes cut so they run across the opening look especially sharp.
Pom-pom or tassel trim
Pom-pom trim works just like piping. Lay the trim on the right side of the front panel with the pom-poms pointing inward and the tape along the raw edge. Baste it down, then sew the cover as usual. Keep the pom-poms clear of the seamline at the corners so they don’t get caught in the stitching.
For more ways to put these skills to work around the house, browse our home decor sewing projects.
Frequently asked questions
How much overlap does an envelope pillow cover need?
Plan on 4″ to 6″. Smaller pillows and lumbar pillows do fine with 4″, while standard 18″ and 20″ covers look best with around 5″. Large 22″ pillows, and any pillow that will get leaned on, benefit from a full 6″ so the opening stays closed and the insert doesn’t peek out.
Should an envelope pillow cover be smaller than the insert?
Slightly, yes. Cutting the cover pieces the same size as the insert and sewing a 1/2″ seam makes a cover that finishes 1″ smaller in each direction. The insert fills it snugly for a plump look. With firm foam or thick upholstery fabric, add 1/2″ to 1″ to your cut sizes.
How much fabric do I need for an 18″ pillow cover?
With 54″ wide home decor fabric, 5/8 yard fits all three pieces side by side: the 18″ x 18″ front plus two 18″ x 12 1/2″ back panels, 43″ in total. On 44″ quilting cotton those pieces won’t fit across the usable width, so buy 1 yard. Add extra if you plan to fussy-cut a motif or match a pattern.
Can I use this method for a rectangular or lumbar pillow?
Absolutely. Use the same formula, just apply the back panel math to whichever dimension the opening will split. For a 12″ x 20″ lumbar pillow with the opening running across the short side, each back panel is 12″ tall and 13″ wide: half of 20, plus half of a 4″ overlap, plus 1″ for the hem.
Once you’ve sewn one envelope cover, the formula becomes second nature and you can refresh a whole sofa’s worth of pillows in an afternoon. Pick a fabric you love, measure your inserts, and give your living room a new look for the price of a yard or two.