Did you know that around 85 percent of all women are wearing the wrong size bra? For some women, it’s easy to find the right bra just by stepping into a store, but for a lot of women, it involves a shopping trip that calls for packing a lunch and planning a route map on their phone. And when they finally find the right bra, the style will probably be discontinued next season. No wonder so many women just sigh and compromise with basic white or beige!
If you want a stylish bra that really fits, you don’t have to spend an entire paycheck on a tiny bit of fabric. If you’re willing to give up an afternoon or an evening, you can create your own bra with the style, the fabric, and the fit you love. It may look like a complicated project but trust us. If you can cut and sew a quarter-inch seam consistently, you can make your own customized bra. This DIY bra won’t look “homemade,” it will rival anything you find in a lingerie store. Even better, it will be the color and fabric you love, not just what the stores are offering this season.
Table of Contents
Deciding on Style Options
You’ve got four different options to choose when you design your bra:
- The band: full, continuous band all around or partial band connected to the side of the cups
- The closure: front clip or back hook-and-loop closure (which generally includes two or three size settings)
- The cups: one, two, or three sections. The most common patterns have two
- The straps: specially made elastic, self-fabric, or some other type of strapping
The style of bra you want to make will help you to choose which option to pick for your bra. For instance, a push up bra will have very different cup options from a smaller bralette. The cups on a nursing bra will have to include extra connectors to allow the covering to be removed for easy access. Choose a bra you like and are comfortable wearing every day for your first attempt at bra making.
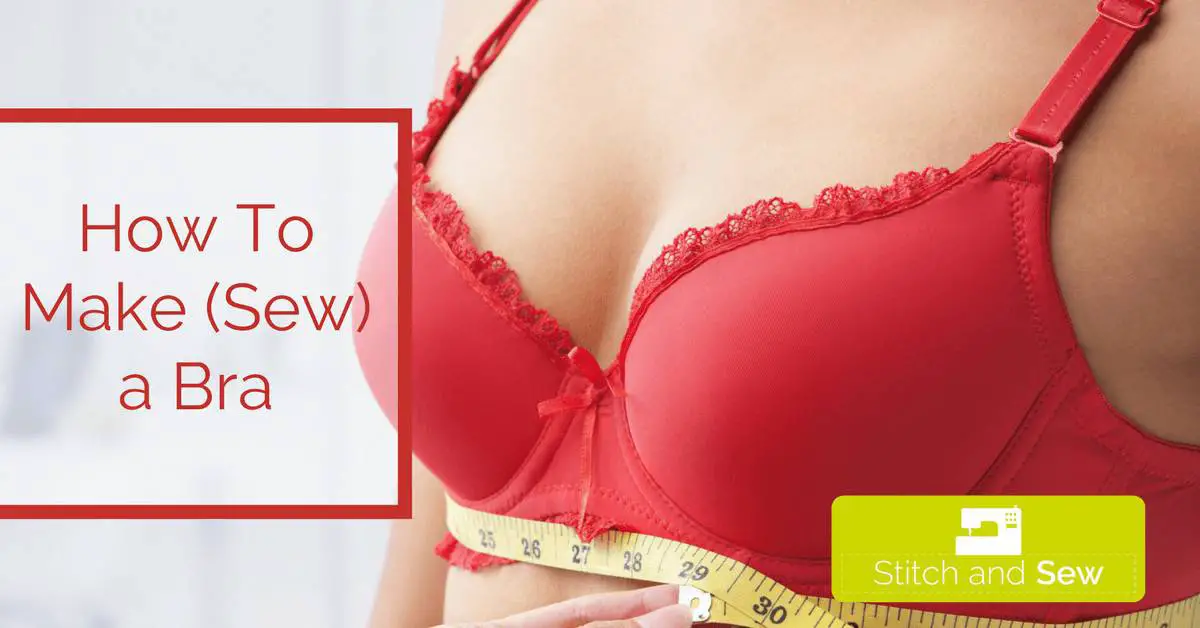
Good Measurements are Crucial

The first and most important step in making a bra that fits is taking your exact measurements. Do this by wearing your best-fitting bra, especially if you are large-breasted. You’ll use these measurements to find your bra band size and your correct cup size.
Stand in front of a full length mirror and measure around your rib cage. Make sure the tape measure is level and is pulled snug around your body. Take this number and add either four or five, whichever one gives you an even number. That will tell you your bra band size.
Next, measure around the fullest part of your bust. Keep the tape level again, but don’t pull the tape snug this time. Subtract your bra band size from this measurement to get your cup size. If the difference is one inch, you’re an A. Two is a B, three is a C, four is a D, five a DD or E, six a DDD or F, and 7 is a FF. Put your bra band size and your cup letter together to discover the base bra size you need to create. This will let you know what size pattern to buy for your project.
Materials
An underwire will give your bra maximum shape and support, holding the cup in place in a fixed diameter. This is a benefit for all women; even those with smaller cup sizes. If you’ve had complaints about underwires in the past, they were probably due to bras that didn’t fit correctly, which can cause the wires to poke or pinch. If you don’t want to include an underwire in your bra, consider a thicker fabric for a bit more support.
When you create your own bra, you have the freedom to use any type of fabric you want, including bright colors, unusual prints, or even Highland tartan, if you like. Your best bet, for this first project, is to choose a stretch fabric like a stretch Lycra/nylon satin with a two-way stretch. The ease from the stretch fabric will make it easier to fit the bra and will make it easier to fudge small errors. When you fit your bra as you sew it, this will be a significant advantage.
Beginning to Sew
Preparation will save you all sorts of frustration, especially if you’ve never attempted to make a bra before.
- Read all the instructions for your pattern first, to make sure there aren’t any steps you don’t understand. If you’re confused about any part of the pattern, avoid frustration by looking for explanations online before starting your project.
- Put a new 70/10 or 60/8 ballpoint or universal needle in your sewing machine. Older needles can sometimes snag the fabric, ruining the look of your finished piece.
- Look inside your machine to make sure it’s free of any lint or stray threads. This will help the machine to work more smoothly.
- Do a test stitch on a swatch of your bra fabric to make sure your machine sews correctly on it. Adjust the tension if need be.
When you begin to lay out the pattern on the fabric, it’s important to pay particular attention to the grain lines. When used with knit or stretchy fabrics, it’s meant to go in the direction of the fabric’s greatest stretch. Depending on your fabric, this could end up meaning your layout is different from the one recommended in the instructions.
The fitting of a bra is so crucial that even 1/8 inch error is enough to throw off the fit of the finished garment. A rotary cutter and mat, along with a set of weights, is the most accurate set of cutting tools you can use.
If you don’t own a sewing machine, check out my guide to help you choose one.
Basic Assembly
Creating a bra is a matter of just a few simple steps, done very carefully. You’ll make the cups and join them to the band. After that, you’ll add elastic, straps, and some type of closure.
Creating the Cups
Place the upper and lower cup pieces, right sides together. Put a pin at each end of the seam, and at the dot or notch. Place the fabric with the lower cup against the throat plate. This will aid in adjusting the material around the curve. Stop every few stitches with the needle through the fabric and move the fabric to reposition the edges. This eliminates the need to put lots of pins in the edges. To finish the seam, either press it to one side or press it open, topstitch the seam, then clip it close.
Add Elastic to the Band
When you finish the band edges with elastic, cut it slightly shorter than the band, then stretch it to fit during the stitching process. The best technique for this is to use a three-step zig zag and sew it down the center of the elastic. Later, when you attach this band to the outside of the cup, continue stitching all around until you reach the center front. This line of stitching will show you where to place the channeling that will hold the underwire.
Underwire Channeling
The best underwire channeling you can buy in stores is made up of several layers and gives you lots of cushioning. You can also make your own channeling with a finished width of 3/8 inch. Try using two layers of cotton flannel cut on the bias.
To add the channeling, lay one bra cup on the table, right side up. Fold the other cup and the bra band out of the way, and lay the channeling along the stitching line you made with the band. Pin along the entire seam, leaving at least 1/2 inch extra on either end. Stitch close to the inner edge, pulling on the channeling as you sew. This will help it to roll toward the inside. Insert the wire, then stitch the ends closed. Be very careful when sewing in the underwires. If your needle hits the wire, you could suffer an eye injury or break your machine.
Closures

Whether you’ve decided on a center closure, like that in a strapless bra or other fashion bras, or a basic closure for the back, the key is to create a smooth finish without lumps or other uncomfortable issues. Tuck all raw edges under and sew them in place, then try on your bra to check for any spots that need to be adjusted.
After Your First Success
Now that you’ve finished your first bra, you’ve opened up an entire world of clothing to create. Use this same technique to make a sports bra, customized bra, and panty sets, or pretty lingerie in a rainbow of colors. You can even change a few small details and create your own custom bikini for the next time you take a vacation at the beach.
You’re no longer stuck with whatever style of bras the stores are currently carrying; your lingerie wardrobe is entirely up to you!