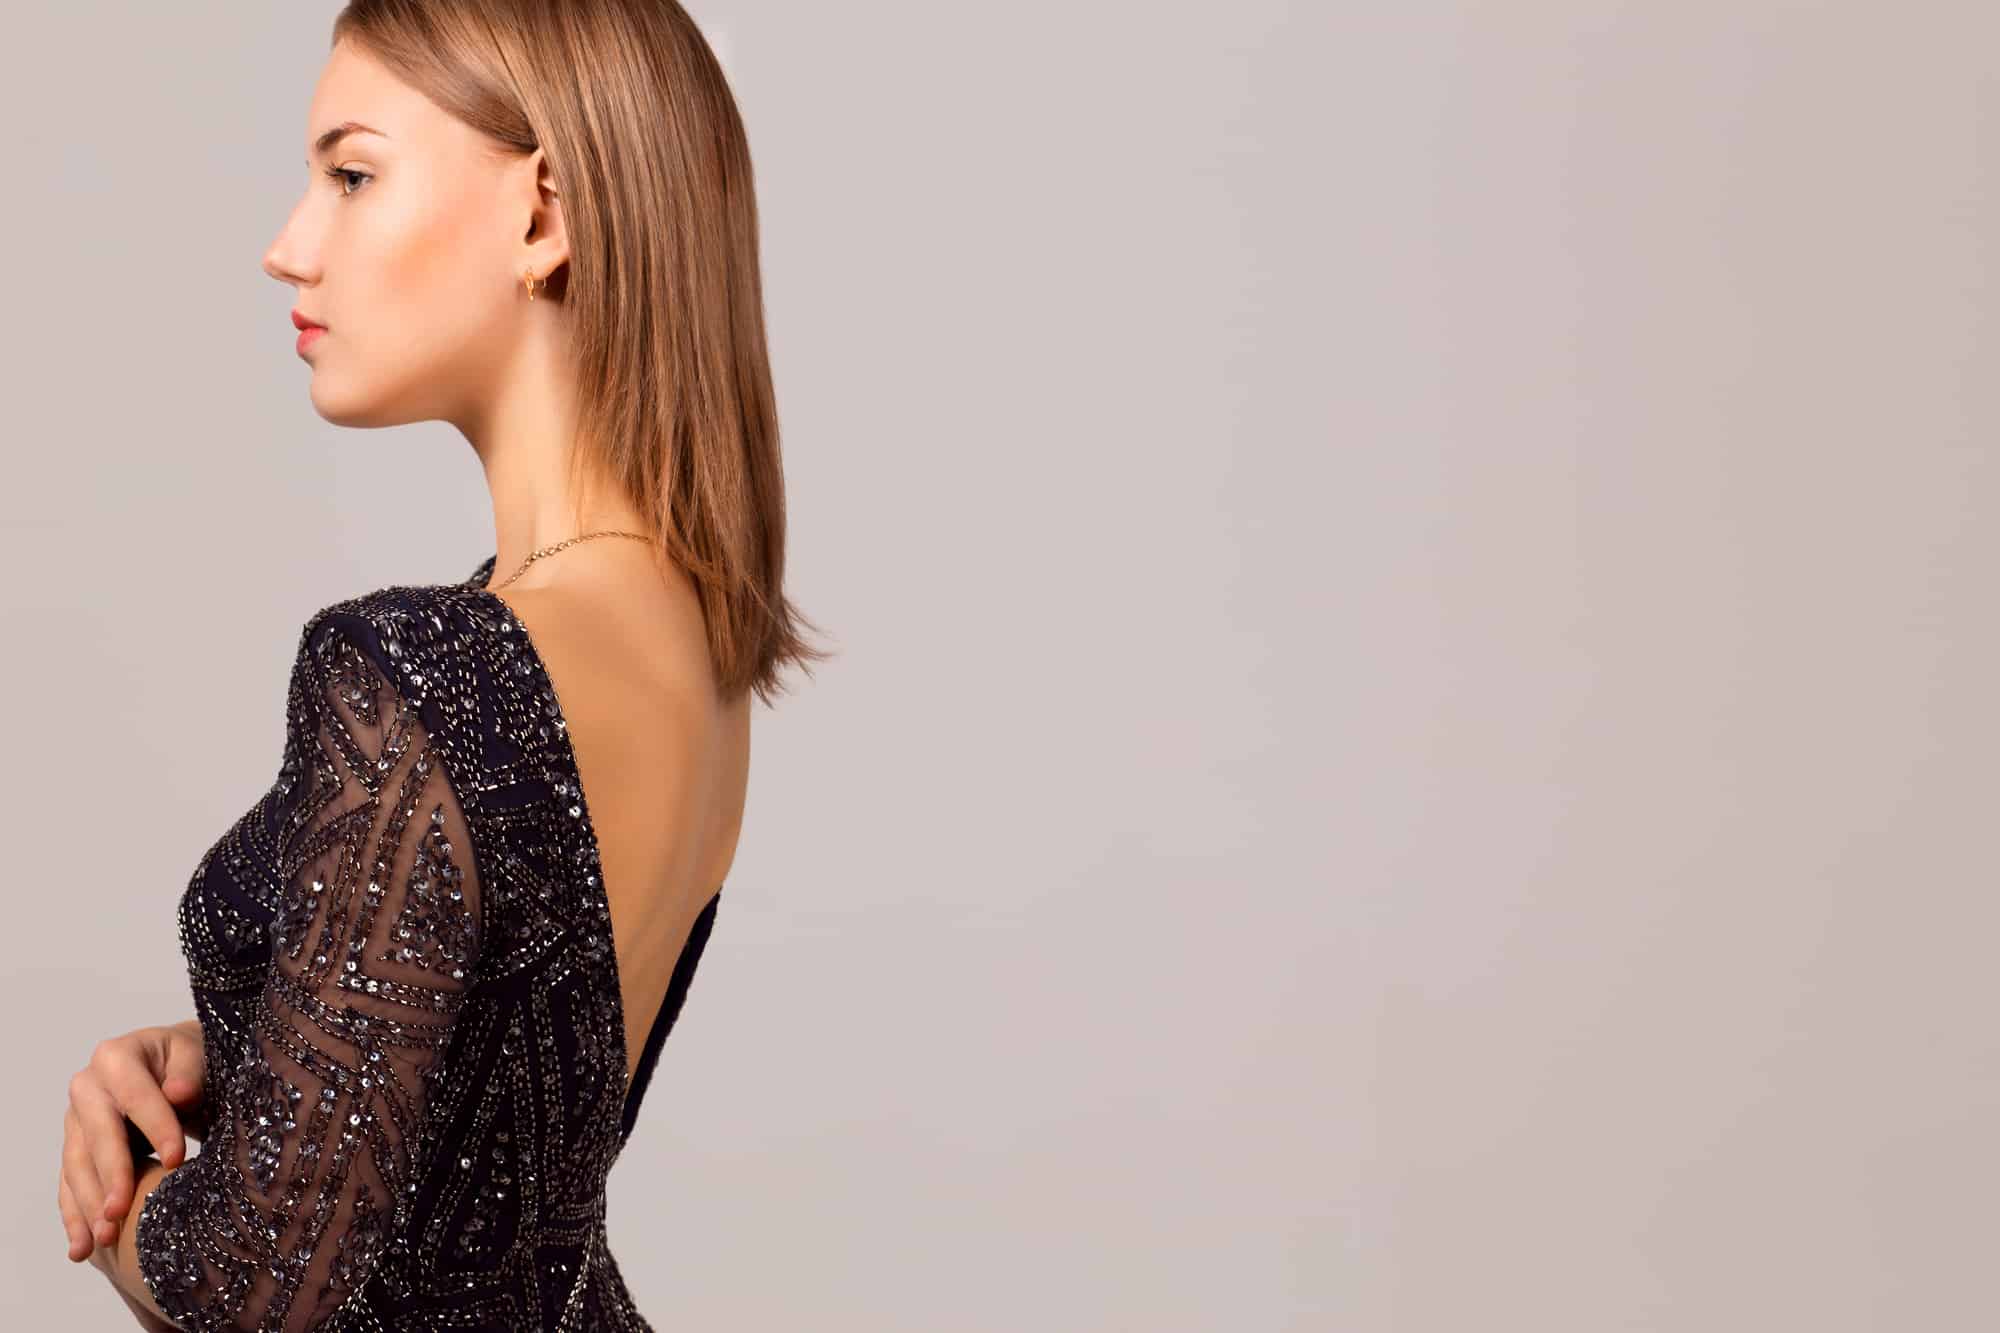
Every year designers come up with a cute range of strappy tops and dresses. Many of these should be worn without a bra, leaving those women who need one without support. With this DIY, that’s about to change.
Today you’ll learn how to sew a bra into a backless dress and prevent unsightly straps from ruining your look. Is it a flawless trick? Not quite, but it will provide extra support and some great cleavage.
Table of Contents
How to Wear a Backless Dress With a Normal Bra
If your dress is backless rather than shoulder-less, getting a bra extender might work for you. These innovative little devices are a piece of elastic with clips. Clip one side onto any bra, and draw the extender around your waist.
Clip-in the other edge, and the elastic pulls the bra’s back section down so that it sits lower. It is a quick and easy method to get the job done.
Adjusting a Bra to Fit a Backless Dress
Tweaking the fit is an alternative that might work well. To do so, cut off the side straps. You’ll now have the cup section intact, with the two shoulder straps hanging loose. Secure these by sewing them into the bottom seam.
This method allows you to keep the shoulder strap’s support but leaves no sign on the back. You’ll slide the straps over your shoulder, settle the girls, and go.
If this method is not a good option, you may instead choose to have the bra sewn into a backless dress. We’ll go through how to do that next.
How to Sew in Bra Cups for Backless Dresses
There are two routes that you might follow here:
- Sew in underwire bra cups: Provides optimal support.
- Use foam support: These are less expensive than cutting up your lingerie but won’t provide cleavage as the underwire does.
Opting for Underwire
Those with larger breasts will appreciate the stability this method provides. You’ll need to cut up a bra, though, so it’s pricier. You may opt to buy a cheaper new bra or use an older model where the straps have started giving in.
The cup size is most important here as you’ll cut most of the rest away. How you proceed depends on your garment.
Before you cut, position the underwire where you think it should be. Pin it in using safety pins so you can try the garment on to assess what to do next.
You may cut out the cups individually and sew them in as separate pieces — this is useful with peephole dresses. Or you may leave them joined at the center and keep the sides to lend extra support.
Make your choice and then cut. Close off any raw edges by folding them over and hemming them, using a matching thread color. Or you can instead zigzag or serge along the newly cut sides so that they do not unravel.
Once again, pin the underwire to the dress or top and check the fit. You must secure the cups in at least four areas. If you’re keeping the side straps, pin those down too.
Using a thread that matches your outfit’s color, sew the underwear in. Use small, strategically placed stitches where they’re least noticeable. If possible, attach them to the lining or the inside seams to hide them.
Using Foam Cups
This technique works best with garments that fit you snugly. Halter-necks or tie-back tops are ideal because you can adjust the fit while you’re wearing them.
Check your local clothing store or online to find foam cups. Take the garment with you when you shop so that you can better match the color.
From there, the steps are similar to the ones listed above. You’ll start by trying the outfit on and deciding where to place the inserts. Pin them in place using safety pins to confirm the fit.
You may need to trim the pads a little, so they don’t peek out. This usually won’t affect how well they work, but the foam might show through a piece of sheer fabric.
When you’re happy with their placement, sew them into position. You’ll want to catch the foam pads at both the top and bottom, at least. Keep the stitches small so they’re not visible on the outside.
Washing the New Garment
How you wash the new outfit will depend on which method you used to install the support. You’ll have to consider the care instructions for the underwire and the dress.
Foam cups usually are wash and wear. Check the manufacturer’s instructions about placing them in the drier. The heat may cause the foam to degrade faster than it otherwise would.
You’ll most likely have to wash the garment by hand. Doing so helps the wire keep its shape and prevents it from poking out. The easiest method is to soak the dress in warm water with laundry detergent.
Agitate the water and allow the garment to soak for a few hours. Rinse thoroughly and then hang it out to dry.
Final Notes
Worries about underwire straps ruining your look are well-founded. We’ve given you a few ways to prevent that from happening. Whichever method you choose, you’ll find it provides an additional layer of comfort. From there, it’s up to you to take full advantage of the newest dresses and strappy tops that summer brings.


