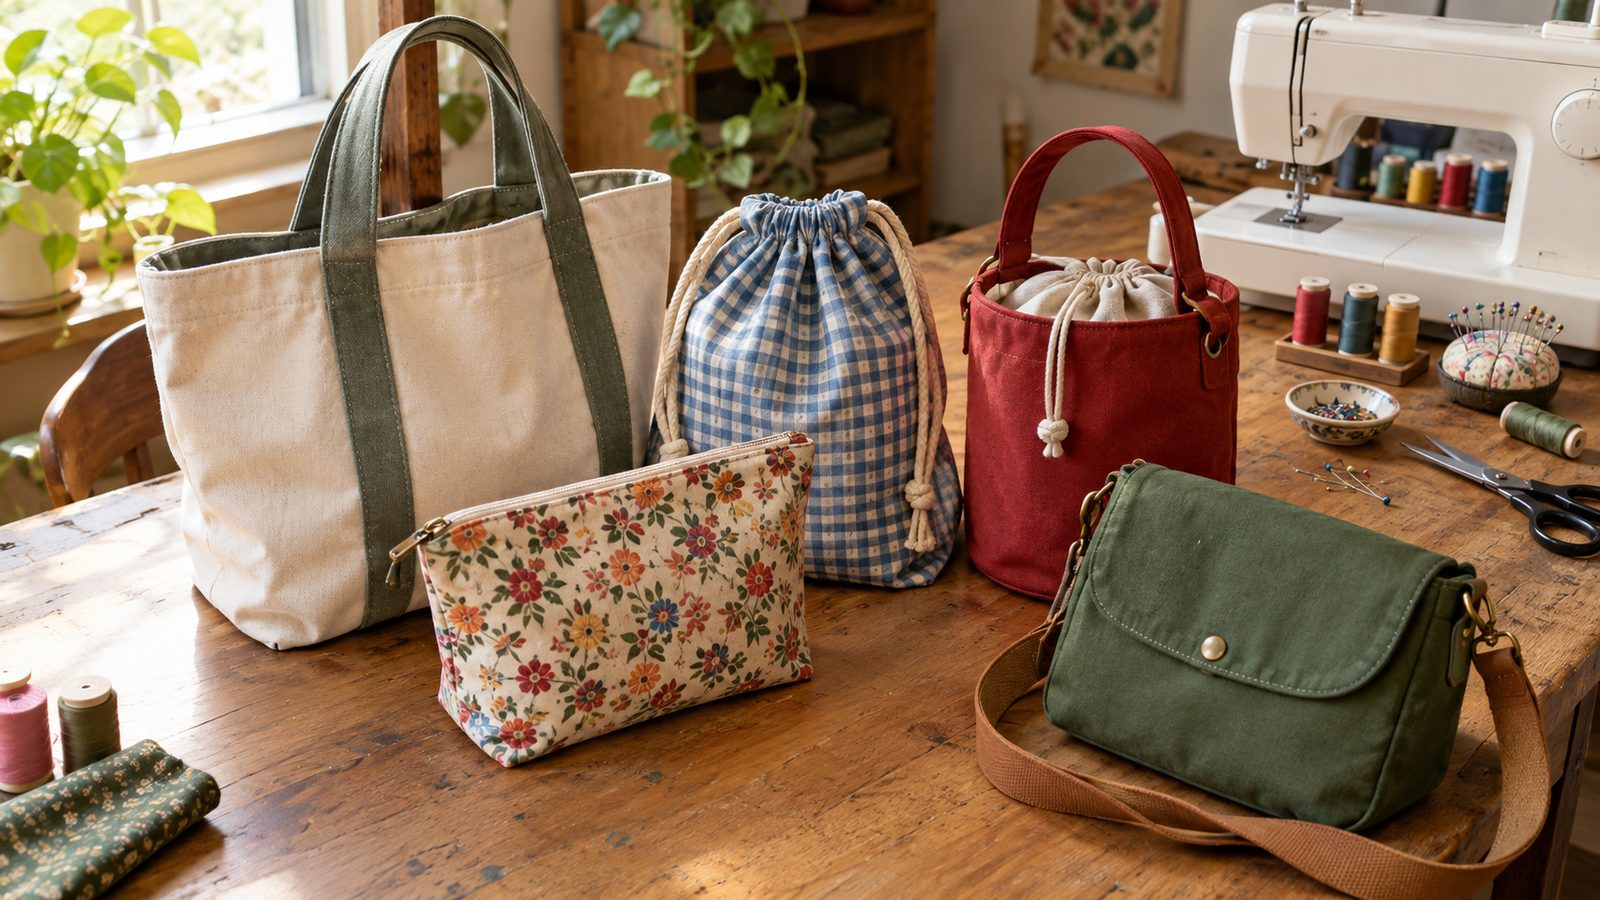
Bags are the sweet spot of beginner sewing. The seams are mostly straight, fit doesn’t matter, and a slightly wonky stitch line disappears once the bag is full of groceries or yarn. Better still, every bag teaches a skill you’ll use again: casings, zippers, boxed corners, straps, and linings.
The list below runs roughly from easiest to most involved. The first few take under an hour; the last few are weekend projects for a confident beginner. Each one includes cutting sizes, fabric suggestions, and the one trick that makes it work.
1. Drawstring Bag
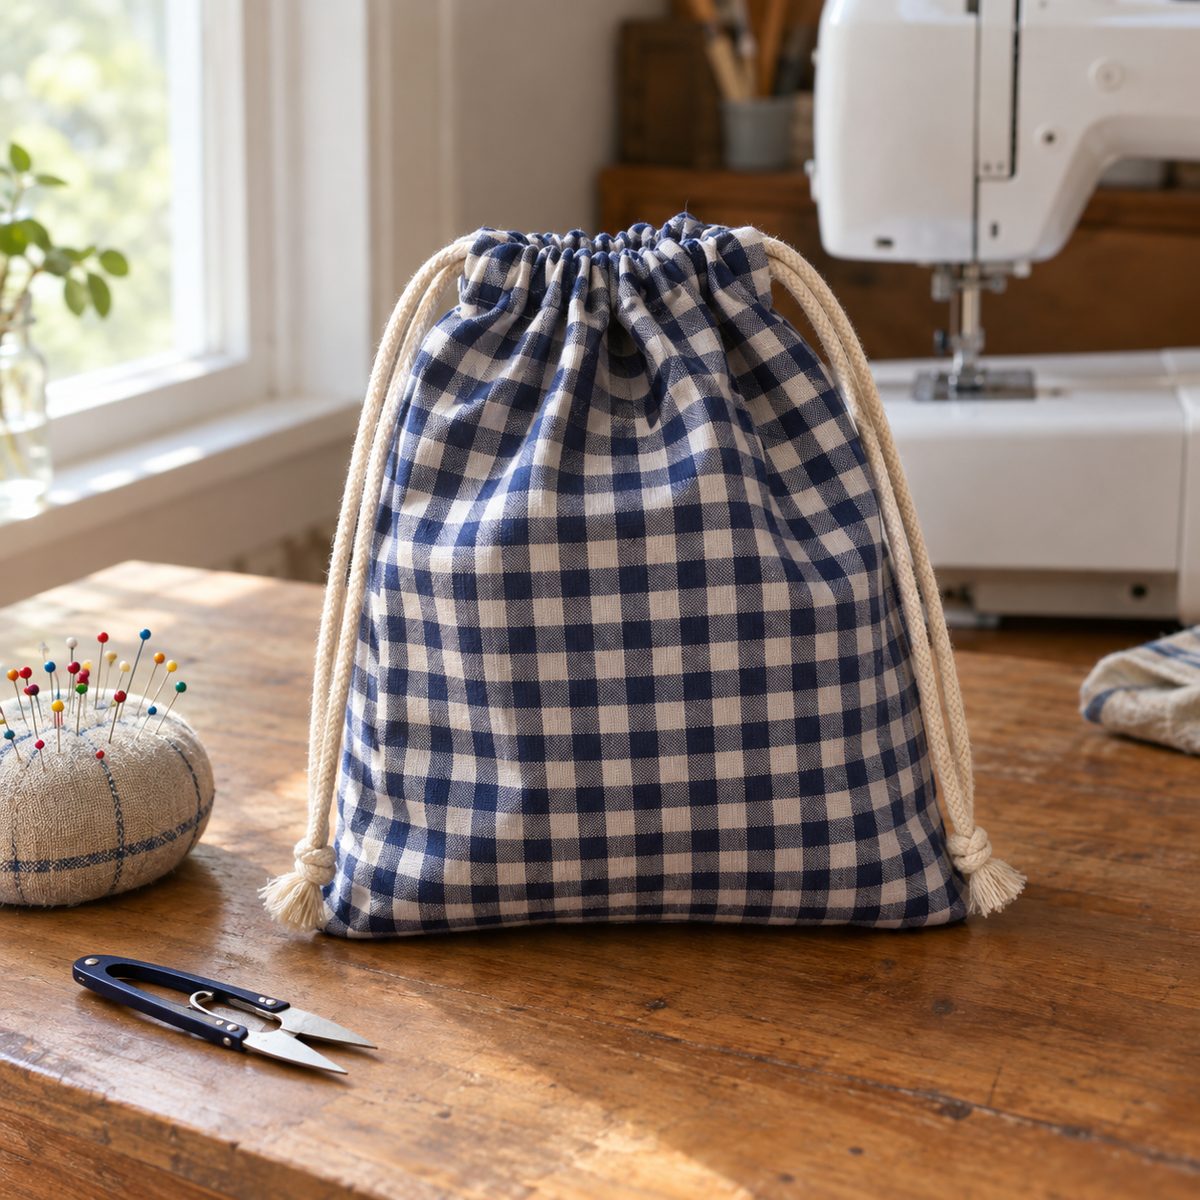
If you’ve never sewn a bag, start here. A drawstring bag is two rectangles, two side seams, and a casing, and it’s useful for everything from shoes to toys to gift wrap you can reuse.
Cut two pieces of quilting cotton or light canvas 12 x 15 inches. Sew the sides and bottom with a 1/2-inch seam, but stop 2 inches below the top edge on both sides. Press those unsewn seam allowances open and topstitch them down so the openings look neat. Fold the top edge down 1/4 inch, then 1 1/4 inches, and stitch close to the fold to form the casing.
My favorite trick: thread two cords, one entering from each side opening and exiting the same side. Pull both and the bag closes evenly, like a sack. Plan on about 30 minutes.
2. Wine Bottle Gift Bag
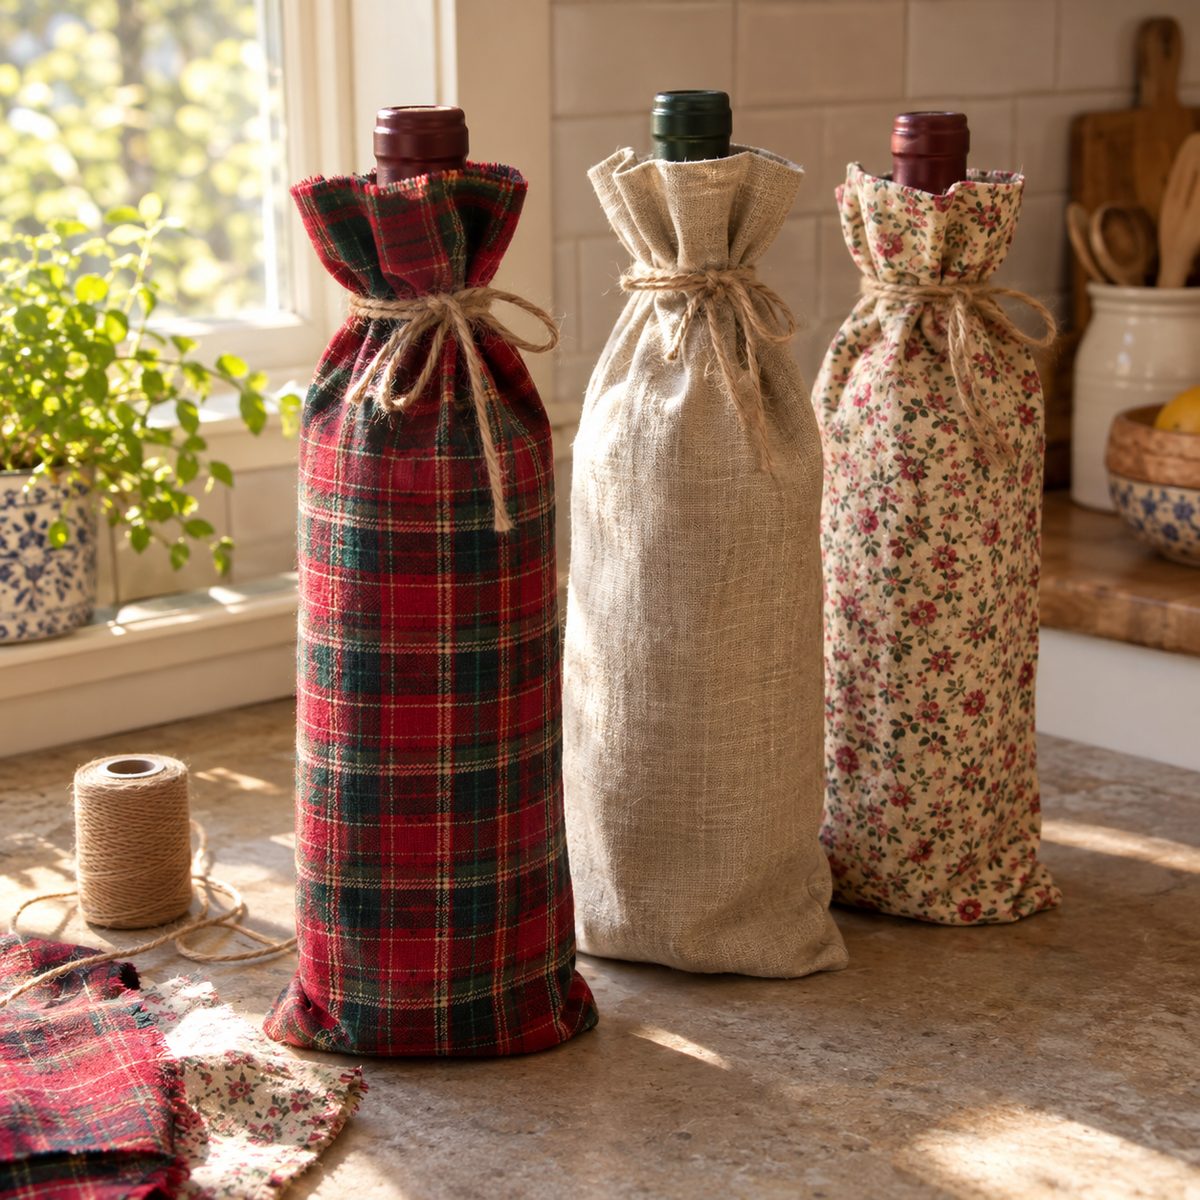
A fabric bottle bag turns a hostess gift into something people actually keep. It’s also a fast way to use up a fat quarter or a long scrap.
Cut one rectangle 7 x 28 inches and fold it in half so it’s 7 x 14 inches, right sides together. Sew both long sides with a 1/2-inch seam. To give it a flat bottom, box the corners: pinch each bottom corner into a triangle with the seam centered, measure 1 inch in from the point, and stitch straight across. Hem the top by folding under 1/2 inch twice and stitching.
- Fabric: quilting cotton, linen, or a holiday print
- Closure: ribbon, twine, or a sewn-on tie
- Time: about 20 minutes
Make five at once in assembly-line fashion and you’re set for the holiday season.
3. Zipper Pouch
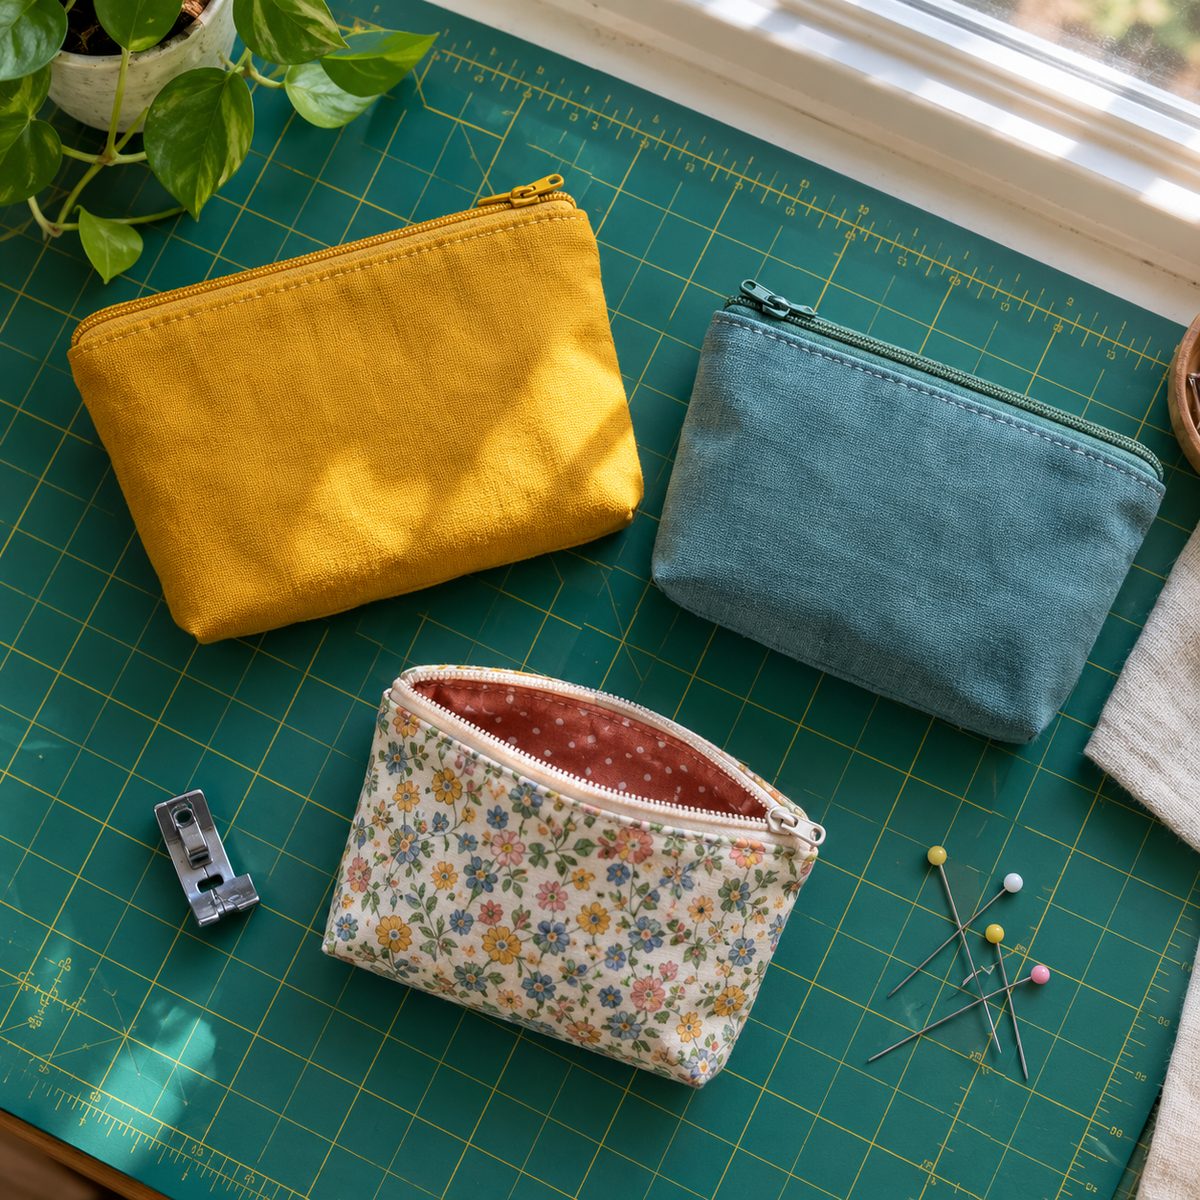
The zipper pouch is the project that gets most beginners over their fear of zippers. Once you’ve made one, you’ll make twenty.
You need a 9-inch zipper, two outer pieces and two lining pieces cut 10 x 6 inches, and lightweight fusible interfacing for the outer pieces so the pouch holds its shape. Build a zipper sandwich: outer fabric right side up, zipper face down along the top edge, lining face down on top. Sew with a zipper foot, then repeat on the other side of the zipper.
Here’s the step everyone forgets: open the zipper halfway before sewing the rest. Then match outer to outer and lining to lining, sew all the way around, leaving a 3-inch gap in the lining bottom, and turn it right side out through the gap. Stitch the gap closed, press, and topstitch along the zipper. Budget about 45 minutes. For exact cut sizes and every step with photos, follow the lined zipper pouch tutorial.
4. Boxed Makeup Bag
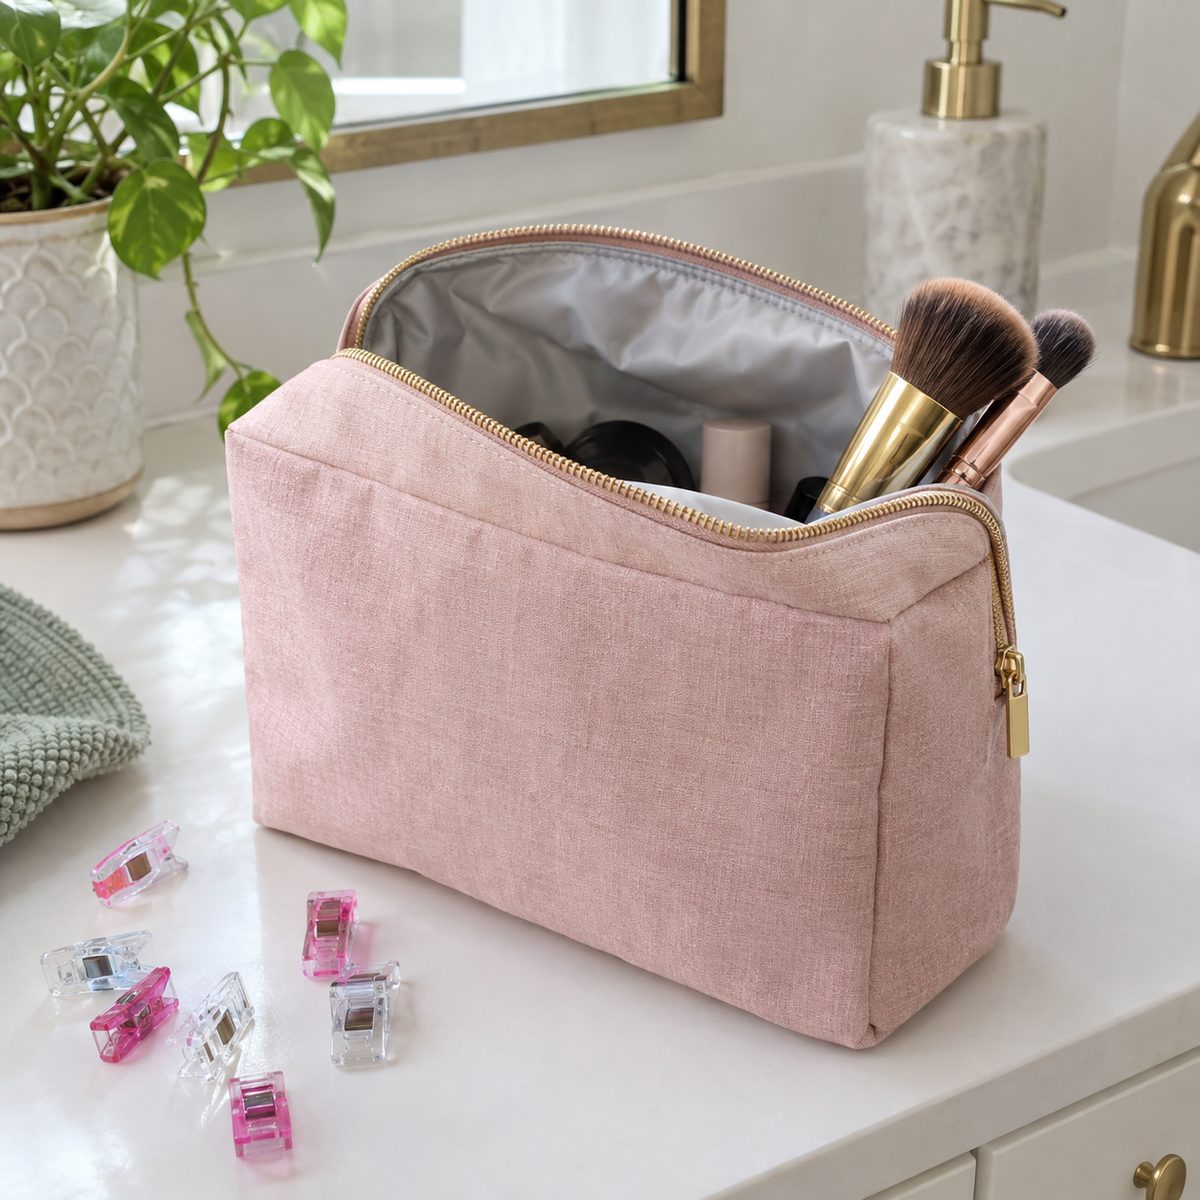
A makeup bag is simply a zipper pouch with boxed corners, and that small change gives it a flat base that stands up on a bathroom counter.
Cut outer and lining pieces 11 x 8 inches and use a 12-inch zipper. Assemble the zipper sandwich exactly as for a flat pouch. After sewing around the edges, box all four bottom corners (outer and lining) by pinching each corner flat and stitching across 1 1/2 inches from the point. That creates a bag roughly 3 inches deep.
For the lining, laminated cotton or oilcloth wipes clean when foundation spills. Laminates hold pin holes forever, so use sewing clips instead of pins, and sew with a longer stitch (3.0 mm). If the presser foot sticks to the coated side, lay a strip of tissue paper on top and tear it away afterward.
Time: about an hour, including the corners.
5. Wristlet
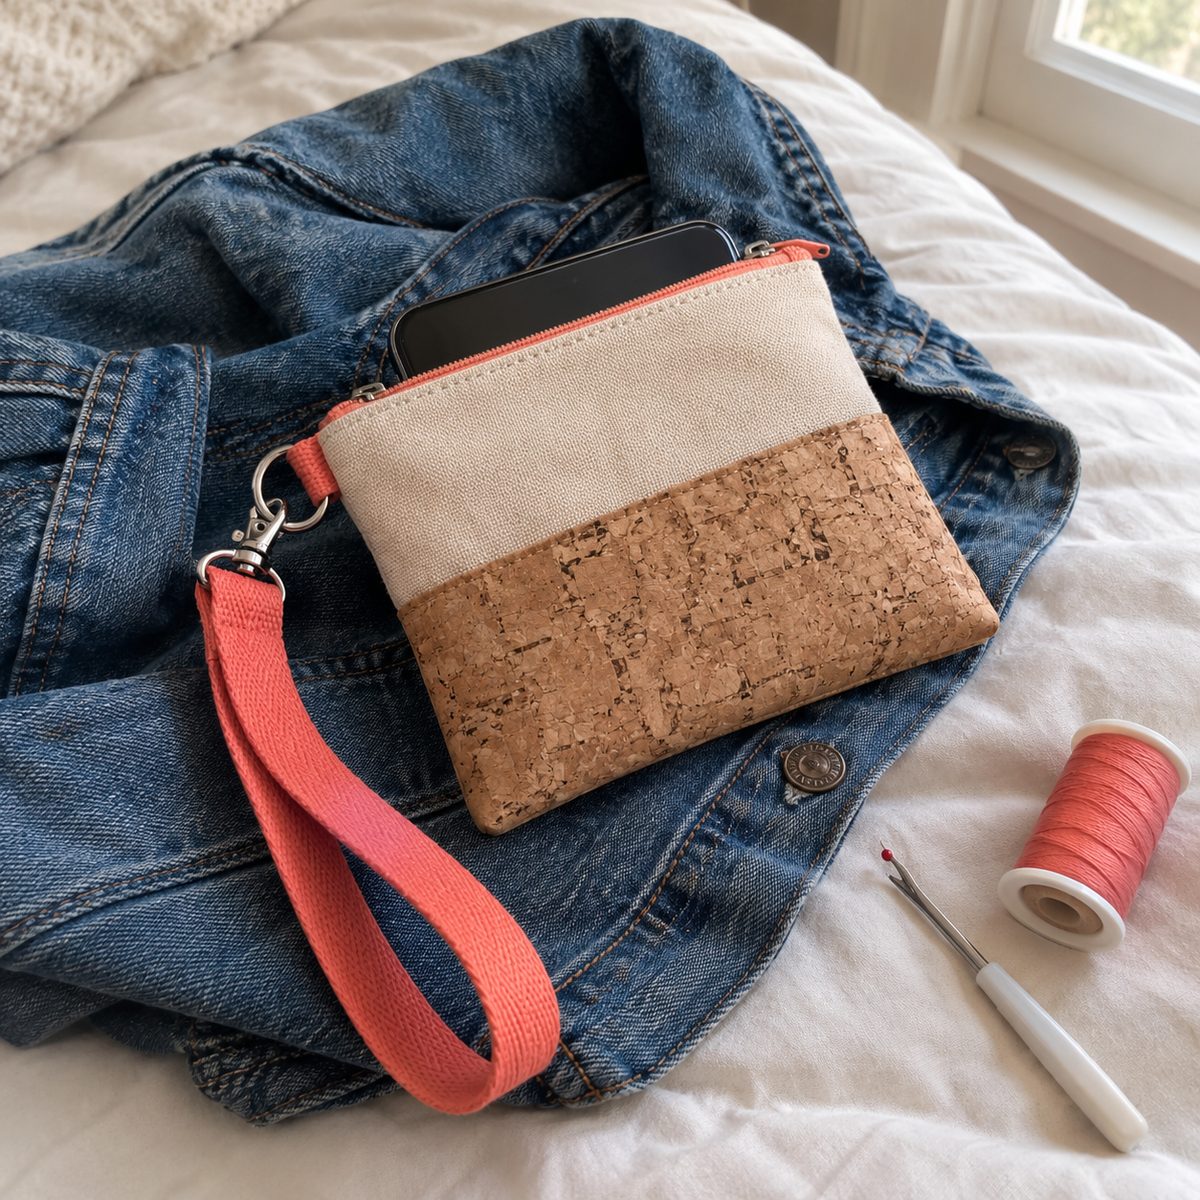
A wristlet is a small zippered pouch with a strap loop, big enough for a phone, cards, and keys. It’s perfect for errands or a night out when a full purse is too much.
Make a flat zipper pouch about 8 x 5 inches finished (cut pieces 9 x 6 inches). Before you sew the side seams, add a tab: fold a 2 x 3-inch strip into a 1/2-inch-wide strip, slip a D-ring onto it, fold it in half, and baste it to one side of the outer fabric just below the zipper, with the ring pointing in.
For the strap, cut a strip 2 x 13 inches, fold it into quarters lengthwise, and topstitch both edges. Attach a swivel clasp to both ends so the strap clips onto the D-ring and comes off when you want a clutch instead. Medium-weight canvas or cork fabric works nicely. Allow about an hour.
6. Classic Lined Tote
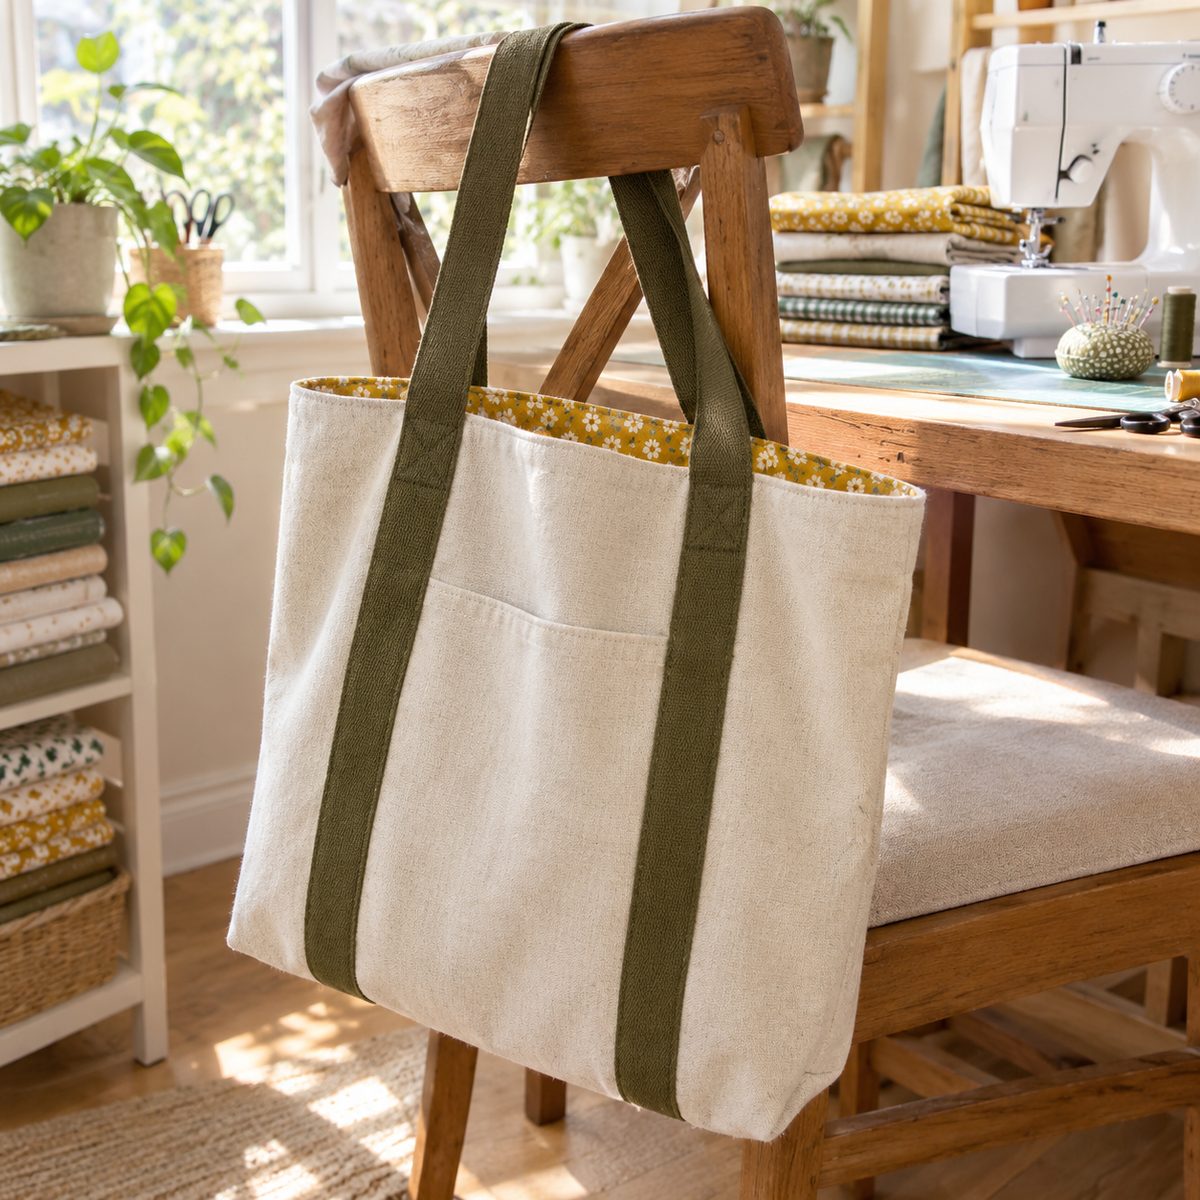
Every sewist needs a good tote pattern in their back pocket, and a lined tote with boxed corners is the one to learn. It looks store-bought, hides every raw edge, and holds its shape when you set it down.
The basic recipe is two outer panels in canvas or home-decor weight cotton, two lining panels in quilting cotton, and two straps. The outer and lining bags are sewn separately, boxed at the corners, then joined at the top with the straps sandwiched between. A gap left in the lining lets you turn it all right side out, and a line of topstitching around the opening keeps the lining from rolling up.
We have a full step-by-step lined tote bag with boxed corners tutorial with exact cutting measurements, so start there if this is your first one. Most people finish it in an afternoon.
7. Reversible Tote
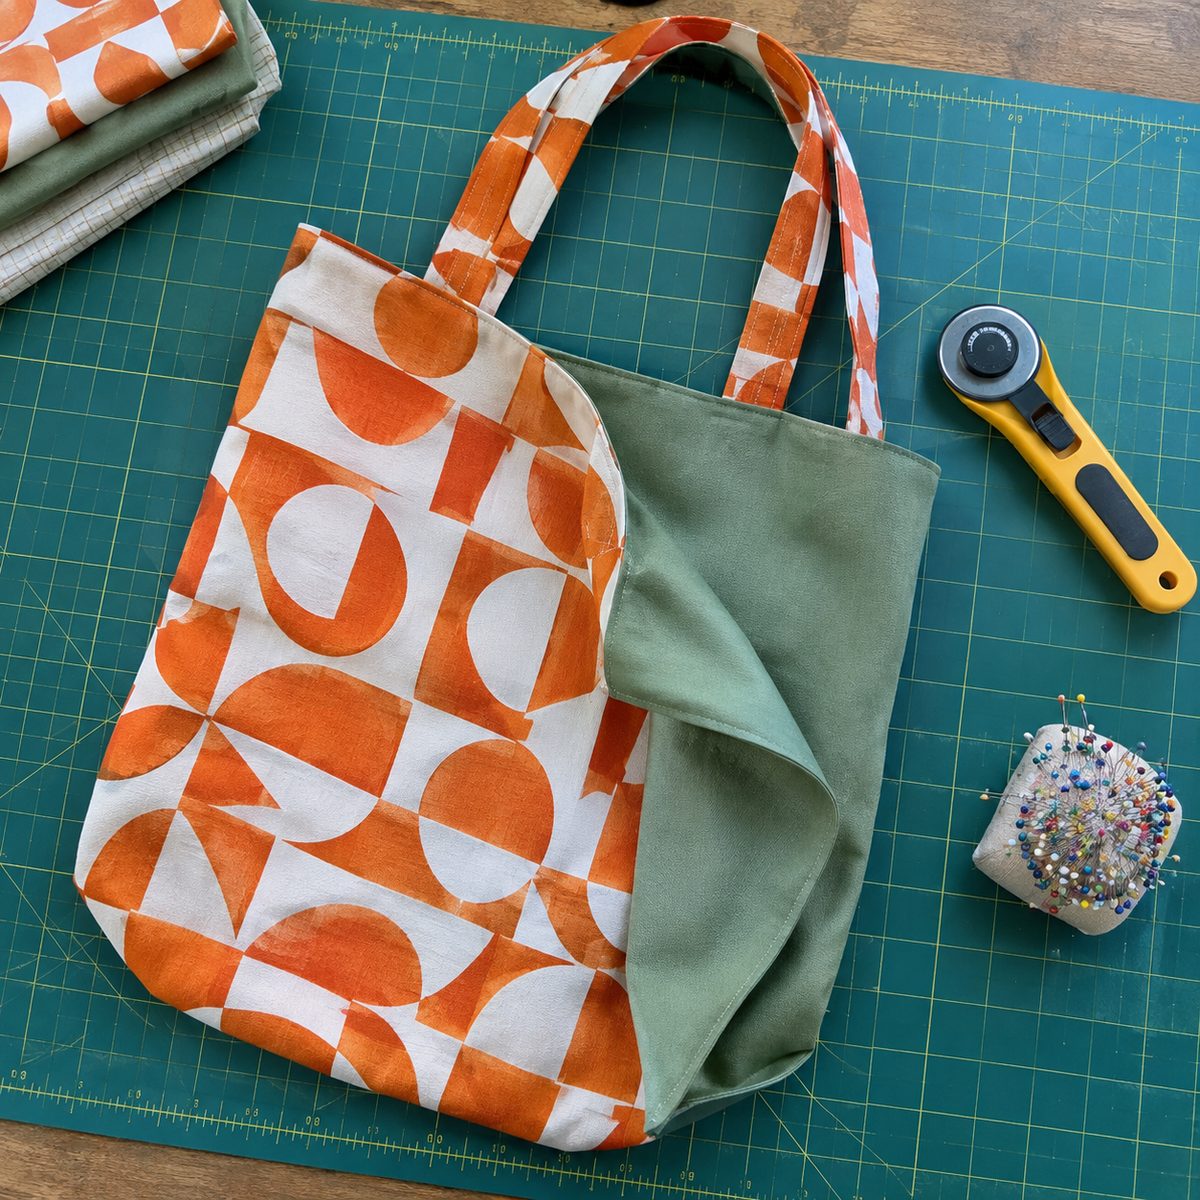
A reversible tote is two finished bags in one, and it’s easier than it sounds. If you’ve made a lined tote, you already know how to do it; the only difference is that both fabrics are meant to be seen.
Choose two coordinating fabrics of similar weight, like a bold print and a solid. Cut two panels of each at 15 x 16 inches and fuse medium-weight interfacing to one set so the bag has some body. Sew each set into a bag and box the corners at 2 inches. Turn one bag right side out and slip it inside the other so the right sides face each other.
Pin 1 1/2-inch finished straps between the layers, sew around the top leaving a 4-inch gap, and turn the bag through the gap. Topstitch around the top edge to close the gap and lock everything in place. Figure about two hours.
8. Market Tote
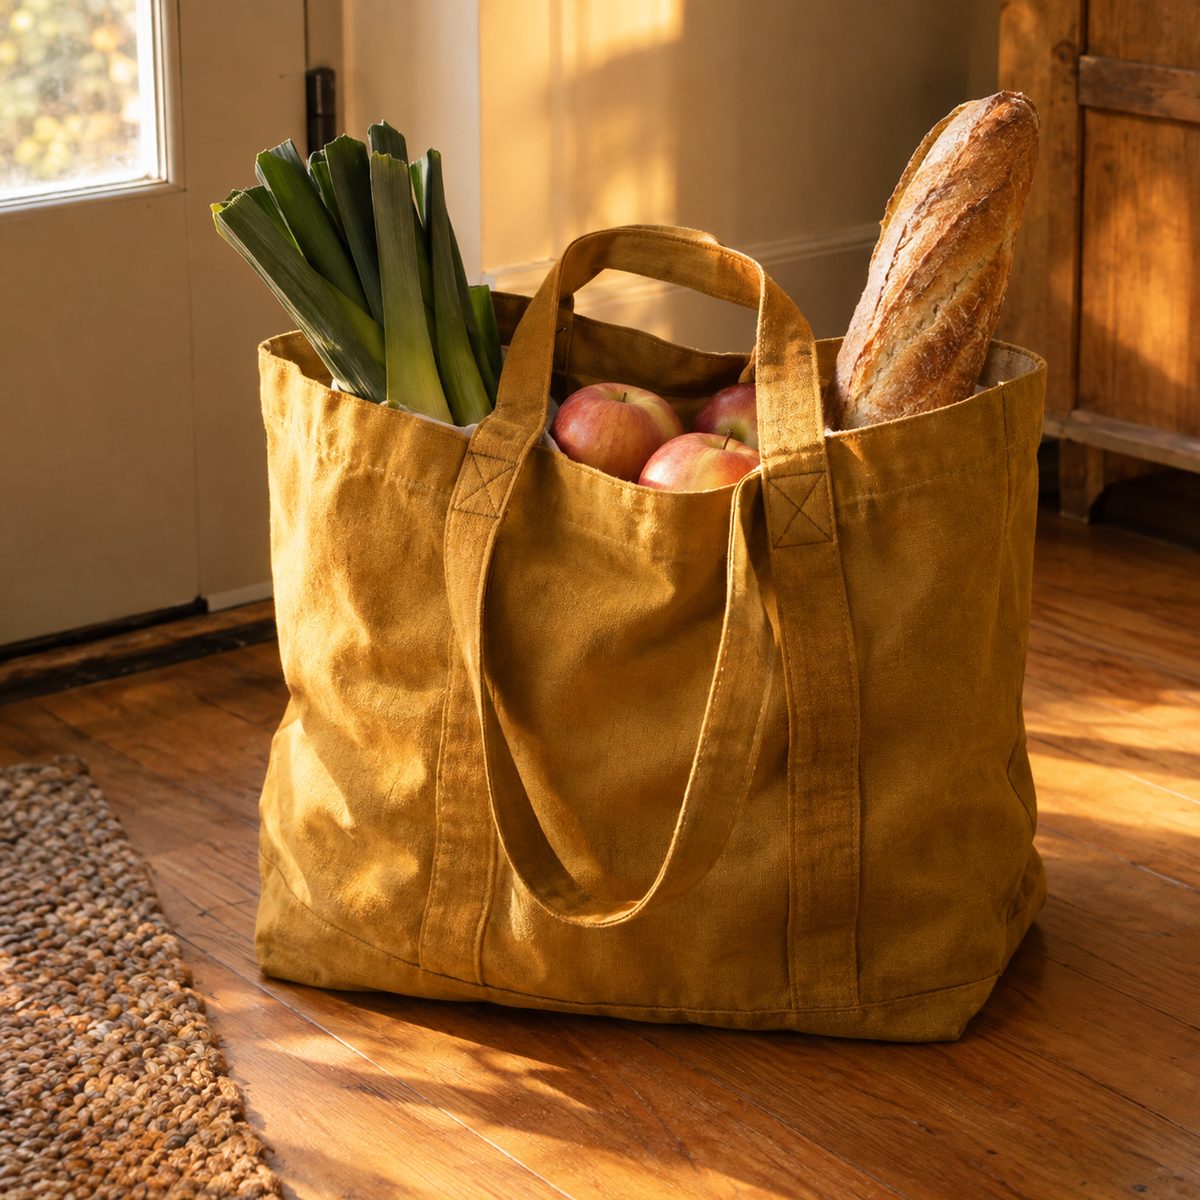
A market tote is the workhorse bag: wide, sturdy, and built for melons and milk jugs. The secret is a big boxed bottom and strong strap attachments.
Use 10 oz cotton duck or canvas. Cut two panels 18 x 16 inches and box the corners at 3 1/2 inches, which gives you a base about 7 inches deep. Canvas is stiff enough that this bag can go unlined; finish the inside seams with a zigzag or serger, or use French seams. If your fabric feels floppy, see these ideas on how to make fabric stiff for a bag.
- Straps: 26 inches long so they fit over a shoulder
- Reinforcement: a stitched box with an X through it at each strap end
- Needle: denim 100/16
Plan on about 90 minutes. Make two and keep them in the car.
9. Fold-Up Grocery Bag
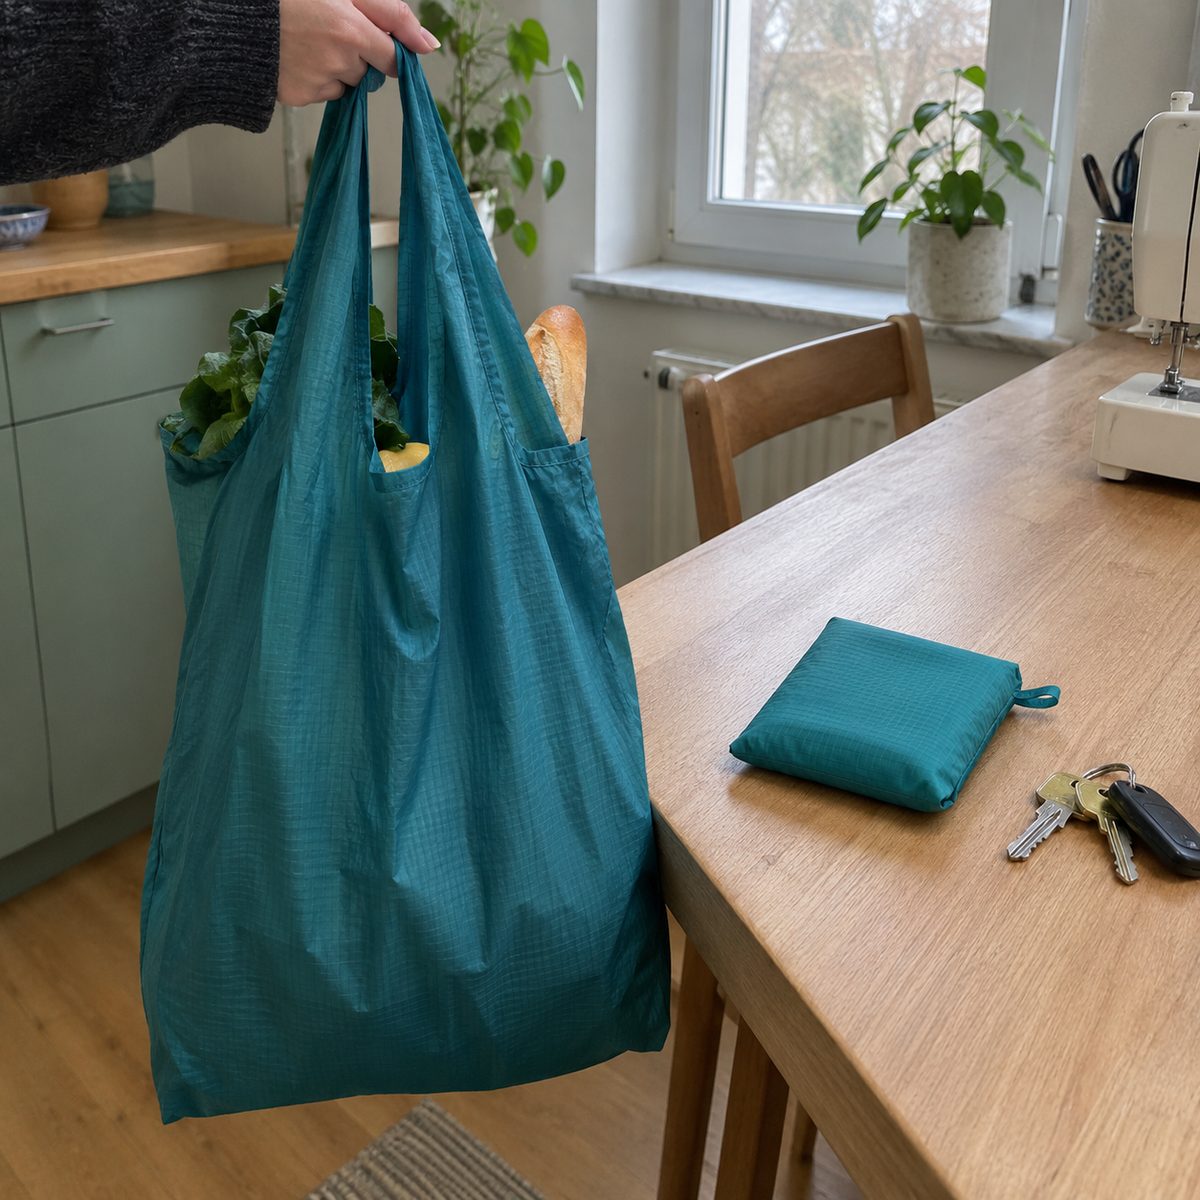
This is the bag that lives in your purse and saves you from buying another plastic sack. It folds into its own little pocket and weighs almost nothing.
Trace a plastic T-shirt-style grocery bag you already own, adding 1/2 inch all around for seams. Lightweight ripstop nylon is ideal; thin cotton or lawn works too. Sew the bottom and sides with French seams so nothing frays, then hem the handles and the opening with a narrow double-fold hem.
The clever part is the pocket: sew a 5 x 5-inch square patch pocket on the outside near the top, stitched down on three sides. When you’re done shopping, stuff the whole bag into that pocket and it turns inside out into a tidy pouch.
For nylon, use a fine 70/10 microtex needle and a slightly longer stitch to prevent puckering. About 45 minutes.
10. Knitting Project Bag
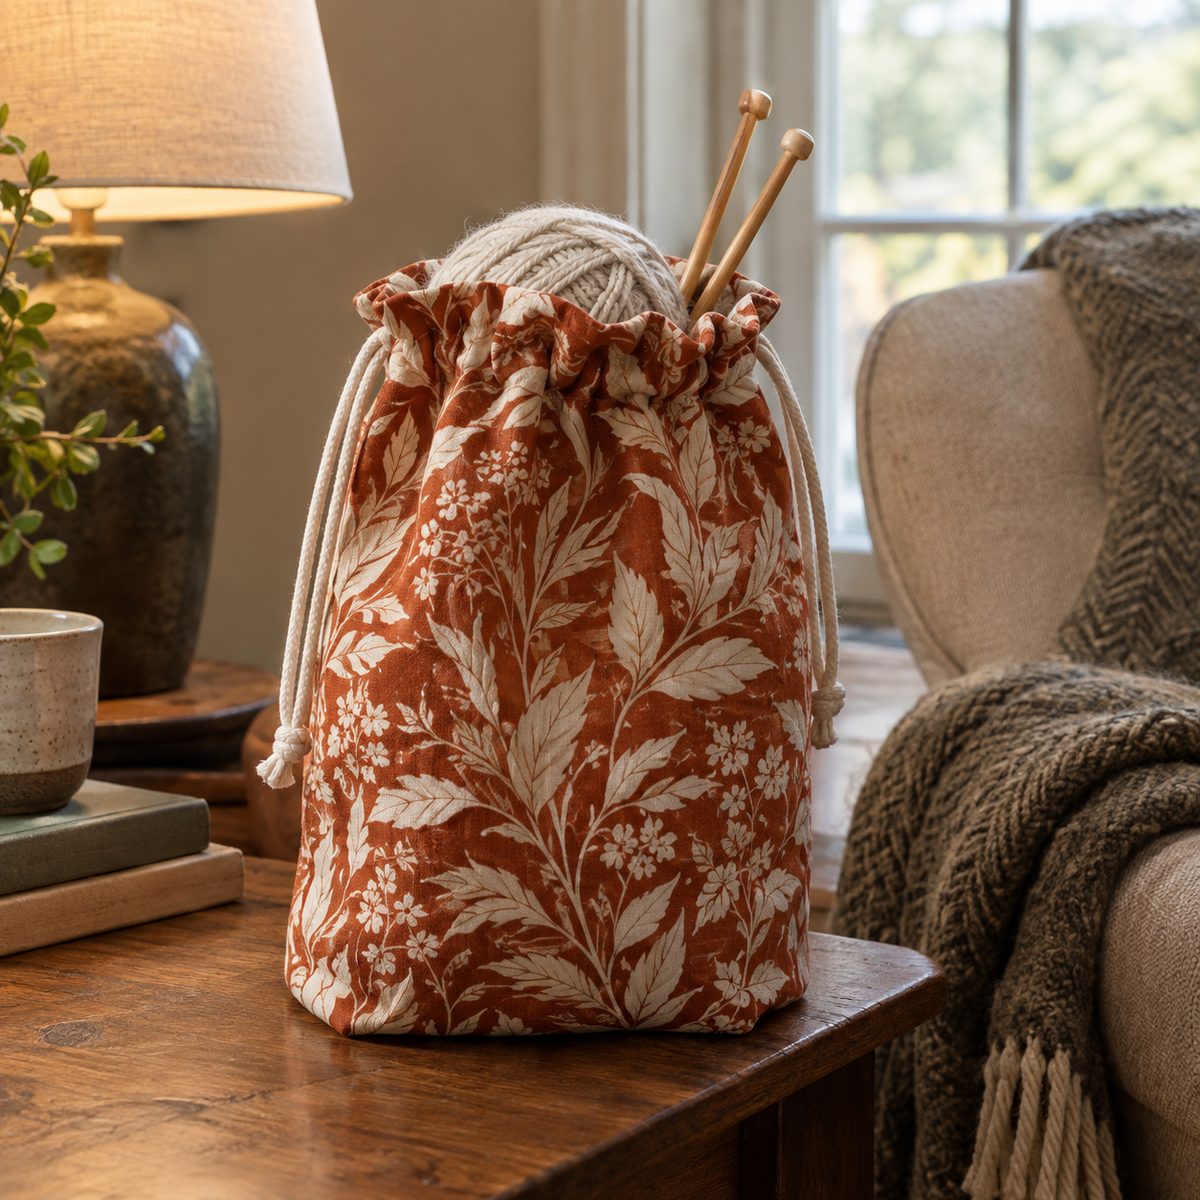
Knitters and crocheters go through project bags fast, which makes this a great gift. It’s a lined drawstring bag with a flat bottom so it stands up beside your chair.
Cut outer and lining pieces 12 x 14 inches, two of each. Sew each set into a bag and box the corners at 2 inches for a 4-inch base. Place the lining inside the outer bag, fold the top edges in toward each other, and stitch a casing about 1 1/4 inches down. Leave small openings at the side seams for two drawstrings.
- Lining: smooth cotton, never anything fuzzy that catches yarn
- Add-on: a small inside patch pocket for stitch markers and a tape measure
- Avoid: hook-and-loop tape, which snags yarn
Some makers add a sewn yarn loop or a grommet at the top so yarn feeds out while the bag stays closed. Expect about 90 minutes.
11. Insulated Lunch Bag
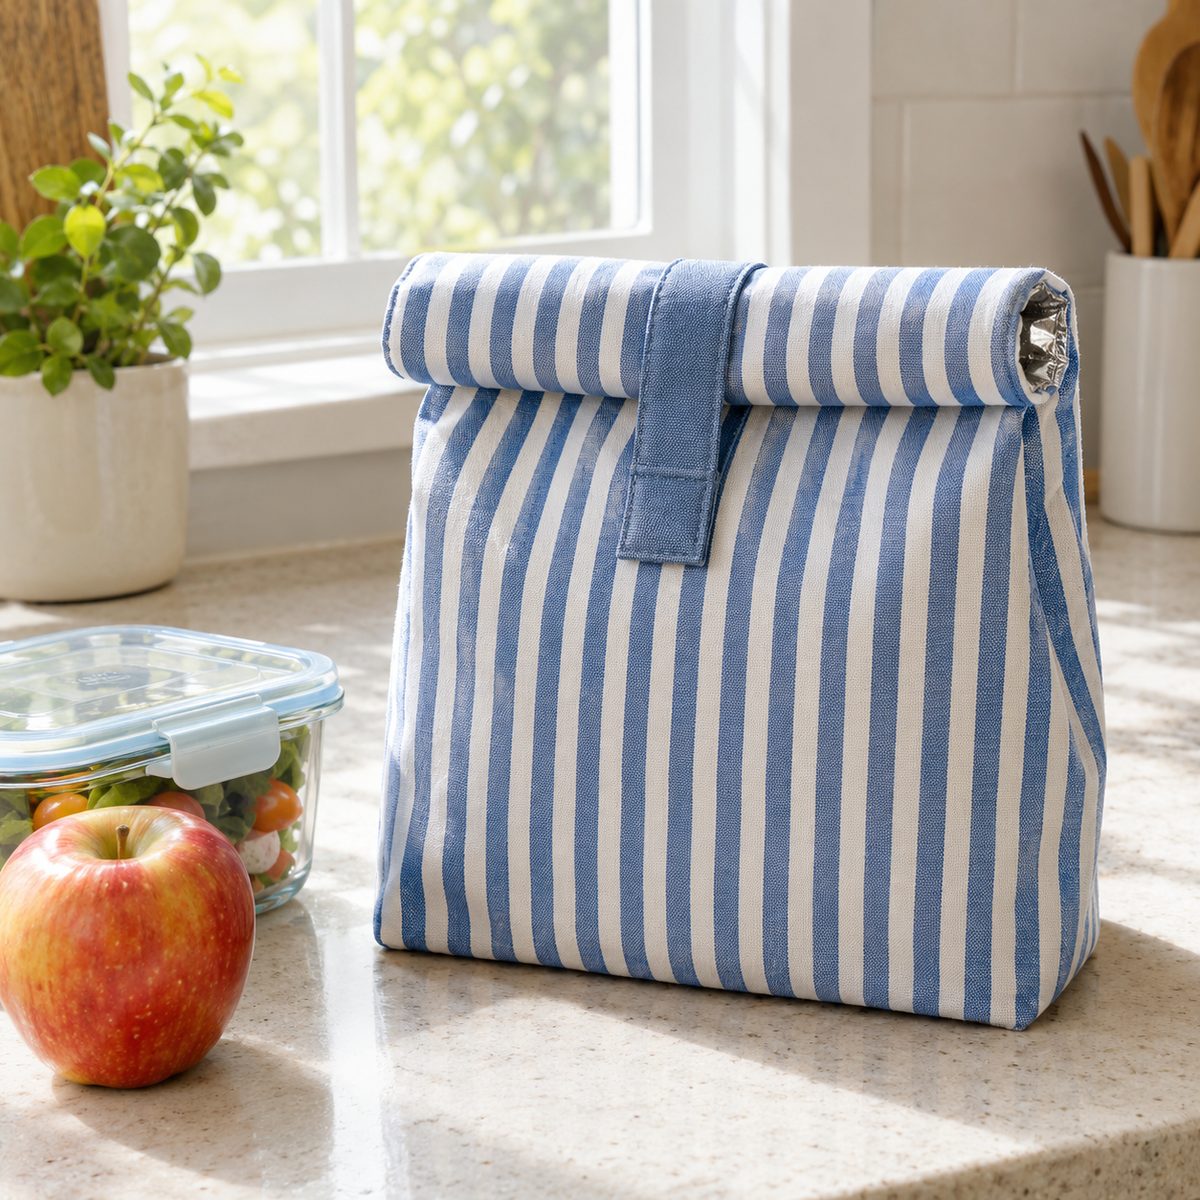
A handmade lunch bag keeps food cool and saves money on the flimsy store versions that crack at the seams. The shape is a simple paper-bag style with a roll-top closure.
Cut outer fabric, a layer of heat-reflective insulated batting, and a wipeable lining, each 11 x 15 inches, two of each. Baste the batting to the wrong side of the outer pieces. Sew the outer bag and the lining bag separately, boxing the corners at 3 inches. Drop the lining inside, fold the top raw edges in, and topstitch around the opening.
For the closure, sew a 2 x 6-inch fabric tab to the back and add a snap or a strip of hook-and-loop tape so the top rolls down two or three times and stays shut. Laminated cotton or ripstop nylon makes a lining that wipes clean. Allow about two hours.
12. Bucket Bag
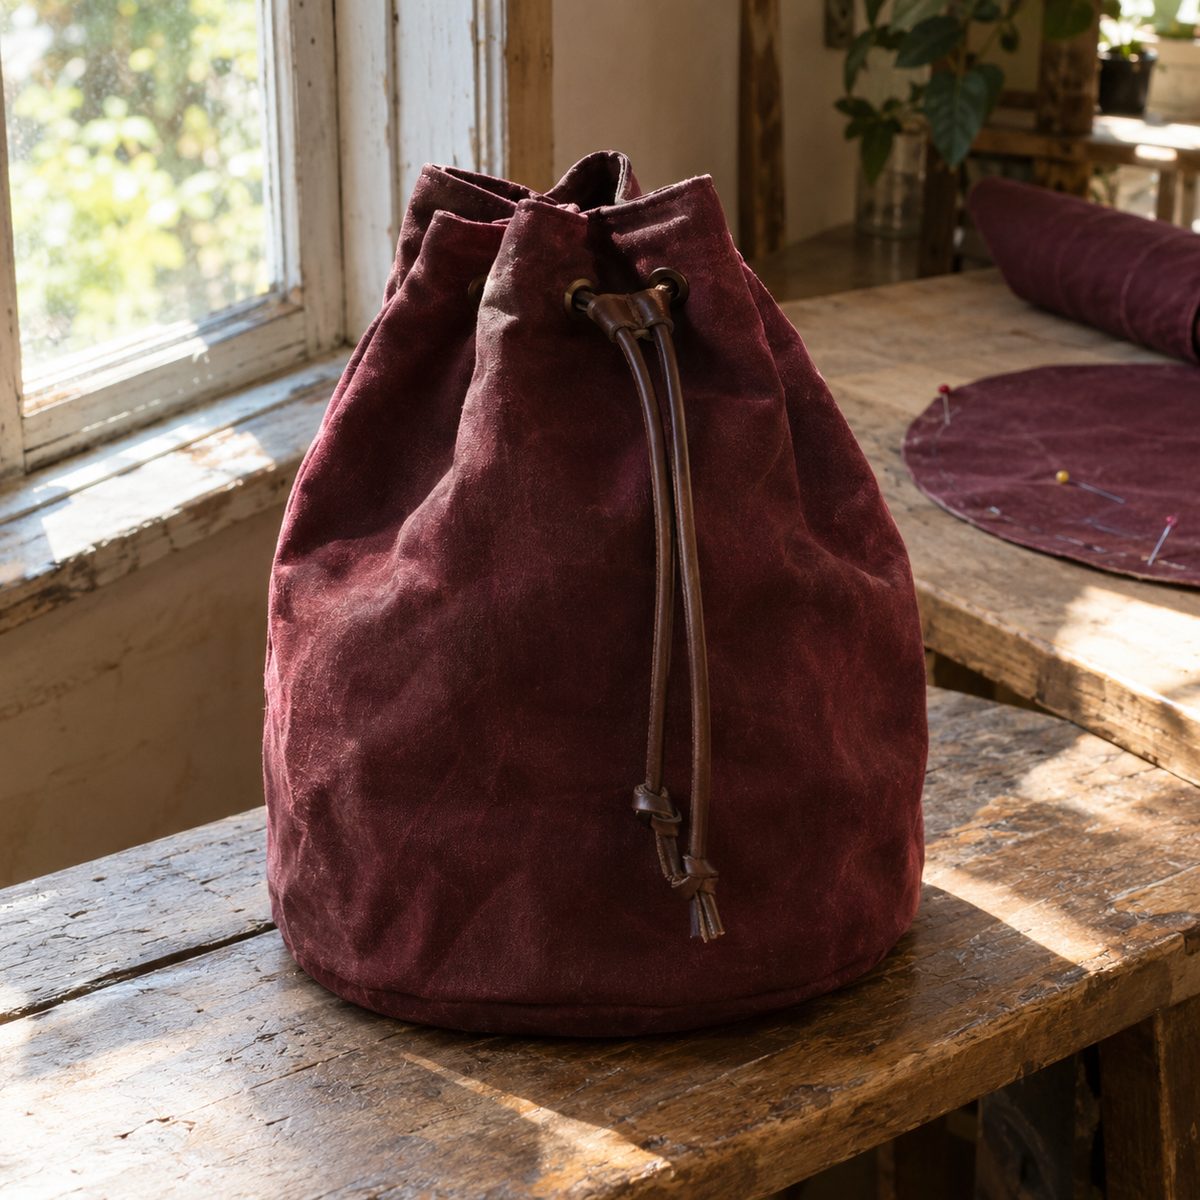
A bucket bag has a round base and a soft, slouchy body that cinches at the top. It’s a stylish step up because it teaches you to sew a curve to a straight edge.
For an 8-inch base, cut two circles 9 inches in diameter (one outer, one lining). The body rectangle is the circle’s circumference plus seam allowance: about 26 x 13 inches. Fuse fusible fleece or foam stabilizer to the outer pieces so the bag holds its bucket shape.
Sew each body into a tube. Stay-stitch the bottom edge, clip it every inch almost to the stitching, then pin the tube to the circle at the quarter points first and ease in between. Sew slowly with the body on top. Add a lining, then finish with grommets and a cord drawstring, or a simple casing. Figure on an afternoon.
13. Zip-Top Crossbody Bag
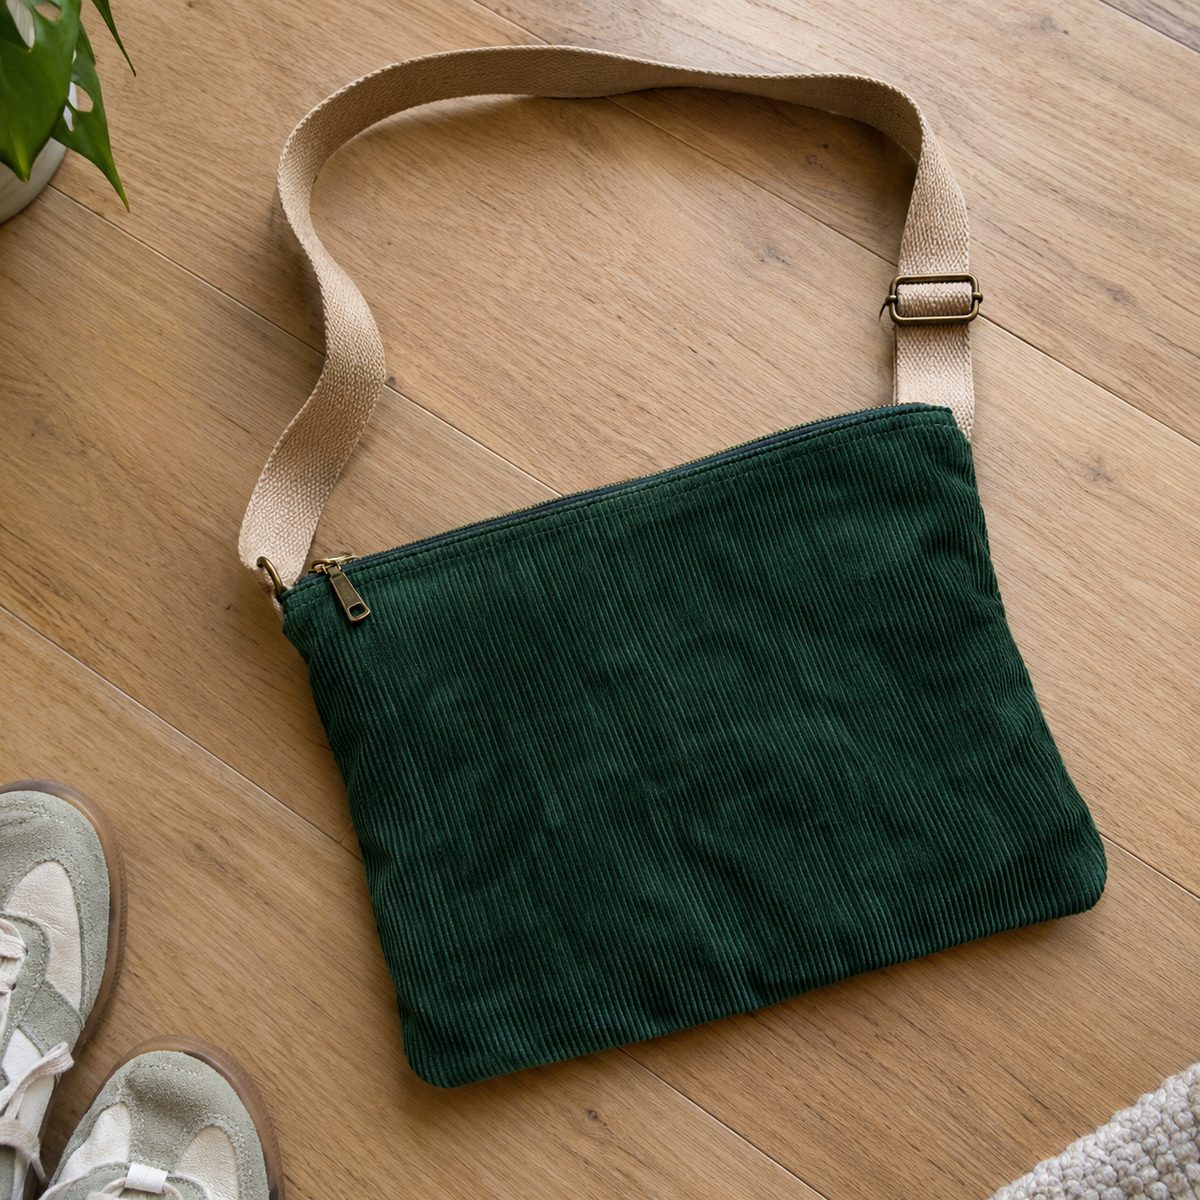
A crossbody bag keeps your hands free, and a simple flat version is well within reach once you’ve made a zipper pouch. Think of it as a larger pouch with an adjustable strap.
Cut outer, lining, and fusible fleece pieces 10 x 8 inches, two of each, and use a 10-inch zipper. Sew a D-ring tab into each side seam just below the zipper, like the wristlet above. Adding a slip pocket to the lining before assembly is an easy bonus.
For an adjustable strap, you need about 55 inches of 1-inch cotton webbing, a strap slider, and two swivel clasps. Thread the webbing through the slider and one clasp, back through the slider, and stitch the end down securely; then attach the second clasp at the other end. The strap now adjusts from short to long. About two hours.
14. Curved Sling Bag
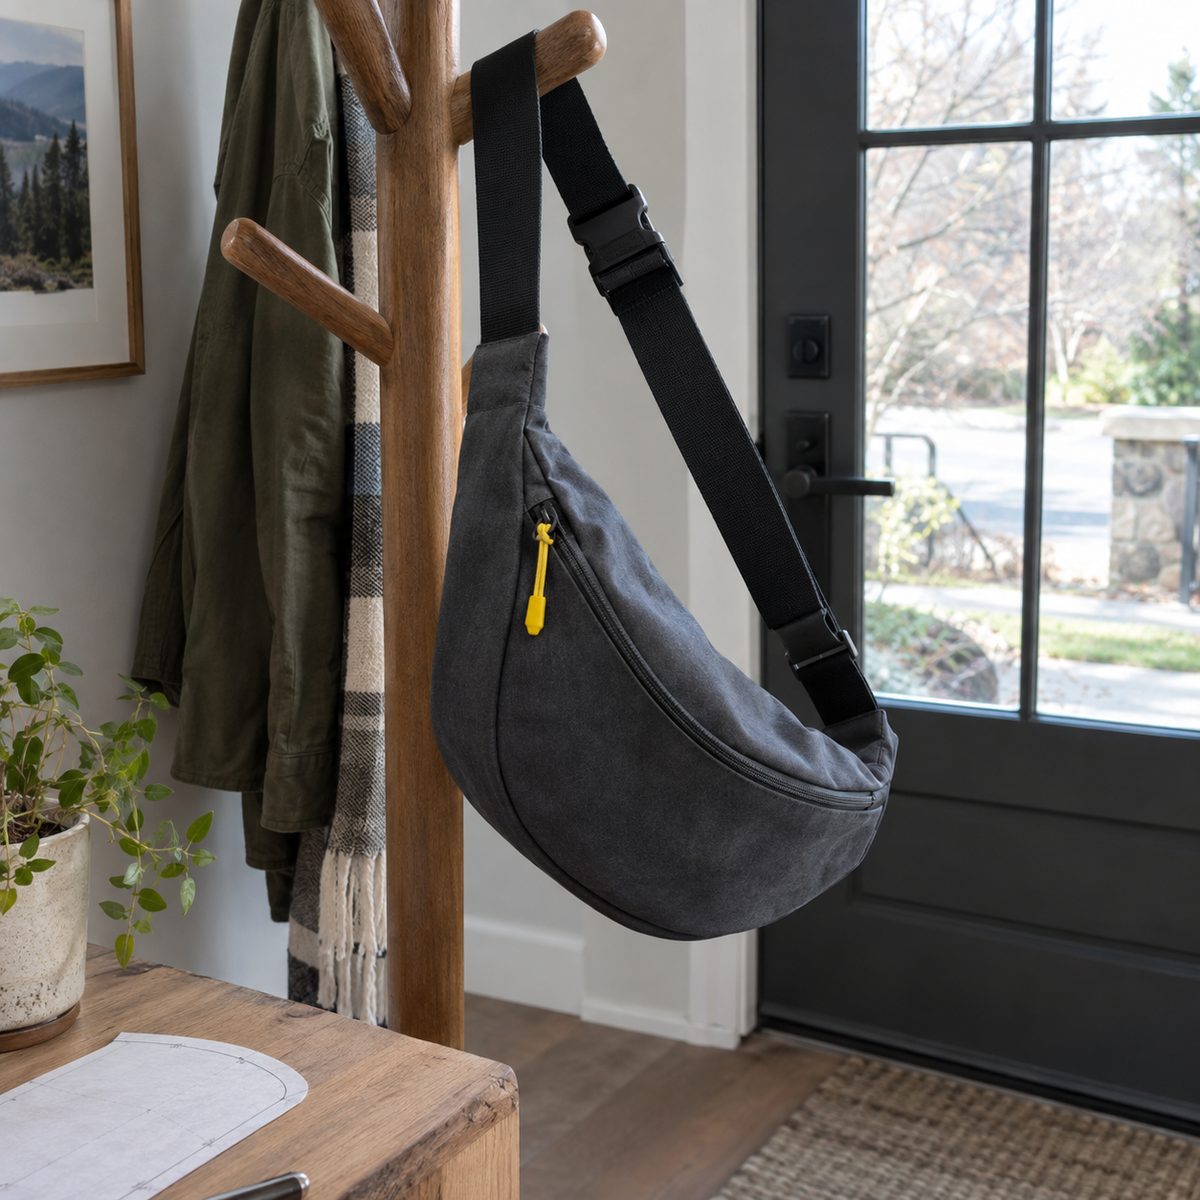
A sling bag is the trendy cousin of the crossbody: a curved, zippered bag worn across the chest or back on a single wide strap. It’s a great project for practicing rounded corners.
Draw a 12 x 7-inch rectangle on paper and round all four corners using a dinner plate as a guide. Cut outer, lining, and fusible fleece pieces from it. Insert a zipper along the top edge, then sew the front and back together around the curves, clipping the seam allowance so it turns smoothly.
Instead of D-rings, sew a 3-inch webbing tab into each end of the bag. Use 1 1/2-inch webbing for the strap with a side-release buckle in the middle so you can adjust it and take it off easily. Water-resistant canvas or nylon suits the sporty look. Plan for about two and a half hours.
15. Bike Handlebar Bag
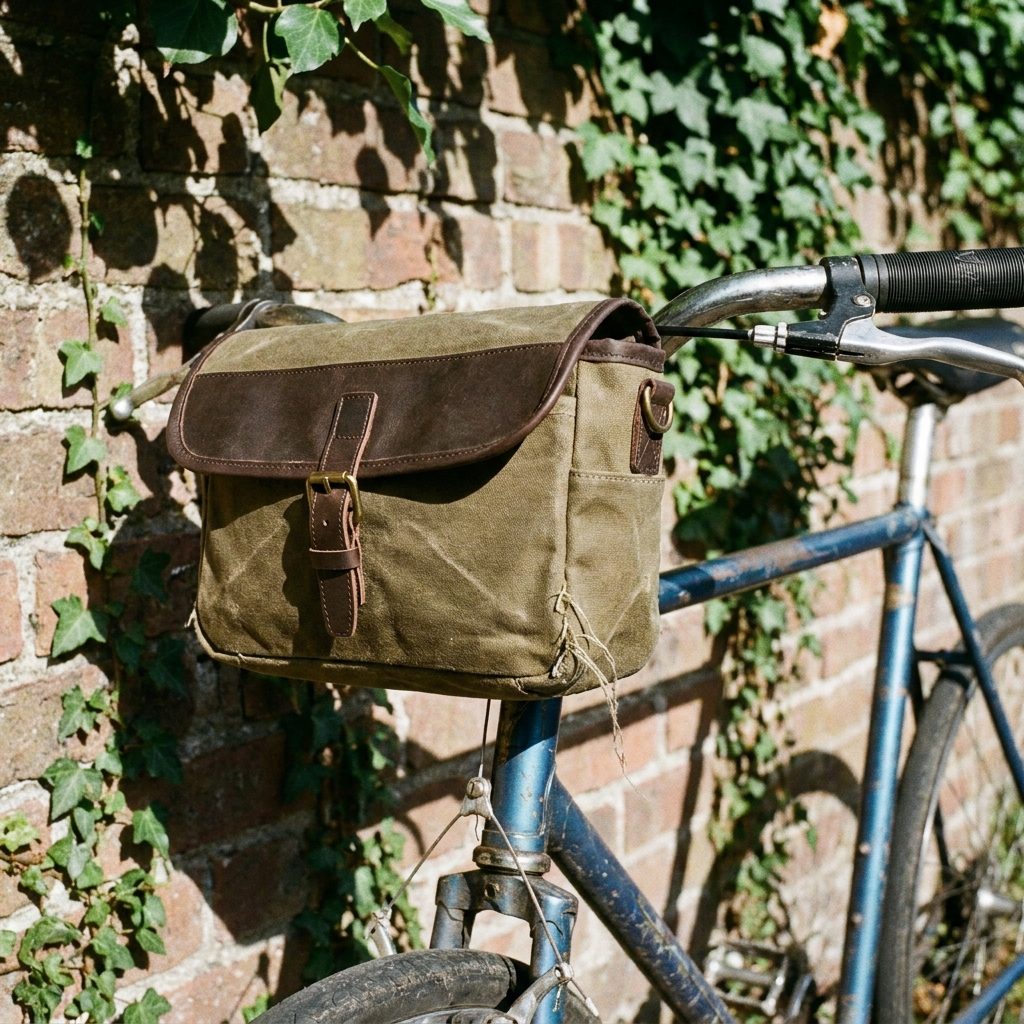
A handlebar bag holds your phone, snacks, and a spare tube within reach on the bike. It’s a small box bag with straps, and it’s a fun project if you ride.
Make a box about 9 inches wide, 5 inches tall, and 5 inches deep using waxed canvas or heavy water-resistant nylon. Cut a front and back 10 x 6 inches, plus one long strip 6 x 20 inches for the sides and bottom. Add a zipper or a flap with a buckle on top.
- Two 1 x 8-inch hook-and-loop straps on the back wrap around the handlebar
- One shorter strap at the bottom wraps the head tube to stop swinging
- Use a denim 100/16 needle and heavy-duty thread
Test-fit the strap positions on your actual bike before sewing them down. About three hours.
16. Weekend Duffle Bag
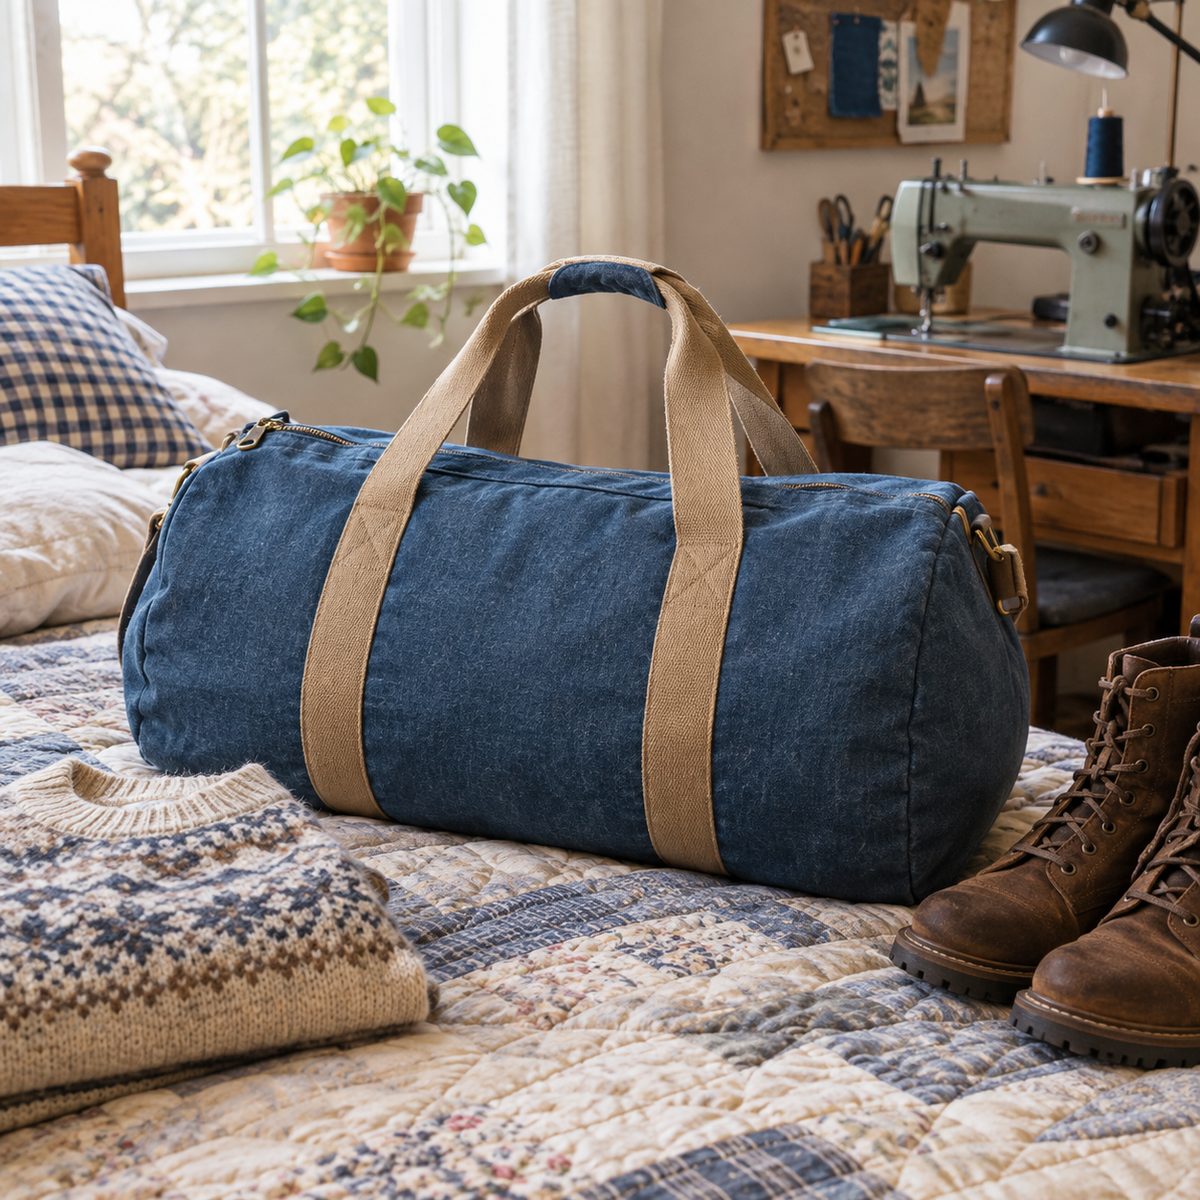
The duffle is the confident-beginner graduation project. It’s bigger and heavier to wrestle through the machine, but every step is something you’ve already practiced: a long zipper, round ends, and sturdy handles.
For a barrel duffle, cut two 10-inch circles for the ends and one body rectangle 30 x 22 inches (the 30-inch edges wrap around the circles), all in canvas or cotton duck, plus matching lining. Install a 22-inch zipper across the top of the body. Run two strips of 1 1/2-inch webbing all the way under the bag and up into handles; this carries the weight so the seams don’t.
Sew the ends in the same way as the bucket bag base: stay-stitch, clip, pin at quarter points, and sew slowly. Unzip the zipper before attaching the second end so you can turn it. Finish the inside seams with bias binding. Set aside a full weekend day.
Pick One and Start Sewing
If you’re brand new, sew the drawstring bag tonight and a zipper pouch this weekend. Those two projects teach casings and zippers, which covers half of everything on this list. From there, the lined tote gives you boxed corners and straps, and the bucket bag teaches curves. By the time you tackle the duffle, you’ll have every skill it needs. Keep a stash of canvas, webbing, and a few 9- and 12-inch zippers on hand, and you’ll always have a bag ready to go.