There it sits, your latest sewing project, waiting for the finishing touches. But all those buttonholes still to be done, your heart sinks. What were you thinking?
Surely it would look just as good with Velcro instead of buttons, wouldn’t it? Then again, the buttons you’ve selected are the perfect finishing touch. The days of hand sewing buttonholes are in the distant past (thank goodness), your sewing machine makes the job quick and easy to do.
There are as many ways to make a buttonhole using a sewing machine as there are brands of sewing machines. This article will cover the basics of how to get from start to finish with a minimum of fuss so that your project is finished with professional looking buttons and the buttonholes to match.
The first thing you’ll need to do is get out the pattern you’ve been working from and transfer the button guidelines from the pattern. You probably carefully marked all the buttonholes before removing the pattern paper, but all those marks have now vanished inside the project because they were marked on the side of the fabric that is currently facing in. The puzzle of why pattern designers don’t recommend marking the right side of the fabric so that you can see the buttonhole marks when you’re ready to sew them has always puzzled me, especially when I’ve carefully folded the pattern up and put it away for the next time I want to use it!
Transfer the buttonhole guidelines by pushing a pin vertically through all the layers of fabric where the buttonhole will be. Make a small dot on the material where each pin goes through with a quilting pencil, tailor’s chalk, or other marker that will wash out. Draw a straight line with the same marking device using a ruler. Center your chosen button on the marked buttonhole line and carefully make small dots at the widest point on either side of the button. If you are using the button to mark the end points of the buttonhole, you will need to draw a short vertical line at a right angle to the line where the two marking dots that you made using the button are.
Now that you’ve got all the buttonhole markings transferred, you’re ready to start sewing. The idea behind making a buttonhole on your sewing machine (if you need a new machine, check out these) is fundamental. If you were sewing the buttonhole by hand, you would make sure that your stitches were close together and there was extra thread covering the cut edge of the buttonhole that the button will be sliding through. Using your sewing machine, you’re going to make small, even stitches down each side of the center line that you have marked, plus you’re going to put longer stitches across the center line where you’ve marked the ends of the buttonhole. These wider stitches at either end are essential because they reinforce the ends of the hole and help the buttonhole itself keep its shape.
If you have enough fabric, now would be a good time to do a test buttonhole so that you avoid getting halfway through your first one and realizing that your stitch width is too narrow or it is too close together. Remember to use at least two layers of fabric so that you get a feel for how your sewing machine moves the material between the presser foot and the feed dogs. Bulky fabric with an extra layer of interfacing can be difficult to sew through until you get a feel for it, the same goes for very fine material that can slip and make keeping your stitches in a straight line difficult.Set your sewing machine stitch for a very narrow, tightly stitched zigzag stitch. Starting at one end of the marked line for the buttonhole, manually raise and lower the needle a few times so that you can see exactly where your stitches will be in relation to the buttonhole. One side of the zigzag stitch should be close to, or even touching the buttonhole line, while the zag part of the stitch should be a little bit away from the line. If your sewing machine allows you to set the needle position (left, centered or right), then you can choose either the left or right side for your stitches and use the center guide line on the presser foot to follow the drawn buttonhole line.
Zigzag down the entire length of the buttonhole, keeping the stitching close to, but not covering, the marked line. When you get to the mark that is the end of the buttonhole, return your needle position to center and set the zigzag stitch to a wider one that will go from one side of the buttonhole to the other. Keeping the zigzag stitch set to close together, do five or six back and forth stitches to make the end of the buttonhole. If your machine allows you to put your needle on the opposite side of the buttonhole, set your stitch width back to the narrow zigzag you stitched along the first side and use the reverse feature on your machine to carefully sew backward along the center line.
Using a clear presser foot is recommended so that you don’t lose track of where the stitching line is. Once you have reached the end of the buttonhole that you started from, return your needle position to the center and do five or six wide zigzag stitches close together to cover both ends of the tight buttonhole stitches.
If you’re not able to change the position of your needle from the center, you can still do the above steps but it will mean repositioning the fabric under the presser foot, and you will have to carefully watch where the zigzag stitches go along the side of the line that you drew. You will need to move the fabric over so that the line is centered on the presser foot when you stitch the ends, and for the return trip down the opposite side of the buttonhole you can either turn the project so that you stitch down the second side forward, or position the fabric so that the opposite side of the small zigzag stitch is on the opposite side to the one you just stitched as you use your sewing machine’s reverse feature to go back down the other side.
After you have made the second set of wide zigzag stitches at the end of the buttonhole, set your machine back to the regular straight stitch and do three or four very short stitches together, this ends the stitches and saves you having to tie off the loose ends. If you wish, you can skip the short straight stitches but once you have taken the fabric out of the machine and cut the thread ends, you should pull the top thread from one of the zigzag stitches to the wrong side of the buttonhole and tie the top thread and the bobbin thread in a knot to keep everything secure.
Open the buttonhole by making a small hole with a seam ripper. You can cut the whole buttonhole with a seam ripper but a word of caution – it is very easy to cut right through the end stitches, ruining your newly sewn buttonhole. To avoid this, place a straight pin at the end of the buttonhole in front of the long cross stitches to stop the seam ripper when you reach them. You can also use small scissors to cut the hole, using tiny snips to avoid cutting the end stitches as well.
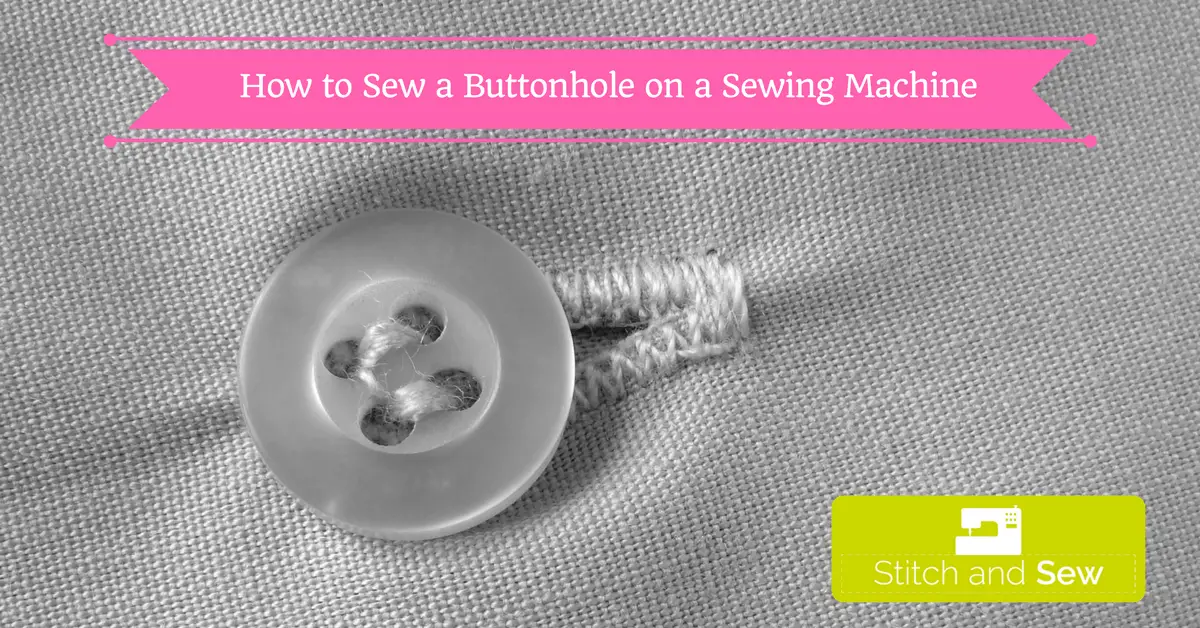
There you have it! A beautiful buttonhole, sewn on your sewing machine.