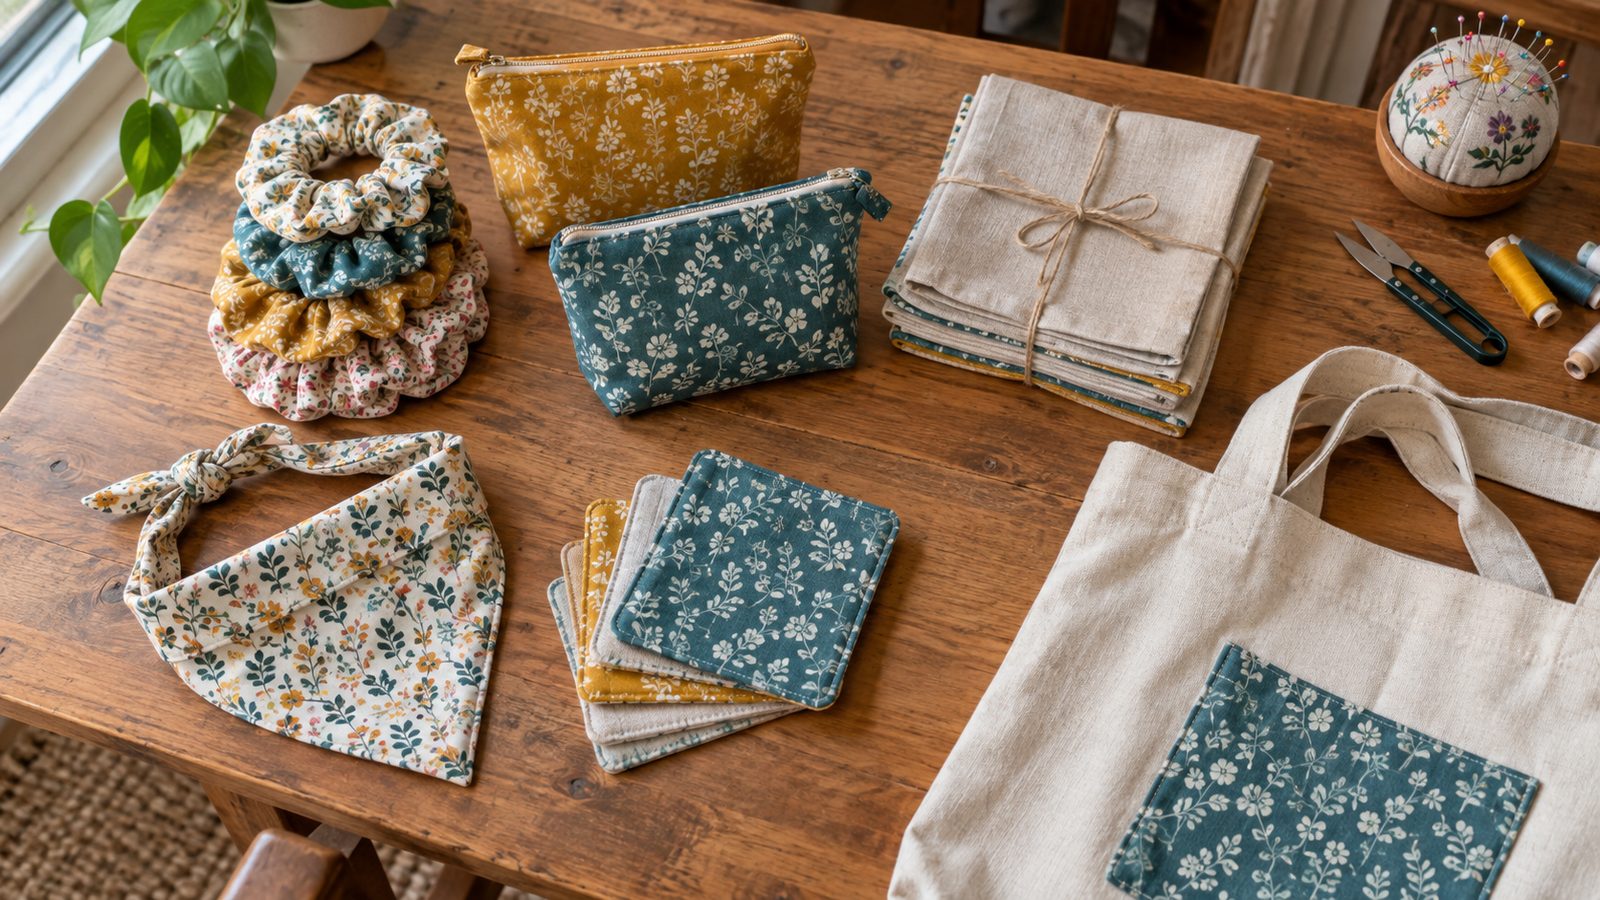
The best things to sew for a craft fair table or an online shop have three traits in common: they use little fabric, they sew up fast, and they can be batch-made assembly-line style. Each item below includes a batching tip so you can make ten as easily as one.
For pricing, a simple starting formula is materials + your time at an hourly rate you are happy with + selling fees (booth rent, platform and payment fees), then compare against similar handmade items in your area.
Two quick checks before you sell: make sure any pattern you use allows commercial use, and if you sew items for kids, look into the US CPSIA rules for children’s products.
1. Scrunchies
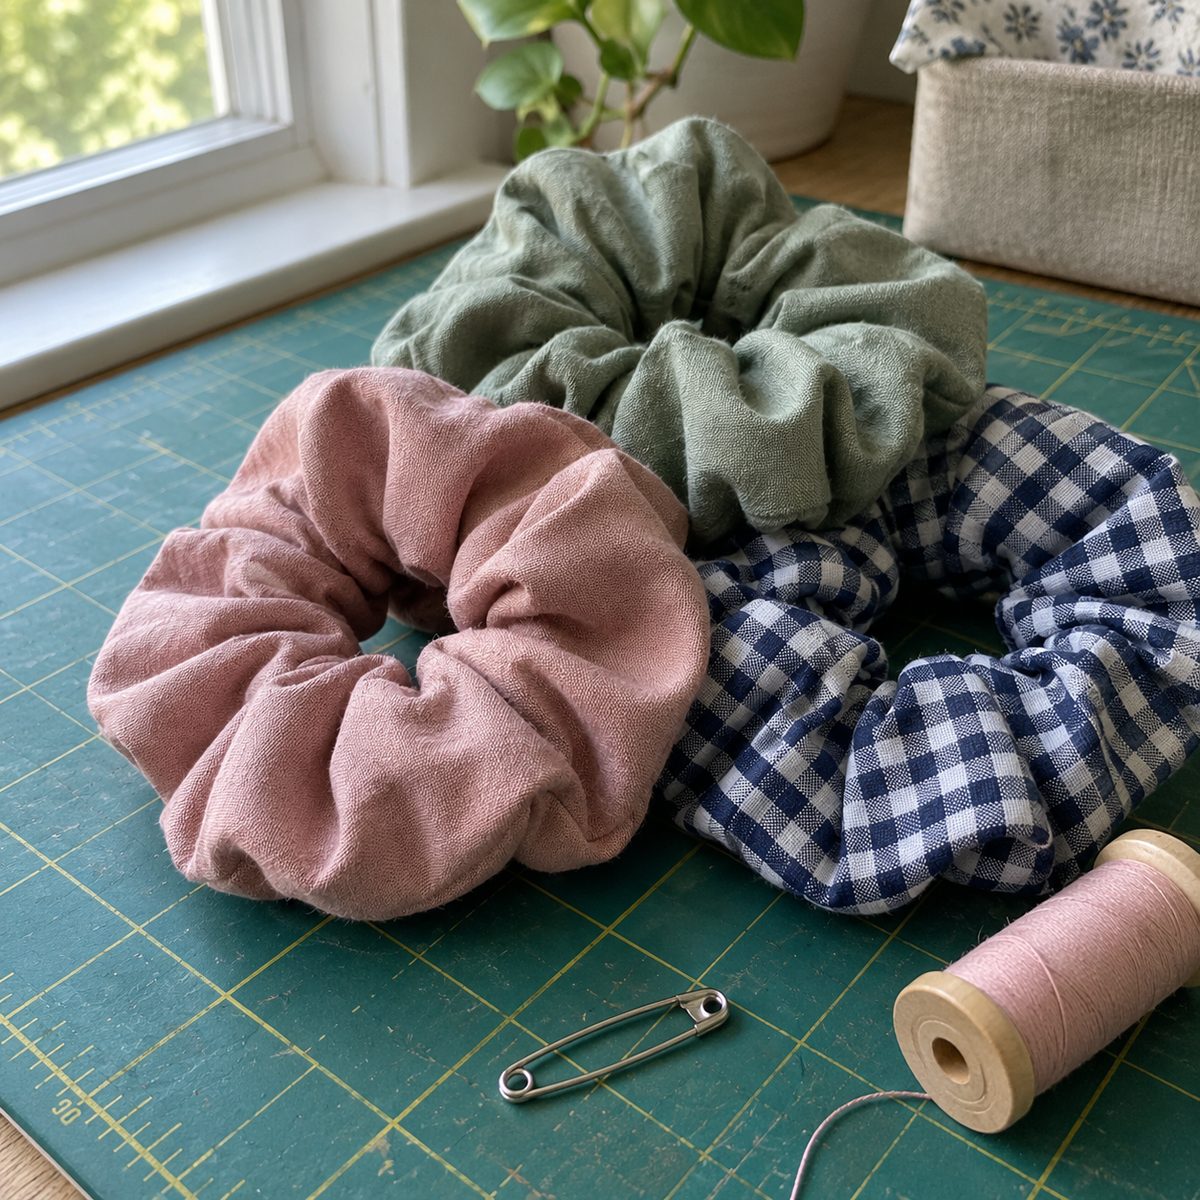
Scrunchies are the classic starter product: they take a strip of fabric, a piece of elastic, and about ten minutes. They make a great impulse buy, especially in sets of three.
Cut a strip 4 inches by 20 to 22 inches and a piece of 1/4-inch or 3/8-inch elastic about 8 inches long. Fold the strip right sides together, sew the long edge into a tube, turn it, thread the elastic through with a safety pin, overlap and zigzag the elastic ends, then slipstitch or edgestitch the opening closed. If elastic gives you trouble, this guide on how to sew elastic into fabric helps.
Batching tip: Cut 20 strips at once with a rotary cutter, sew every tube in one chain without cutting threads, then do all the turning while watching TV.
2. Zipper Pouches
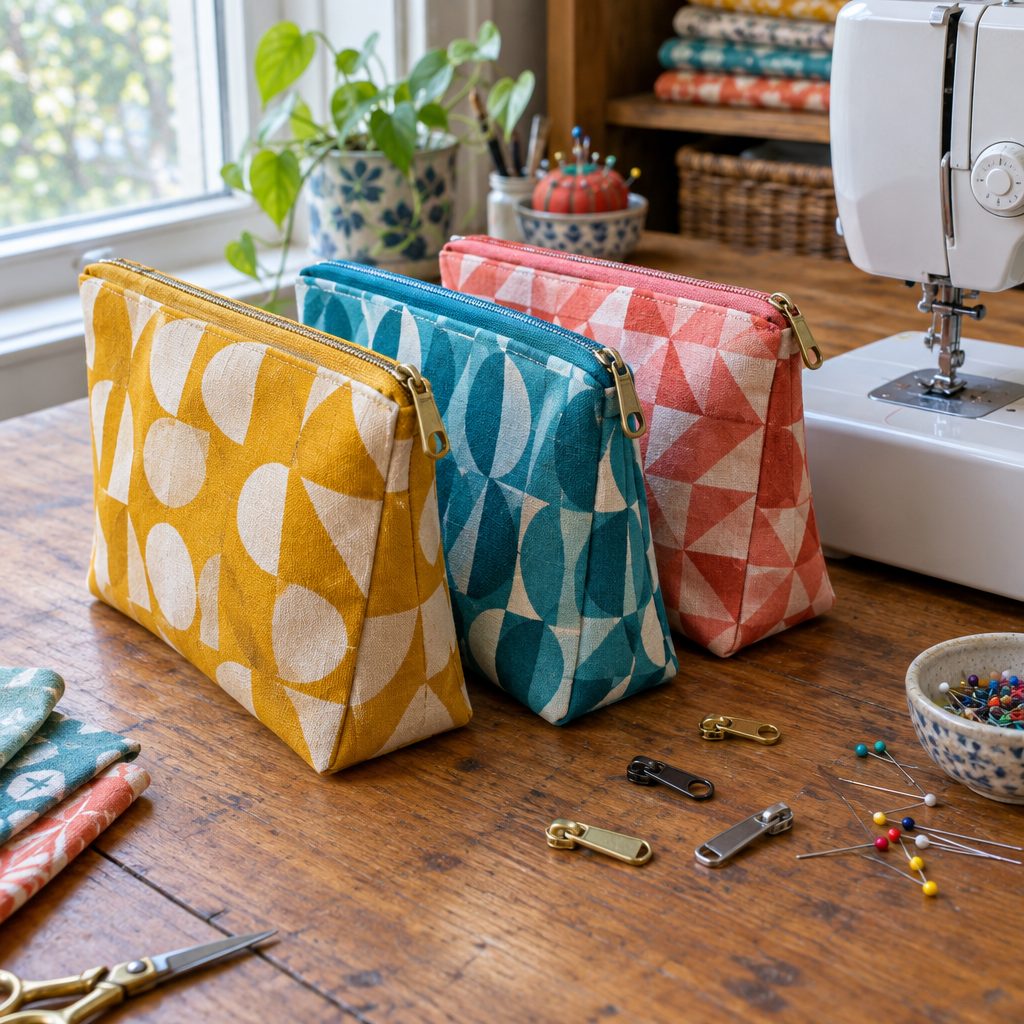
Lined zipper pouches sell year-round as makeup bags, pencil cases, and gift-card holders. Offer lots of prints rather than lots of sizes.
A good all-purpose size is two outer and two lining pieces cut 9 by 7 inches with a 9-inch zipper. Add fusible interfacing to the outer pieces so the pouch holds its shape. Sew the zipper sandwiched between outer and lining on each side, open the zipper halfway, sew the outer pieces together and the lining pieces together, leave a turning gap in the lining, then turn and close. For every step with photos, see the lined zipper pouch tutorial.
- Box the corners by 1 inch for a pouch that stands up.
- Add a small fabric tab at the zipper end so it is easy to open.
Batching tip: Fuse interfacing to a whole yard of outer fabric before you cut any pieces.
3. Bowl Cozies
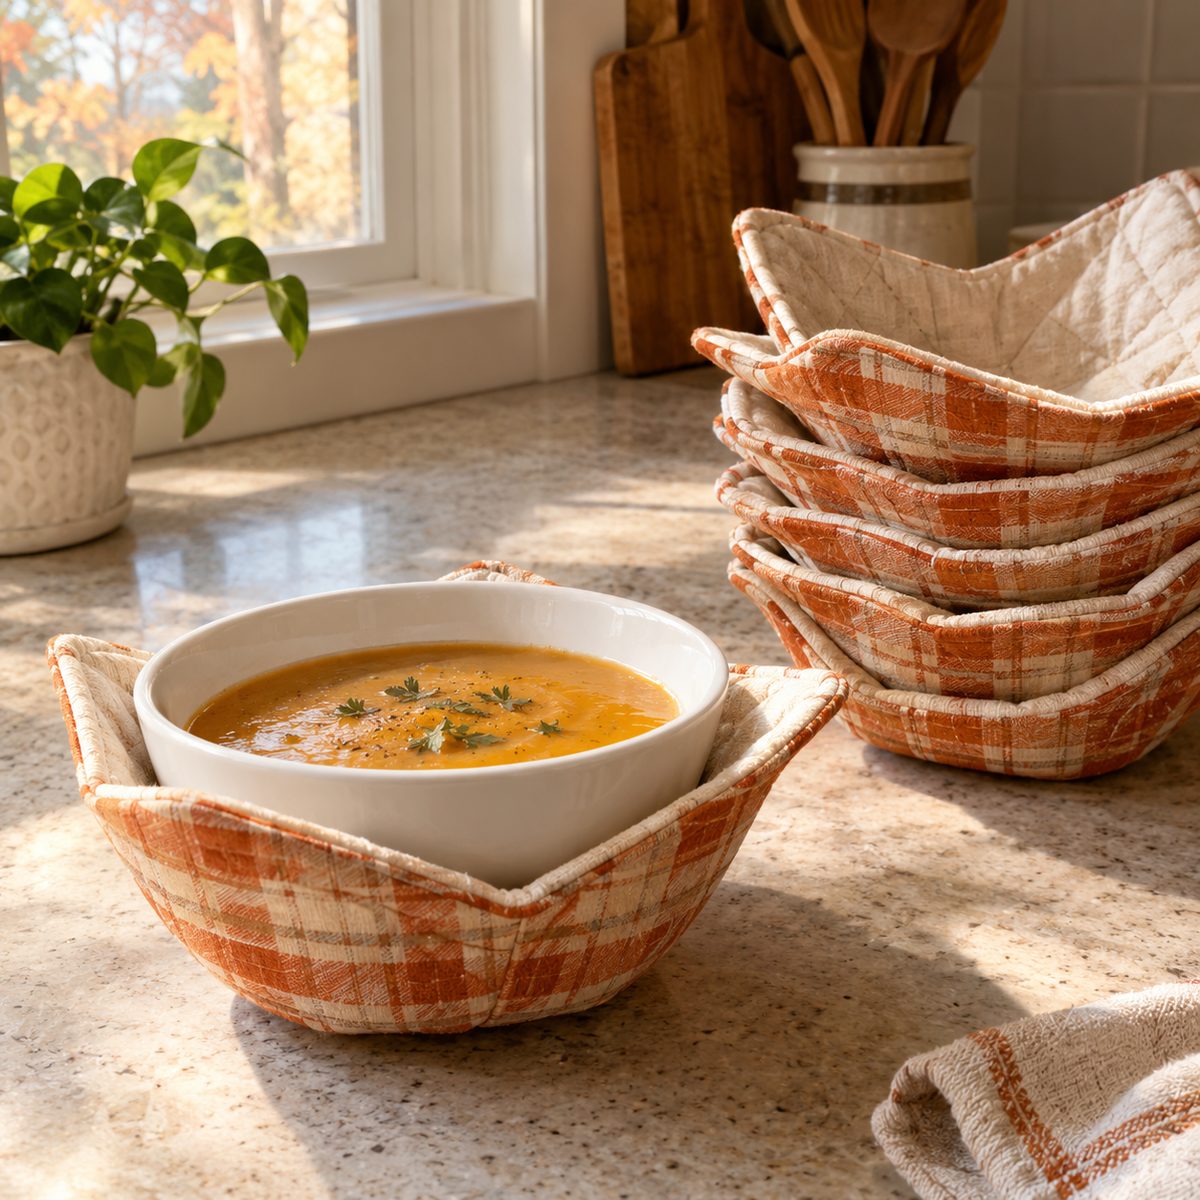
Bowl cozies are those padded, darted fabric bowls that keep hands off a hot bowl of soup. They are a reliable seller at fall and holiday markets, and they are reversible, so each one shows off two prints.
Cut two 10-inch squares of fabric and one of batting for a standard cereal or soup bowl. Layer, then mark a 1-inch by 3-inch dart in the center of each side and sew all four darts through every layer. Trim the darts, sew the two halves right sides together with a turning gap, turn, topstitch, and quilt a simple X if you like.
If the cozy is meant for the microwave, use 100% cotton fabric, 100% cotton thread, and 100% cotton batting with no scrim or polyester, and add a small care card suggesting buyers keep an eye on it the first time they use it.
Batching tip: Make a cardboard dart template so marking twenty squares takes just a few minutes.
4. Pet Bandanas
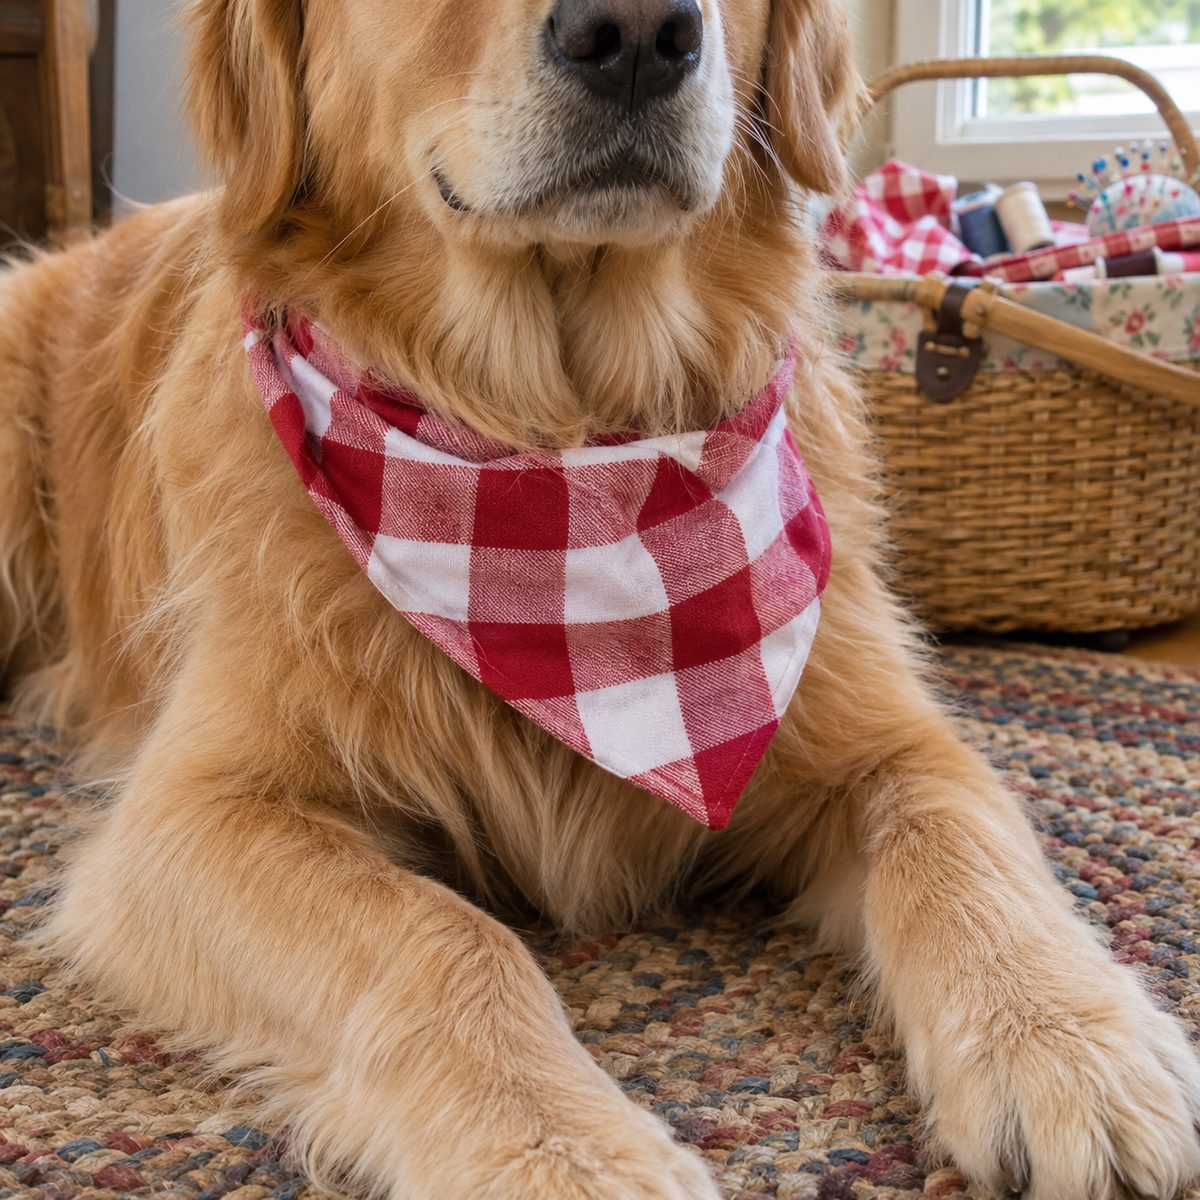
Pet bandanas are a small-fabric, big-smile item. Dog owners buy them for holidays, birthdays, and photos.
The easiest style slips over the collar. Cut a triangle (roughly 14 inches across the top and 9 inches deep for a medium dog) from two prints, sew them right sides together around the angled edges, turn, then fold the top edge down about 1 1/2 inches and stitch to create a collar channel. Offer small, medium, and large, and consider a snap-on style for dogs without collars.
- Quilting cotton is ideal: it washes well and comes in endless prints.
- Seasonal prints move quickly around Halloween and the winter holidays.
Batching tip: Stack four layers of fabric and cut triangles from a single acrylic or cardboard template for each size.
5. Key Fob Wristlets
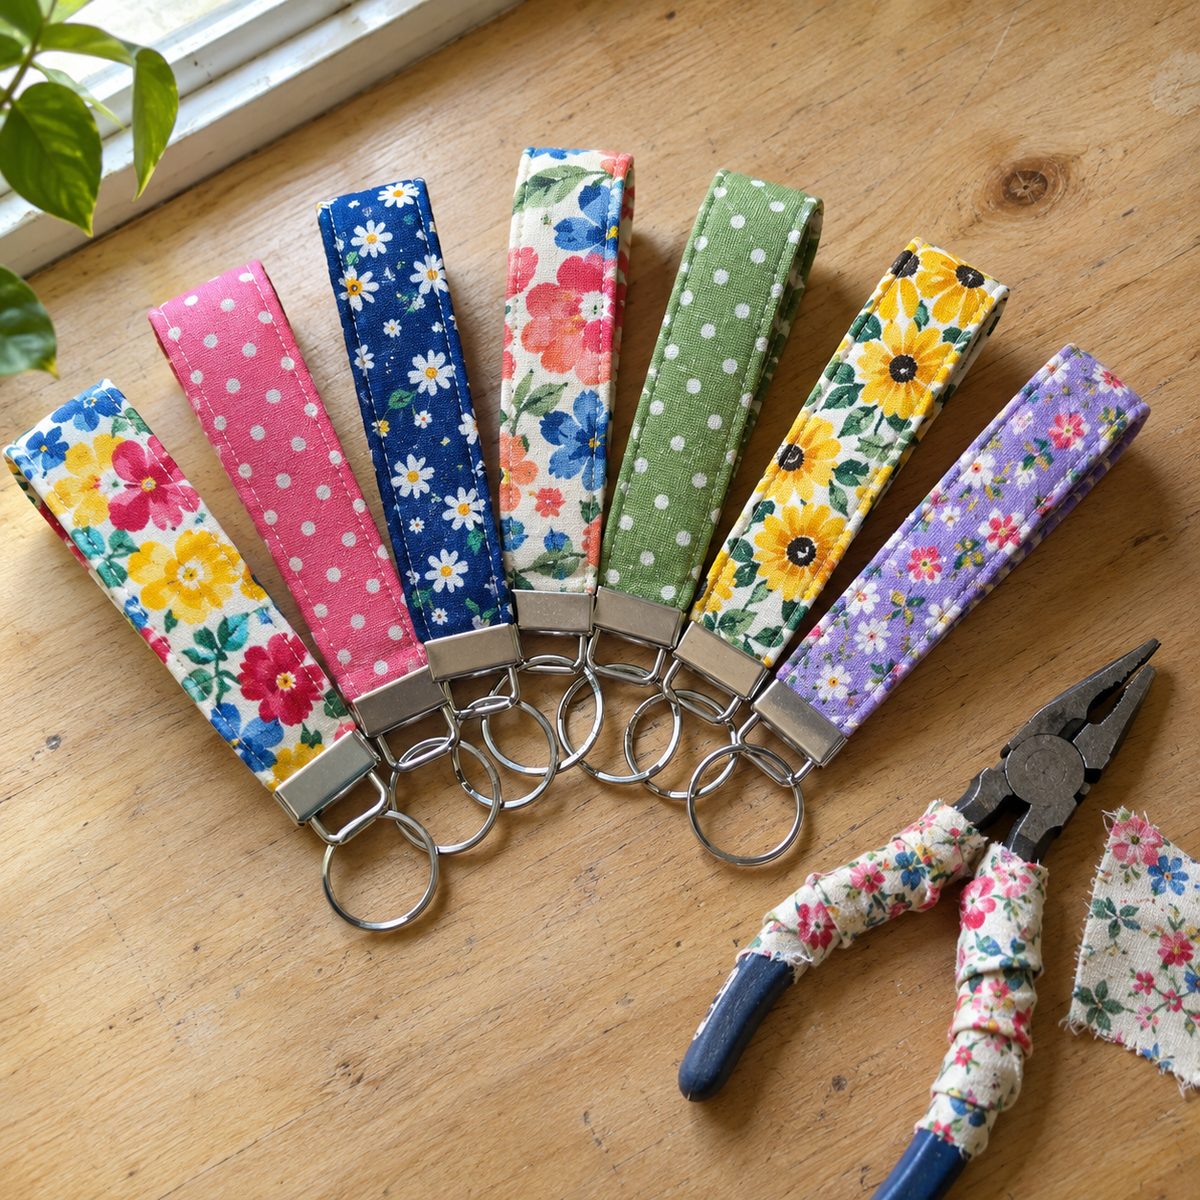
Fabric key fobs, the kind that loop over your wrist, are quick, use just a strip of fabric, and make a perfect low-price add-on near the checkout at a craft fair.
Cut a strip of fabric 3 by 10 or 12 inches and a matching strip of fusible fleece or firm interfacing about 1 1/4 inches wide. Fuse the interfacing down the center, fold both long edges to meet in the middle, fold in half again, and edgestitch both long sides. Loop the strip, then clamp the raw ends into a 1 1/4-inch key fob hardware piece with pliers, covering the jaws with a scrap to avoid scratches.
Batching tip: Sew one long continuous strip, then cut it into fob lengths so you only fold and press once.
6. Tote Bags
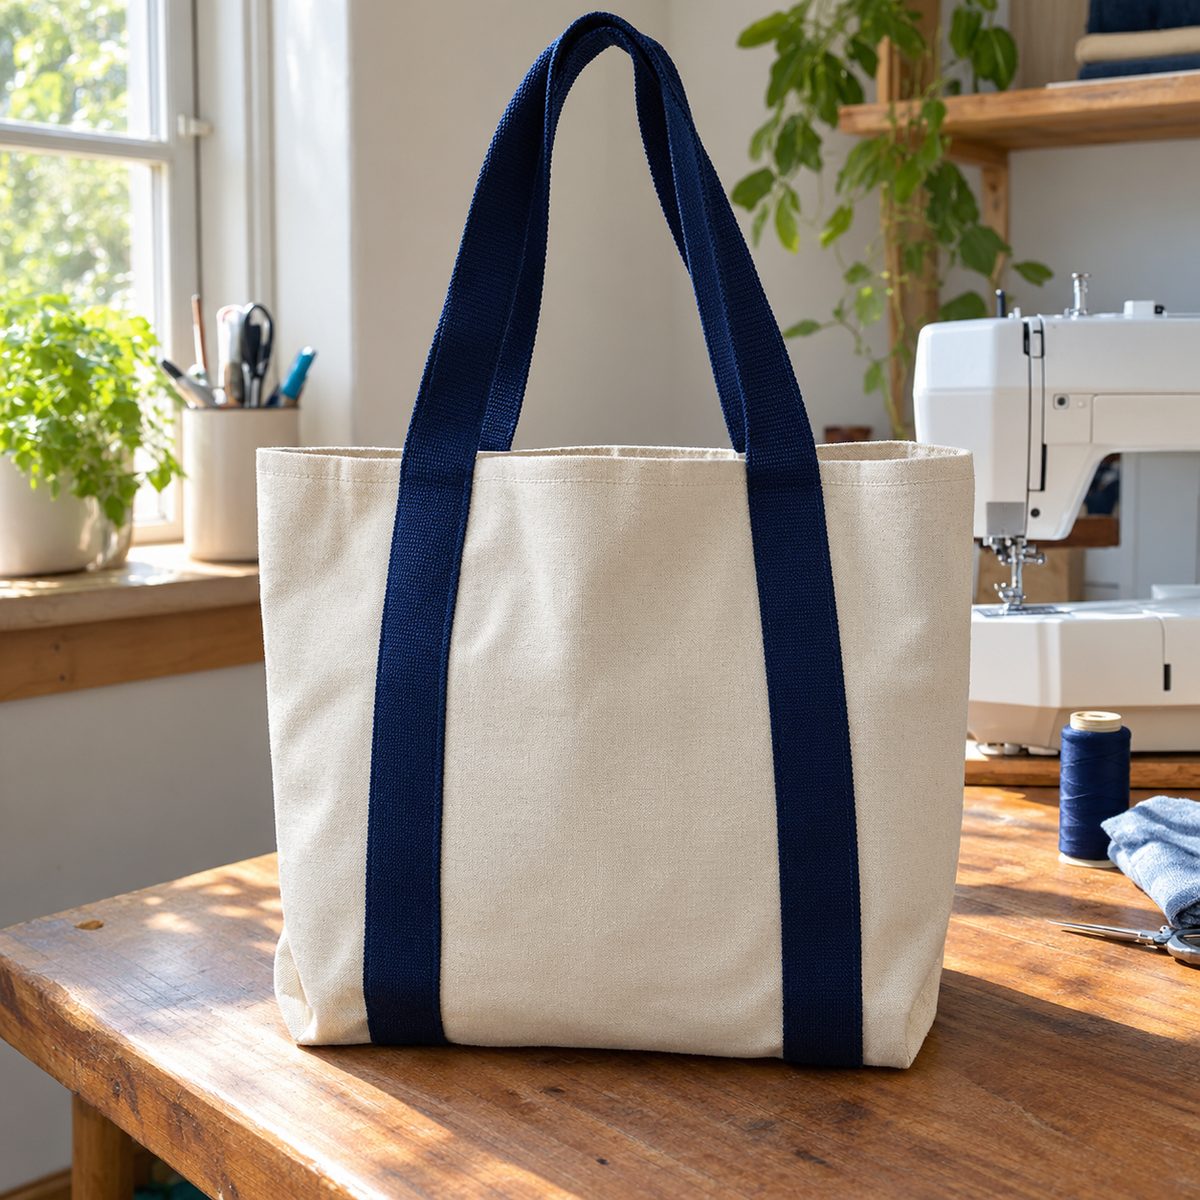
A sturdy tote bag is one of the most useful things you can sell. Farmers market shoppers, teachers, and anyone who carries a lot always seem to need one more.
Use canvas, duck cloth, or a heavy cotton for the outside, or quilting cotton with a stiff interfacing. A roomy size is two panels 16 by 18 inches plus straps that finish about 1 inch wide and 24 inches long. Boxed corners make it stand up on its own, and a lining gives it a finished, professional look. This tutorial on a lined tote bag with boxed corners walks through every step.
- Box the corners 2 inches for a flat, stable base.
- Reinforce strap attachments with a stitched square and an X.
Batching tip: Make straps for the whole batch first in one long run, then cut them to length.
7. Cloth Napkins
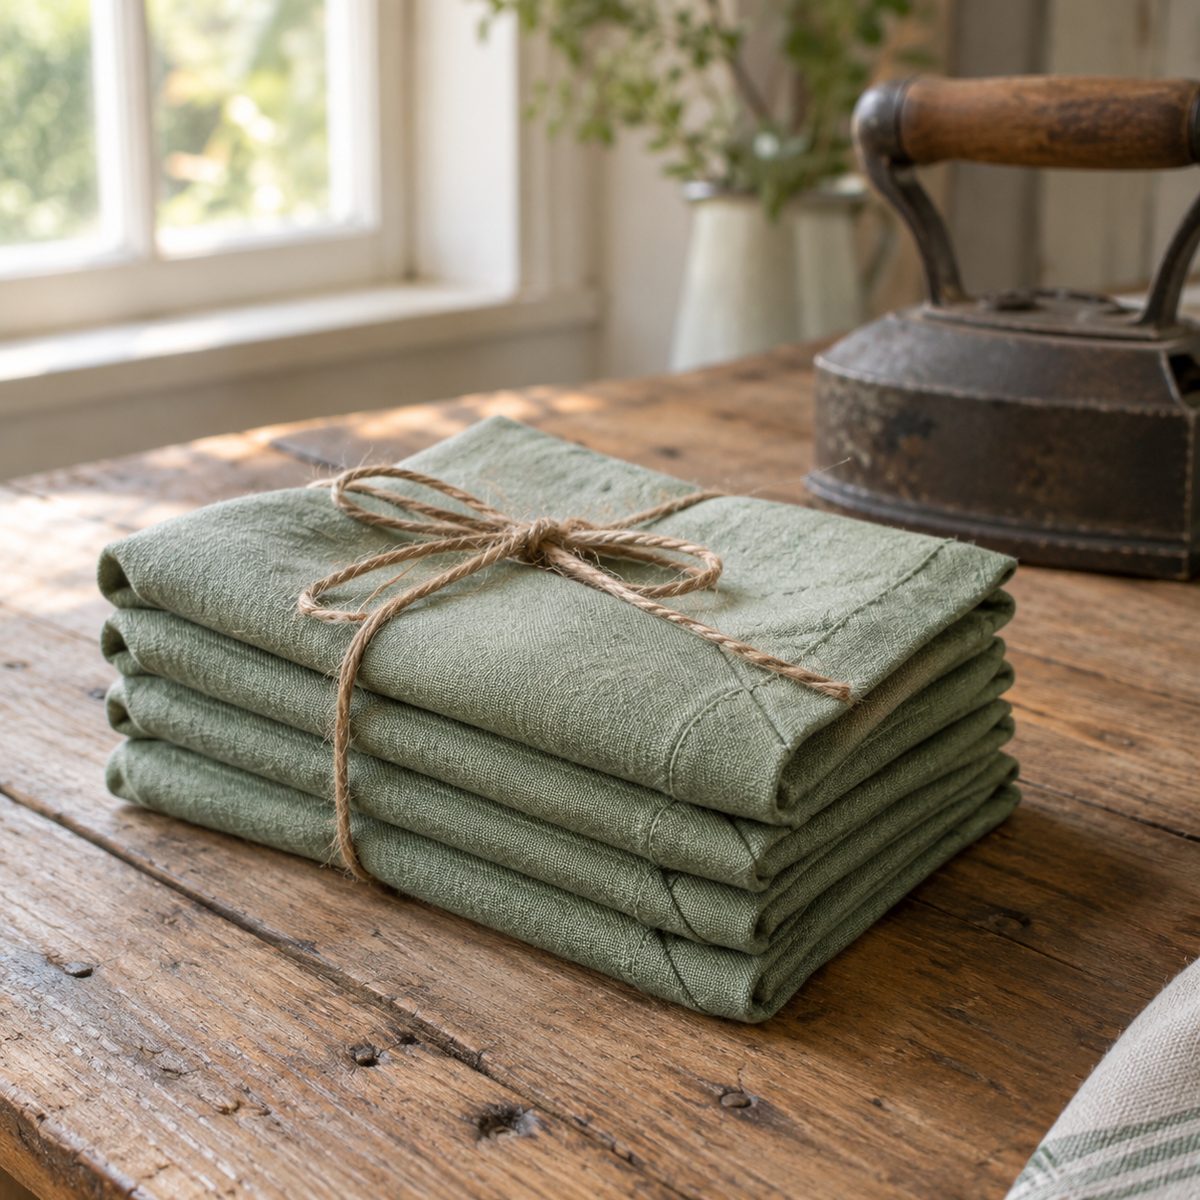
Cloth napkins sell well in sets of four or six and appeal to anyone trying to cut down on paper. They are also nearly all straight-line sewing, which makes them ideal for batching.
Cut 18-inch squares from linen, cotton-linen blends, or quilting cotton that has been prewashed. For a crisp finish, press a 1/4-inch fold, then another 1/2-inch fold, and stitch close to the inner edge. Mitered corners look polished and lie flat, and once you learn them they are only a few extra seconds each. A simpler option is a lined napkin: sew two 16-inch squares together, turn, and topstitch.
Tie each set with twine or a fabric strip and a simple care tag.
Batching tip: Press every hem on every napkin before you sew a single one.
8. Knotted Headbands
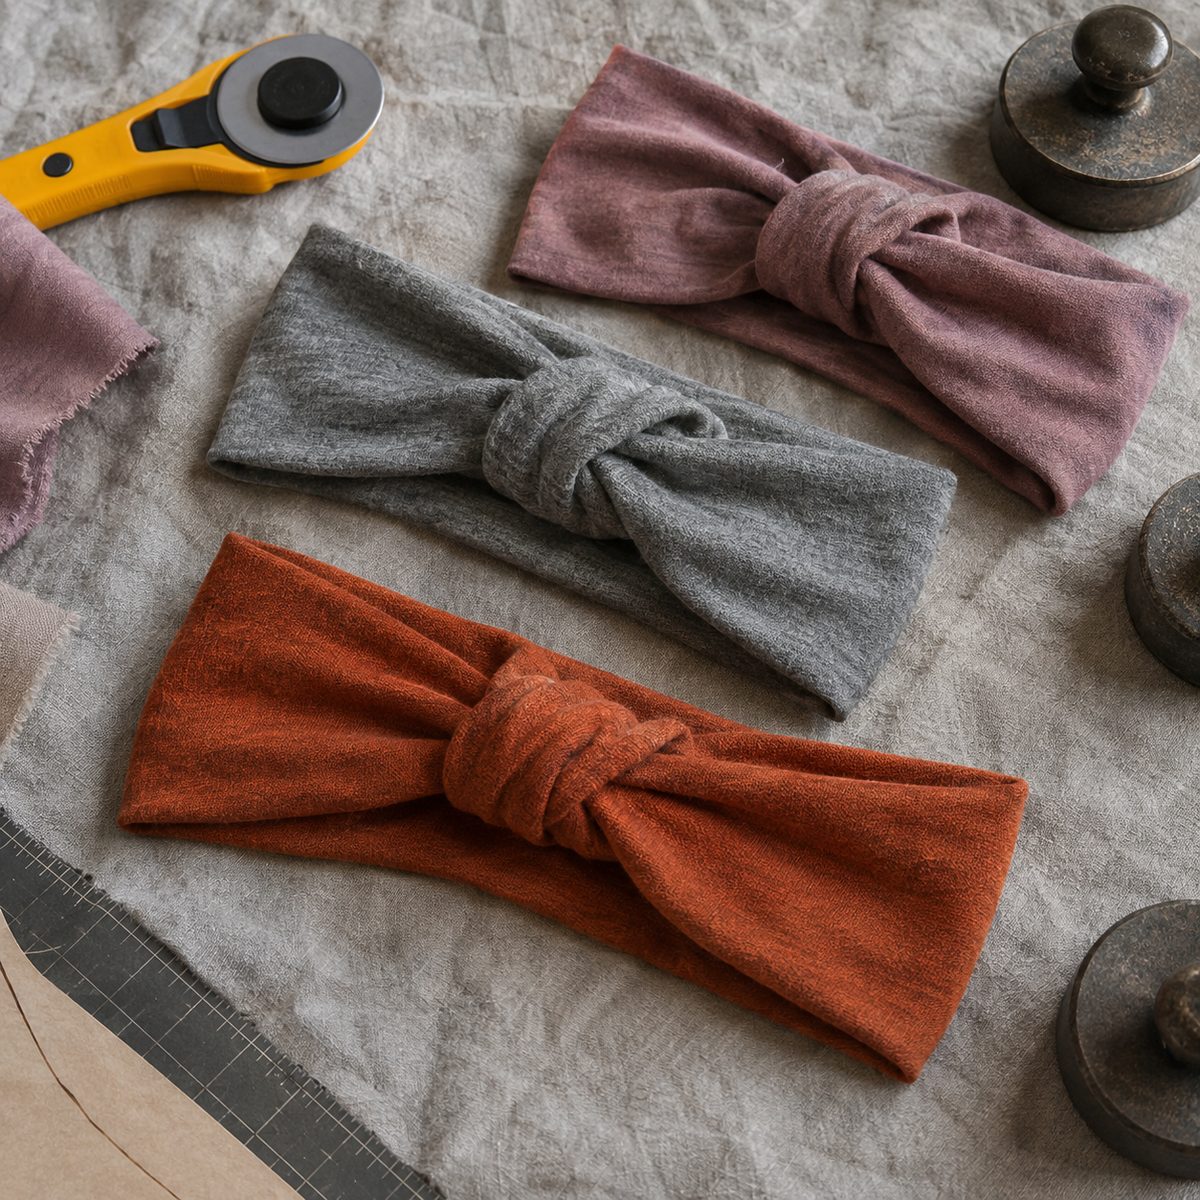
Knotted or twist-front headbands are popular with teens and adults, and a stretchy knit version covers a wide range of head sizes without needing precise fitting.
For a simple knit twist headband, cut two pieces of stretchy jersey or rib knit about 10 by 20 inches each, with the stretch running along the length. Fold each piece in half lengthwise and sew the long edge, then turn. Loop the two tubes together at the center, bring the four ends together, and sew them into a single seam. Turn the seam to the inside and the headband is done.
A ballpoint or stretch needle and a narrow zigzag stitch keep knit seams from popping.
Batching tip: Cut knits with a rotary cutter and weights, not pins, so the fabric does not shift.
9. Fabric Coasters
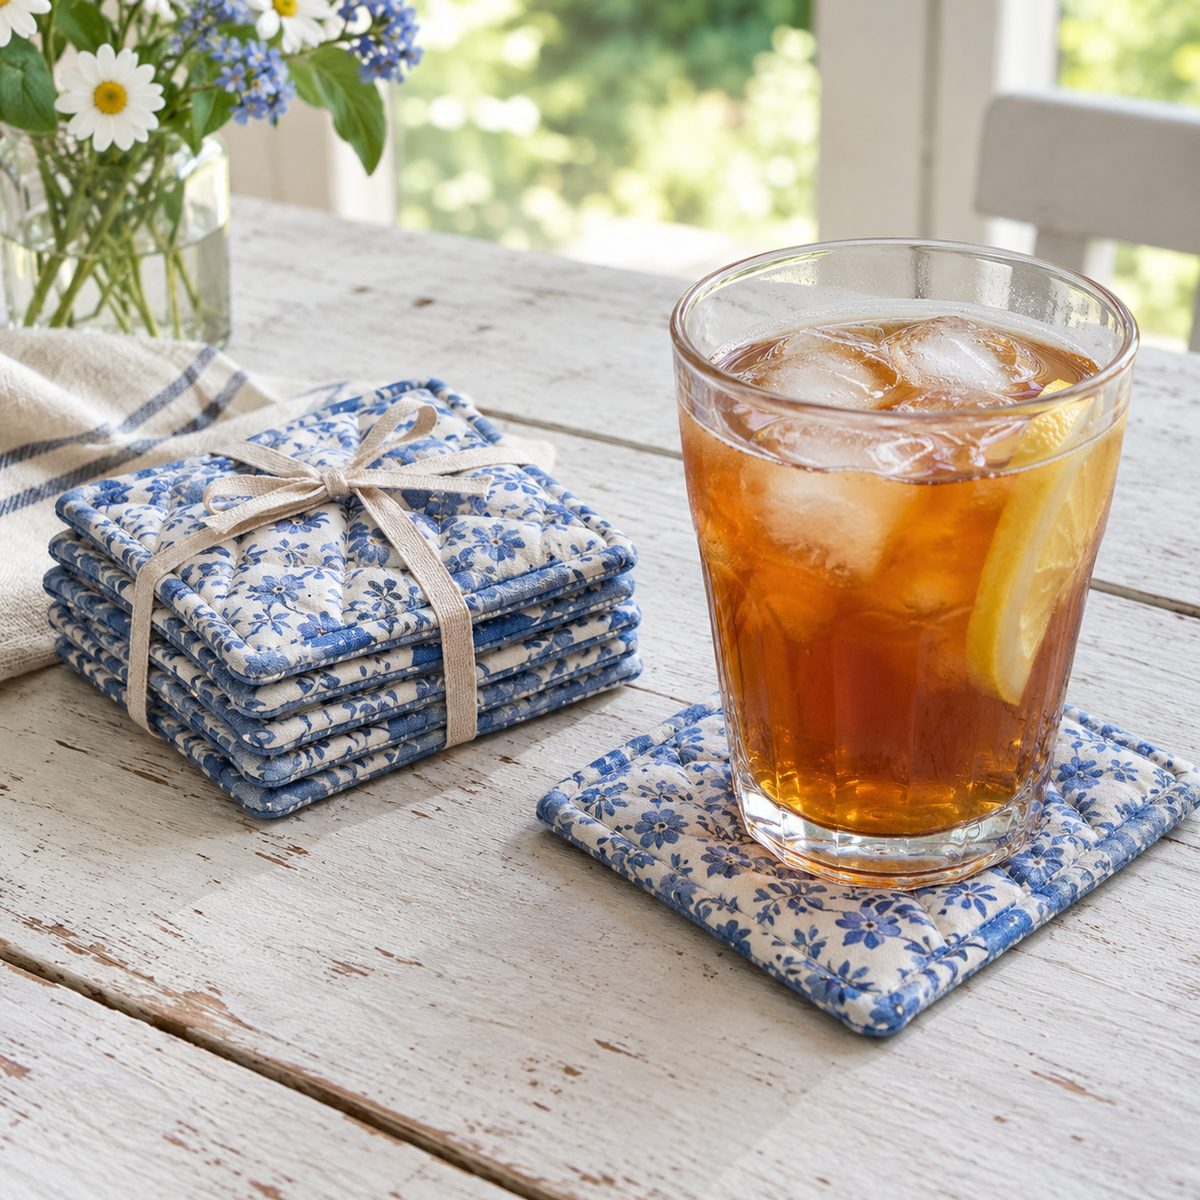
Fabric coasters are a great way to use up small prints, and a set of four or six makes an easy hostess or housewarming gift.
Cut two 5-inch squares of fabric and one 5-inch square of cotton batting per coaster. Place the fabric squares right sides together on top of the batting, sew around the edge with a 1/4-inch seam allowance and leave a 2-inch gap, clip the corners, turn, press, and topstitch all the way around to close the opening. A few quilted lines or a simple spiral gives them a nicer finish.
- Coordinate prints so each set feels curated.
- Tie sets with a ribbon or fabric strip for display.
Batching tip: Sew the squares as one long chain, snip them apart, and turn a whole stack at once with a point turner.
10. Mug Rugs
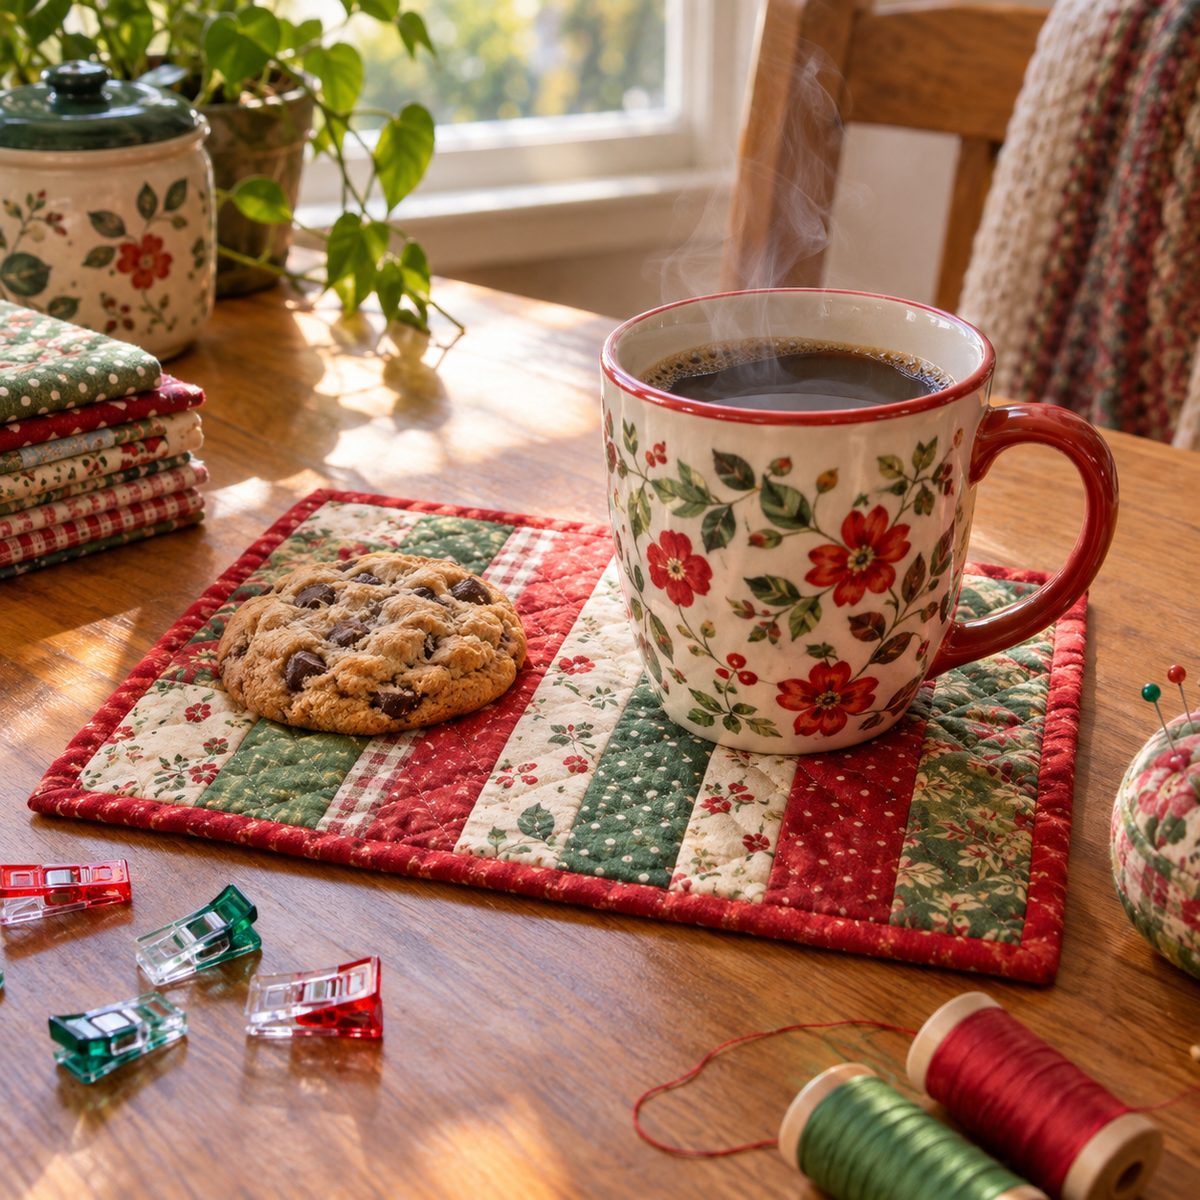
Mug rugs are oversized coasters with room for a mug and a cookie. They are basically mini quilts, so they let you show off patchwork skills without committing to a full quilt.
A common size is about 6 by 9 inches. Piece a simple top from scraps (strips, a few squares, or one appliqué shape), layer with batting and a backing, quilt with straight lines, then bind the edges. Your regular machine handles this easily.
Seasonal themes like pumpkins, snowflakes, and hearts are easy to rotate through the year.
Batching tip: Sew one long strip-pieced panel, quilt the whole panel, then cut it into individual mug rugs before binding. Make one continuous length of binding for the whole batch; here is how to join binding strips together.
11. Pot Holders
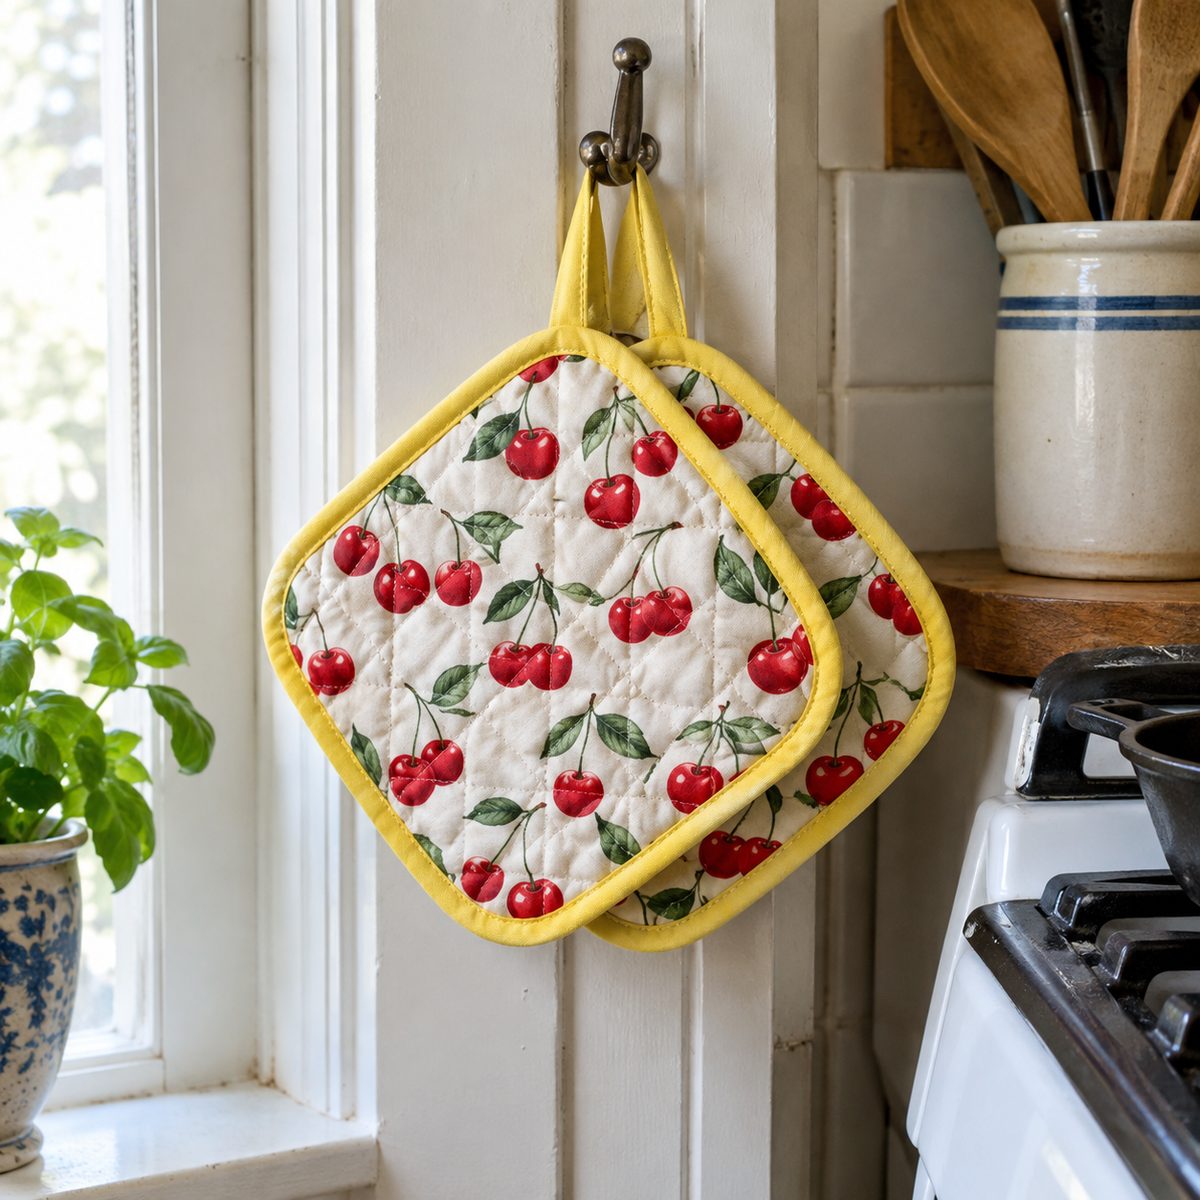
Pot holders are practical and always needed, and they are a friendly way to use up bright kitchen prints.
Cut two 8-inch squares of fabric, one square of cotton batting, and one square of insulated, heat-resistant batting made for kitchen items. Layer the insulated batting in the middle (check the maker’s directions for which side should face the heat), quilt through all layers with straight lines about 1 inch apart, round the corners with a small plate as a guide, and finish the edges with bias binding. Leave a tail of binding at one corner to form a hanging loop.
- Bias binding curves smoothly around rounded corners.
- Use cotton fabric and thread, since synthetics can melt near heat.
Batching tip: Quilt a large layered panel first, then cut individual squares from it.
12. Reusable Makeup Remover Rounds
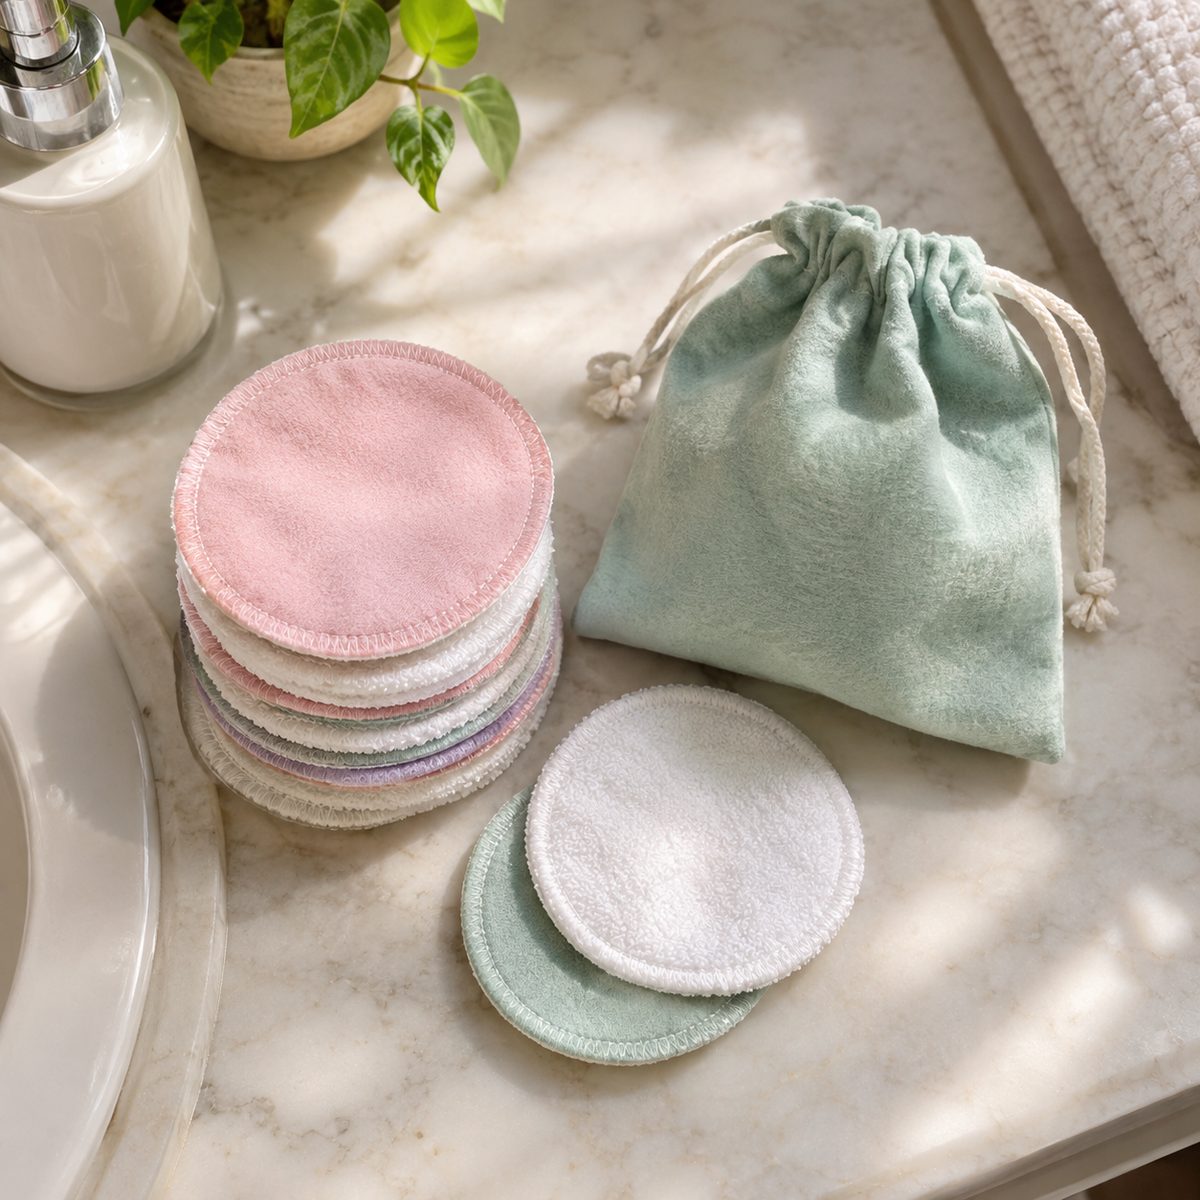
Reusable cotton rounds are a strong seller with shoppers who want to cut down on disposables. They are tiny, fast, and ideal for using up flannel and terry scraps.
Cut 3 1/2-inch circles from soft cotton flannel for one side and cotton terry, bamboo velour, or a second flannel layer for the other. Place wrong sides together and finish the edges with a tight zigzag or a serger, or sew right sides together, turn through a small gap, and topstitch. Sell them in sets of 10 or 12, tucked into a small matching drawstring wash bag.
Prewash all fabric first so the rounds do not shrink unevenly after the buyer’s first wash.
Batching tip: Stack four or five layers and cut circles with a rotary cutter and a circle template, or use a small plastic lid as your guide.
13. Eyeglass Cases
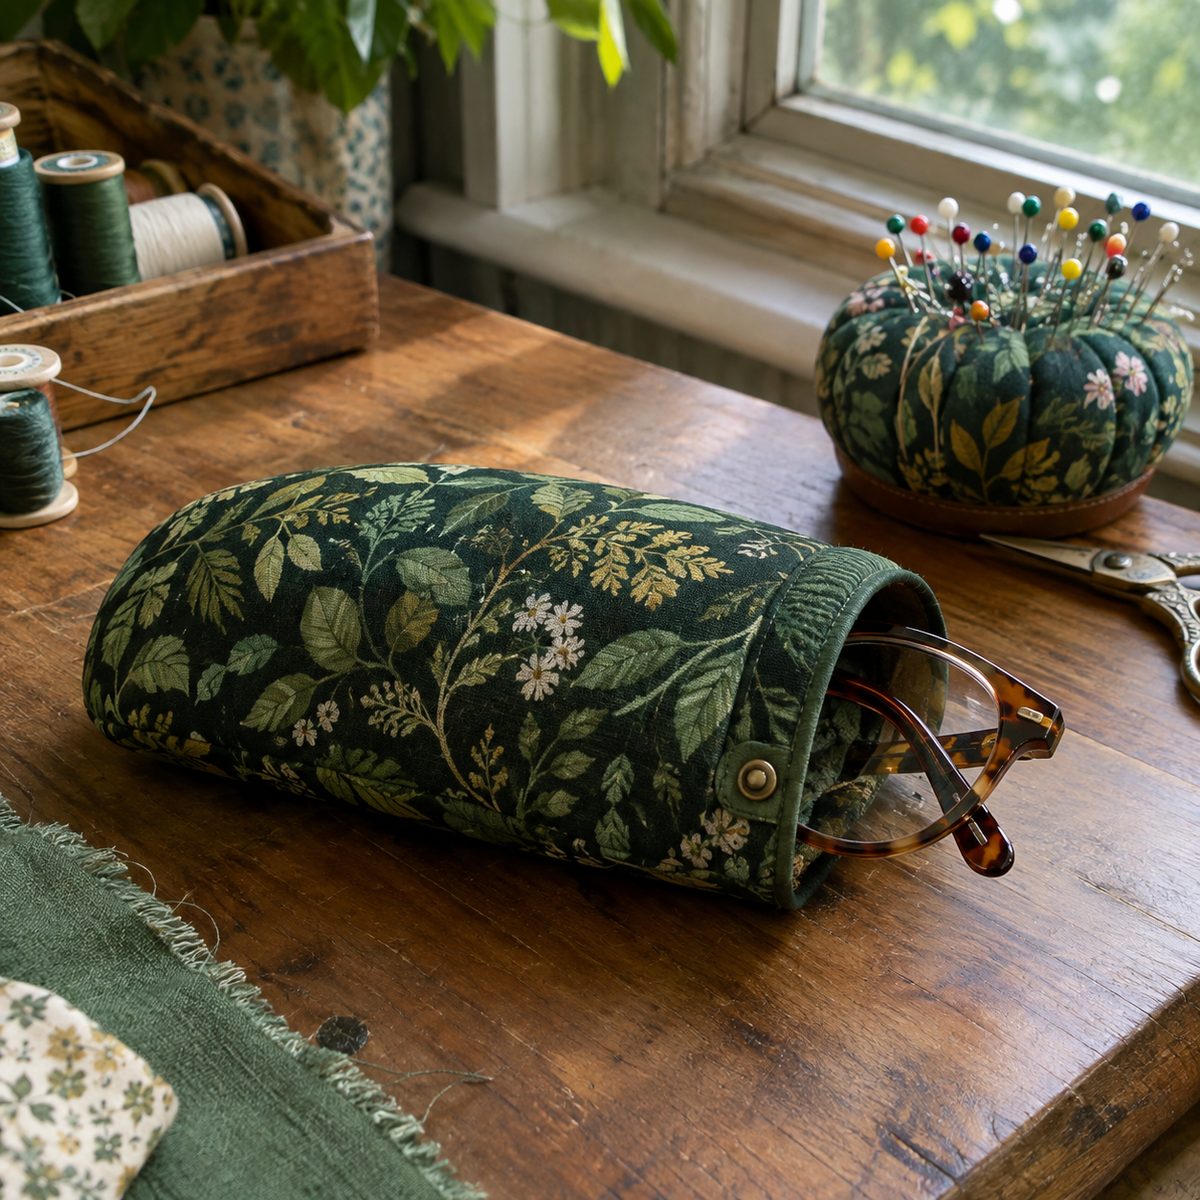
Padded eyeglass or sunglass cases fit nicely into the gift category and use small amounts of fabric.
Cut an outer piece and a lining piece 7 by 8 inches, plus a piece of fusible fleece. Fuse the fleece to the outer piece, sew outer and lining right sides together along one short edge, then refold so outer is on outer and lining on lining, and sew the long side and bottom of each, leaving a turning gap in the lining. Turn, close the gap, and push the lining inside. The result is a soft pouch about 3 1/2 inches wide that fits most frames.
- Add a snap or a magnetic closure for sunglasses.
- Offer a slightly wider size for oversized frames.
Batching tip: Fuse fleece to a large piece of outer fabric before cutting everything at once.
14. Drawstring Gift Bags
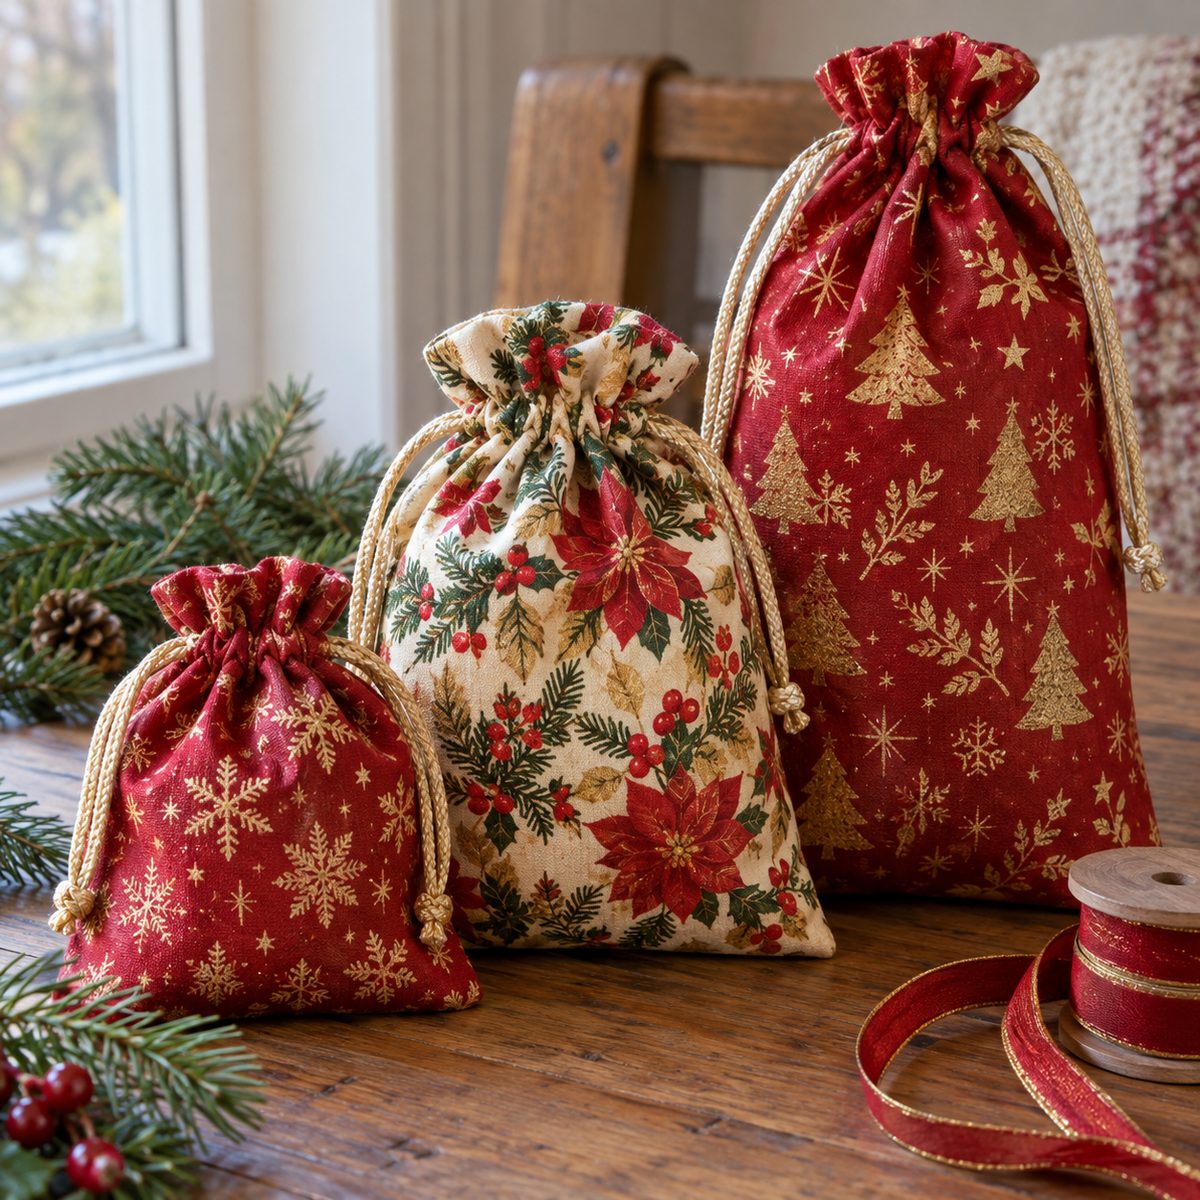
Reusable fabric gift bags are a steady seller before the holidays, and they come in handy for jewelry, toiletries, and small toys year-round.
For a medium bag, cut a piece of fabric 10 by 24 inches. Fold it in half, right sides together, and sew the sides, stopping 2 inches below the top on one side. Press the seam allowances open along the unstitched section and stitch them down, then fold the top edge down 1/4 inch and again 1 inch to form the casing. Stitch, thread cord or ribbon through the channel, and knot the ends.
Sell them in a range of sizes: small for jewelry, medium for gift cards and treats, and large for wine bottles or books.
Batching tip: Sew all the side seams first as a chain, then all the casings.
15. Card Wallets
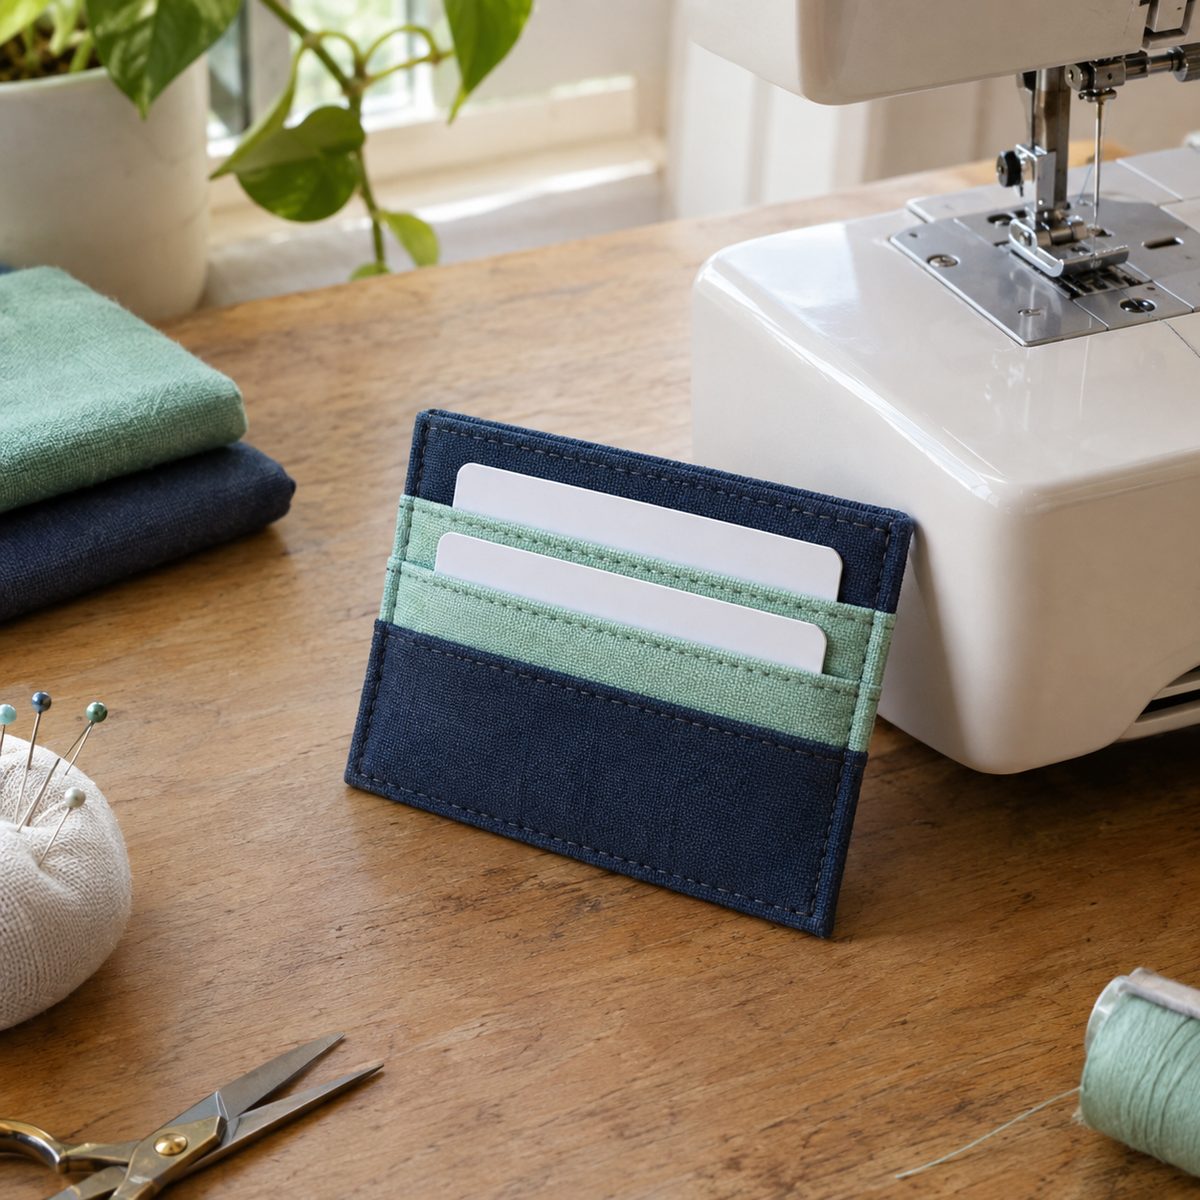
Slim fabric card wallets appeal to people who carry just a phone and a few cards. They take a fat quarter or less and look far more complex than they are.
A simple design uses a 4 1/2-inch-wide base with two or three folded pockets stacked on top. Fold each pocket piece in half lengthwise and press, interface the base for body, stack the pockets at staggered heights, then add the backing and sew around the outside, leaving a turning gap. Turn, press well, and topstitch. You can also fold the finished piece in half and add a snap for a bi-fold style.
- Use lightweight cotton so the folds do not get bulky.
- Press every fold firmly before sewing.
Batching tip: Fold and press one long strip of pocket fabric, then cut it into pocket lengths.
16. Lavender Sachets
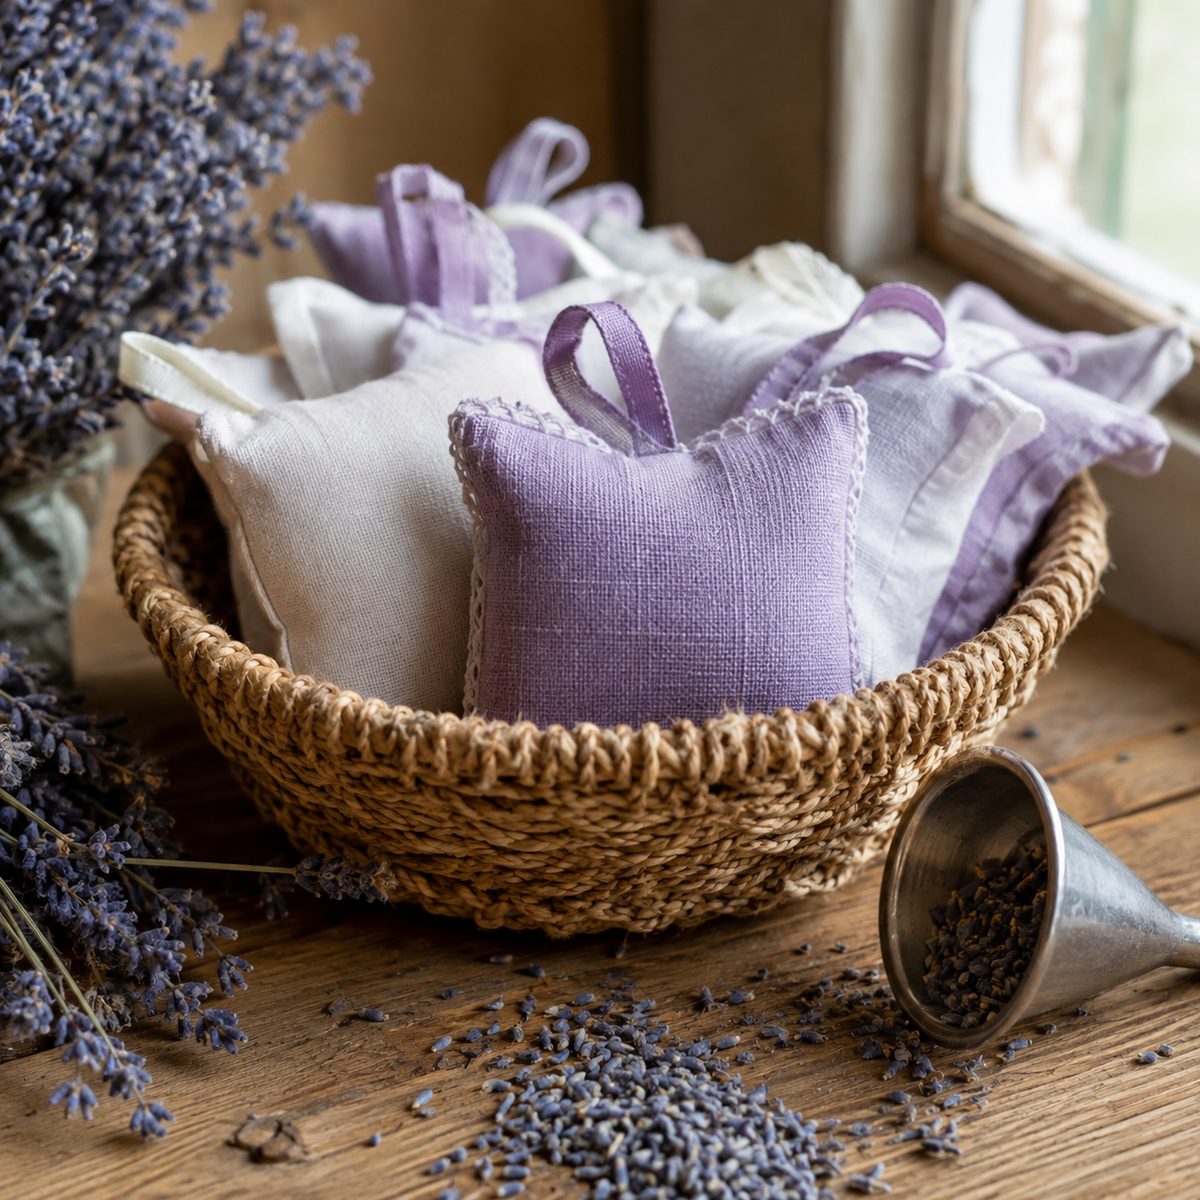
Lavender sachets are one of the smallest, fastest items you can make, and they smell wonderful on a craft fair table. They work in drawers, closets, and gift baskets.
Cut two 4 1/2-inch squares of cotton or linen, sew right sides together with a gap, turn, and fill with dried lavender buds. To keep buds from poking through looser weaves, fill a small inner bag of muslin first and tuck it inside. Close the gap by hand or with a narrow edgestitch. Add a ribbon loop in the seam if you want them hangable.
Set sachets in a small basket at the edge of your table where people can pick them up and smell them.
Batching tip: Use a canning funnel to fill sachets quickly without spilling buds everywhere.
17. Crayon Rolls
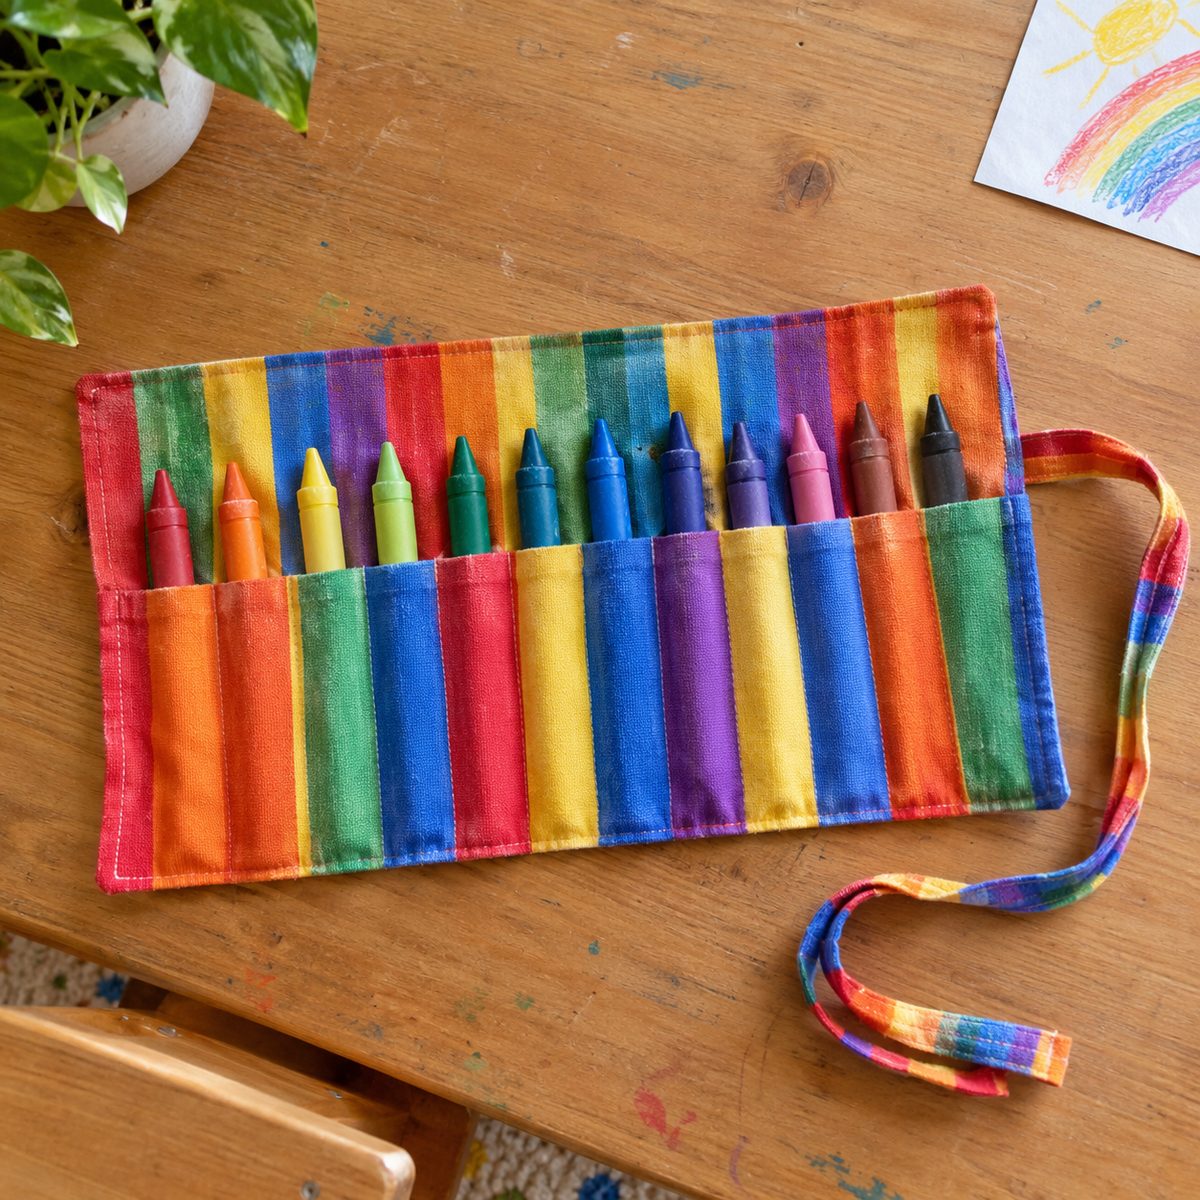
Crayon rolls are a favorite with parents and grandparents who want something to keep kids busy at restaurants or on car trips. Because this is a children’s product, it is one to research under the CPSIA rules before you sell.
Cut an outer piece and lining piece about 18 by 8 inches, plus a pocket piece 18 by 6 inches folded in half lengthwise. Lay the folded pocket on the lining, stitch vertical lines every 1 inch to create individual slots for 16 crayons, add a ribbon or elastic tie at one end, then sew all layers together, turn, and topstitch.
- A little interfacing on the outer piece makes it roll neatly.
- Include a small pad of paper for a gift-ready set.
Batching tip: Mark the channel lines with a chalk template across a whole stack of pocket strips.
18. Unpaper Towels
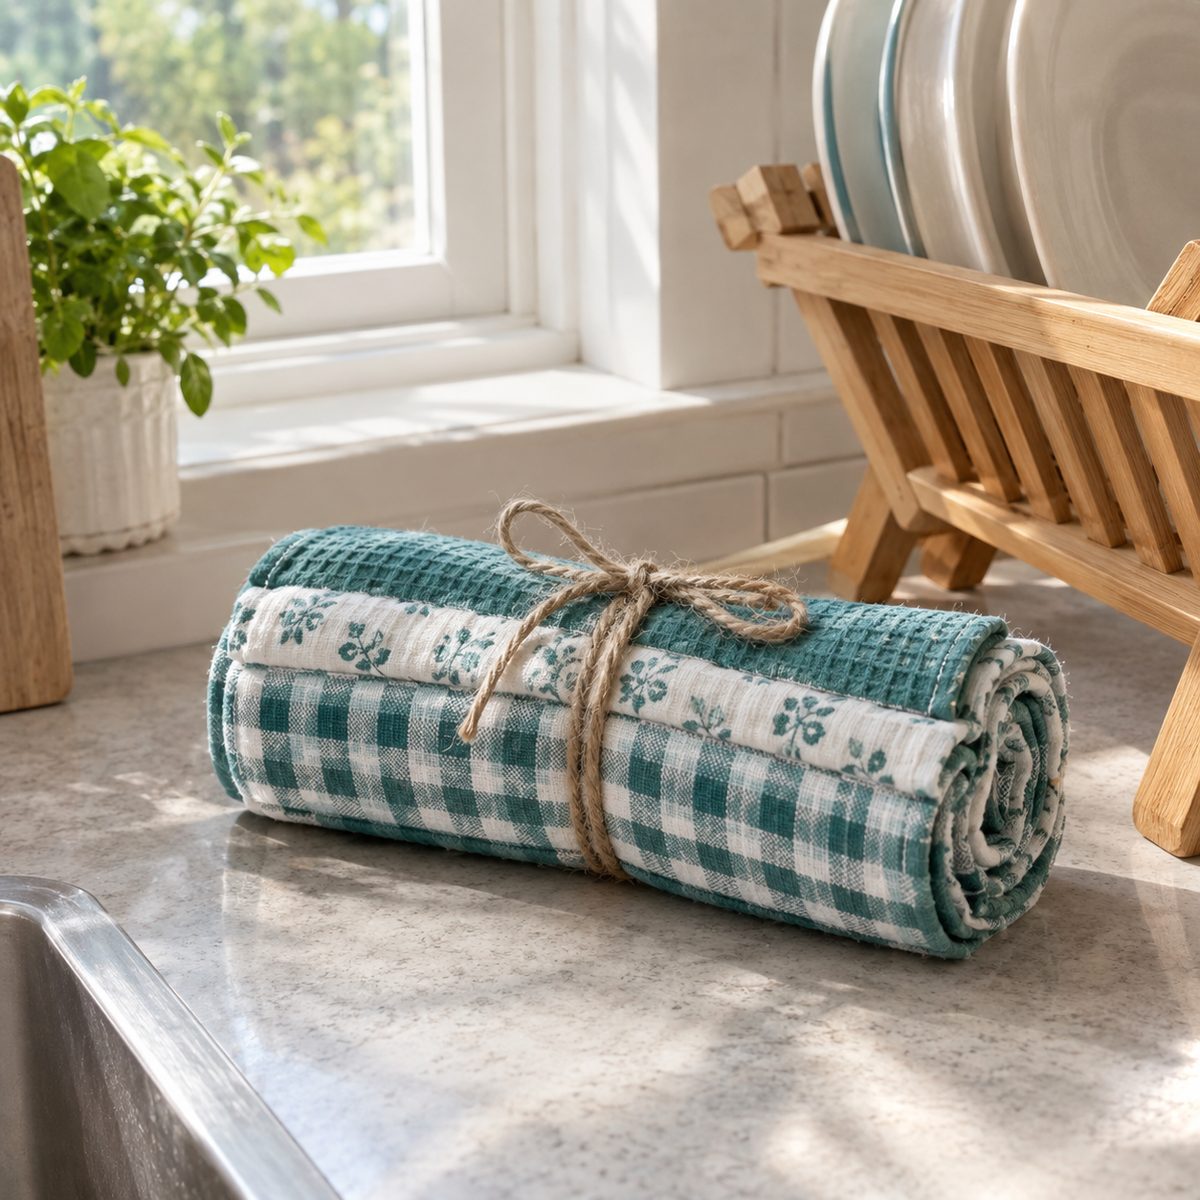
Unpaper towels are reusable cloth towels that replace a roll of paper towels. They are simple, practical, and popular with shoppers trying to go more eco-friendly.
Cut 10- or 12-inch squares from cotton flannel for one side and birdseye cotton or terry for the absorbent side. Place wrong sides together and finish with a serger, or sew right sides together, turn, and topstitch around the edge. Round the corners slightly to make finishing easier. Sets of 8 or 12, rolled together and tied with twine, look great on a booth table.
Prewashing matters here because cotton flannel shrinks, and you want finished pieces to stay square after the buyer’s first wash.
Batching tip: Cut squares with a large square ruler and a rotary cutter, several layers at once.
19. Fabric Storage Baskets
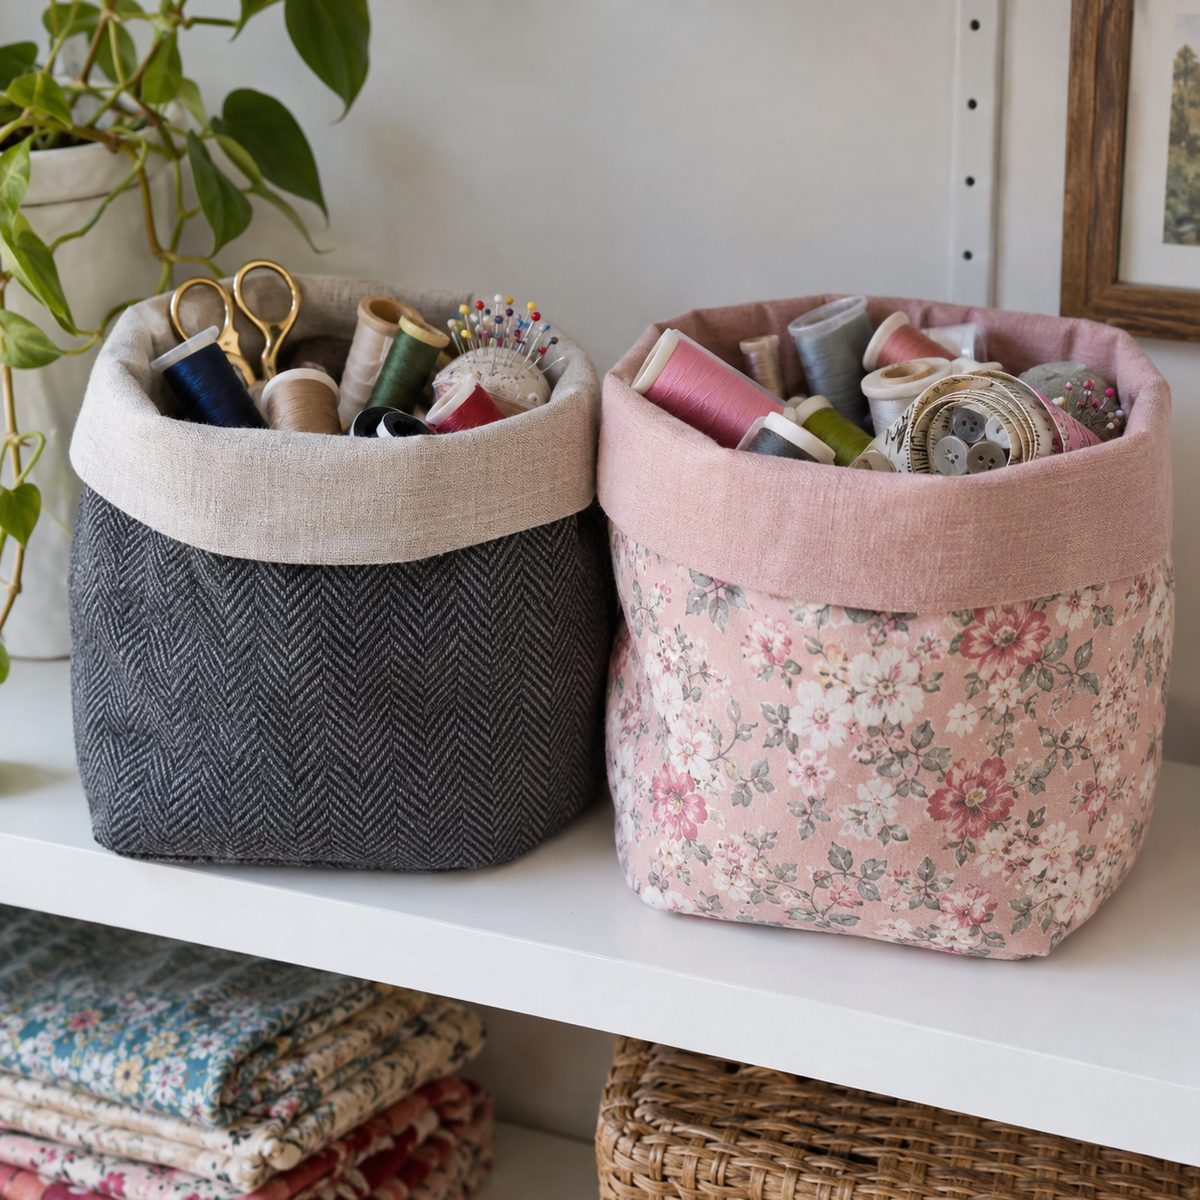
Small fabric baskets are useful for everything from sewing notions to bathroom supplies to toy storage, and shoppers like that they fold flat for travel.
Cut two outer and two lining pieces 10 by 12 inches, plus heavyweight fusible interfacing or fusible fleece for the outer pieces. Fuse, then sew each pair (outer and lining) along the sides and bottom, leaving a turning gap in the lining. Box the corners 2 inches, turn the outer piece right side out, slip it inside the lining so right sides face, and sew around the top. Turn through the gap, close it, then fold the top down to create a cuff that shows the lining fabric.
Batching tip: Fuse interfacing to yardage first, then cut all basket pieces at once from both outer and lining fabric.
20. Envelope Pillow Covers
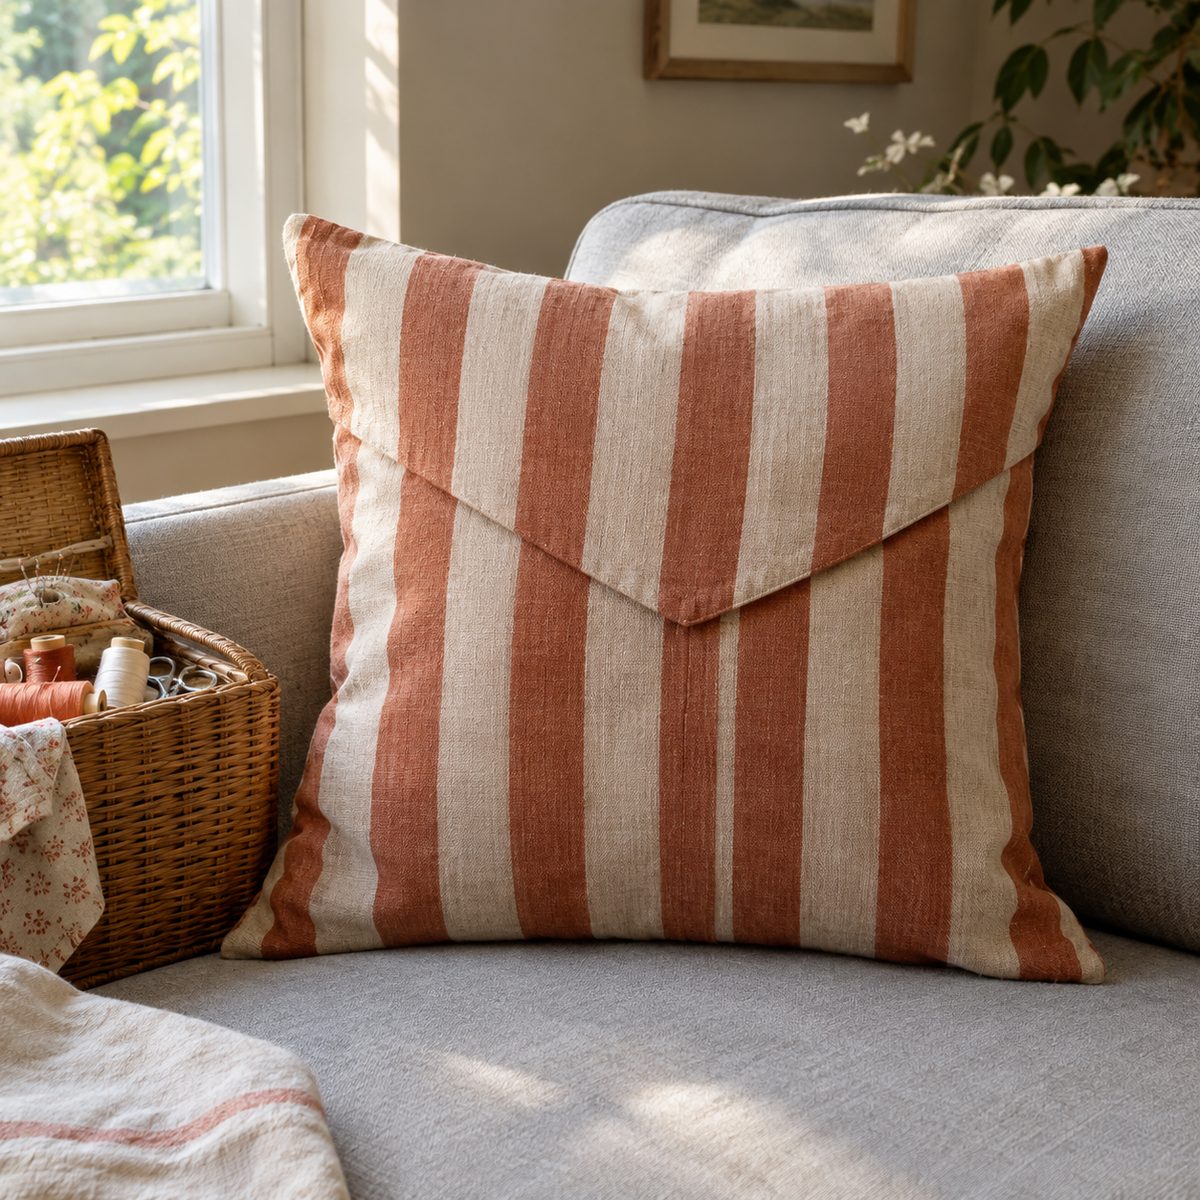
Envelope pillow covers need no zipper or buttons, making them easy to sew in quantity. They are a big seller for seasonal decor, since buyers like swapping covers instead of whole pillows.
For an 18-inch pillow form, cut one front piece 18 1/2 by 18 1/2 inches and two back pieces 18 1/2 by 13 inches. Hem one long edge of each back piece with a double 1/2-inch fold. Lay the front right side up, place the two back pieces right side down on top so they overlap in the middle, then sew all the way around with a 1/4-inch seam. Clip the corners, turn, and press.
- Home decor weight cotton or linen blends look high-end.
- Sell covers only; buyers can use pillow forms they already own.
Batching tip: Hem every back panel in one session before assembling any covers.
Getting Your Handmade Items Ready to Sell
Pick three or four items to start, not all twenty. A smaller, well-stocked table looks better than one of everything, and you learn what sells in your area before cutting more fabric. Price each piece using materials, your time, and fees, and keep notes on how long each batch actually takes. For more ideas that use leftover fabric, browse these scrap fabric projects. And before you sell, double-check pattern licenses and look into CPSIA requirements for anything made for kids.